Click images for larger views
Ceramic
Blanket Electric Foundry
Part 2, reassembly!
September 26, 2011
Now this
page has a comments box at the bottom!
Click images for larger views
|
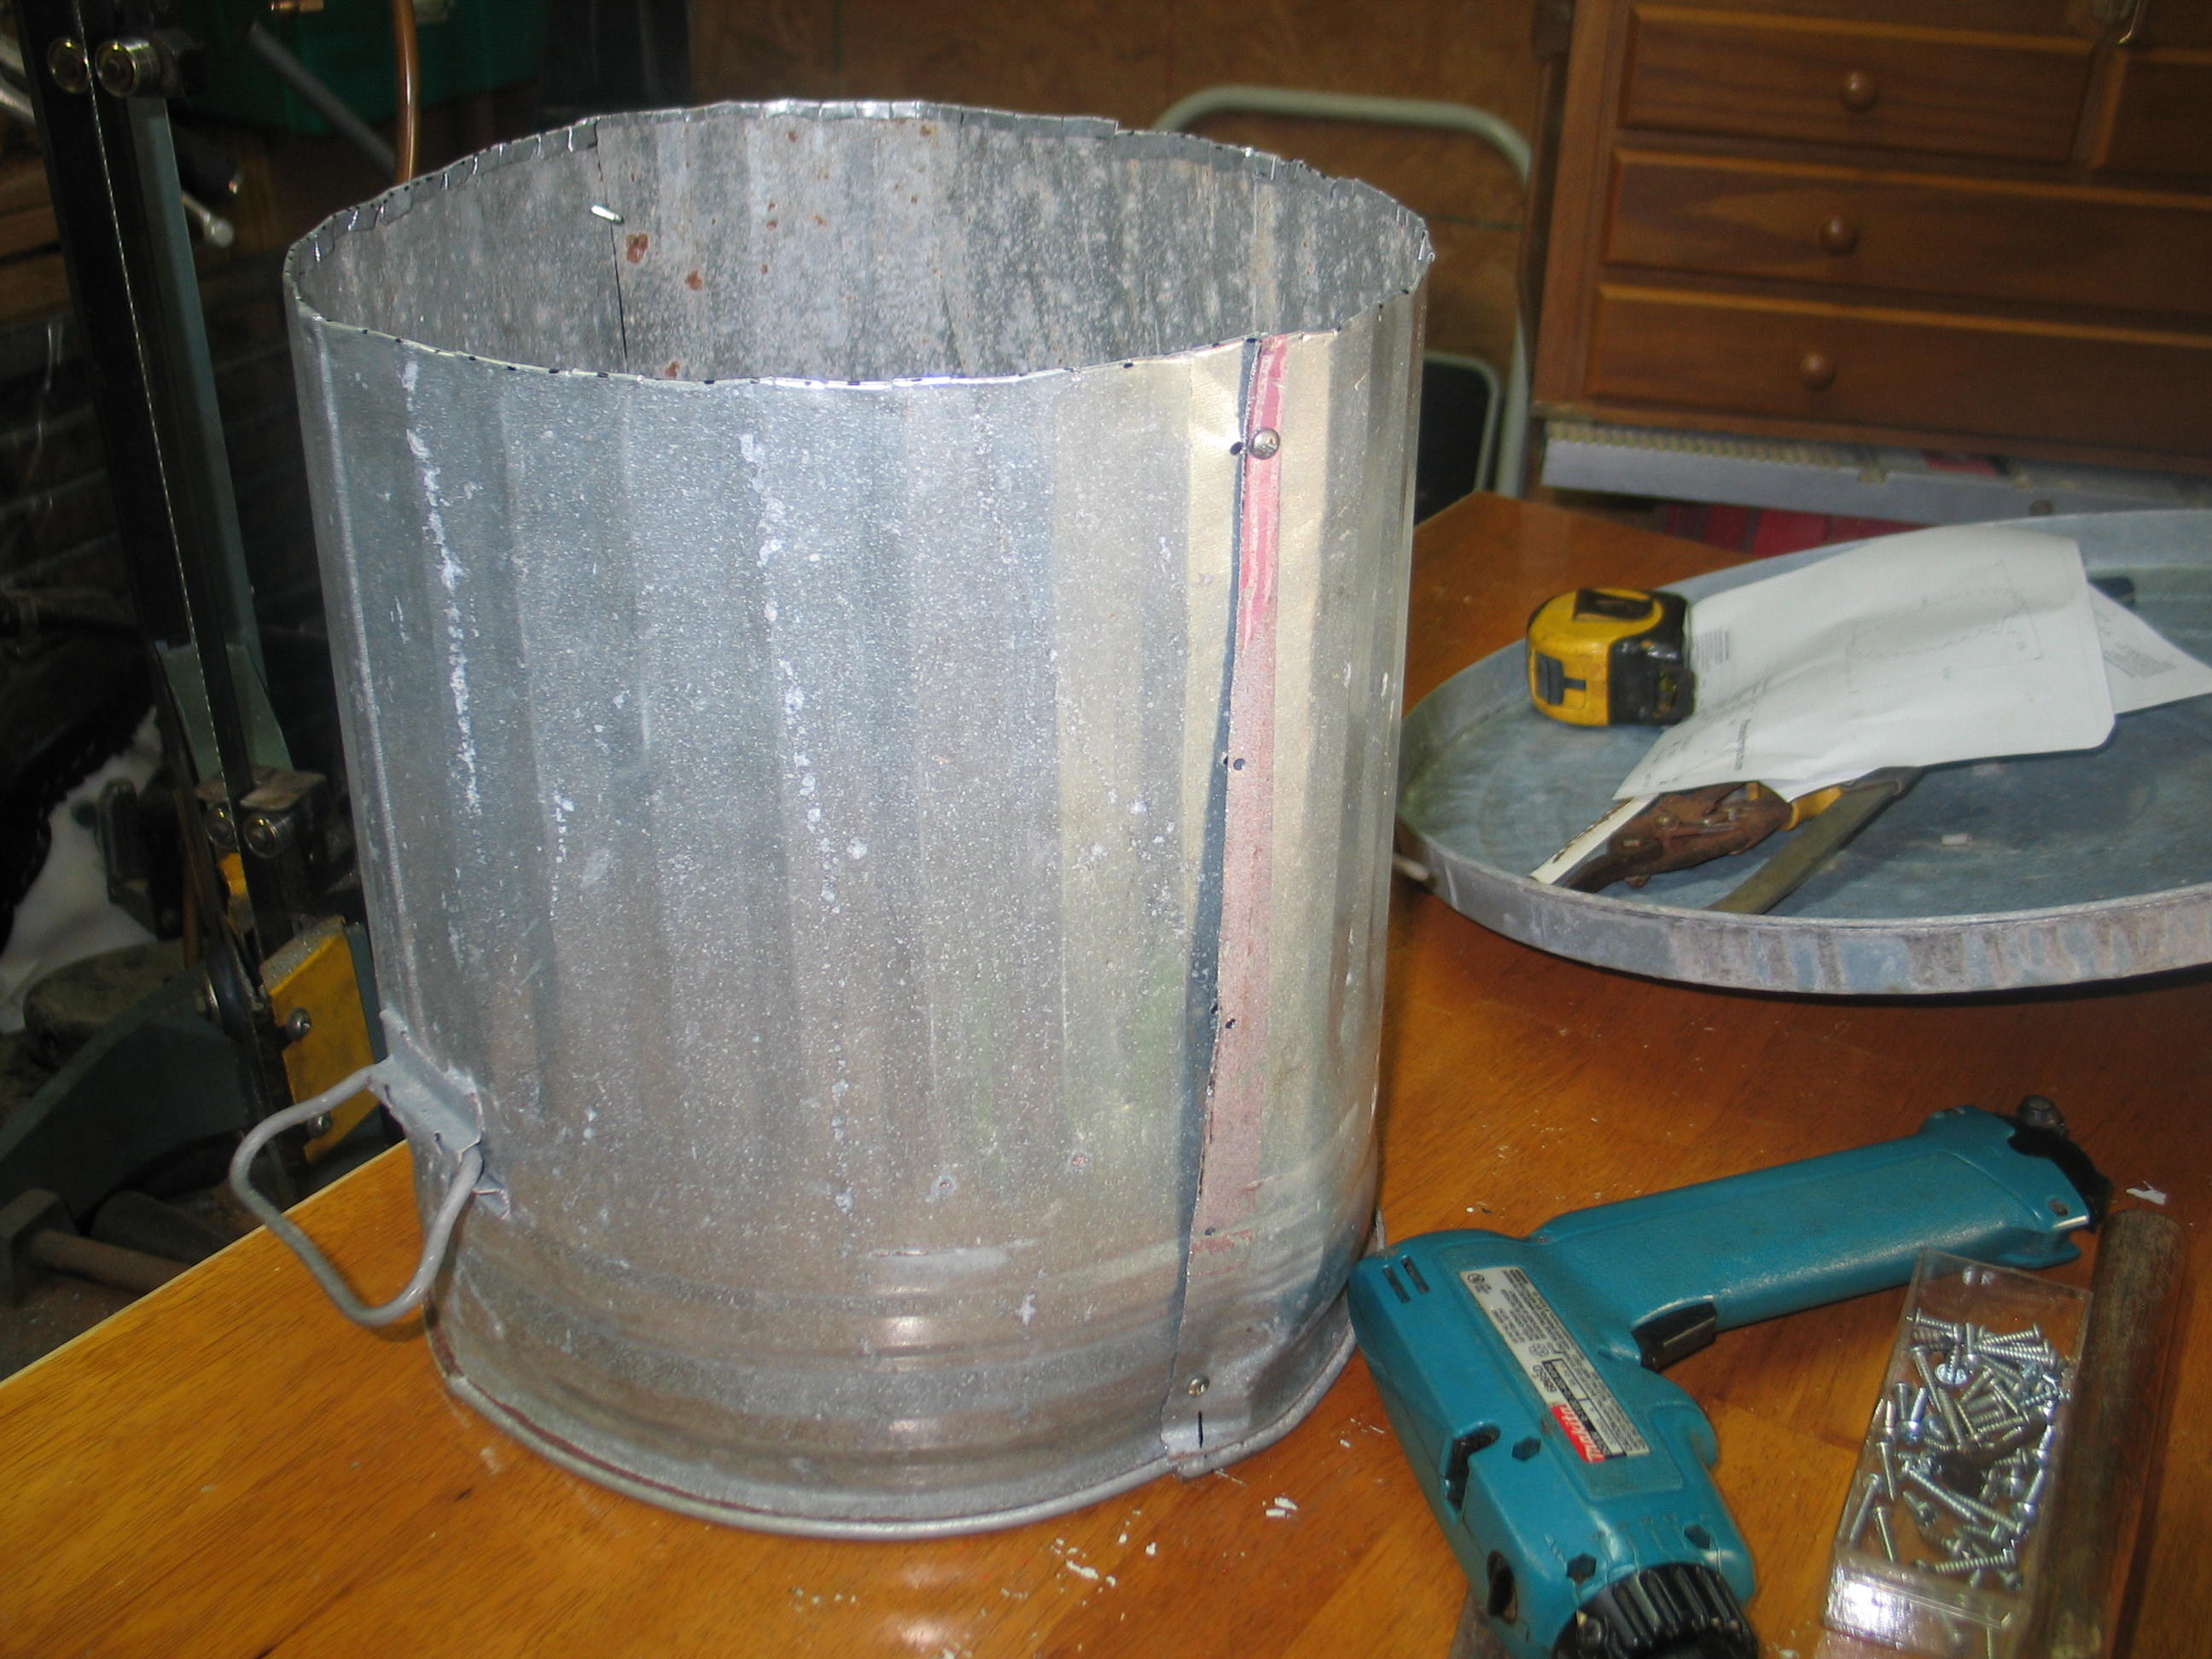
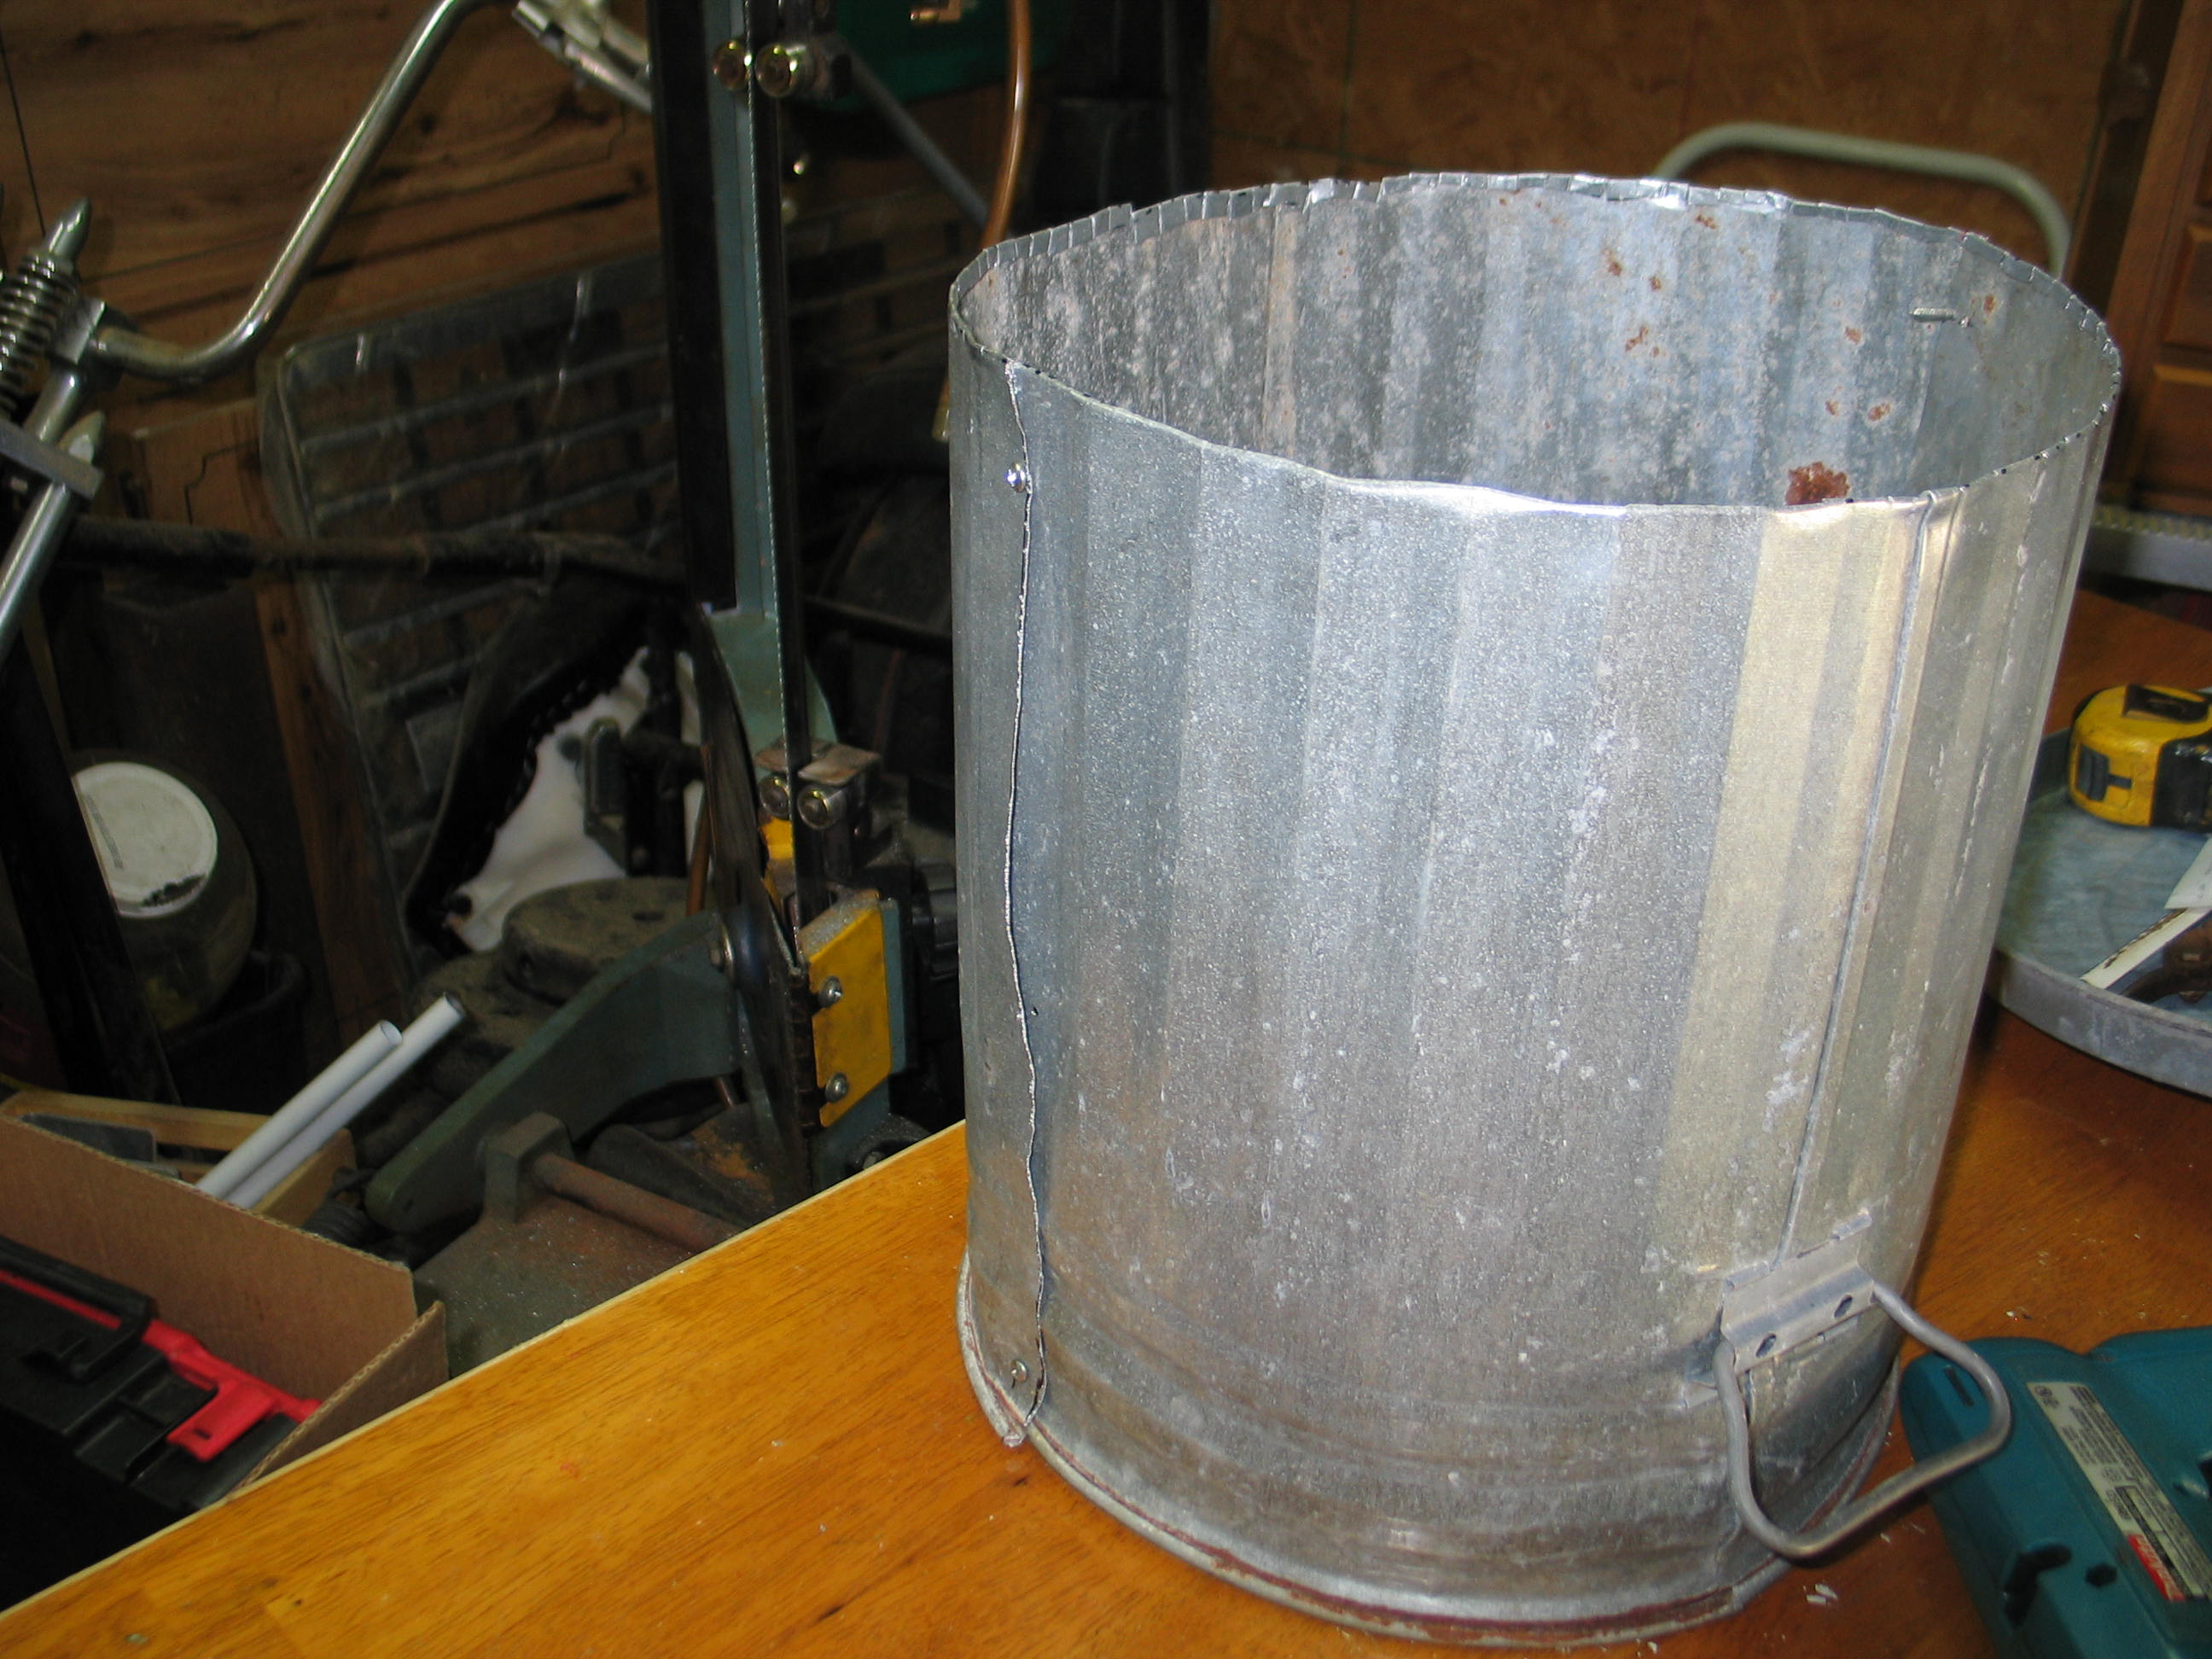
Now
lets put this thing back together.
   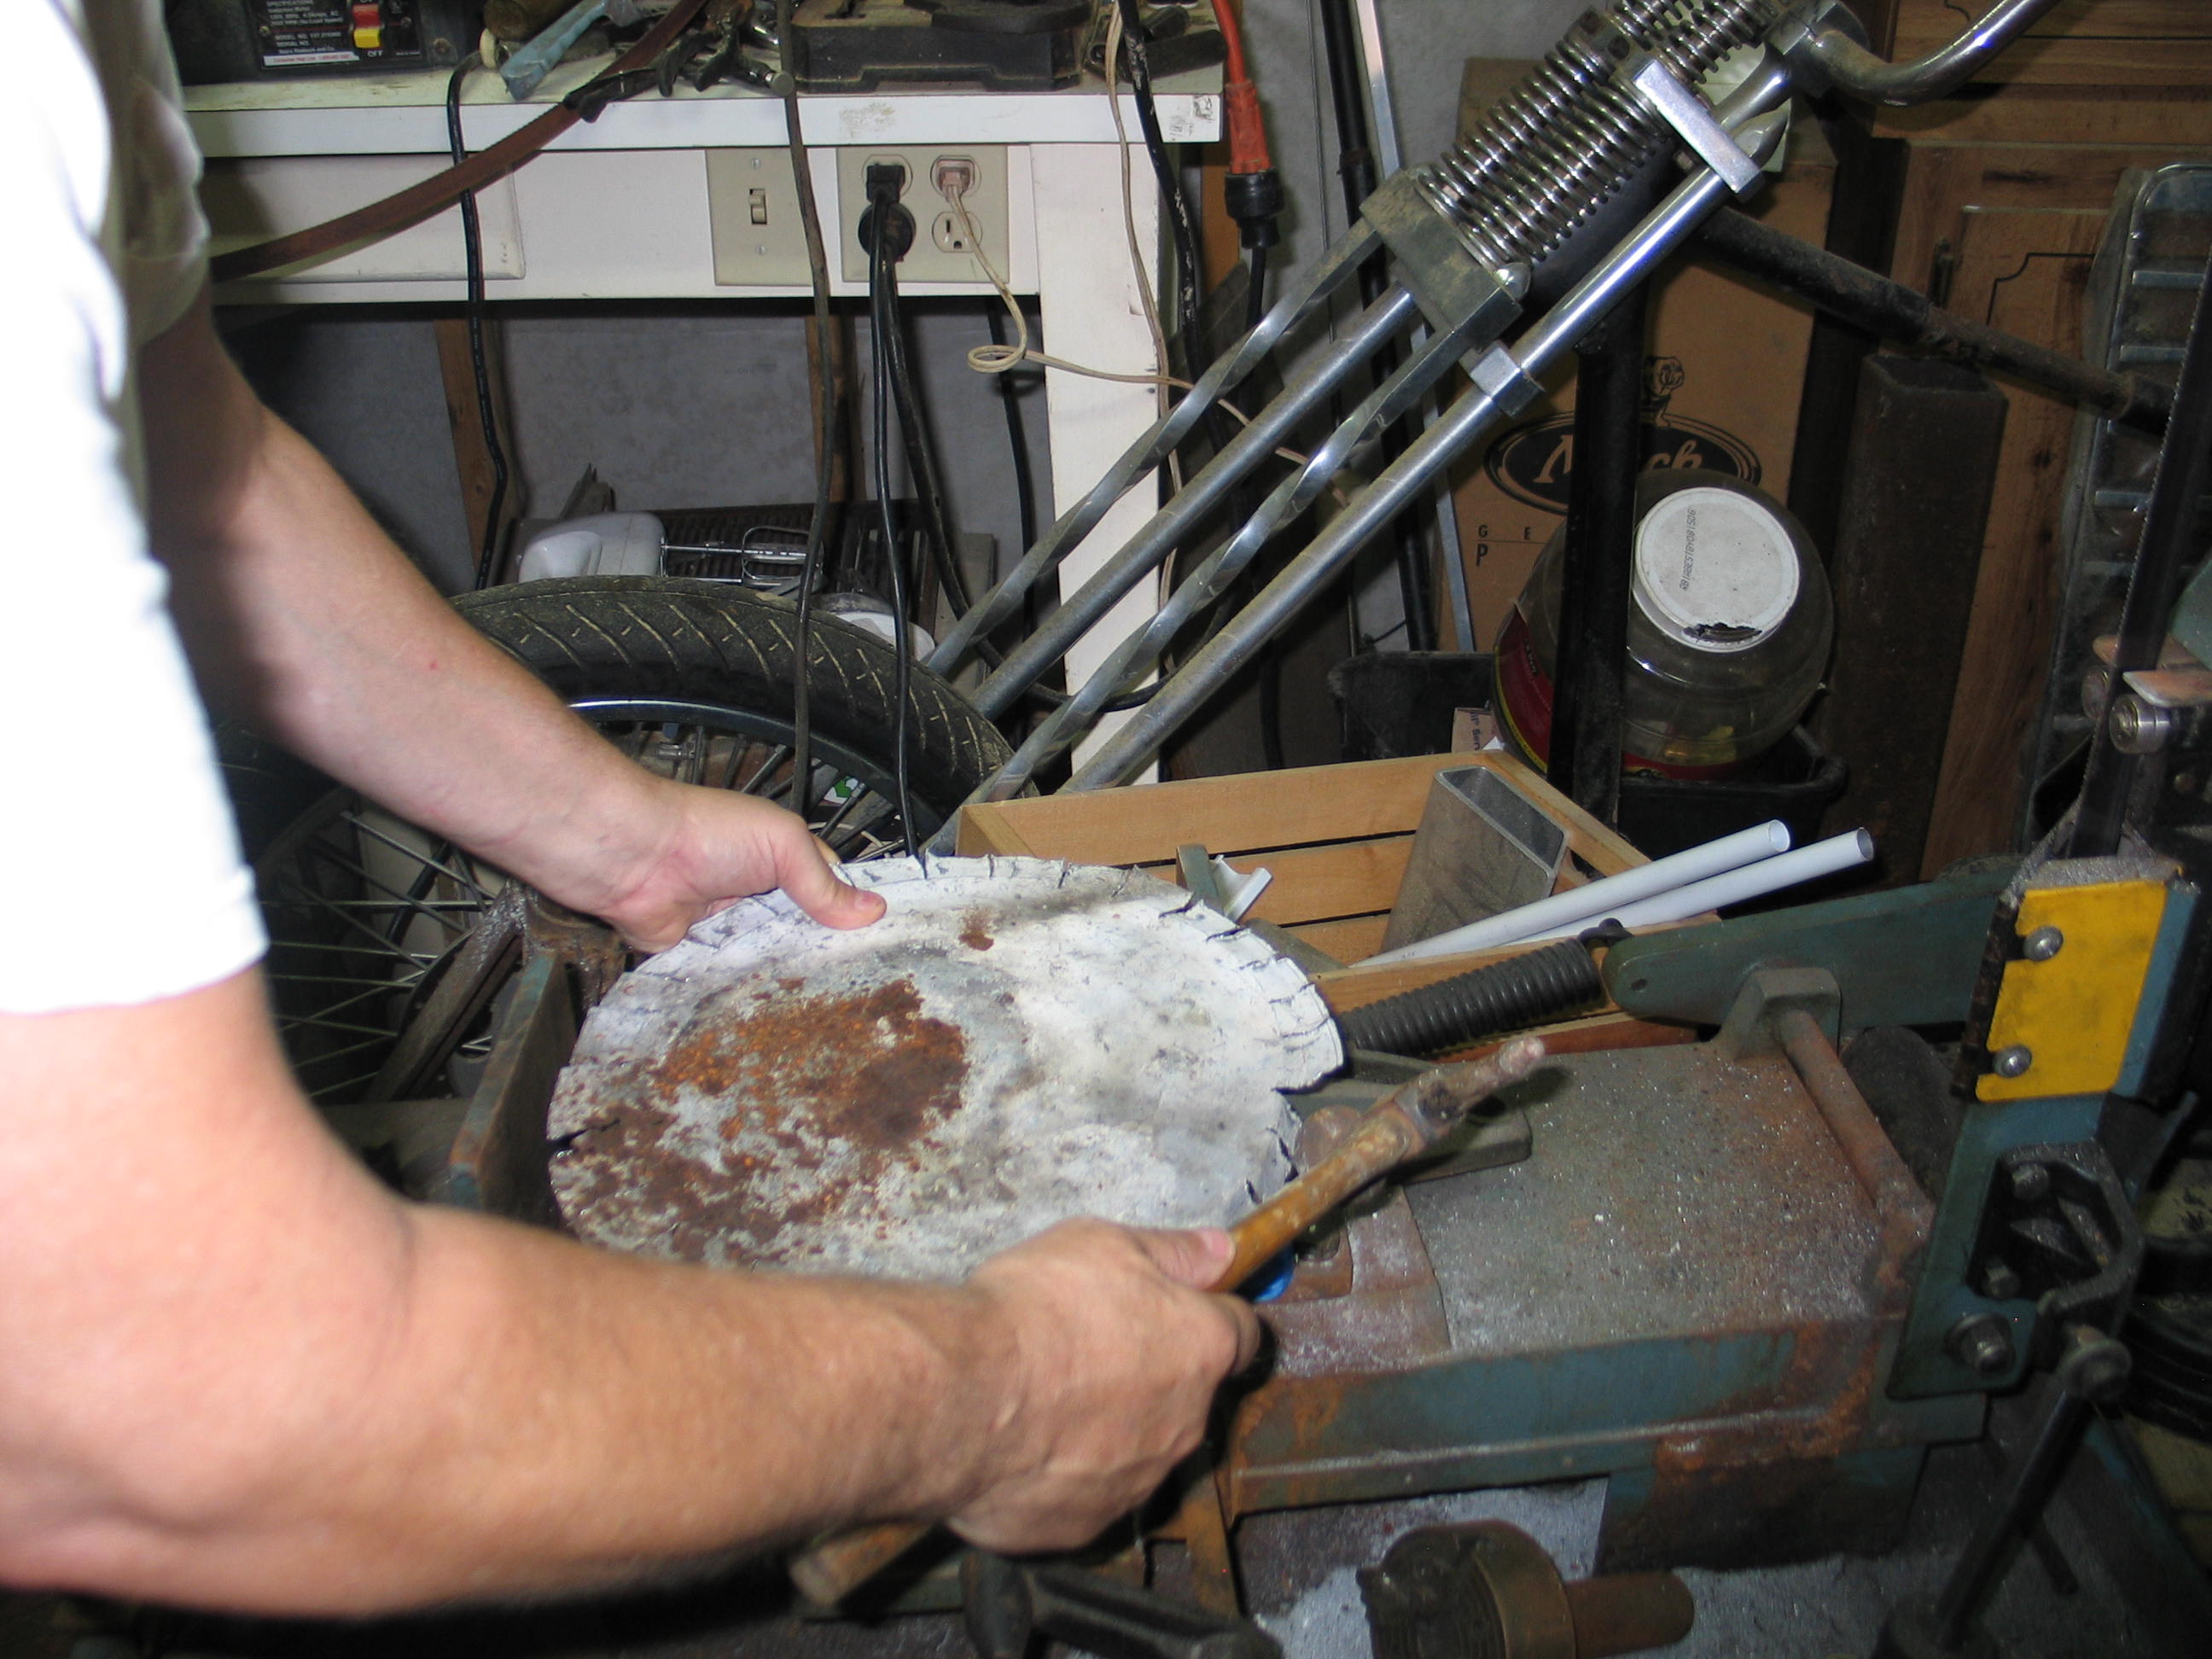 I
hammered the tabs down using the saw vise as an anvil...
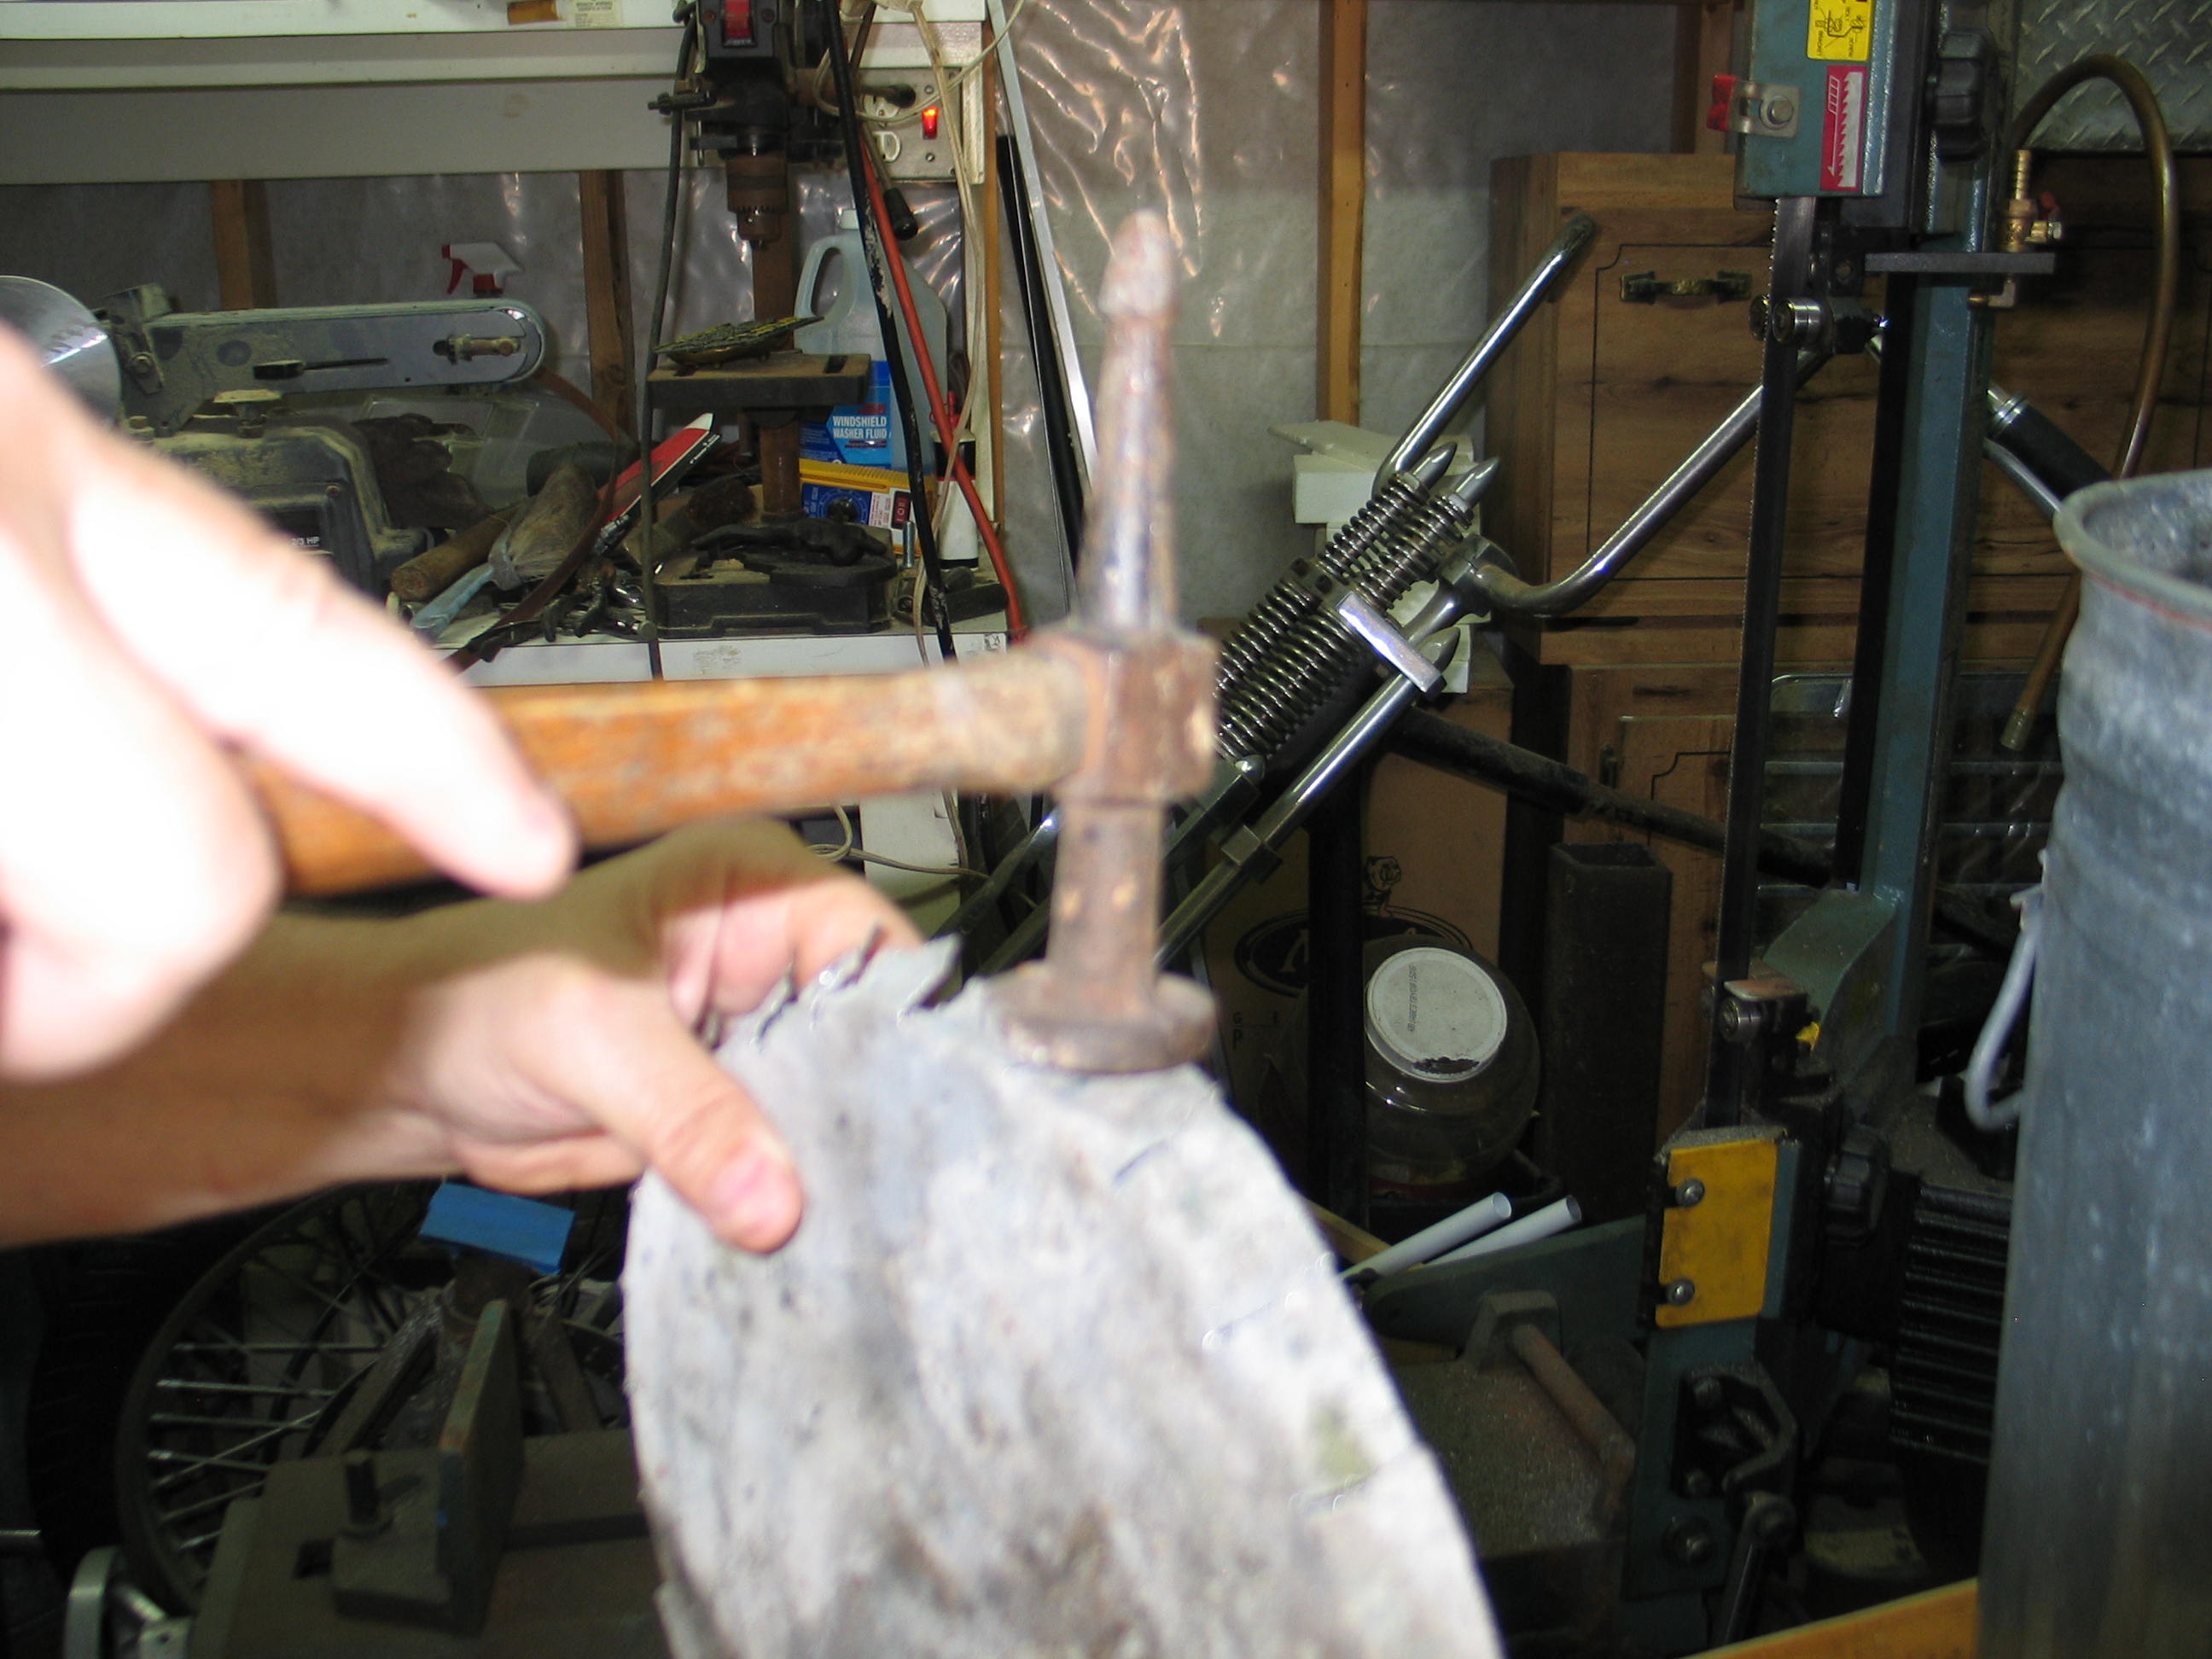 ...and
finished bending them to 90 degrees.
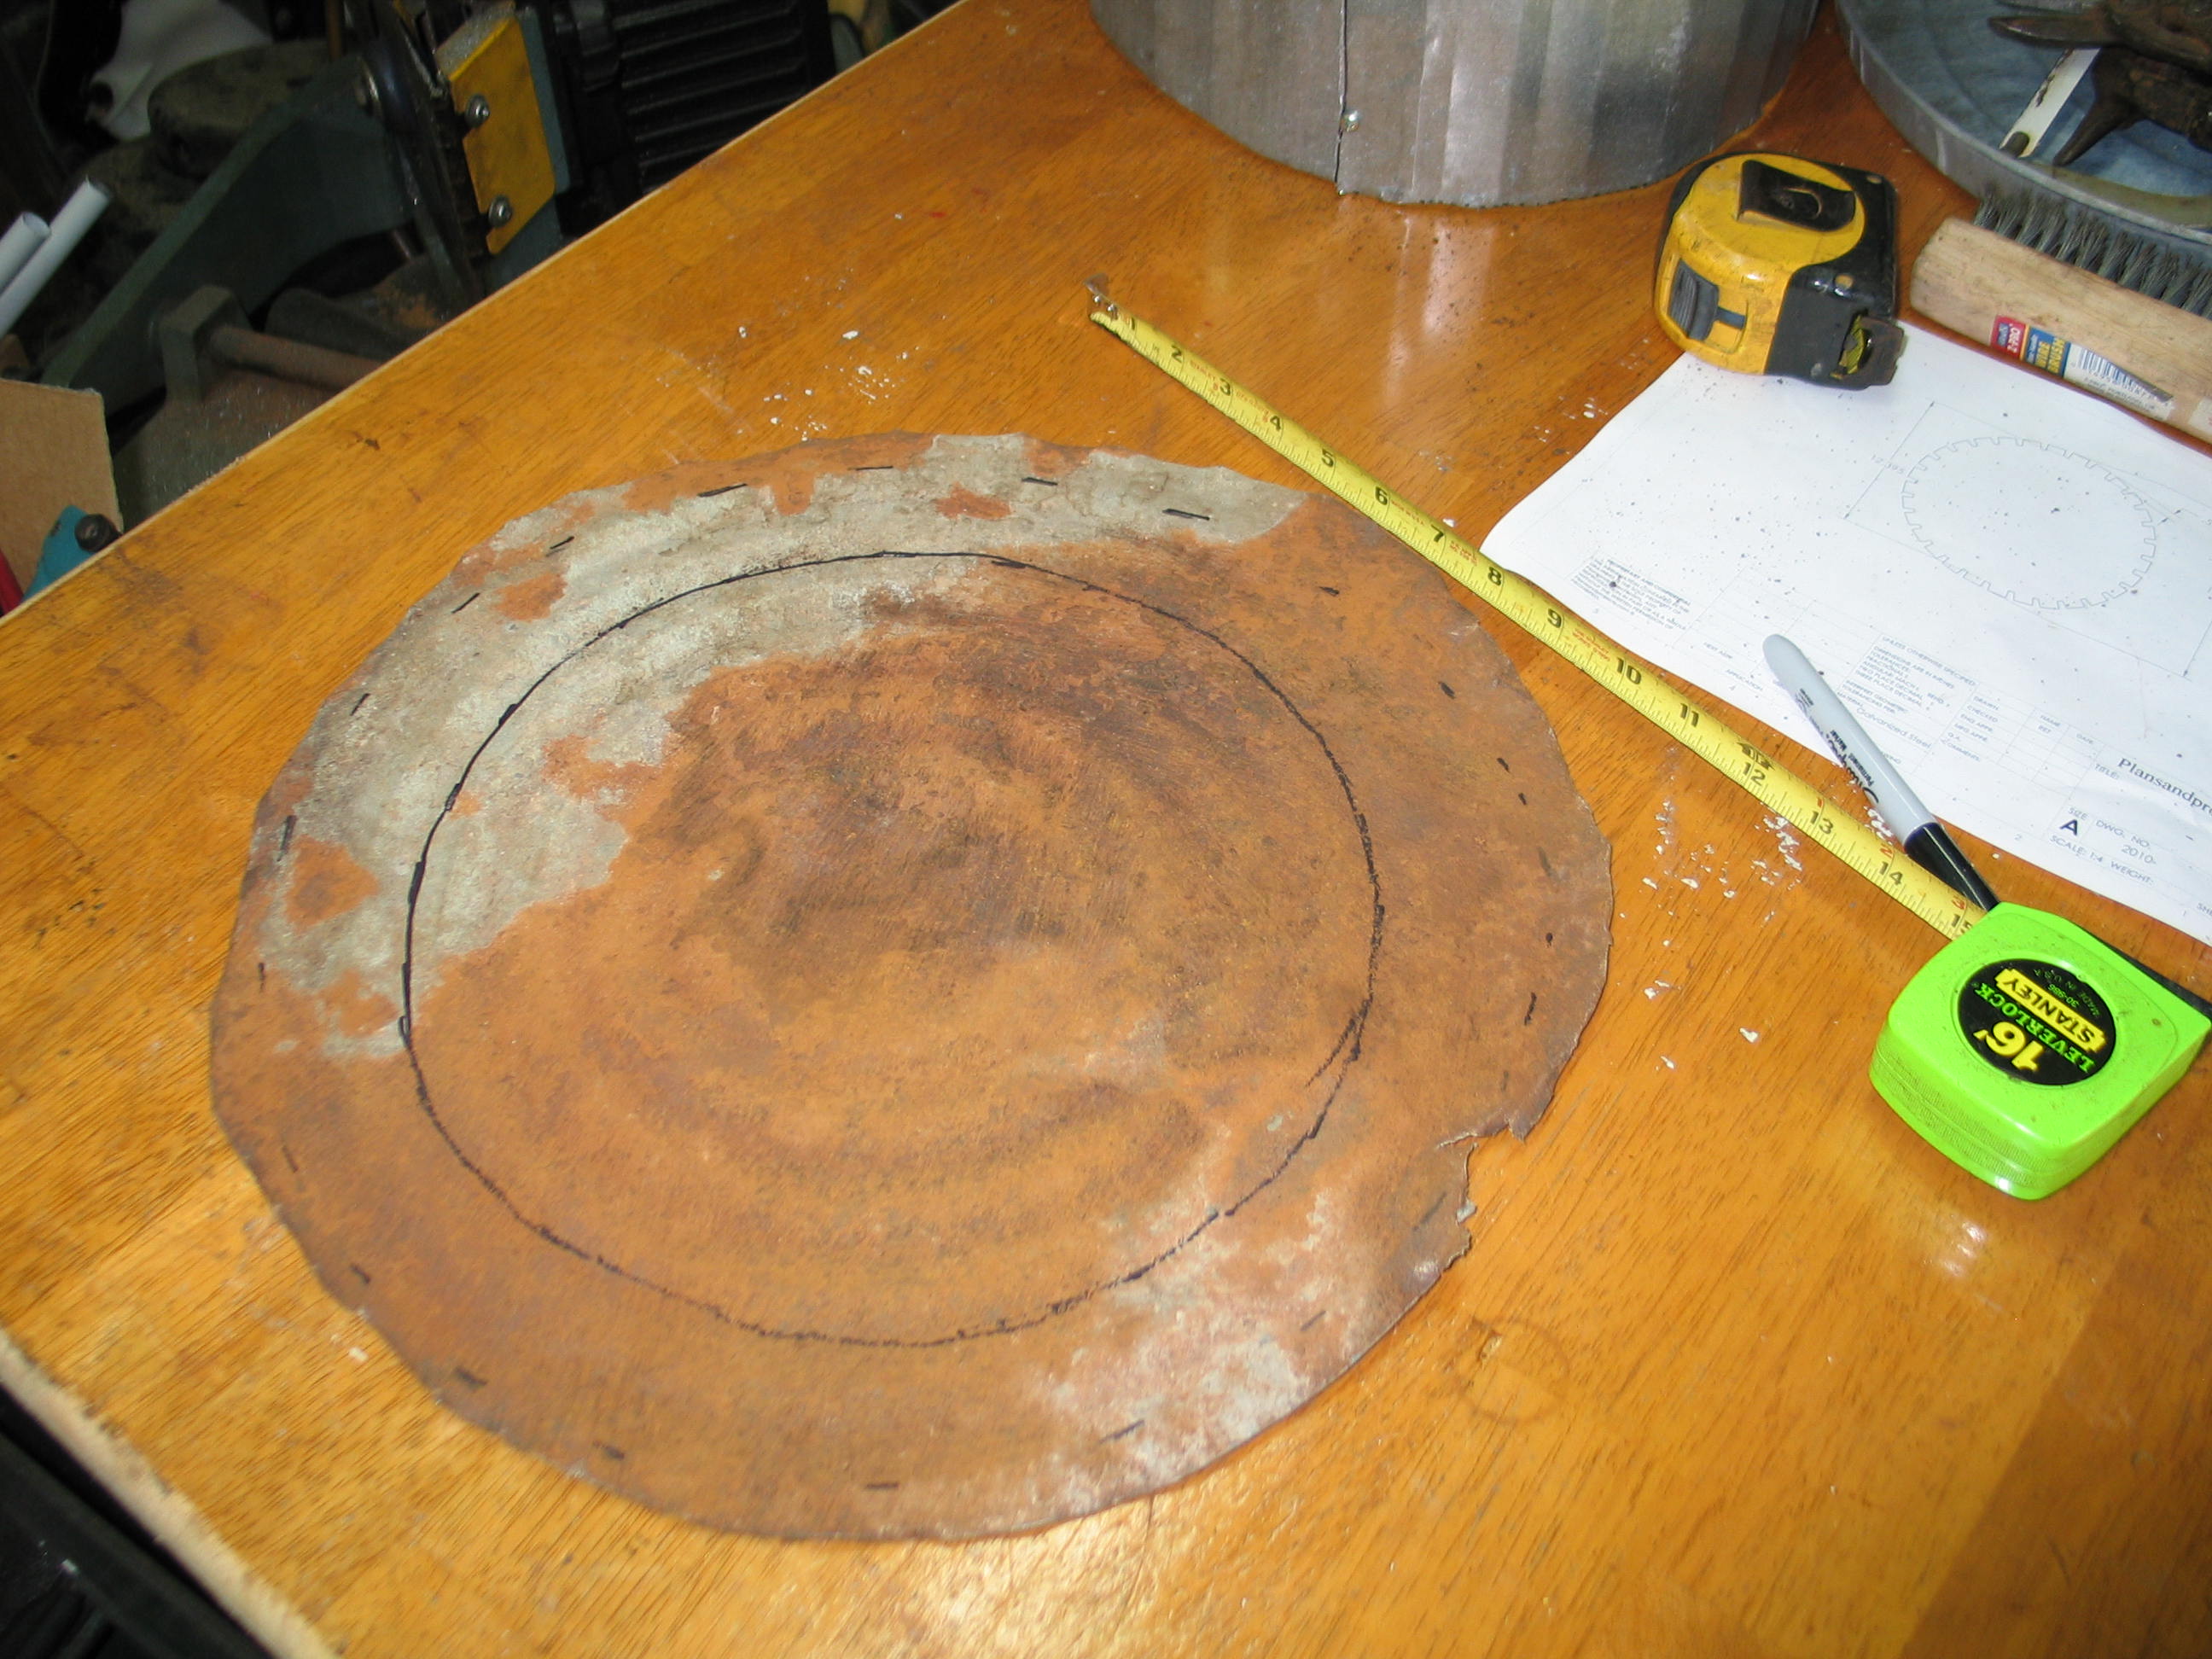
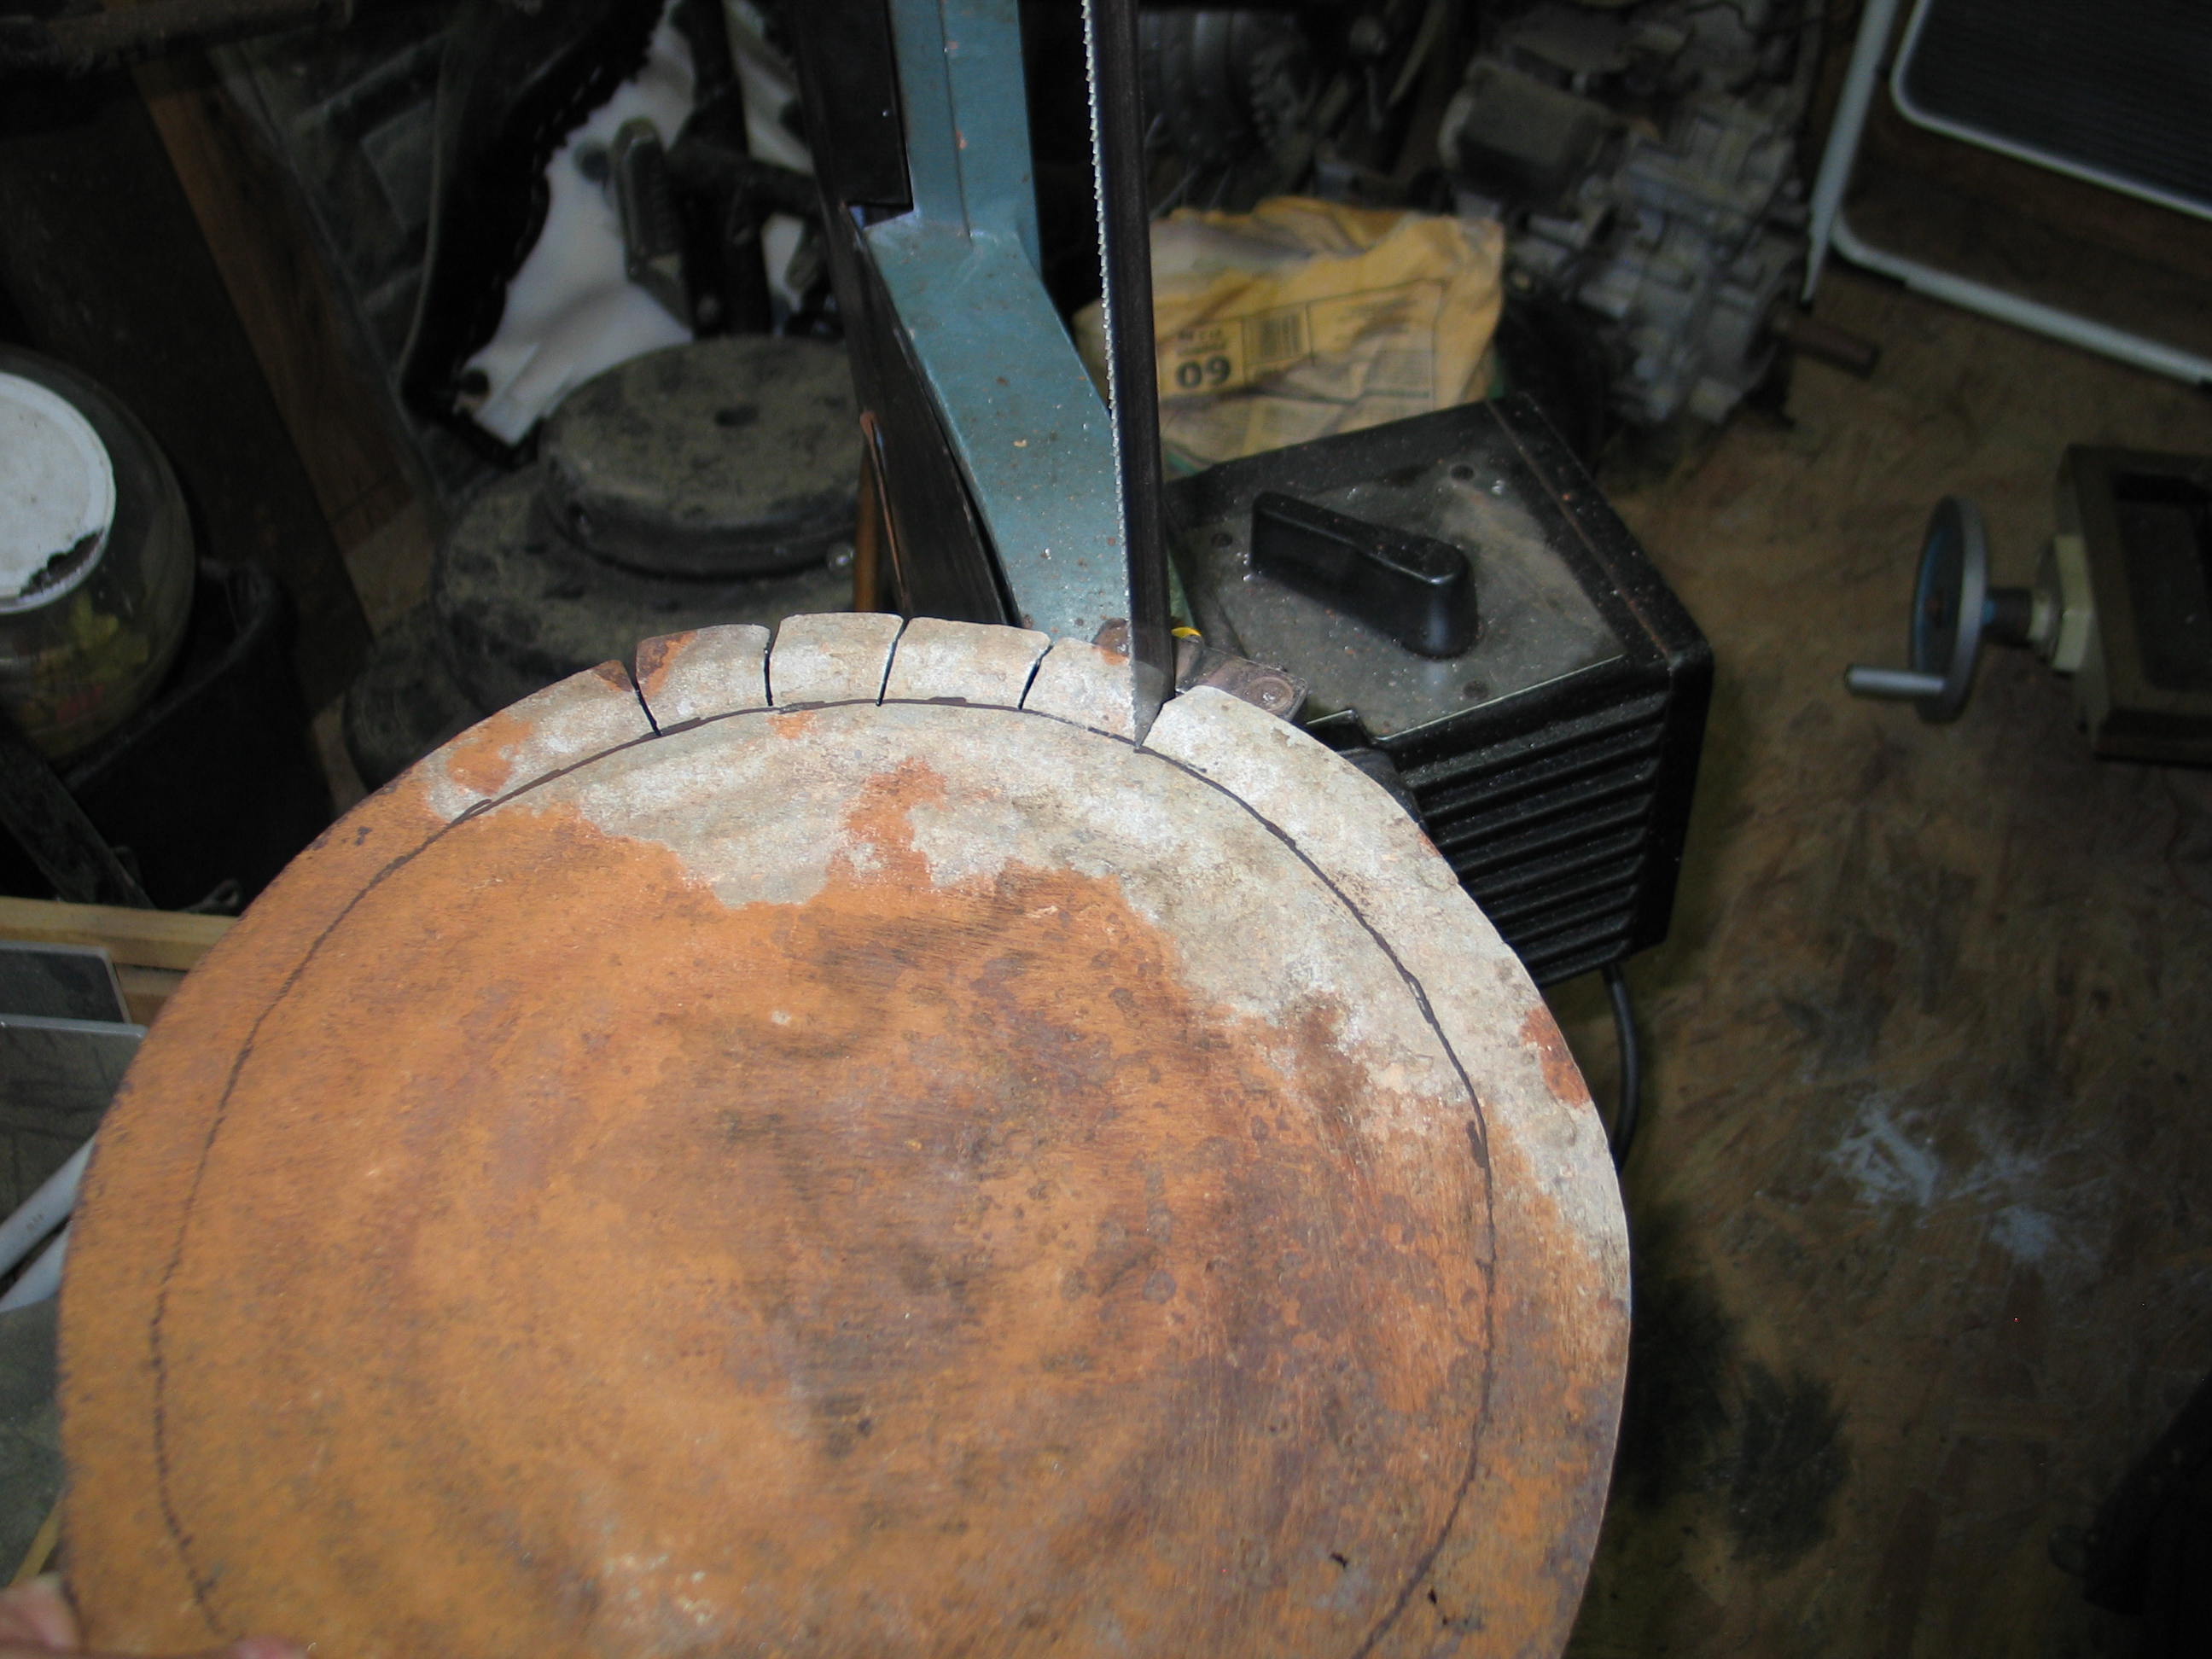
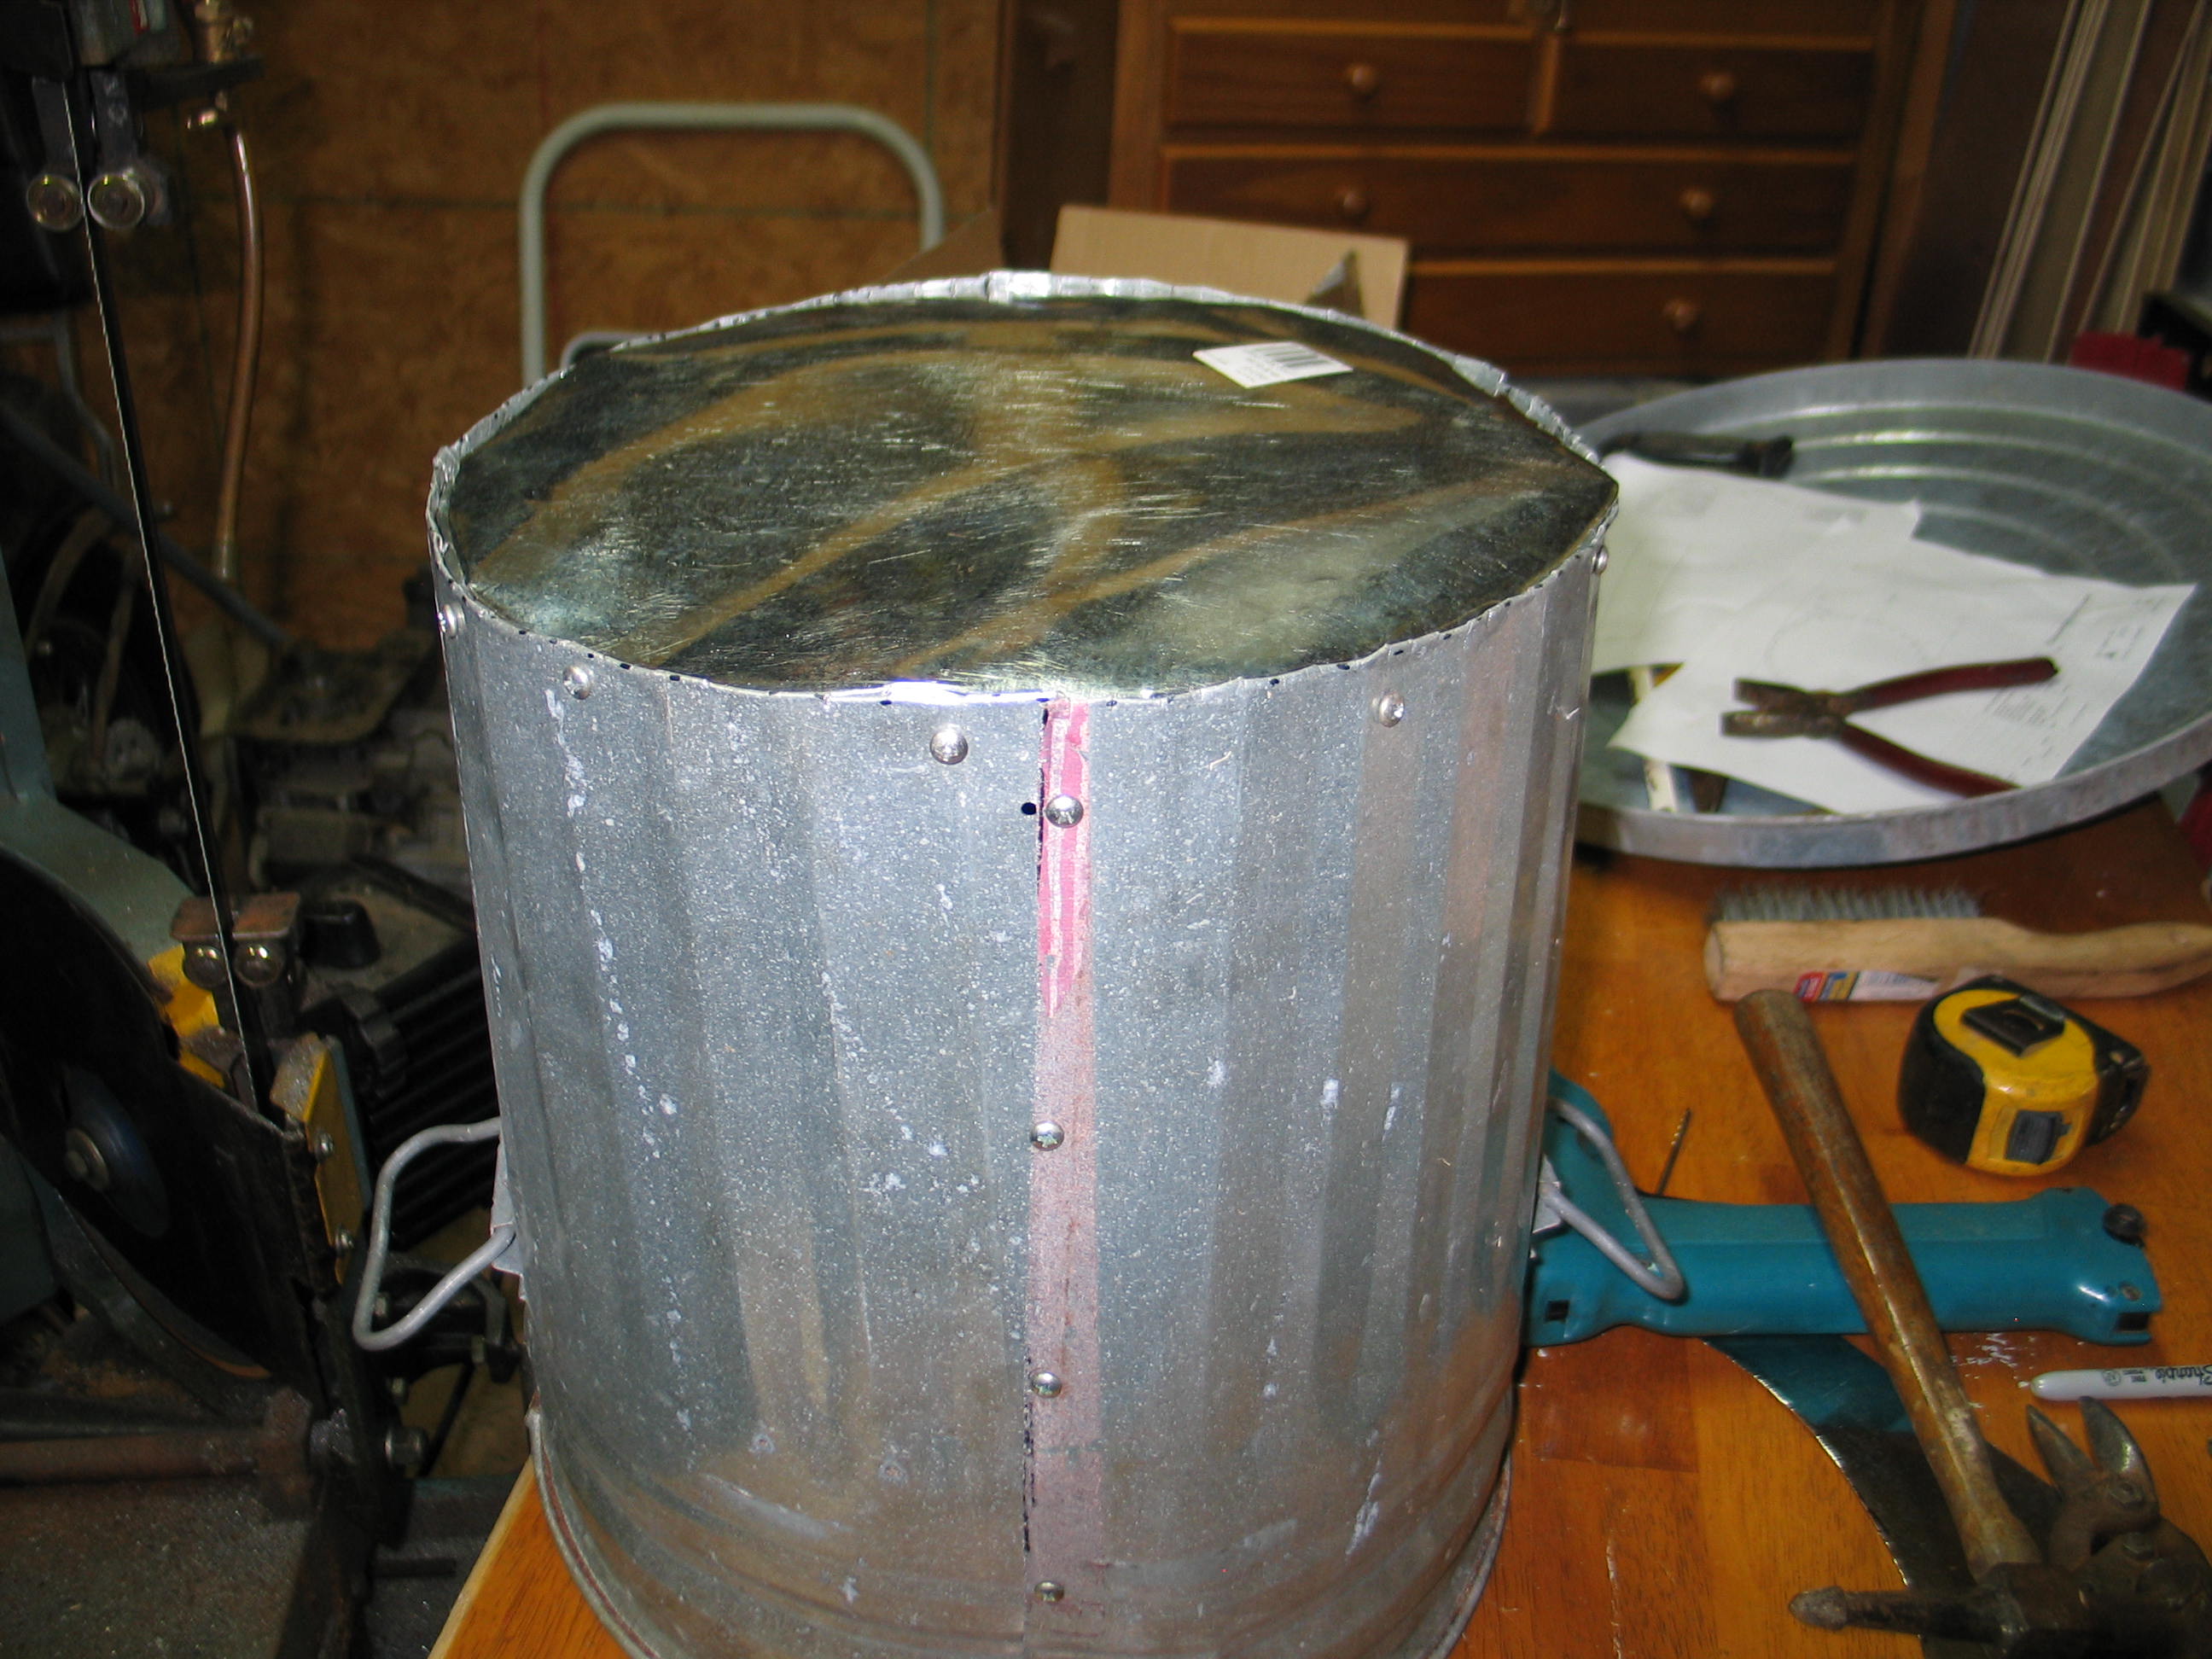
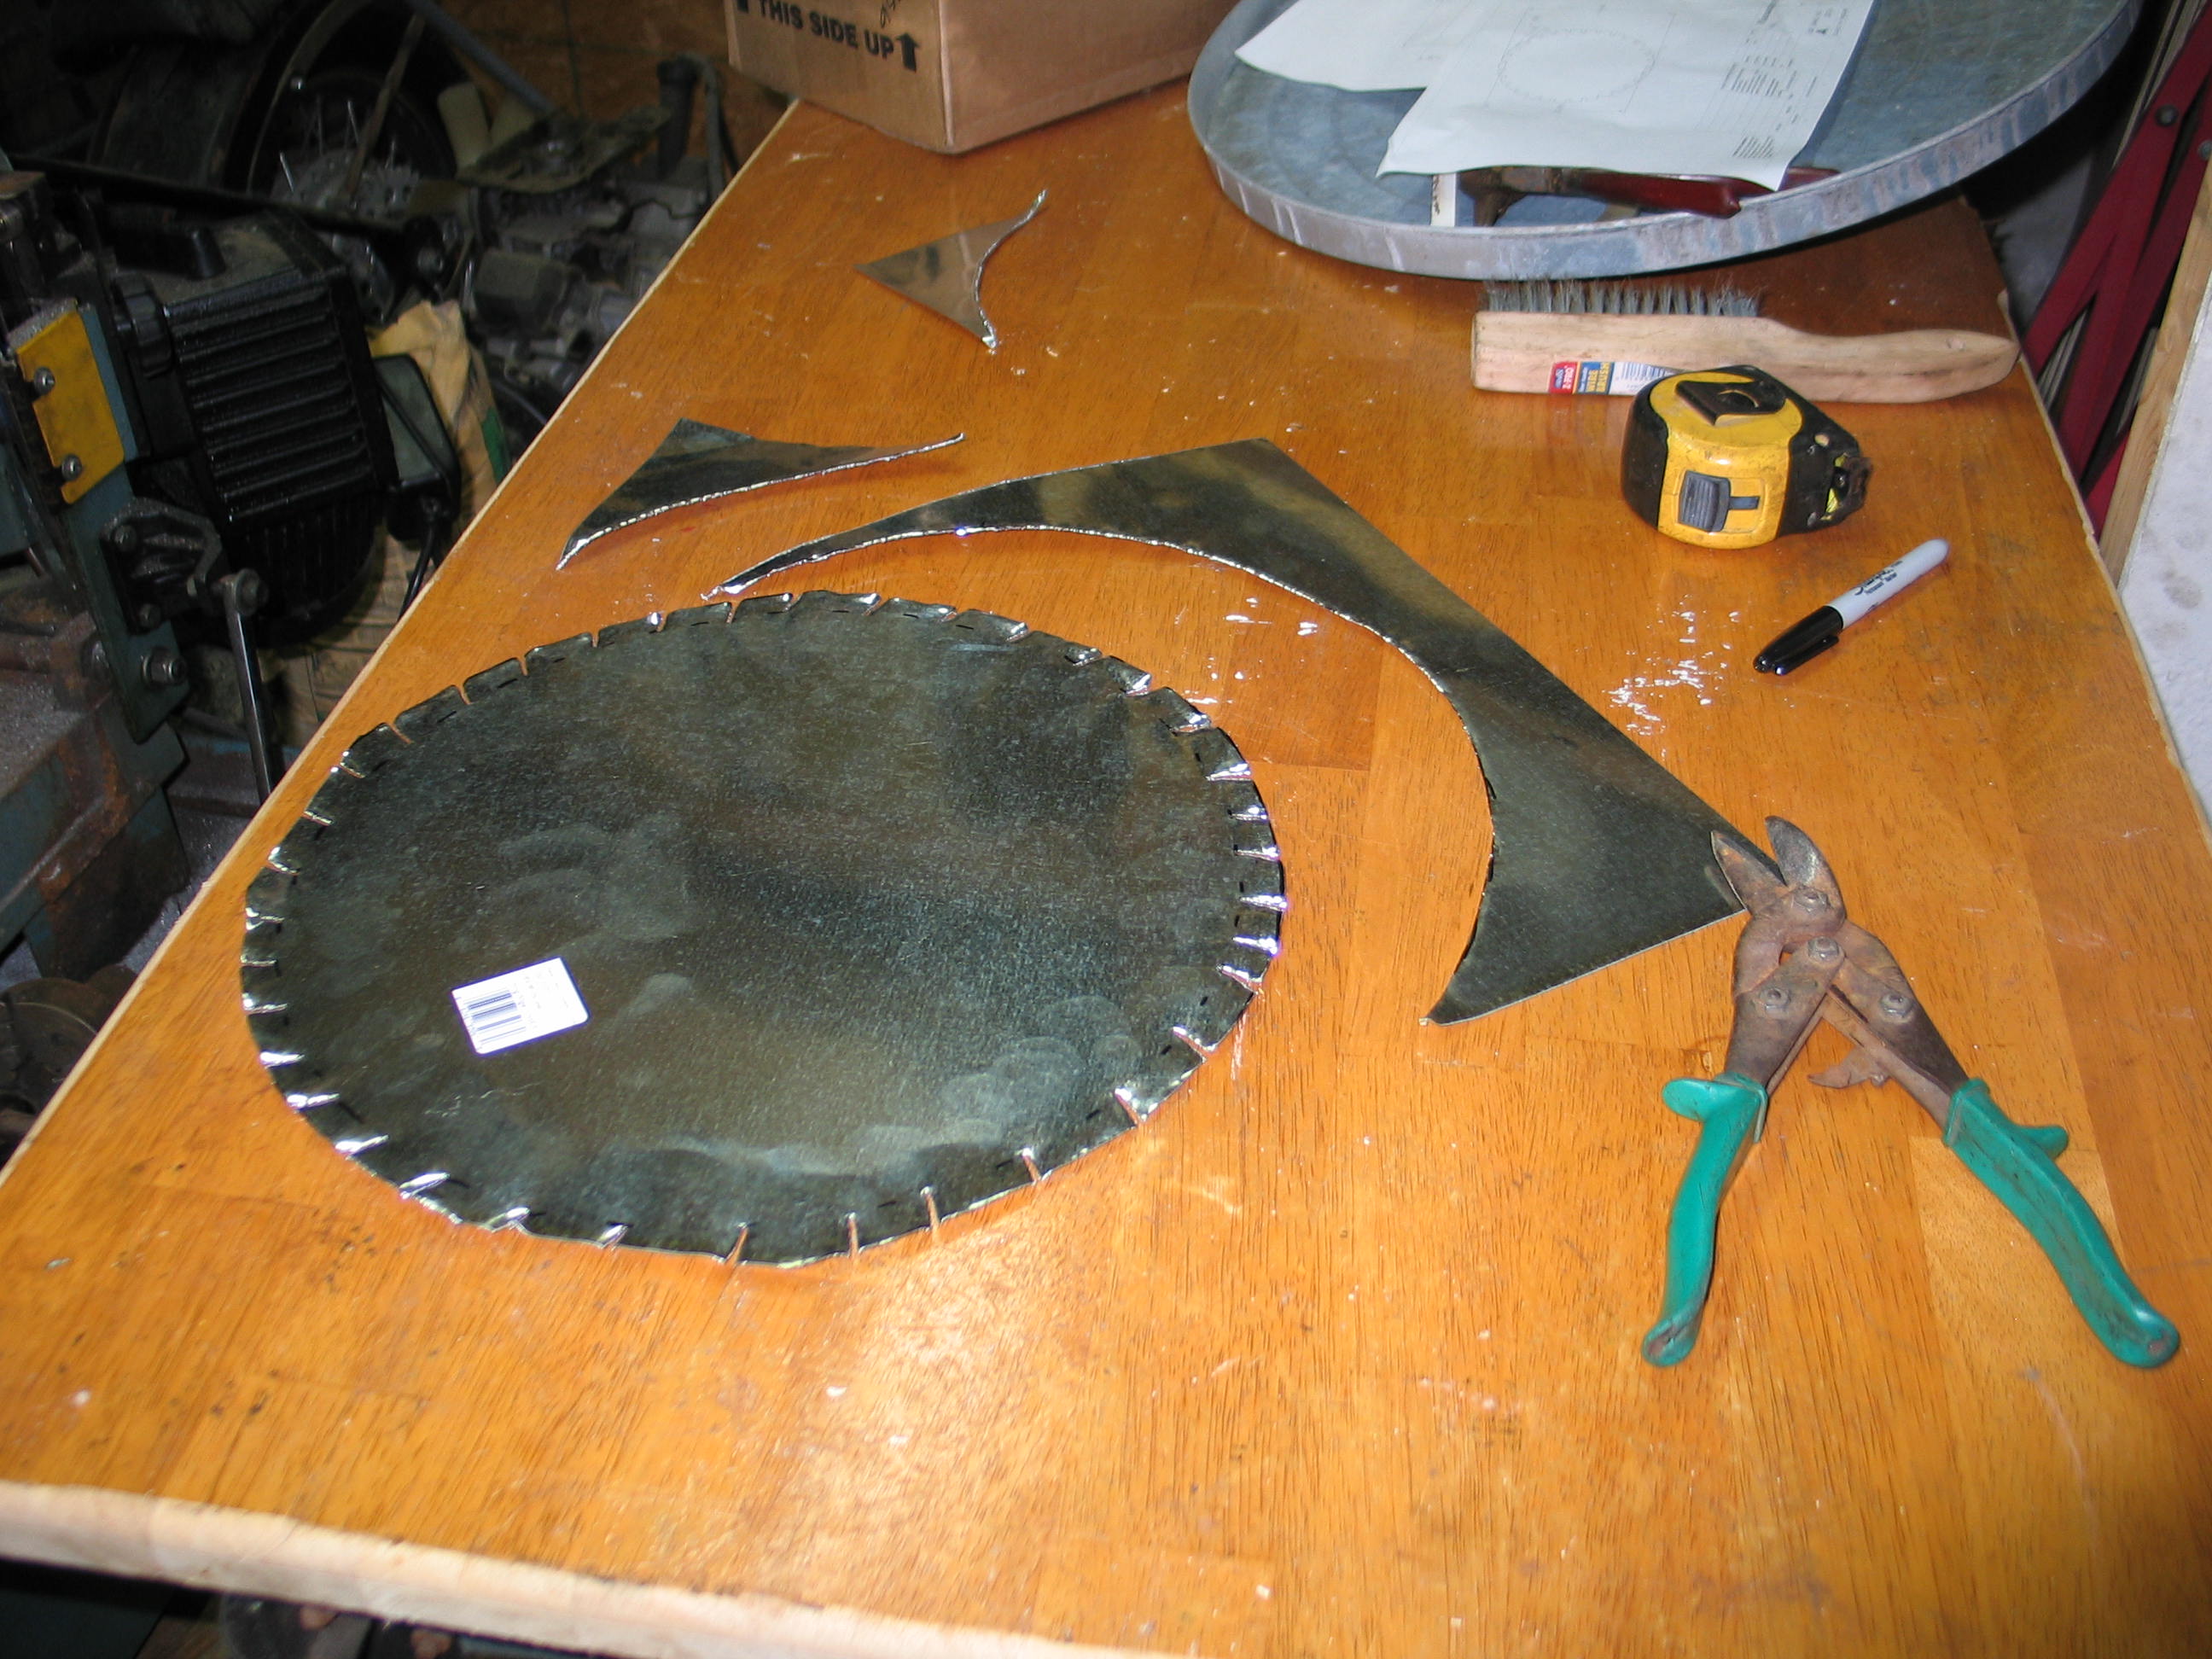 It was not to be. Not only was the old bottom too frail, but I cut it too small! A quick trip to Lowe's and I bought a flat piece of galvanized ducting that is intended to lay between joists. 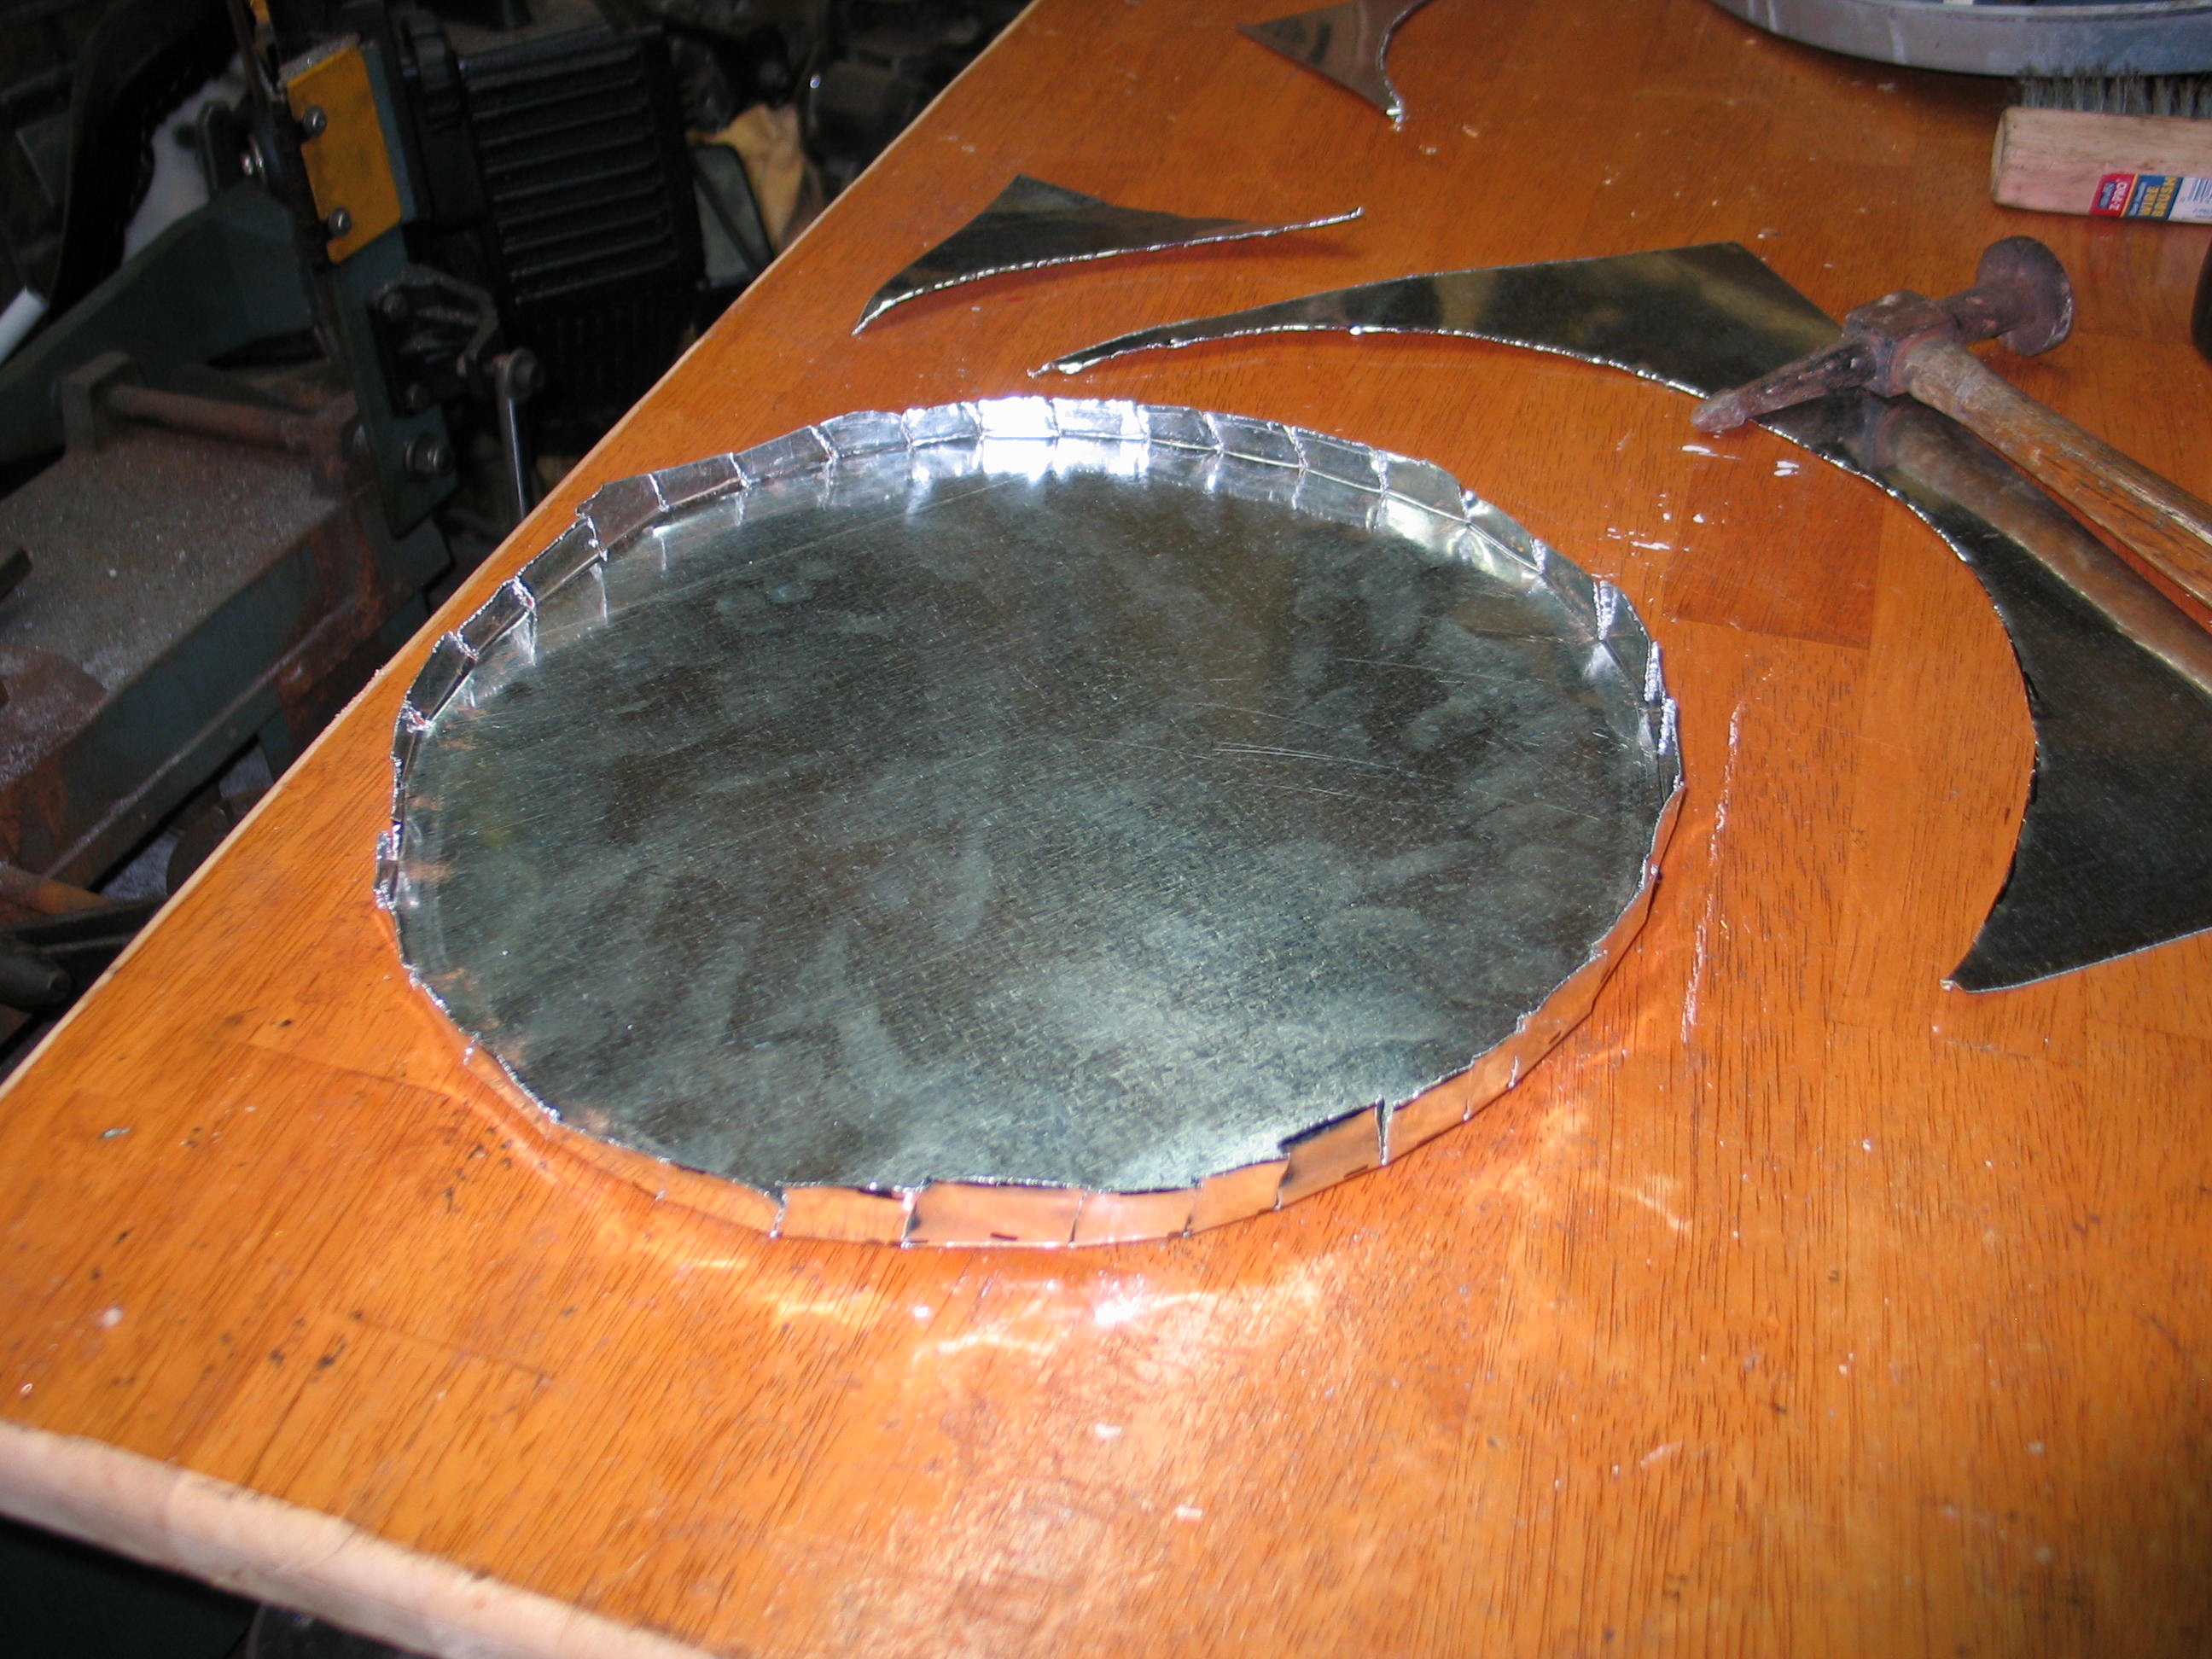 Same technique as before...  ...and
a quick test fit.
 Please leave a comment on the bottom of the page. Was this useful? What would you like to see different? Thanks. |