Gravity Extruder
Part 2
Think, Draw, Print. 3D printers ROCK!Written and maintained by Ron Thompson.
April 20, 2012
| Continued from http://www.plansandprojects.com/My%20Machines/Gravity_Extruder/ The problem: The first version lacked enough heat for a couple of reasons. First, the cartridge heater was too small and second, there was inadequate heat transfer between the heater block and the main body of the extruder. In this iteration I plan to tackle both problems. I designed a new cast in place aluminum heater block in Solidworks. 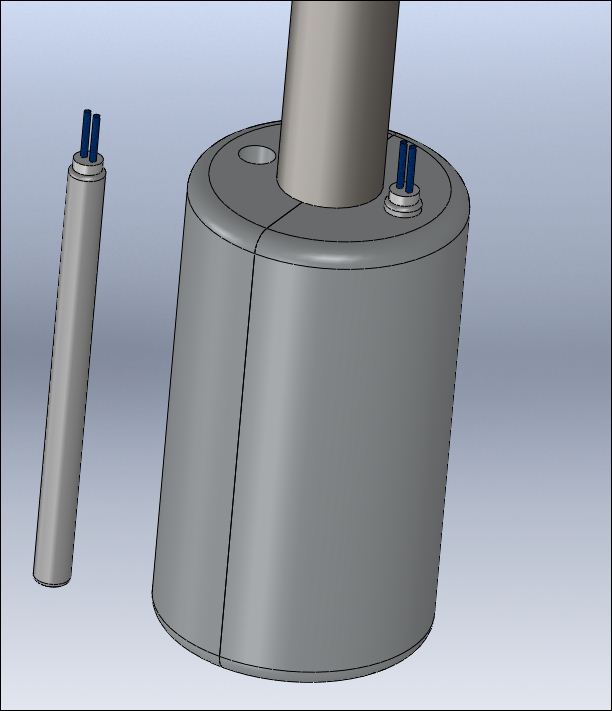 This
design calls for two 500 watt cartridge heaters. The line in the
rendering above is the parting line, but the large end will be solid
cast aluminum. 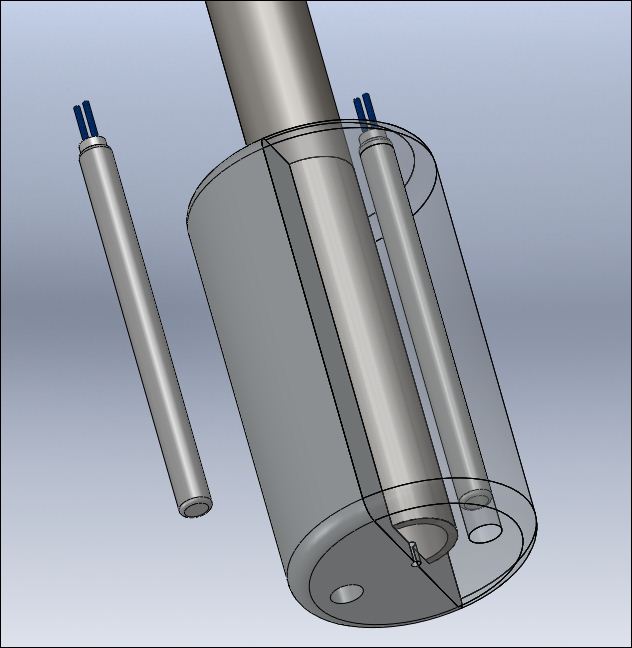 Also,
there is no pipe cap. The nozzle is drilled directly into the aluminum.
As you can see, above, the steel pipe will go most of the way into the
heater block. The photos below can be clicked for a larger version. 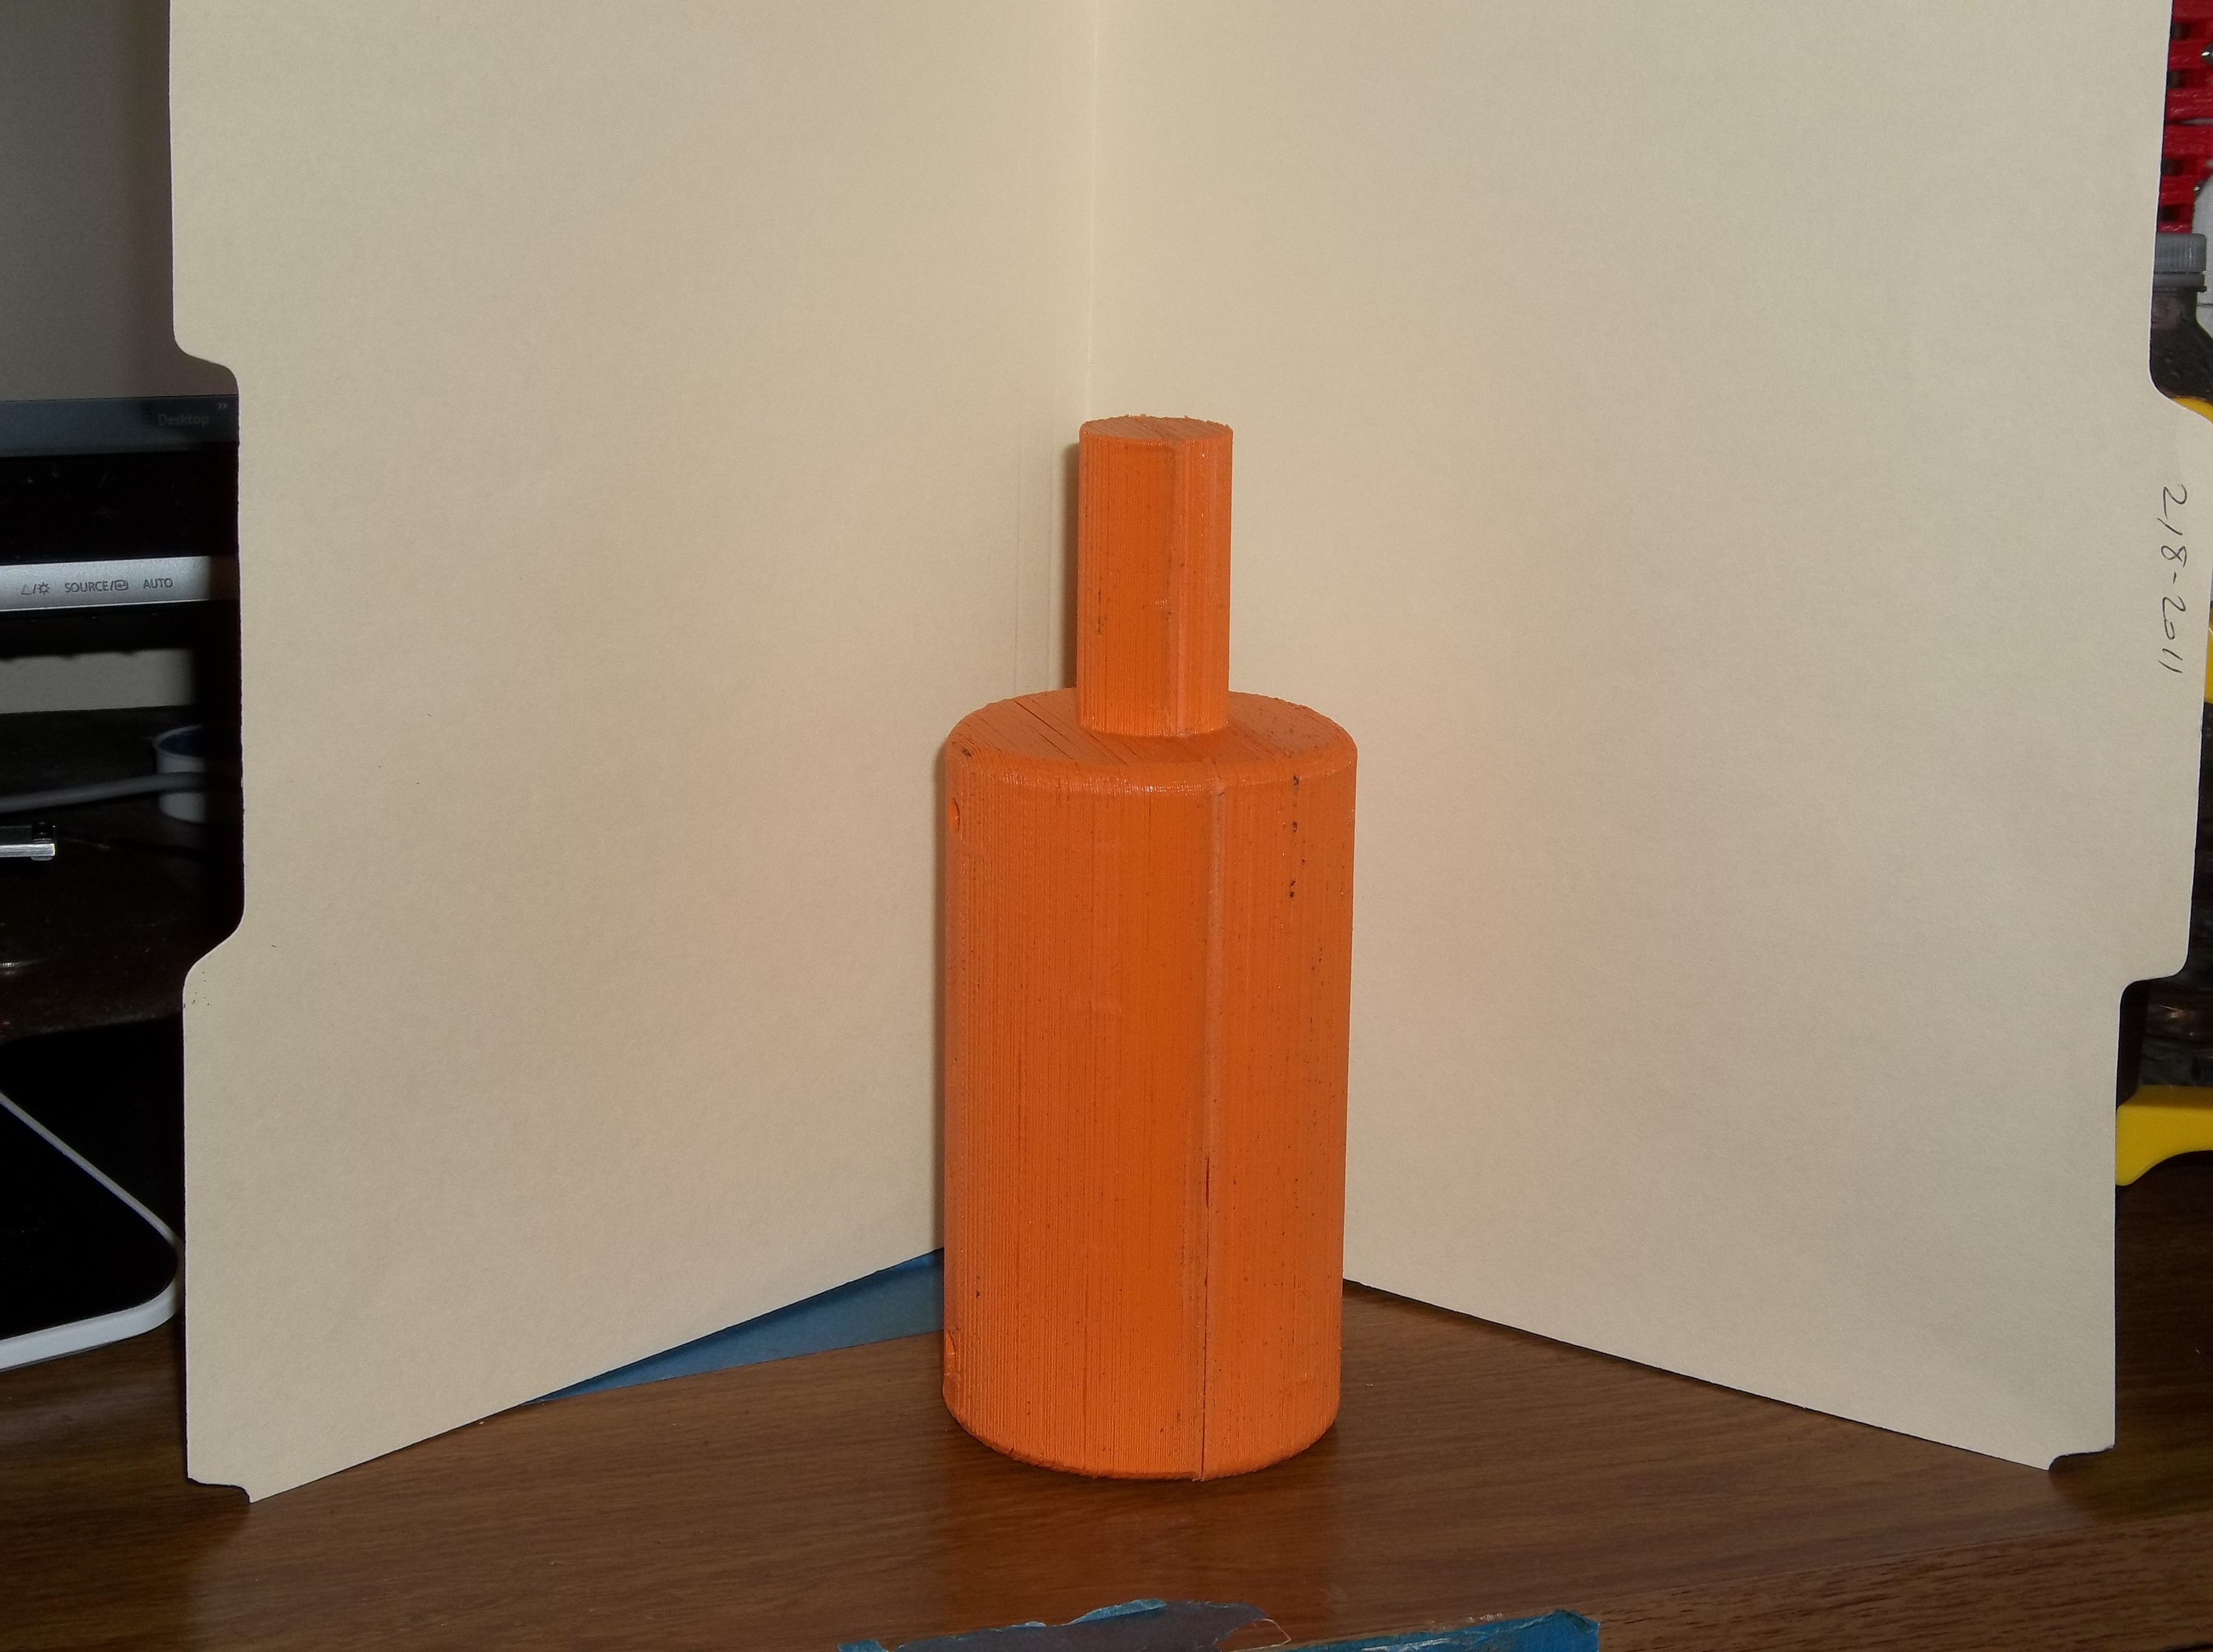 This
is the 3d printed pattern for the casting. It has a neck because this
will be sand cast, and the neck will make a void in the sand for the
pipe to lay in. This casting will require a special flask with a hole
for the pipe to exit, as the pipe is too long to fit inside the flask. 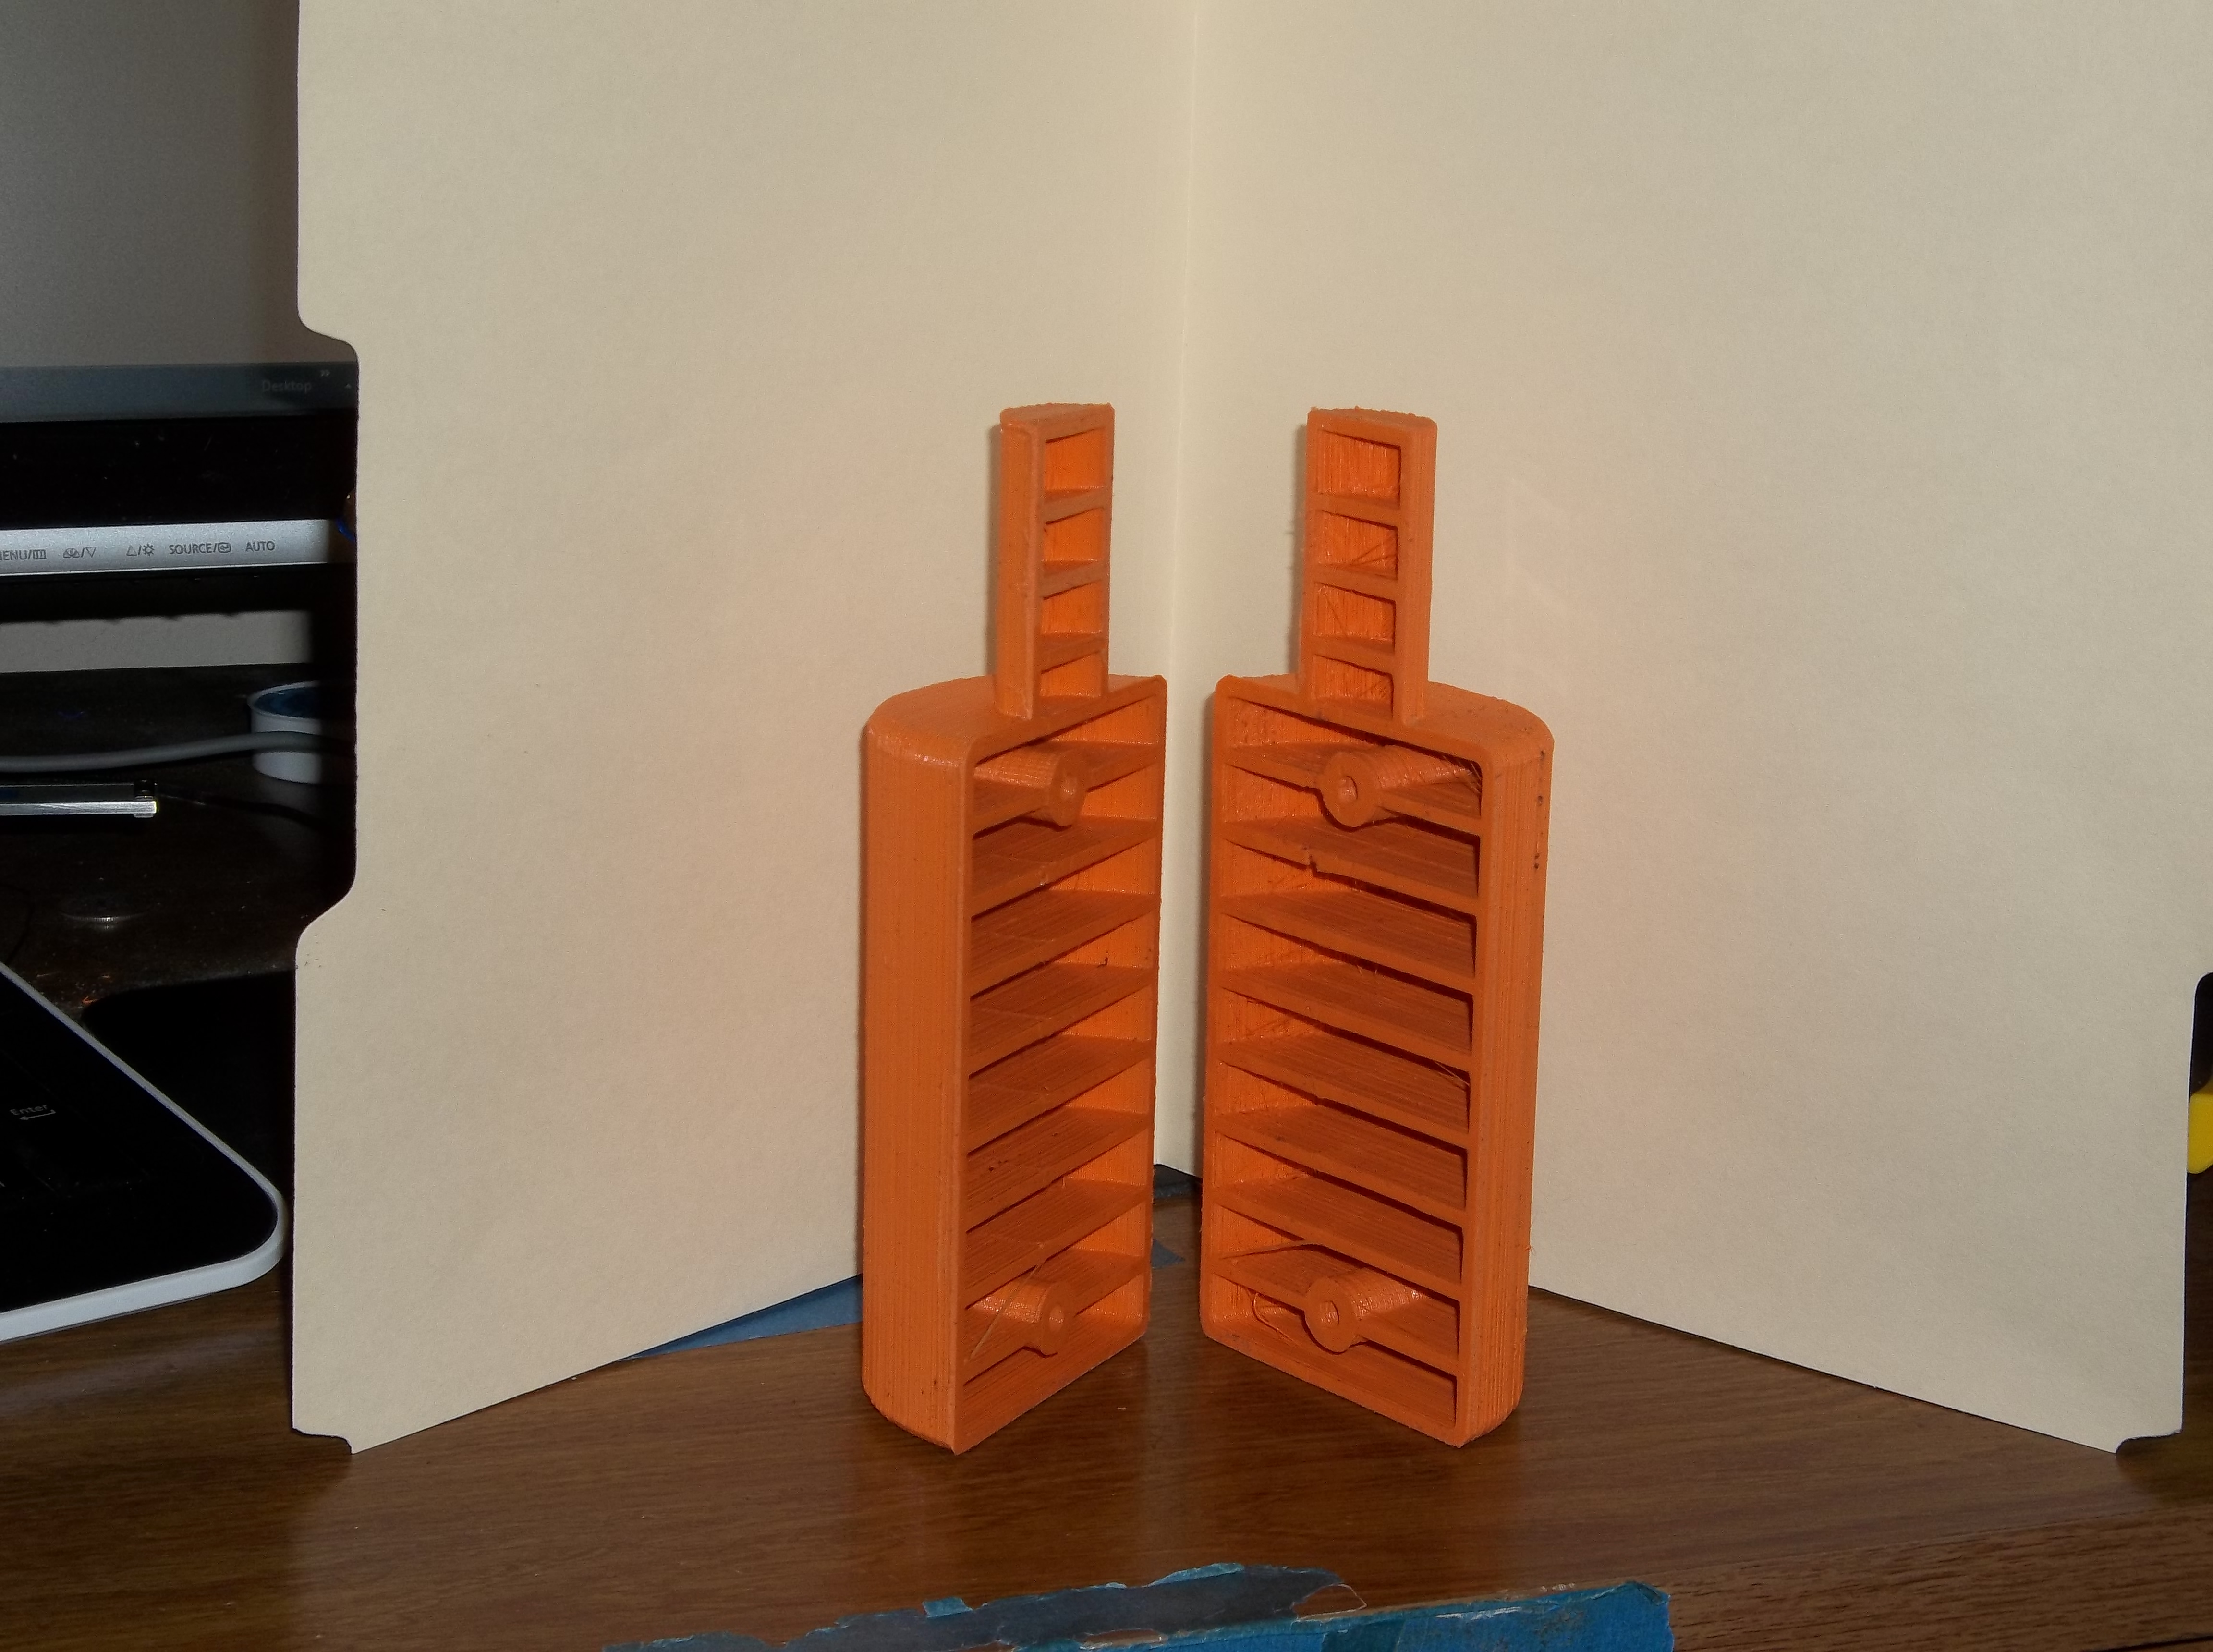 The
inside didn't need to be solid and would use too much plastic. The ribs
are probably overkill, but it needs to be strong enough to withstand
ramming the sand without flexing. 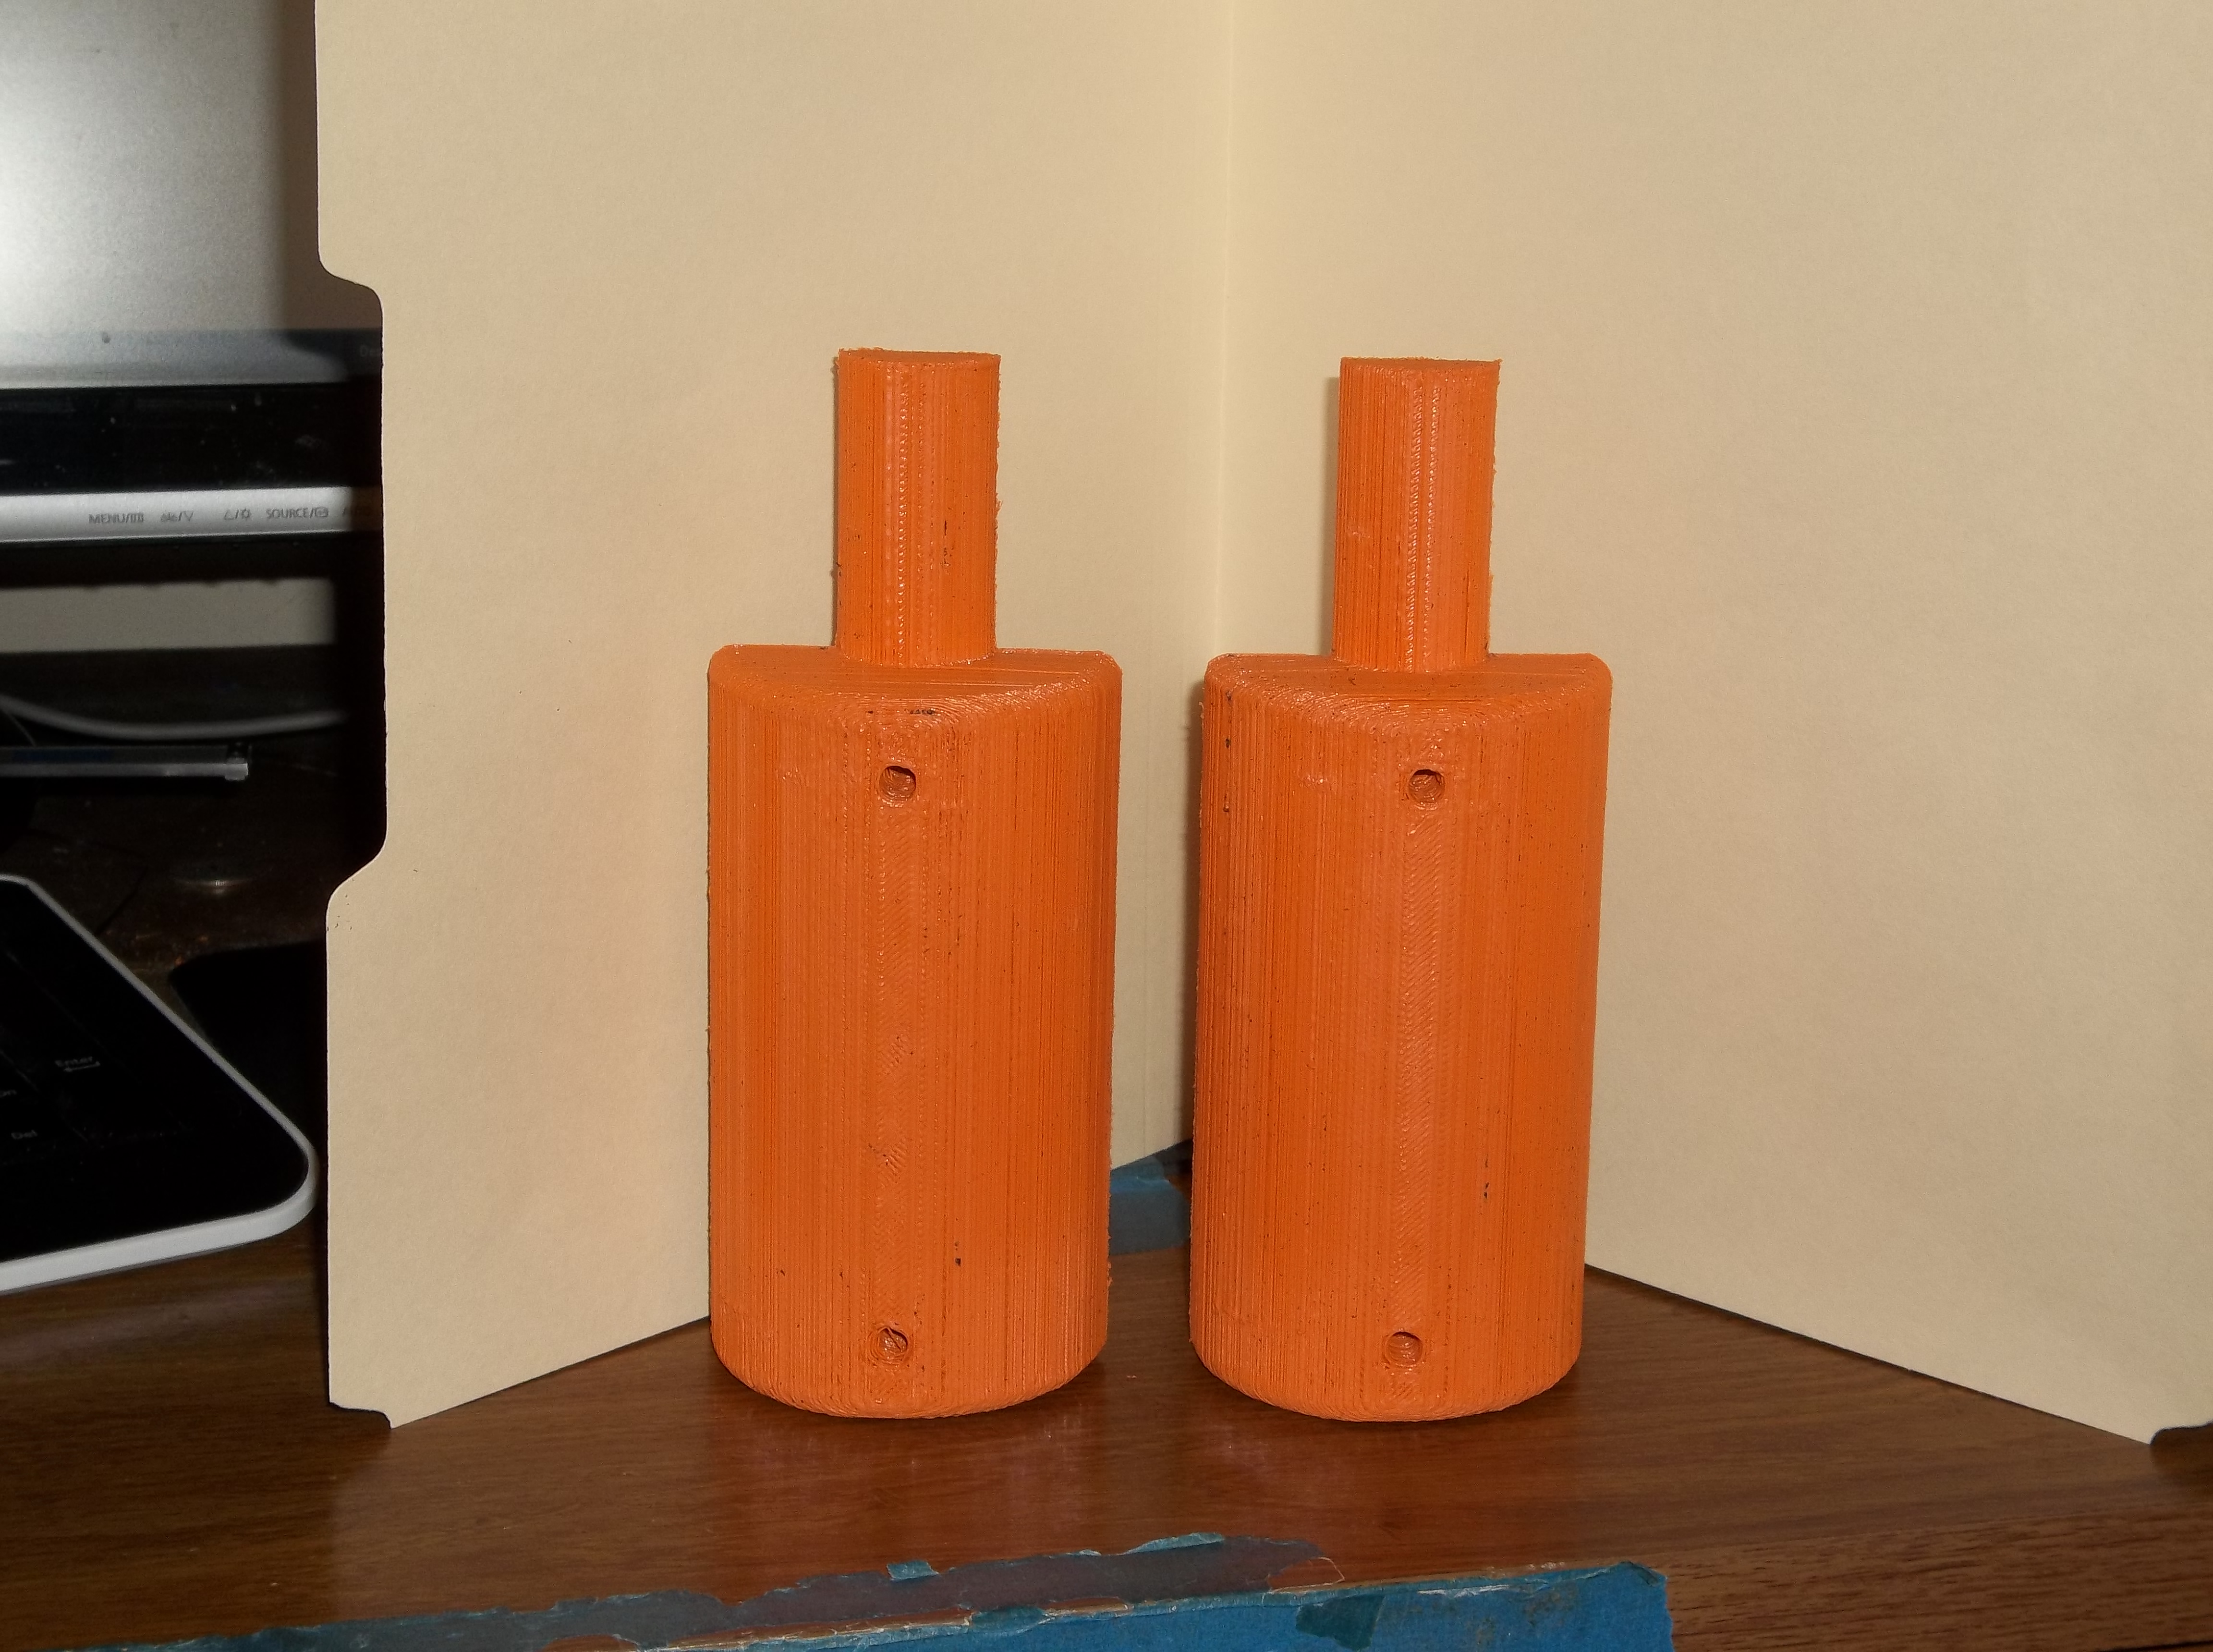 The
holes are for guide pins. They will be drilled to 1/4" and dowels or
pins inserted. The guide pins will assure correct alignment of the two
halves. 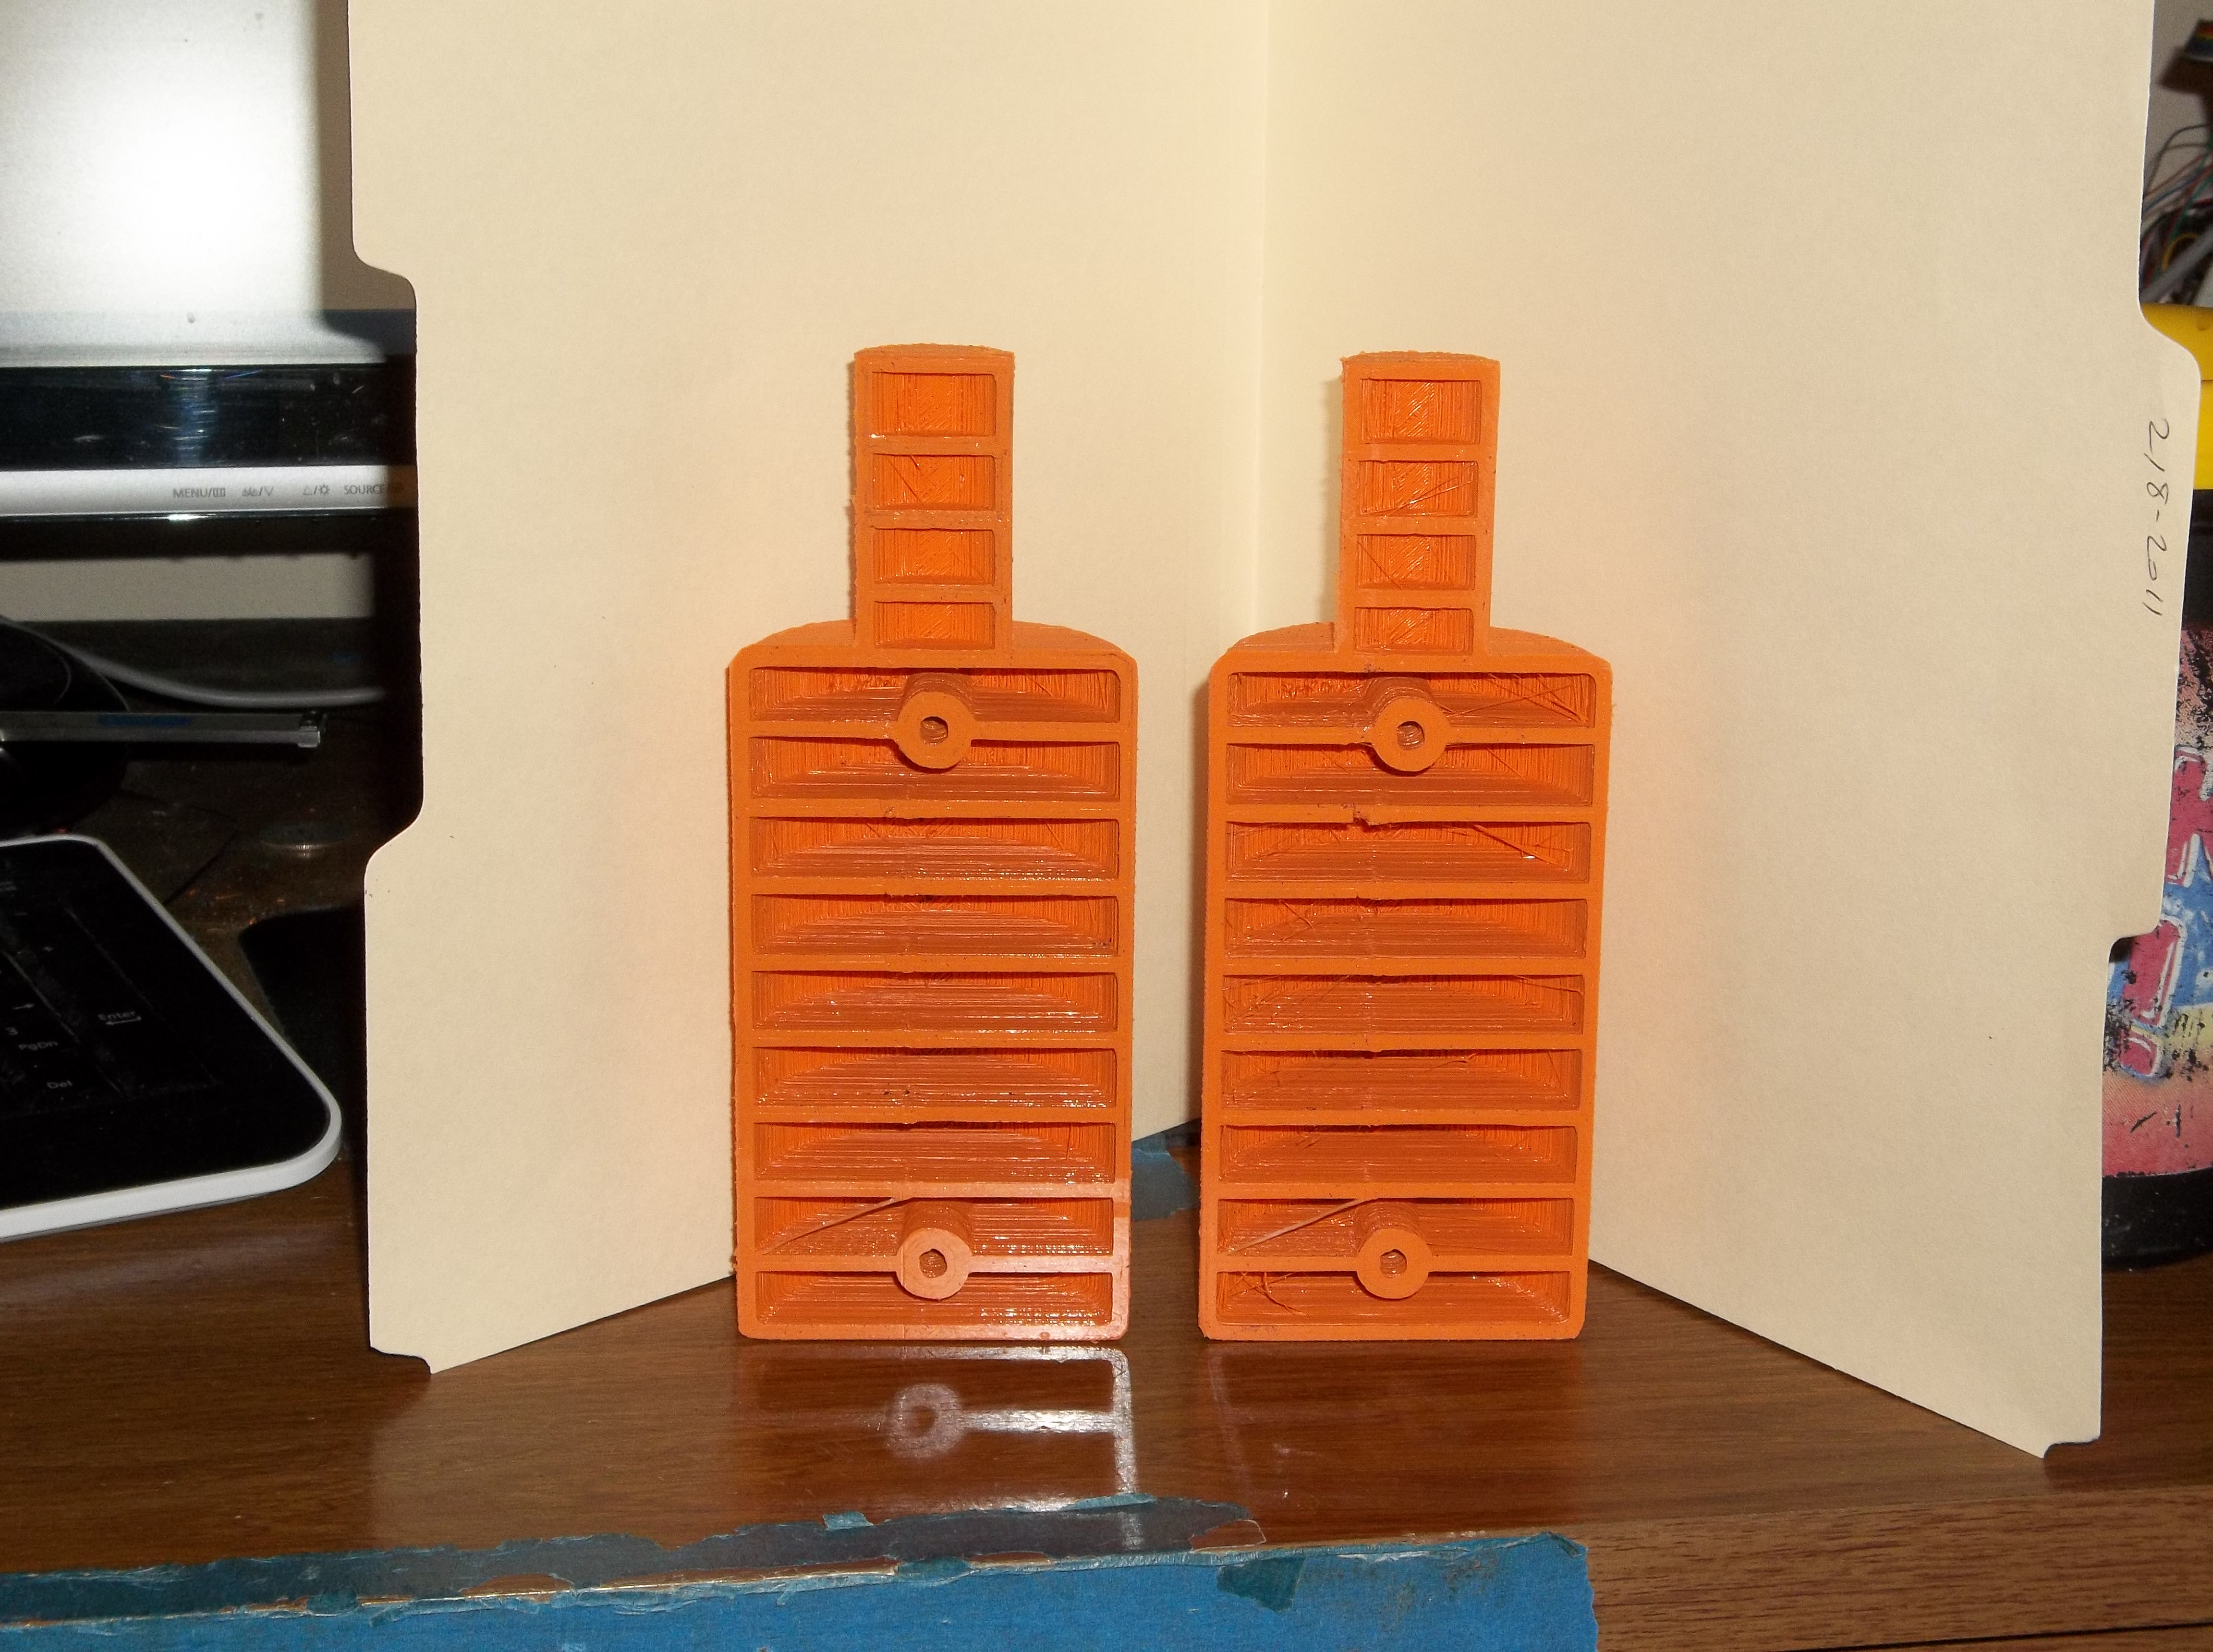 The main body is 5" tall, and the wall thickness is .1", a hundred thou. (about 2.5mm). This is made from PLA plastic. You may see some black spots in the pieces. This is from the black ABS plastic used in the previous parts. The extruder will spit this until it's all gone. This is less of a problem when using the same kind of plastic on a color change, but the PLA extrudes colder than the ABS. 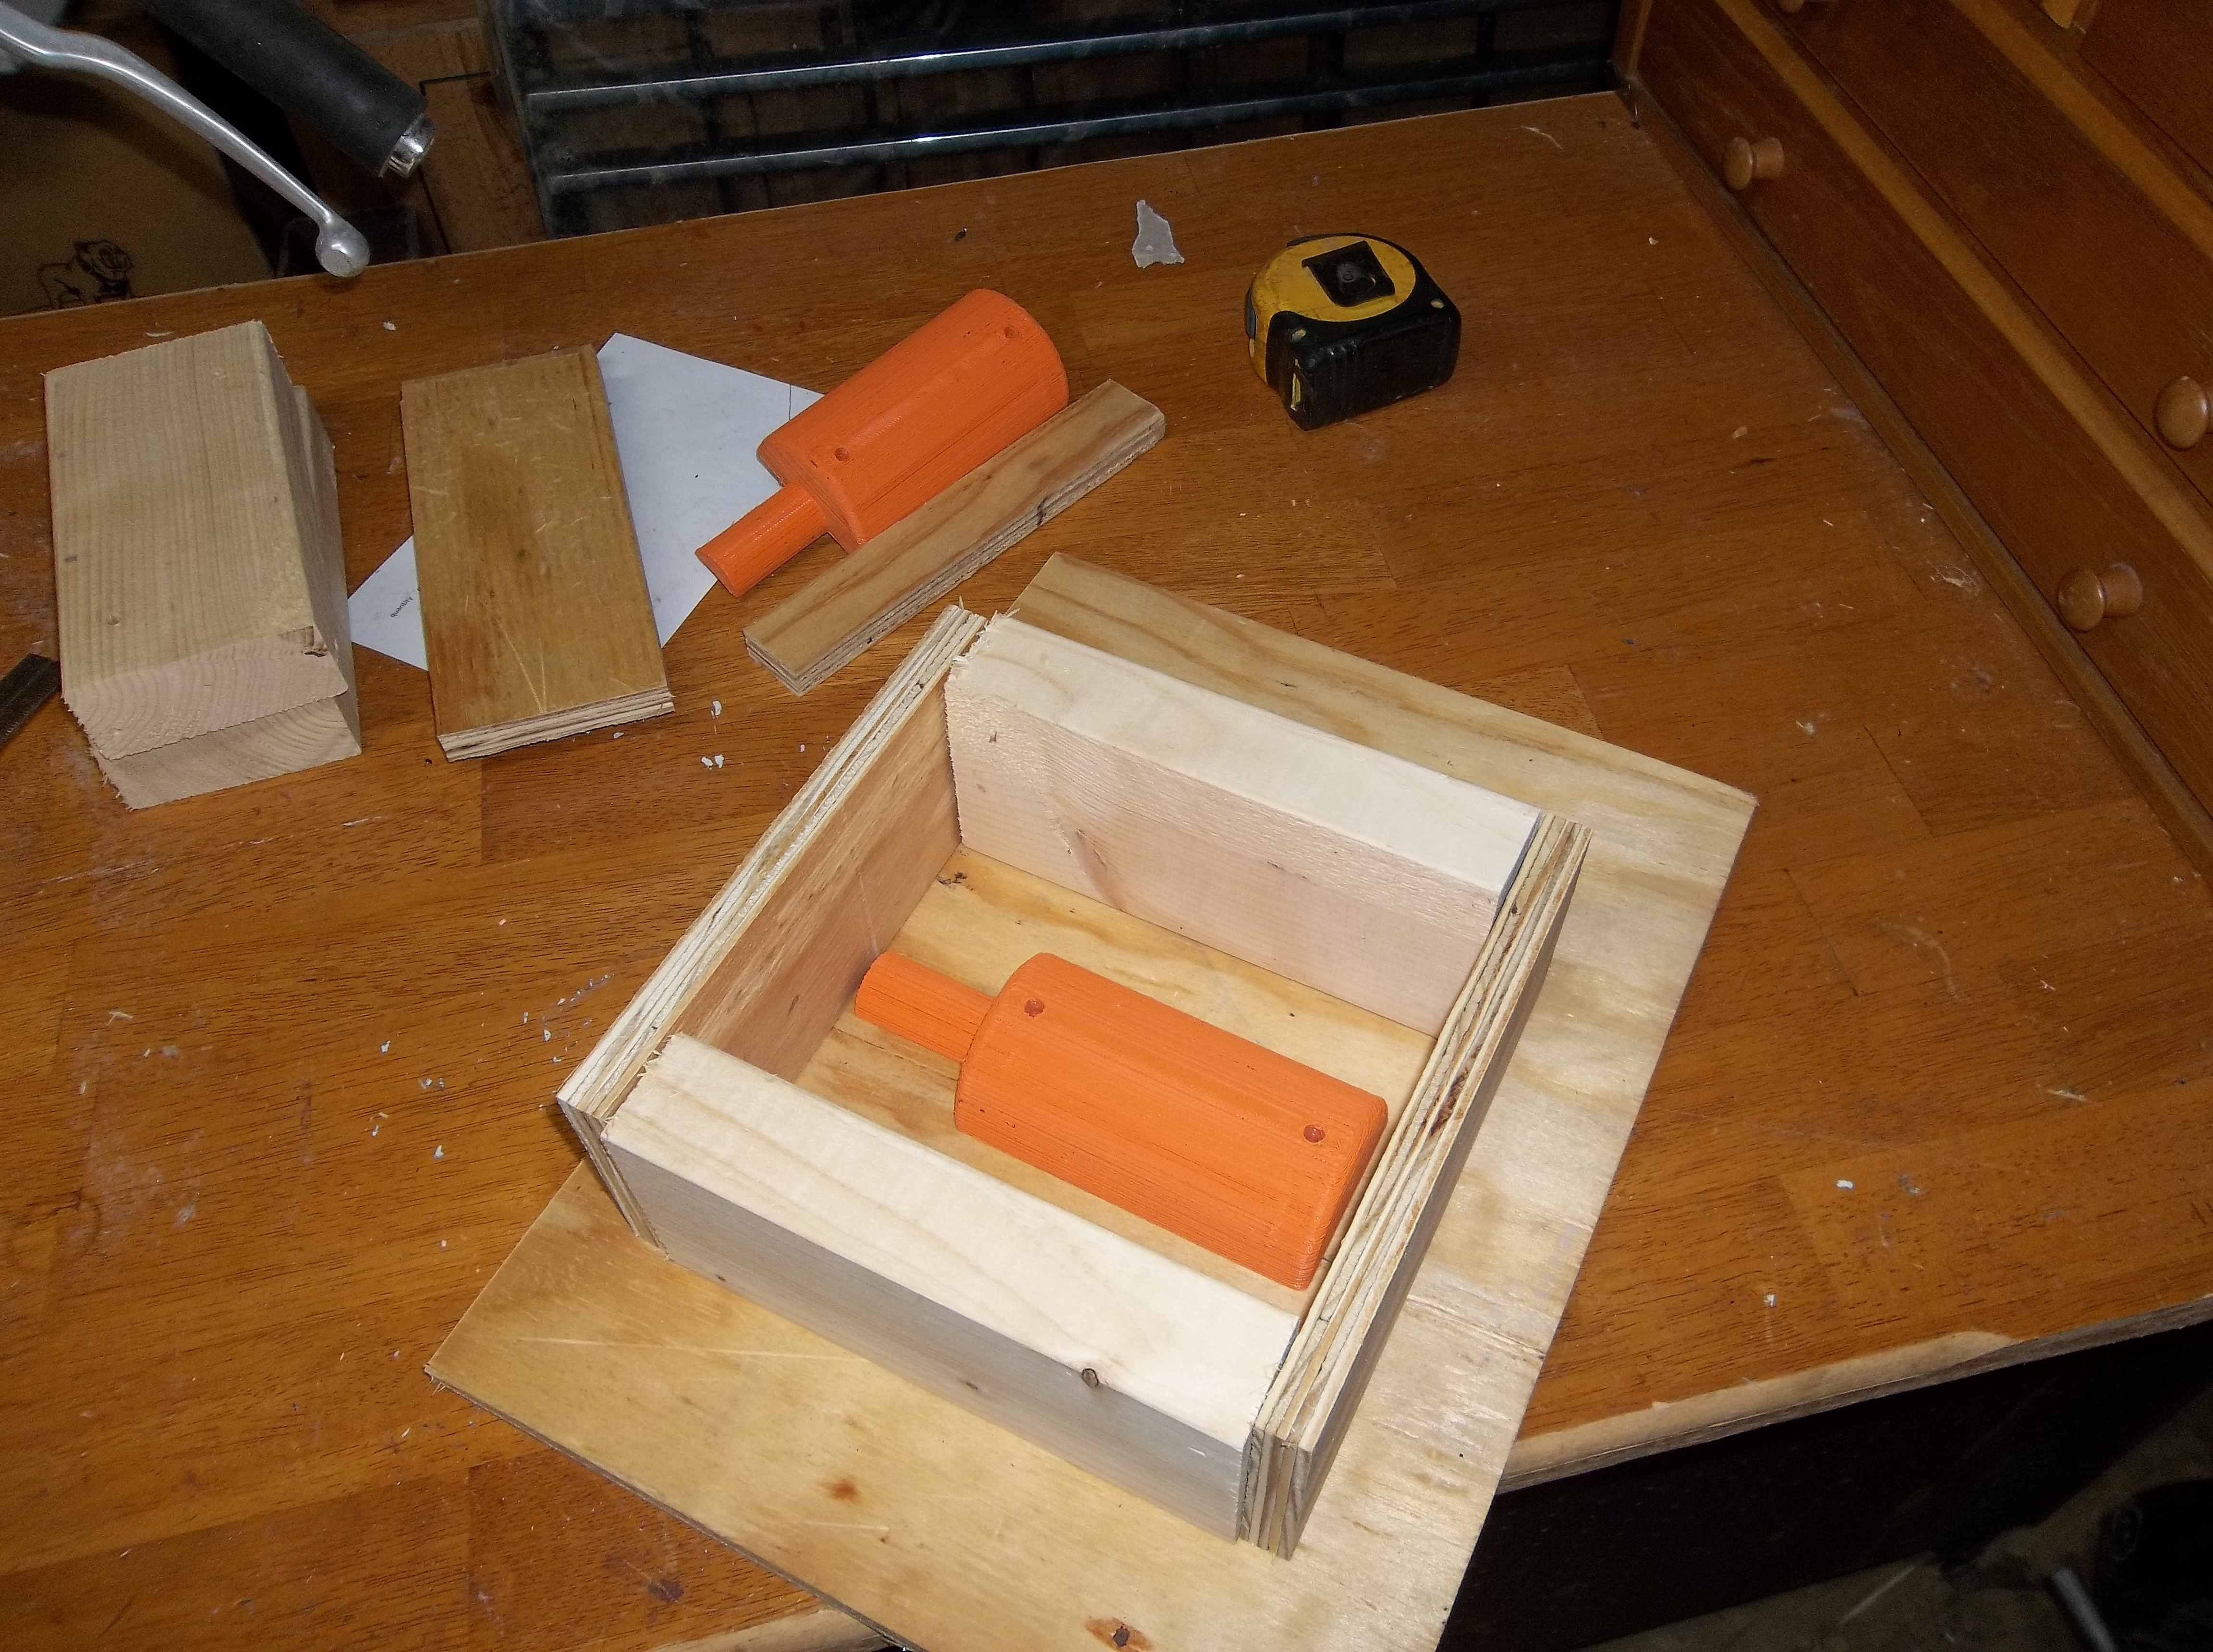 This
is the beginnings of the purpose built flask for this part. Short
pieces of 2x4 lumber and some scrap plywood I had laying around. I
trimmed all the pieces on the table saw for a decent fit. 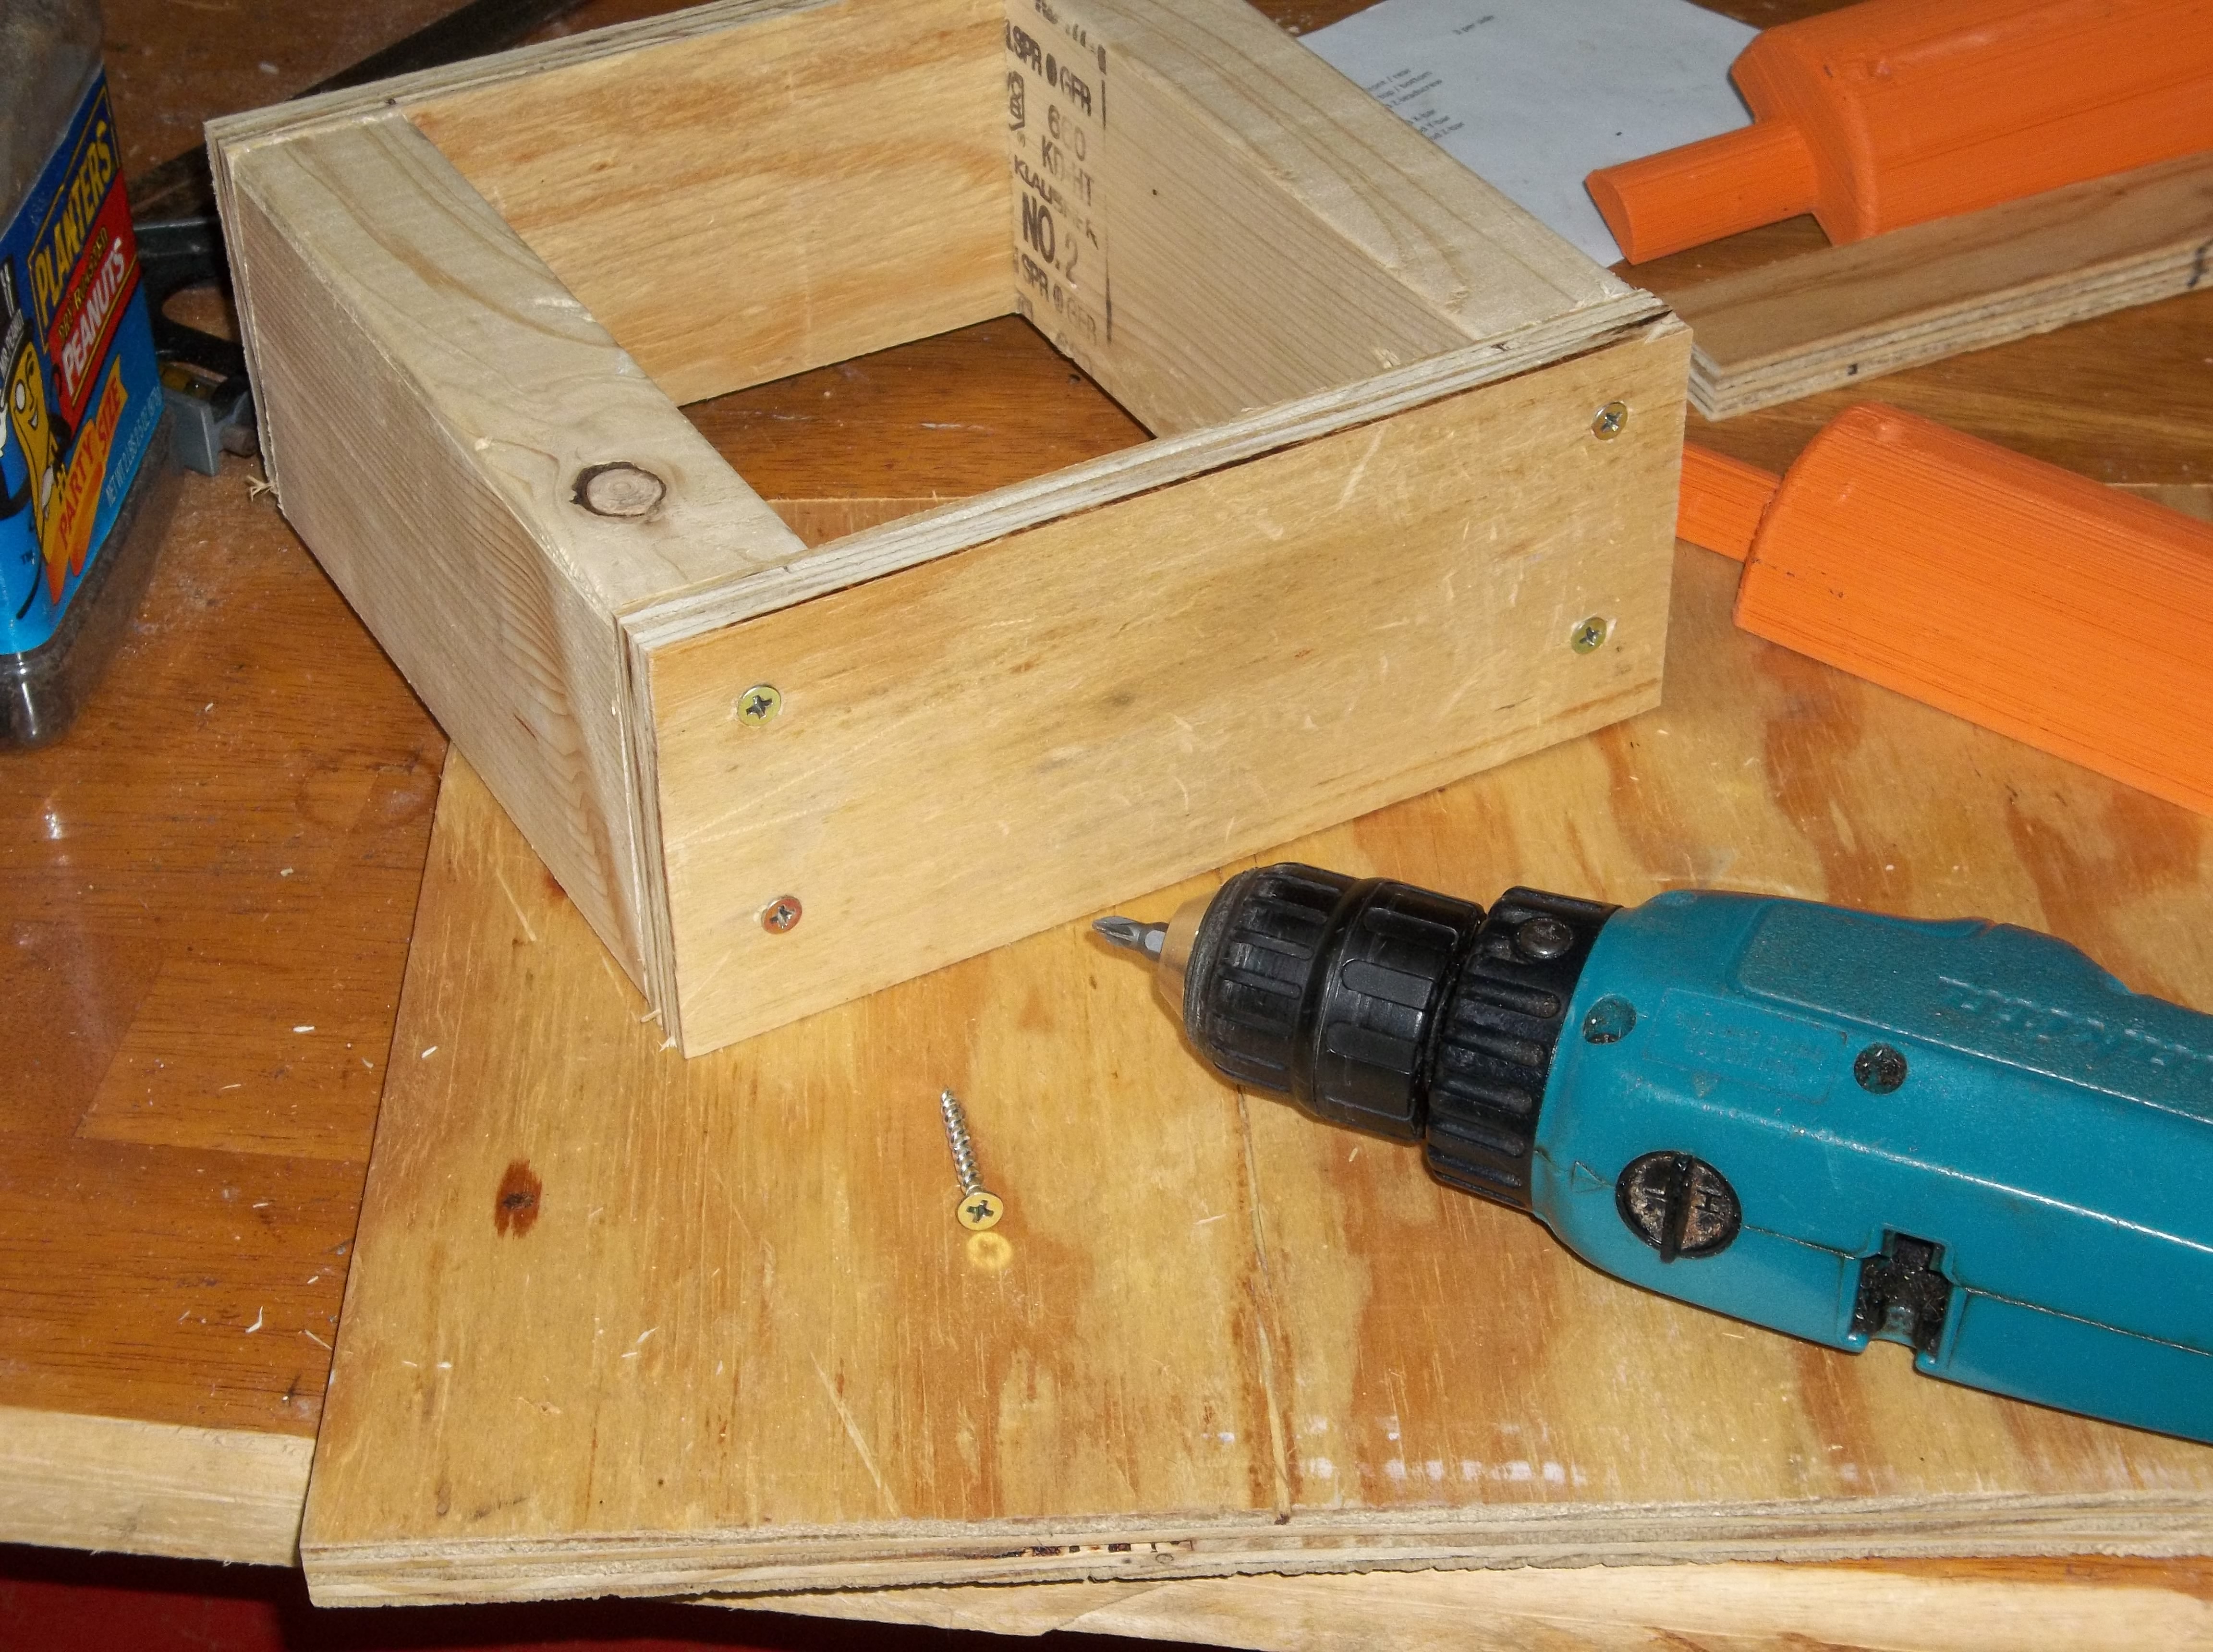 Just 2 wood screws in each joint. 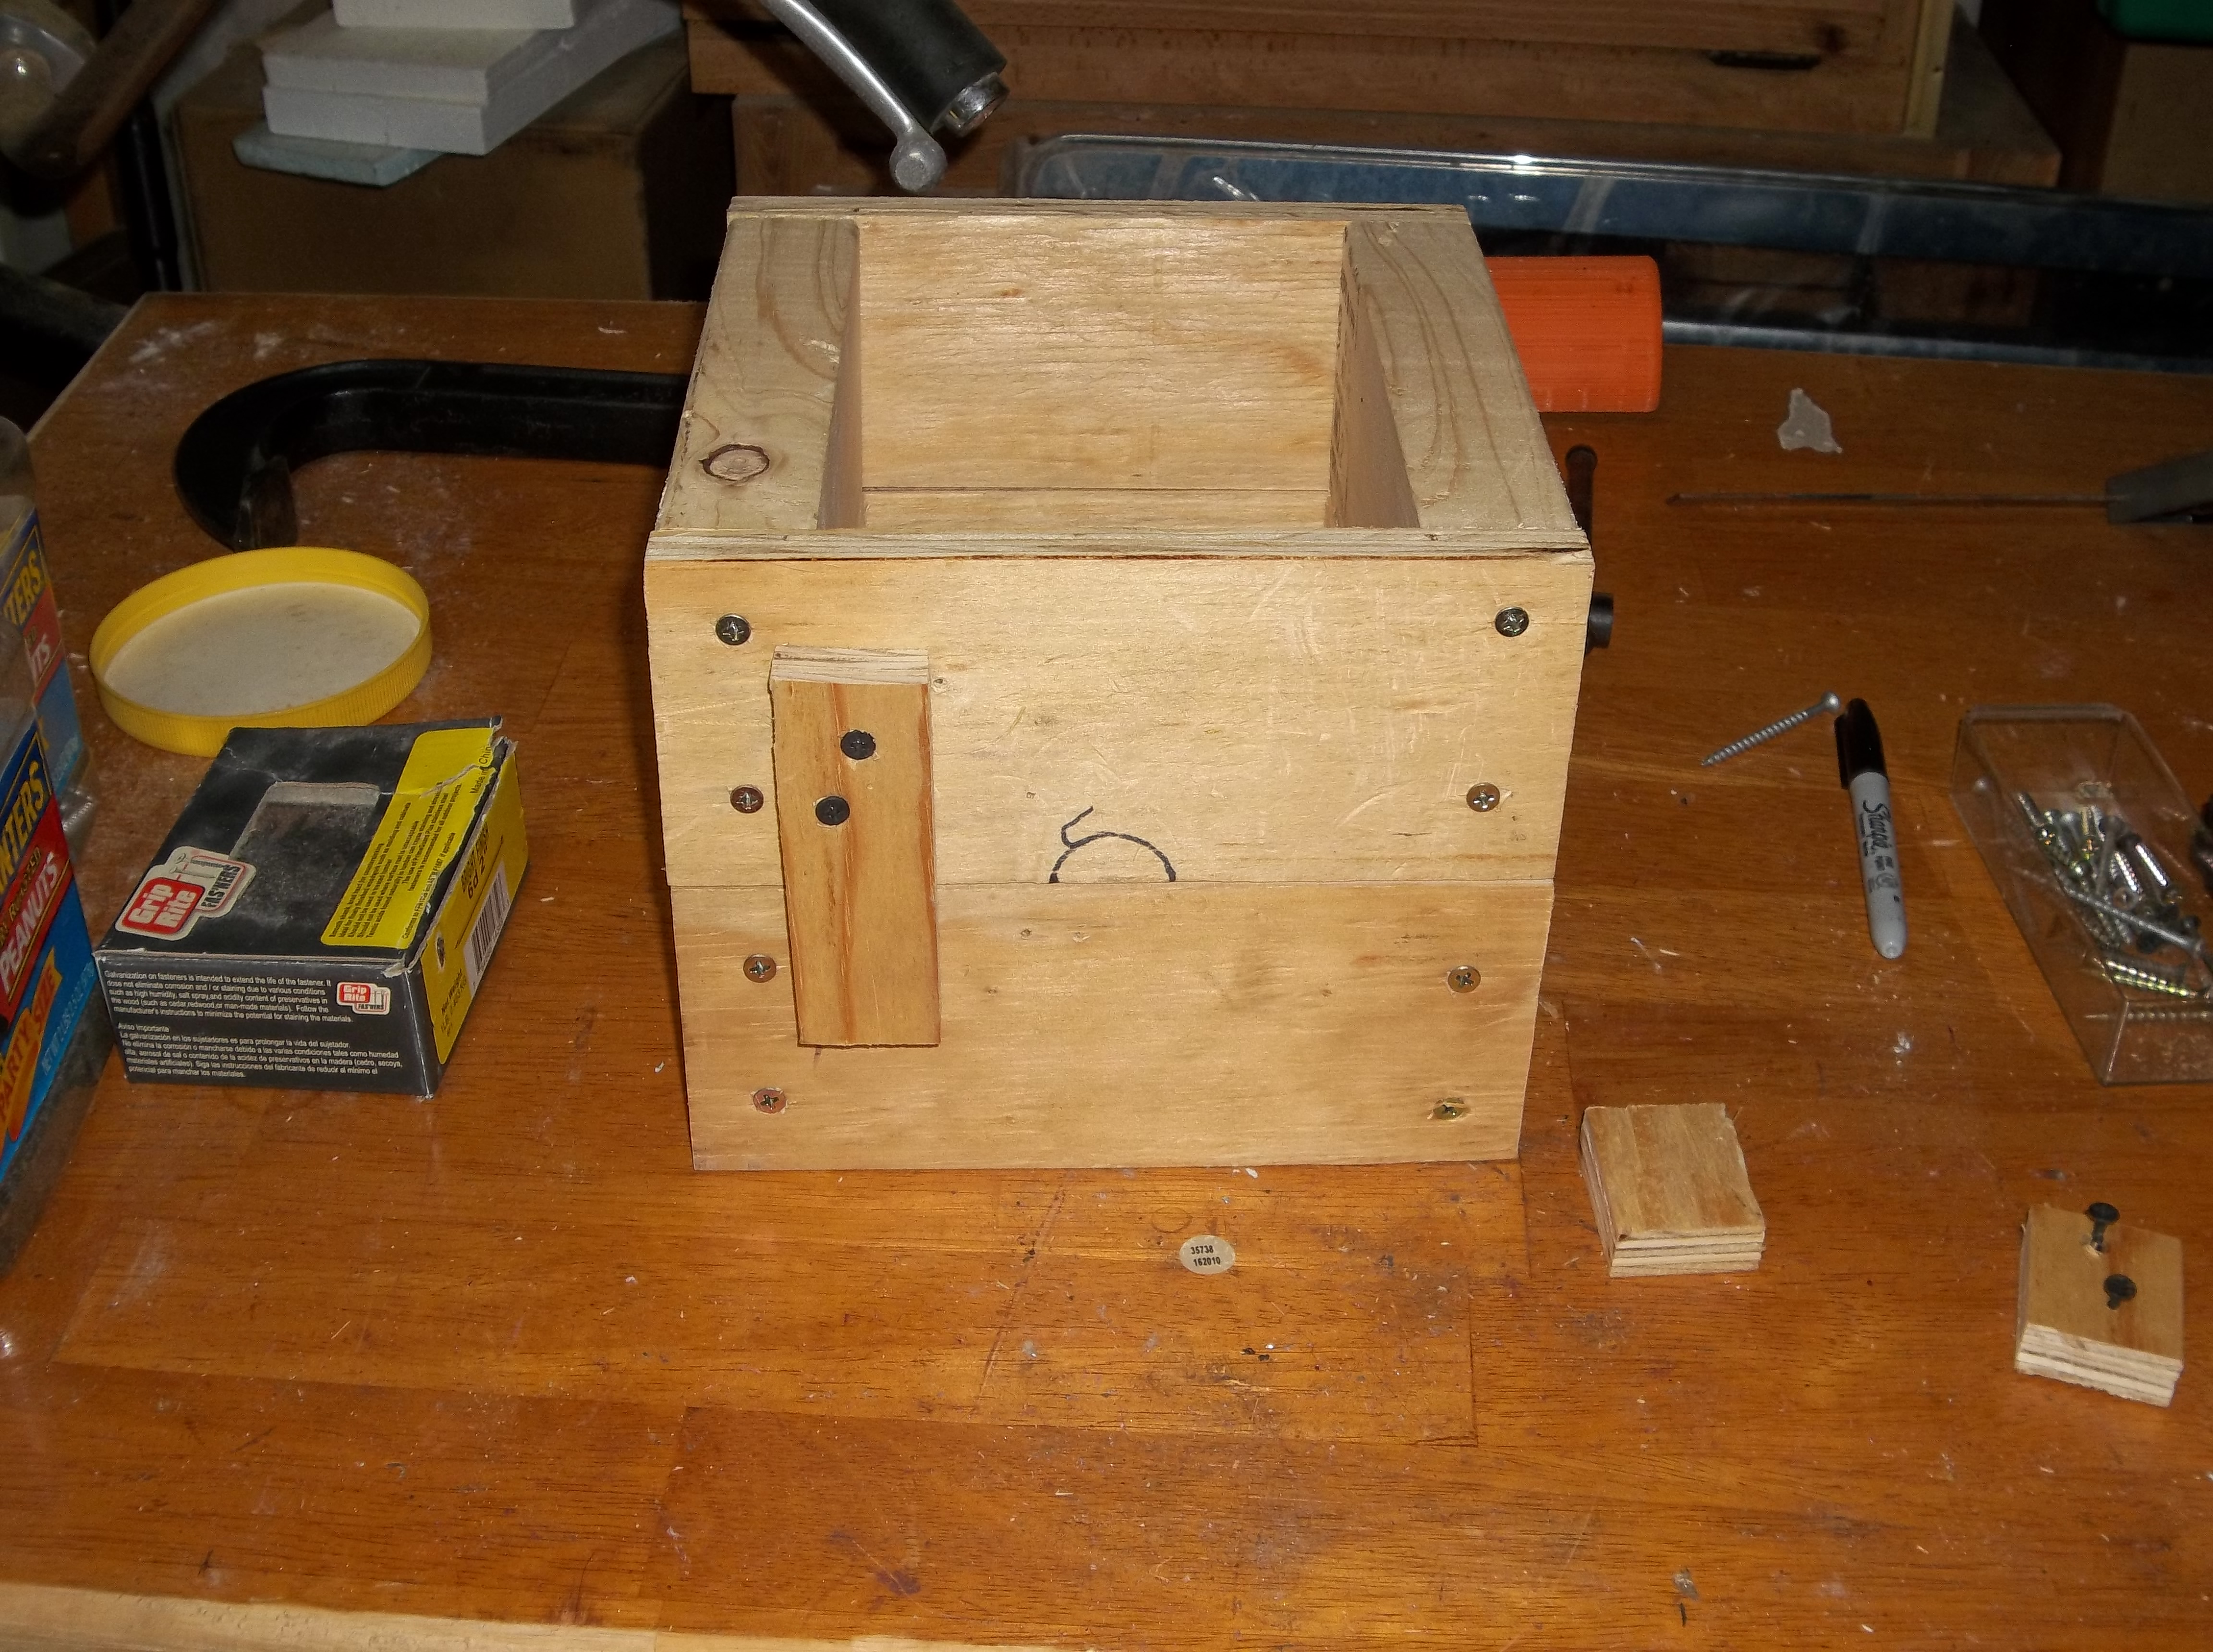 I
opted for straight keys. I always offset one and center the other so
the flask can't go together wrong. In this case, the offset is more
than usual to allow for the hole.  The opposite end showing the centered key. I used a square to get them vertical. 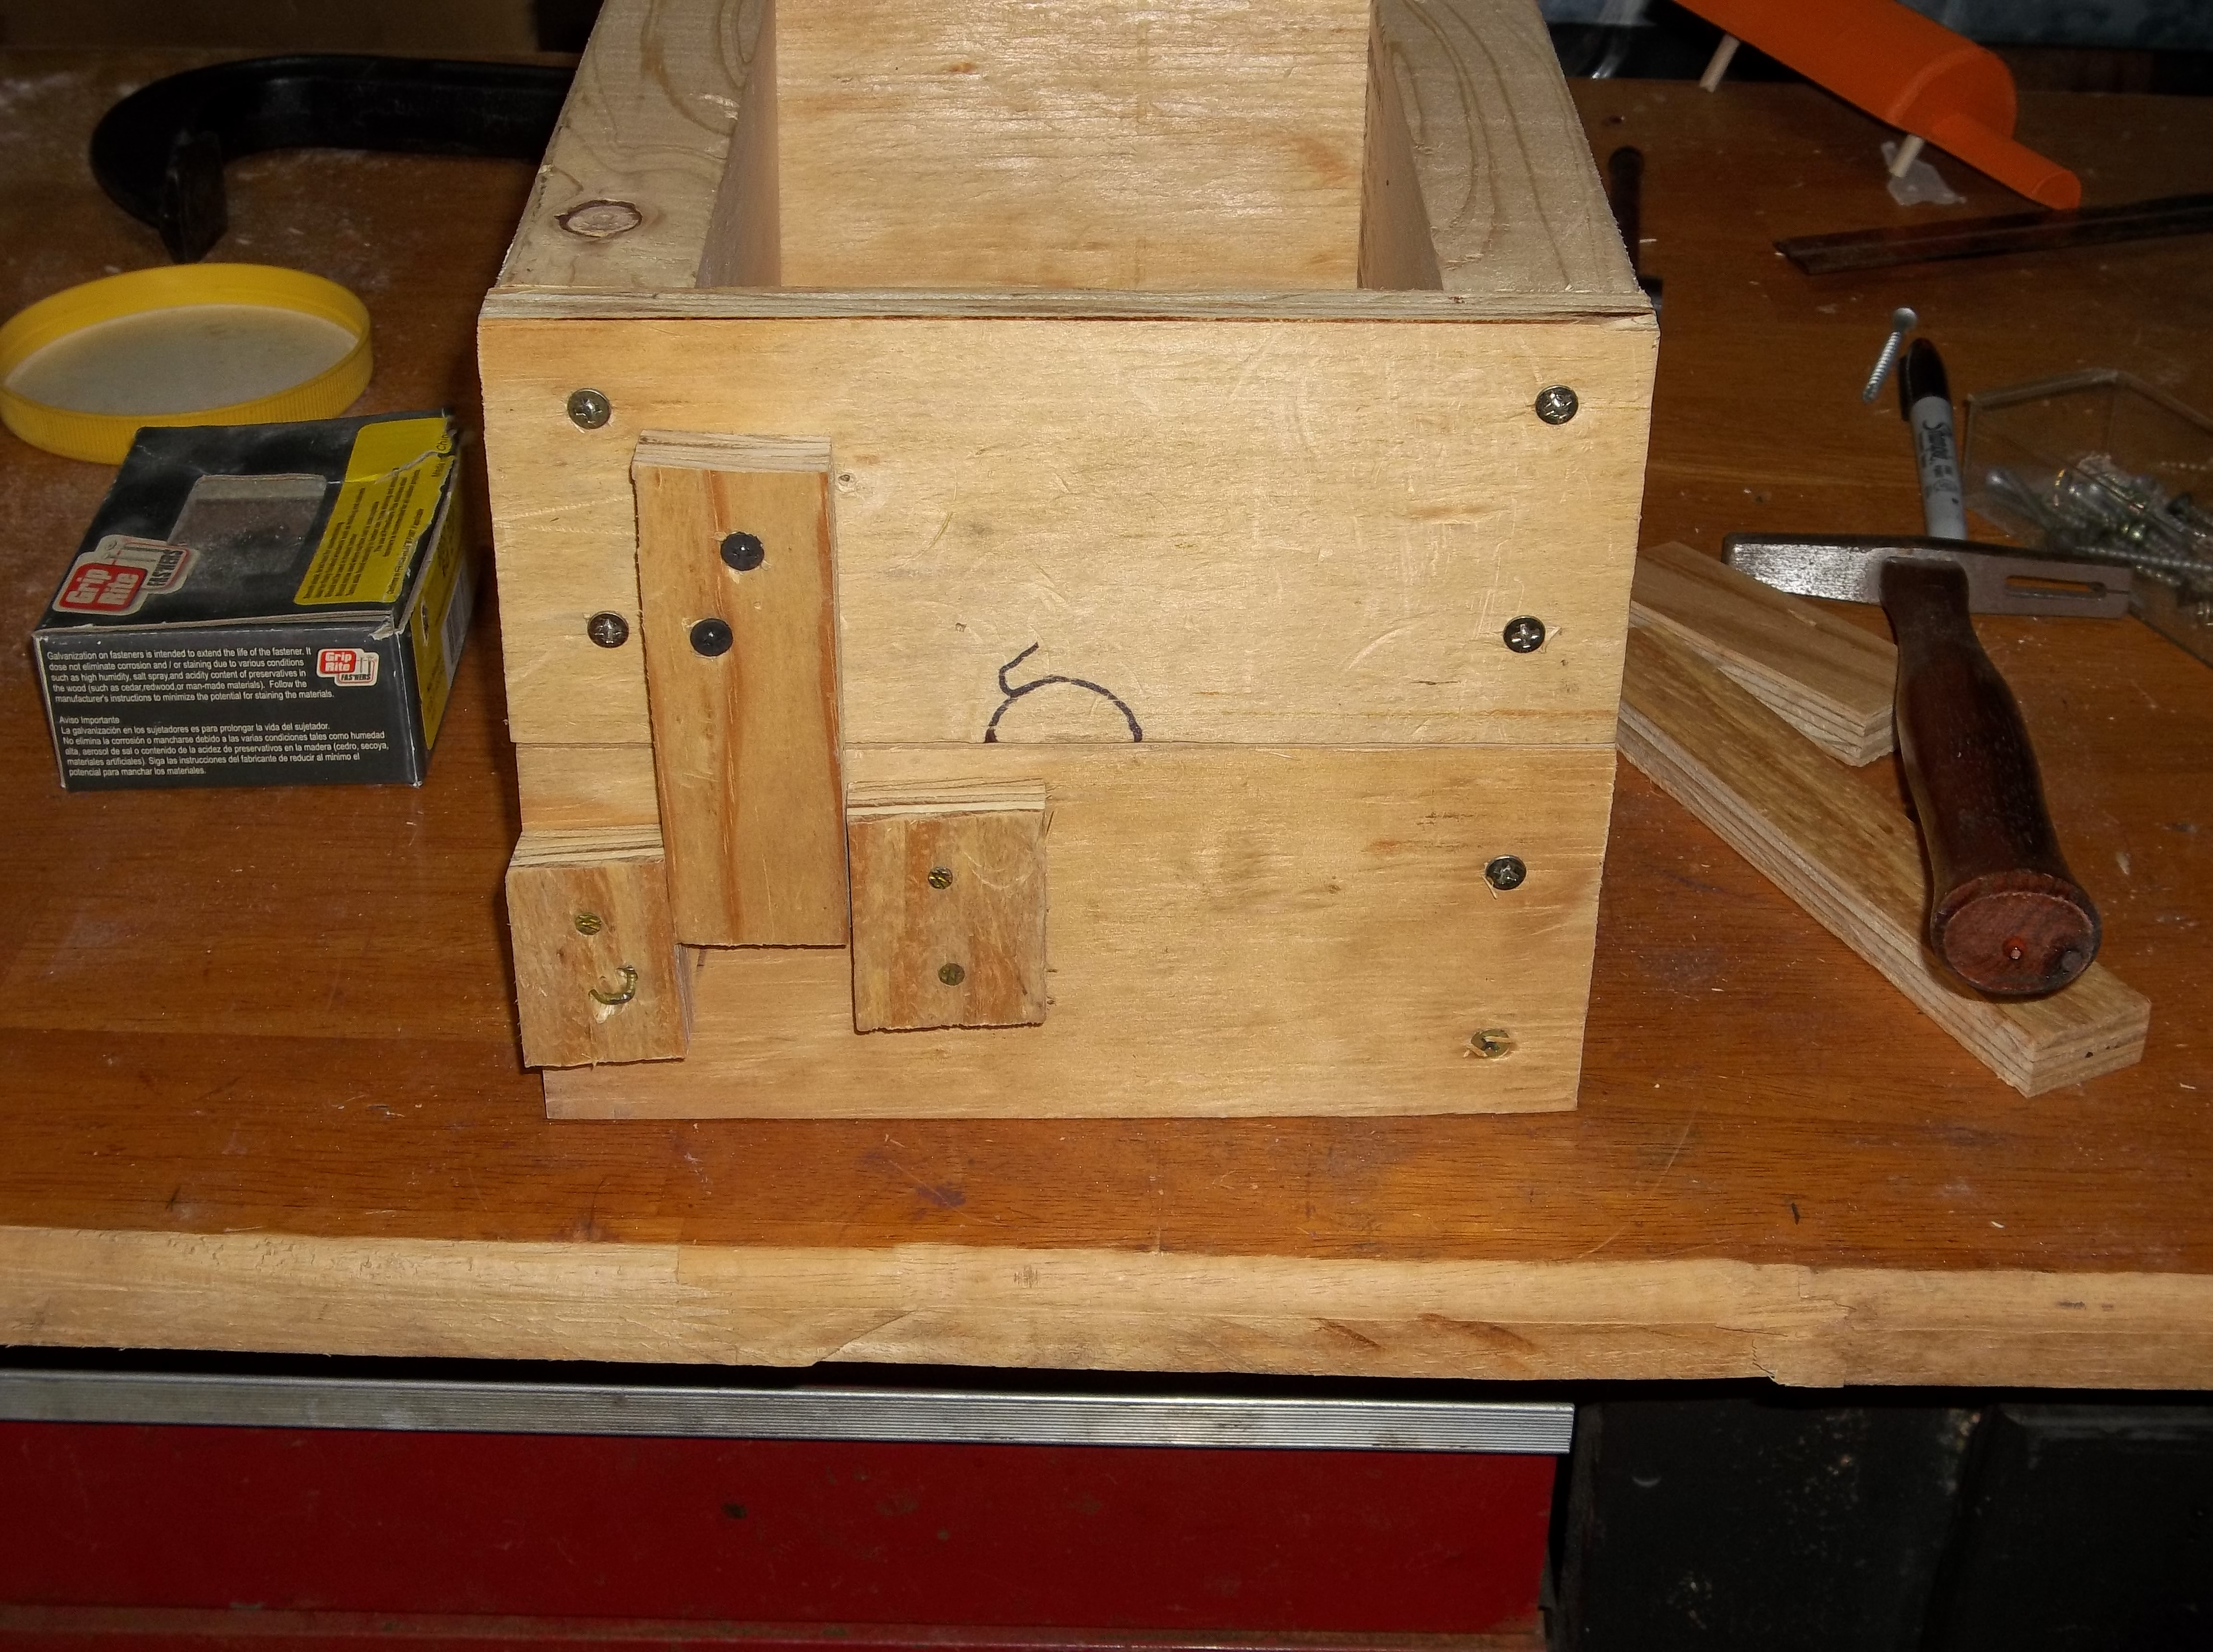 The obligatory screw up! I nailed on the bottom part of the key before I cut the hole. DOH!  I cut the hole on my band saw. Not pretty, but it will do. 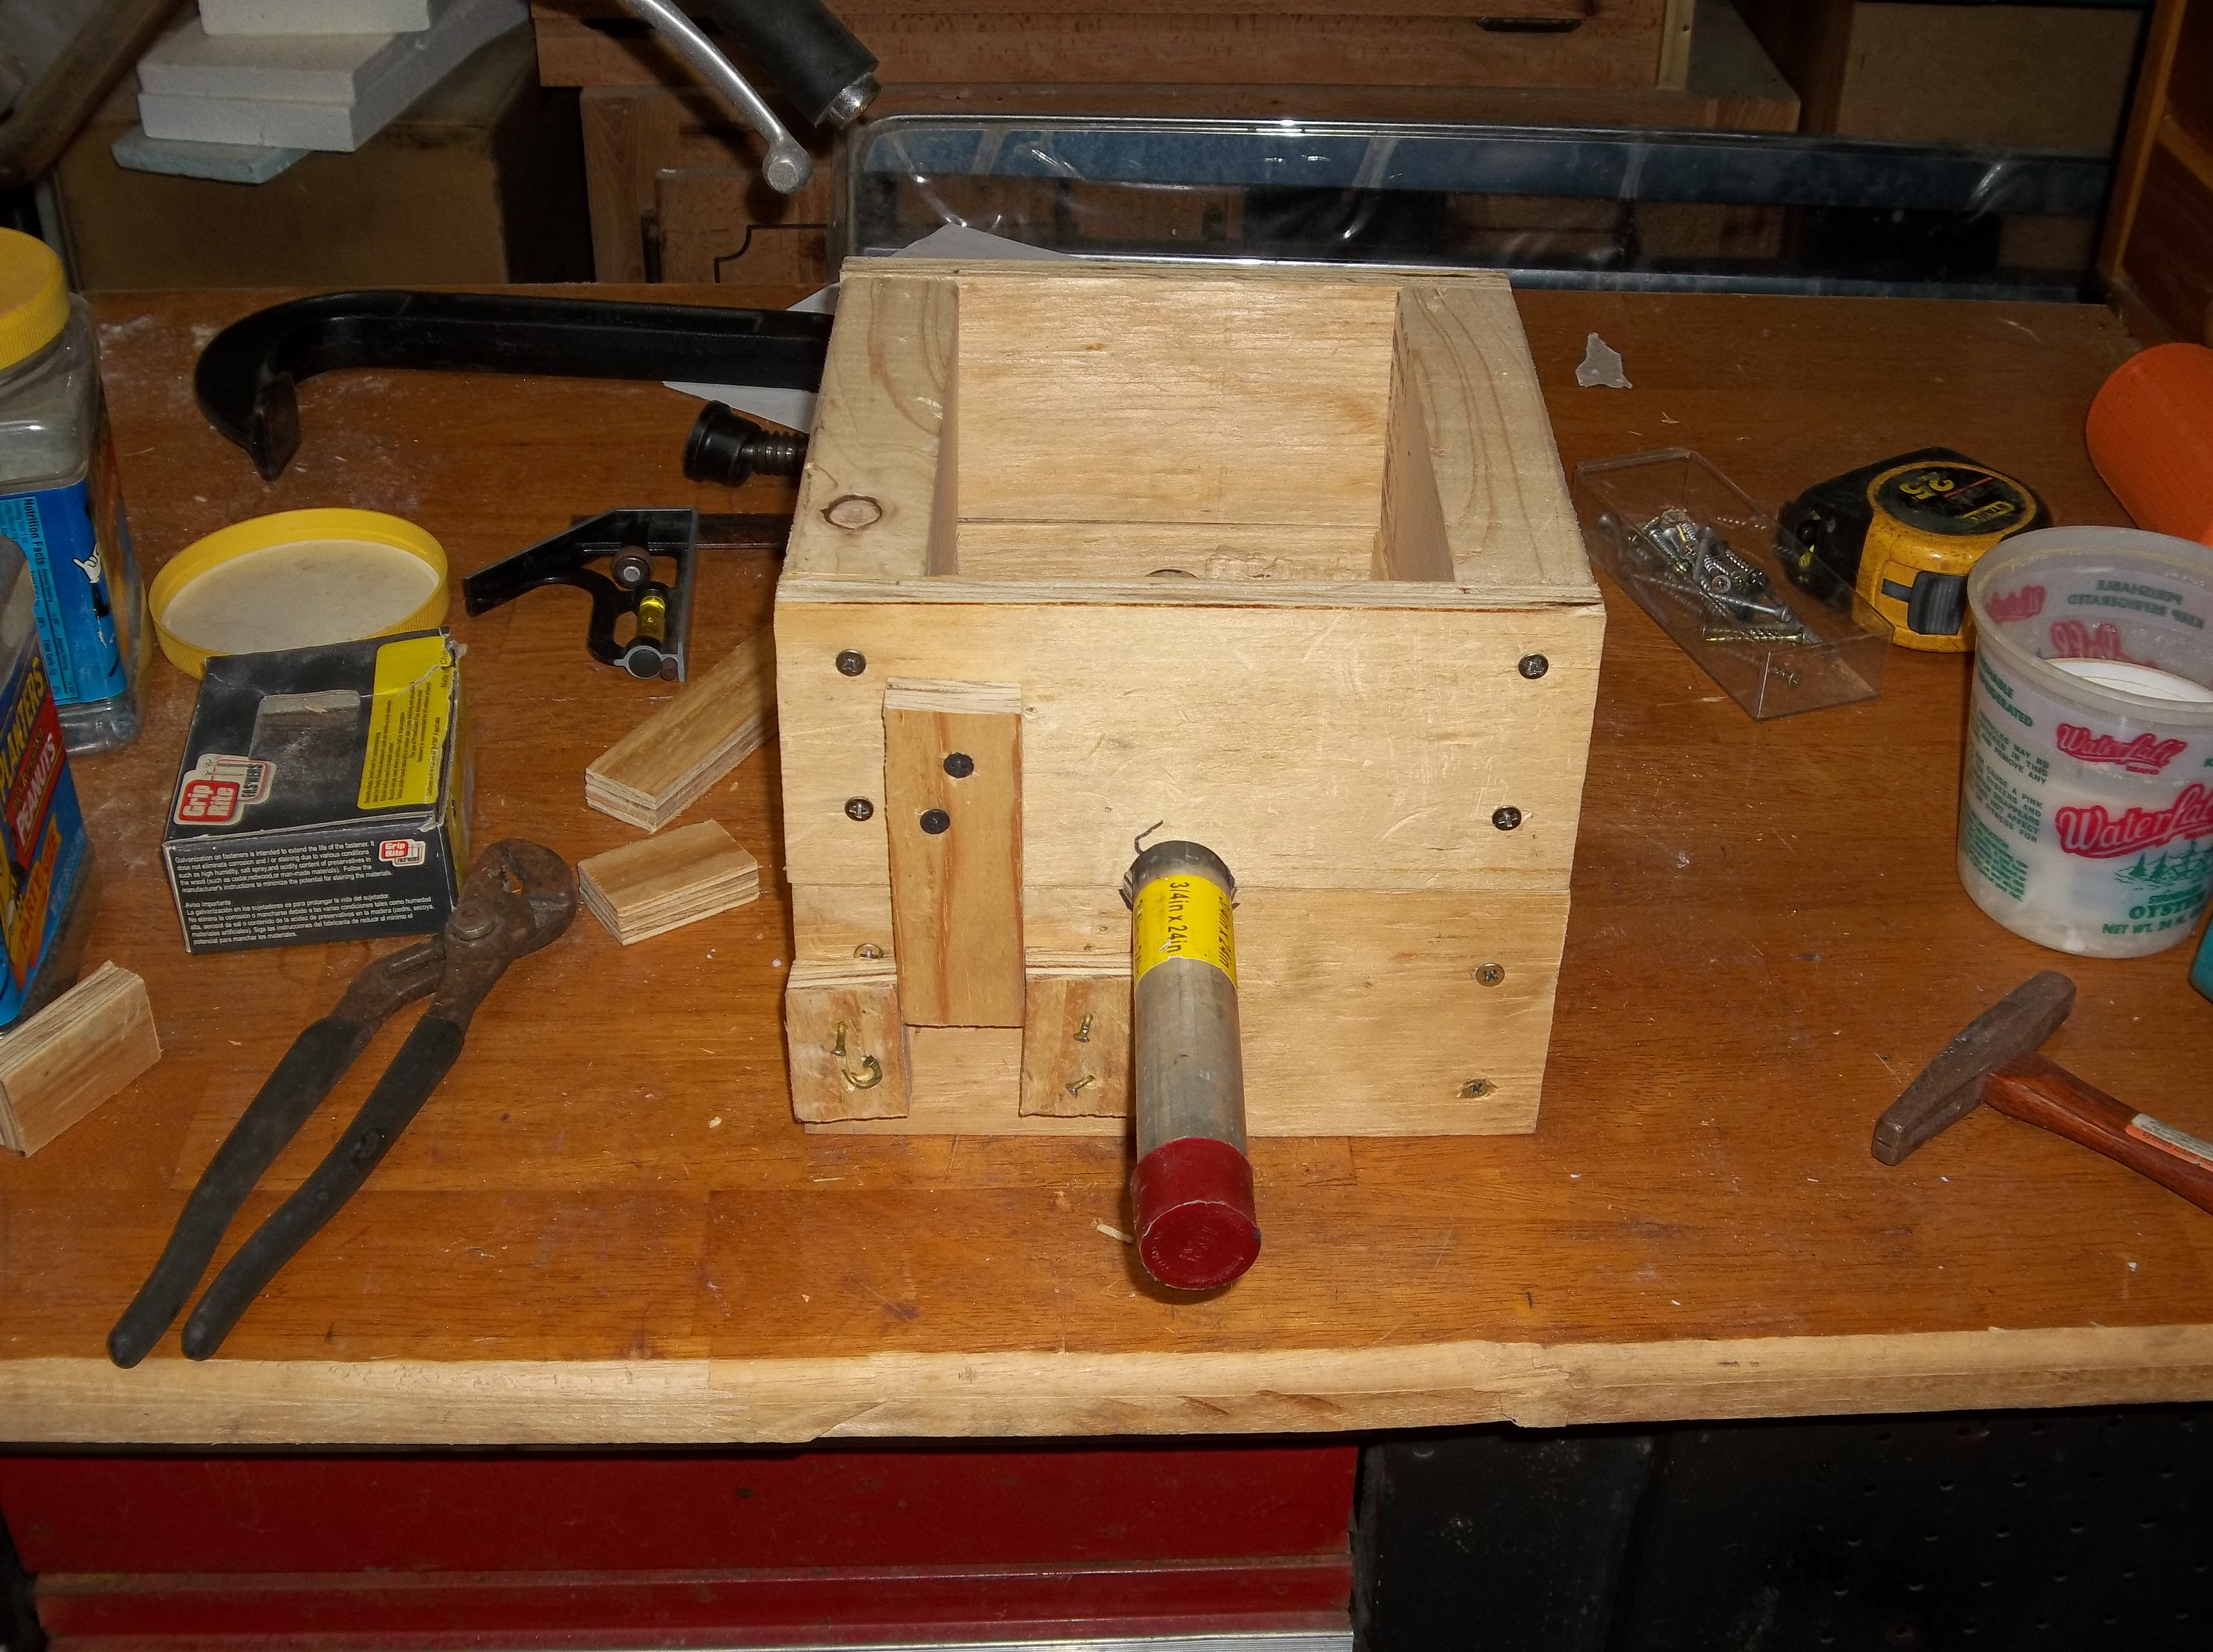 It's a little sloppy, but the pipe fits. 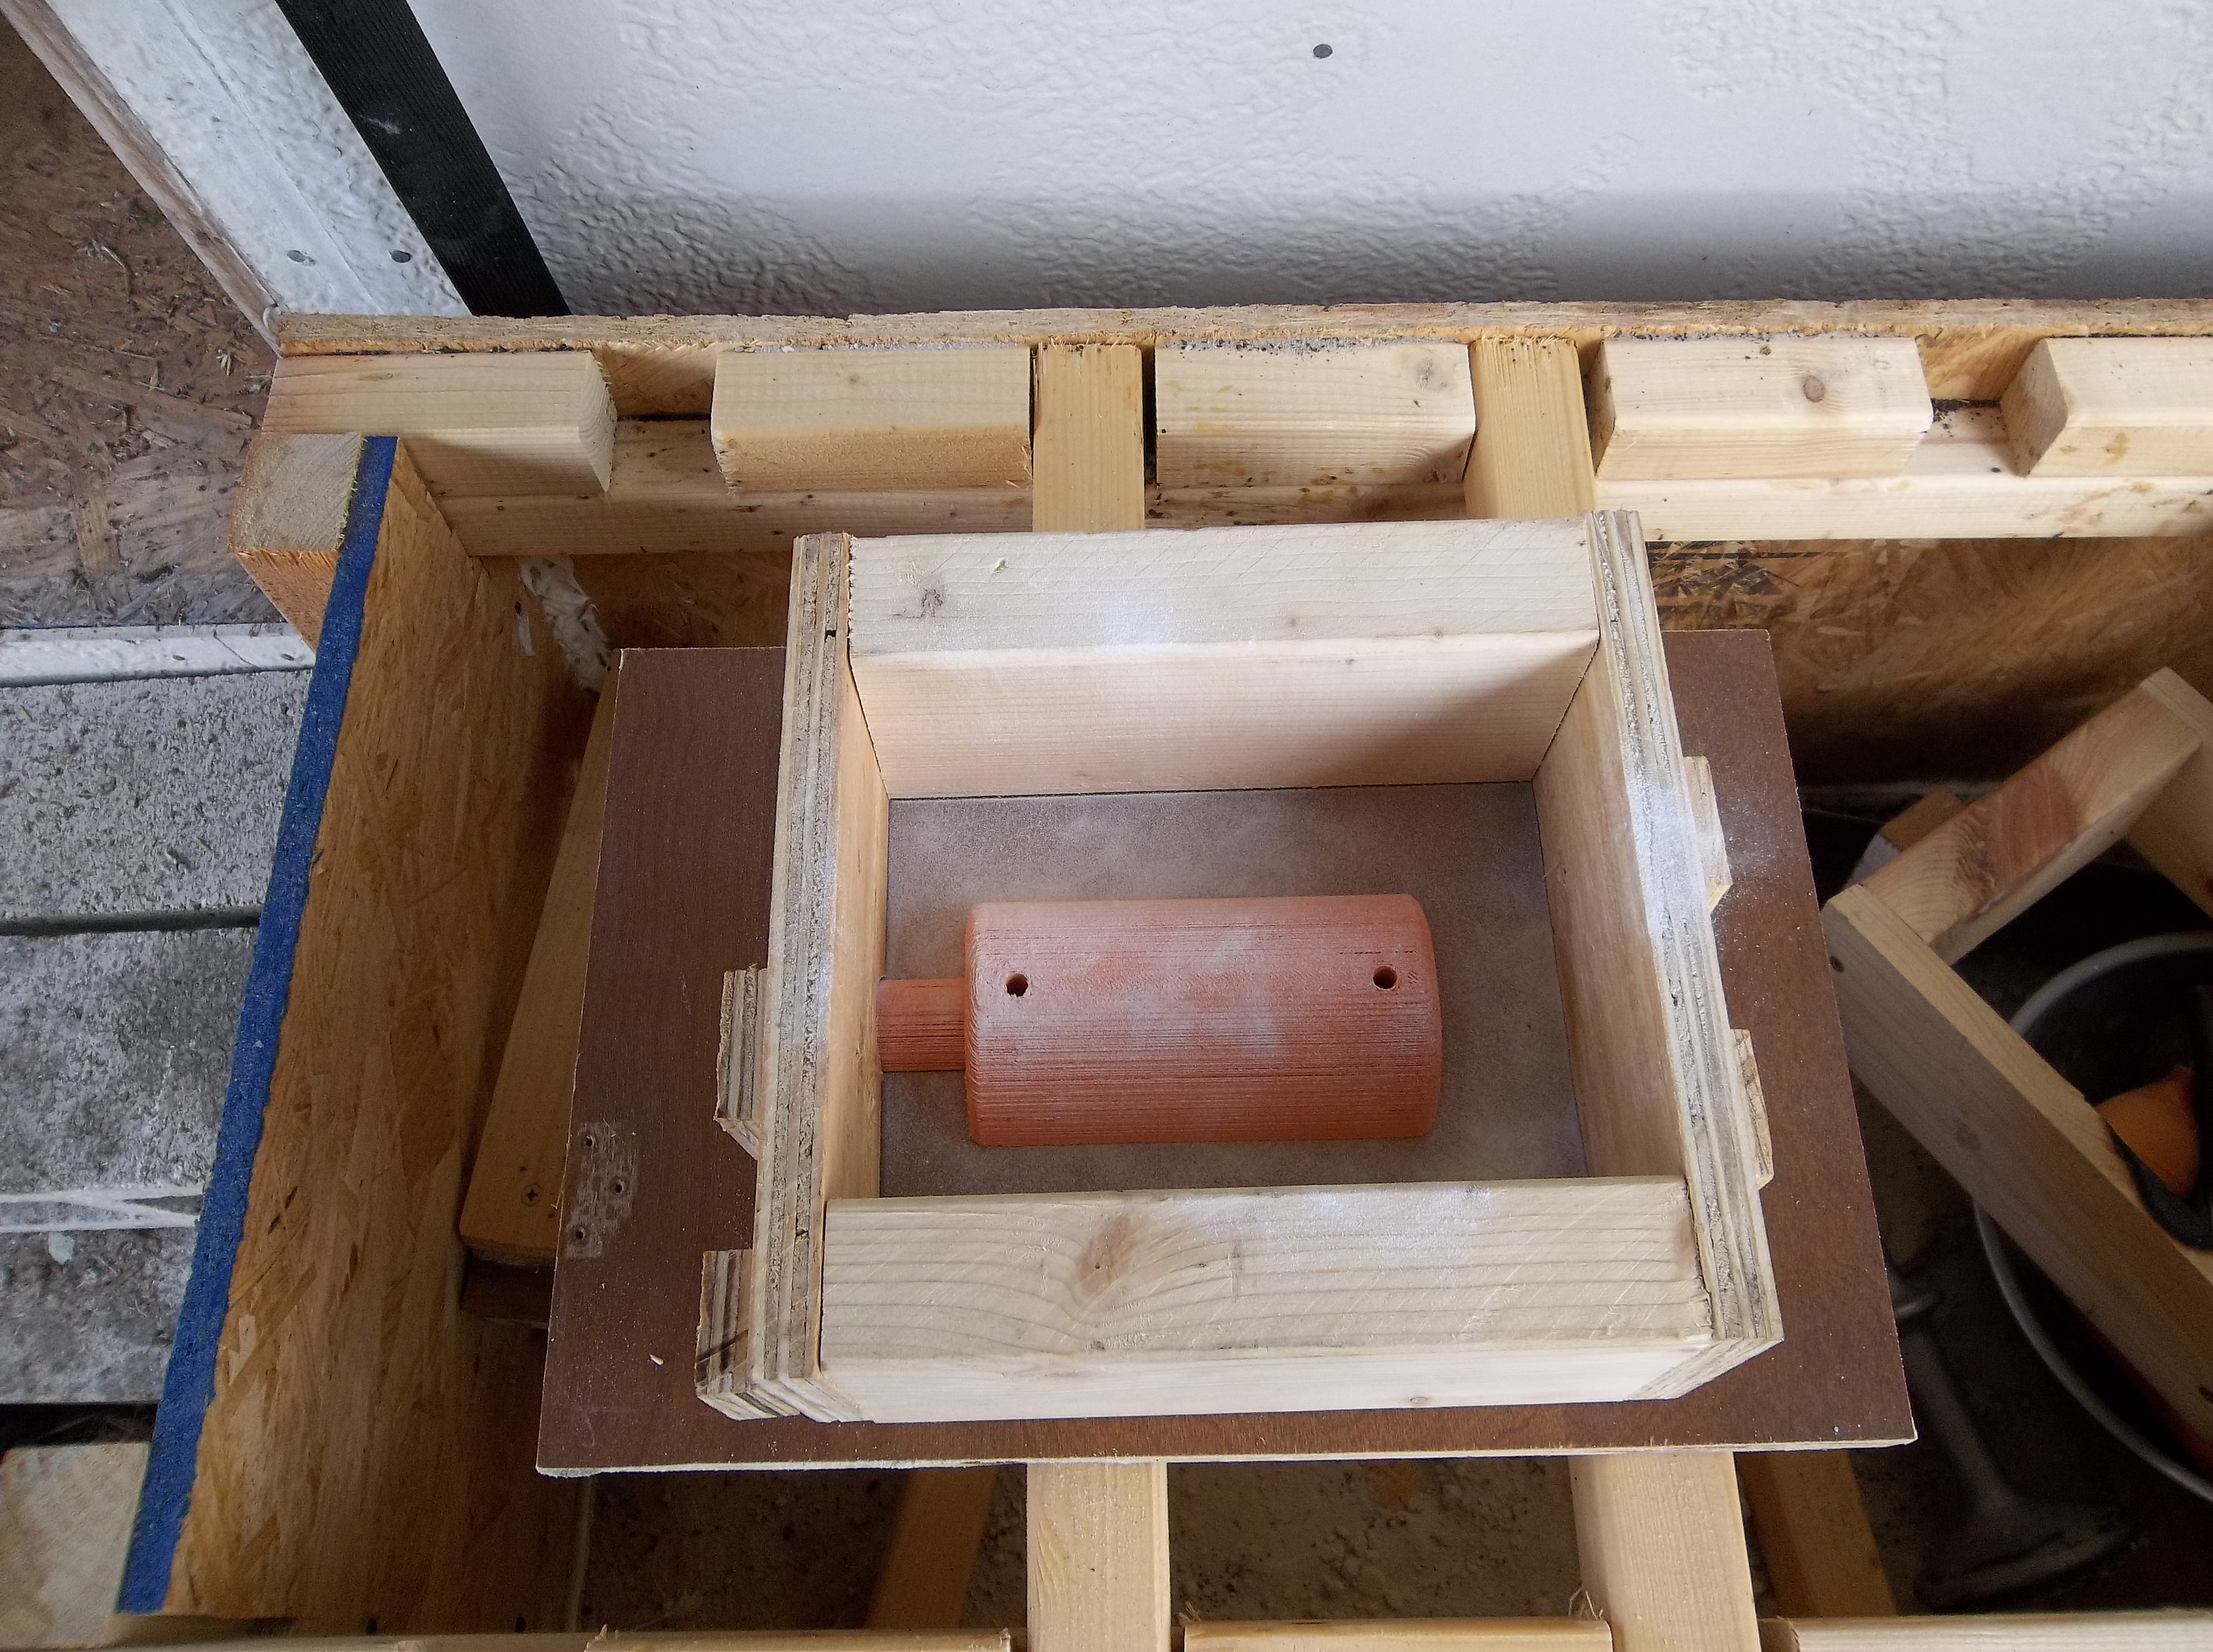 Parting dust... 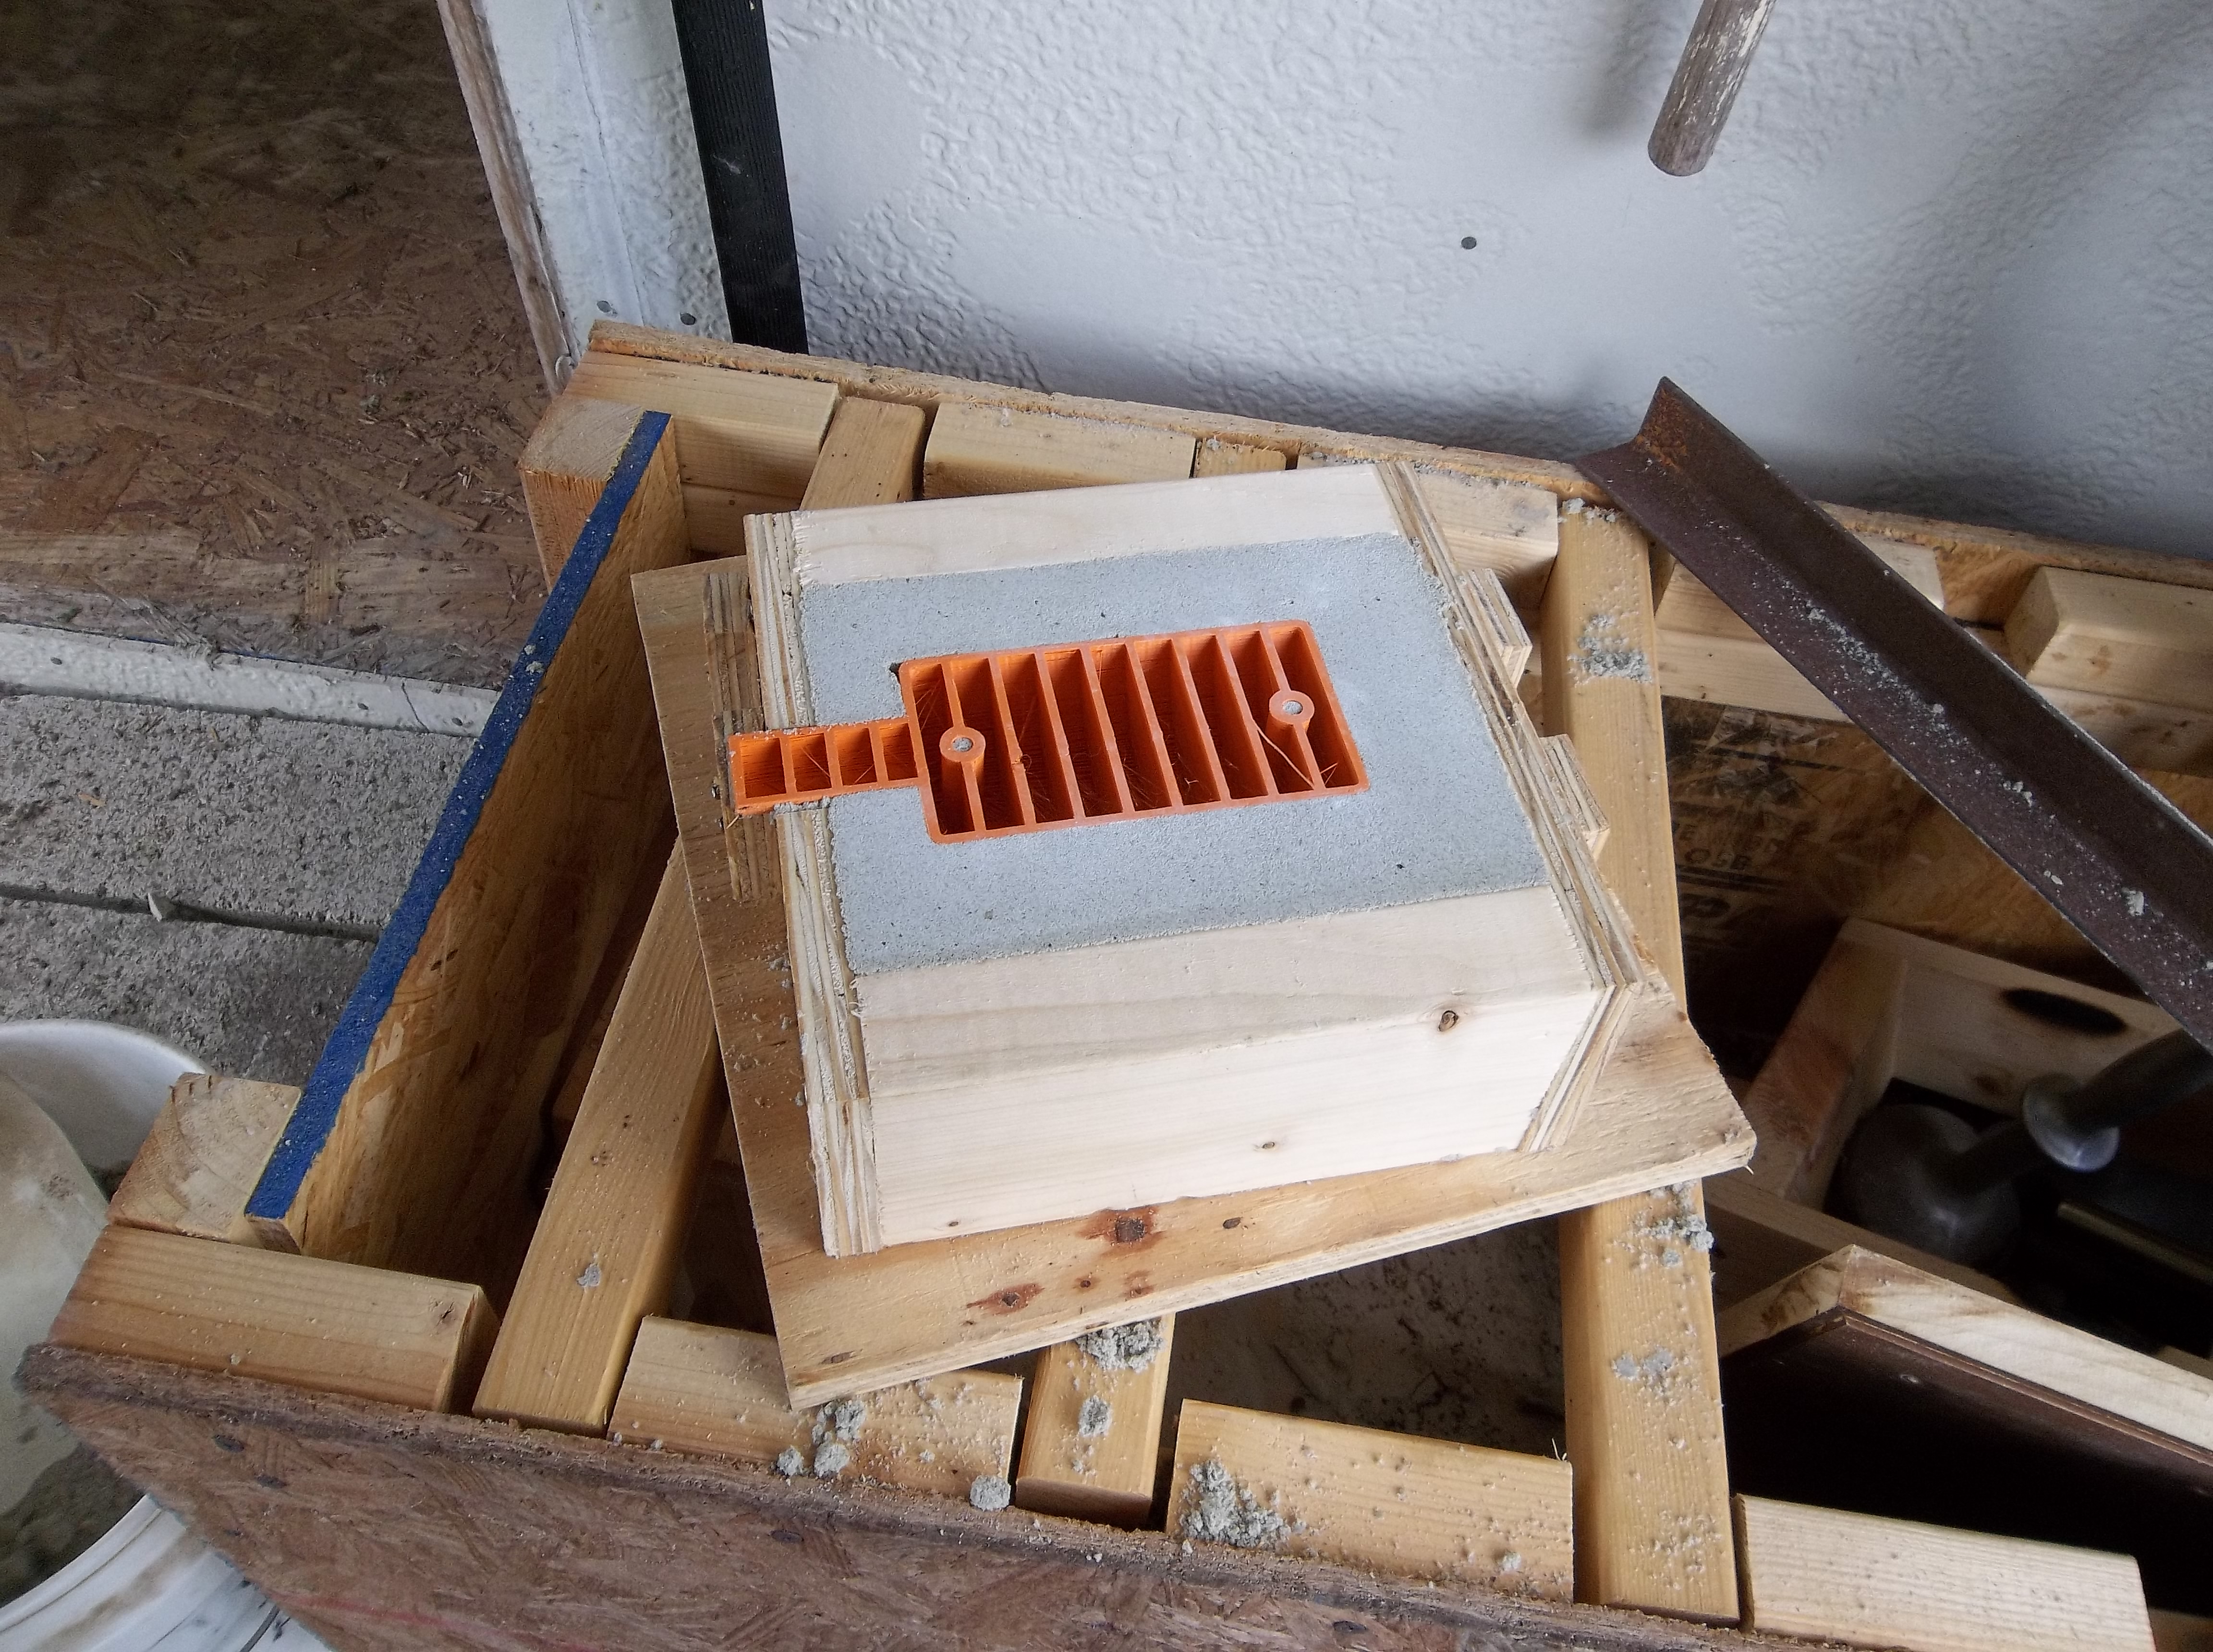 ...and rammed with Kbond, oil bonded sand. Looks good so far. 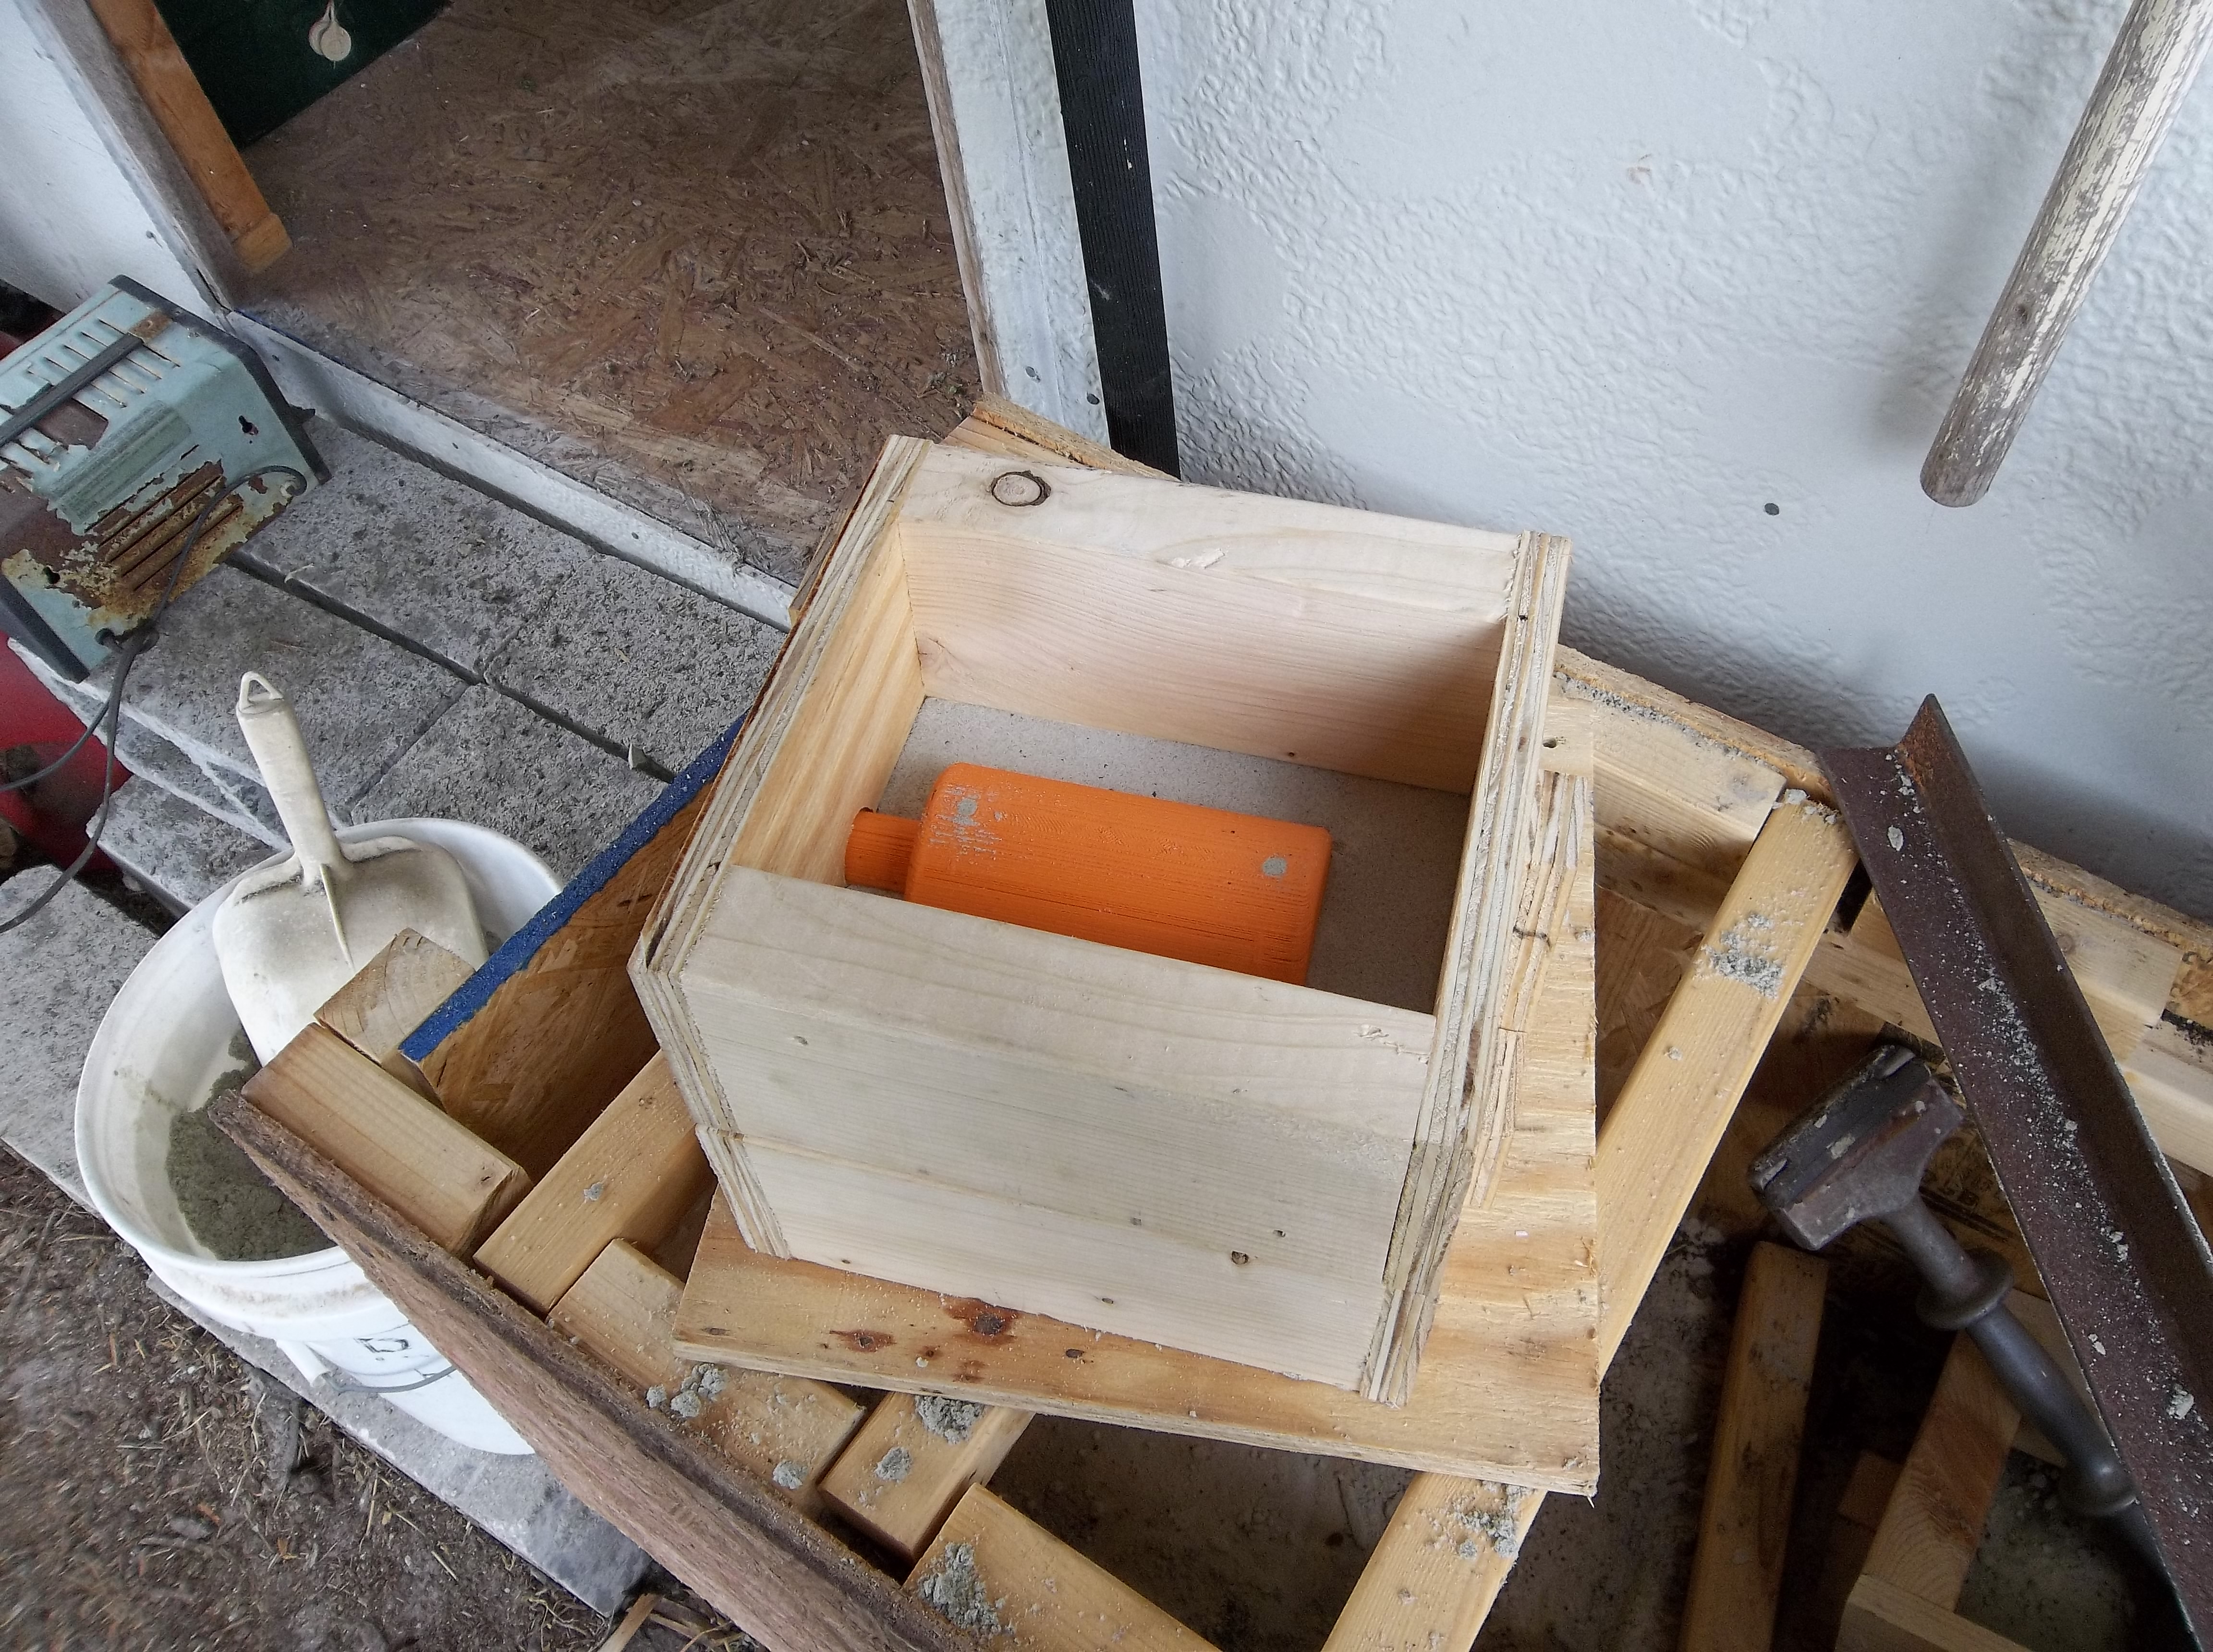 Added the other side of the flask. The holes in the pattern are stuffed with casting sand. 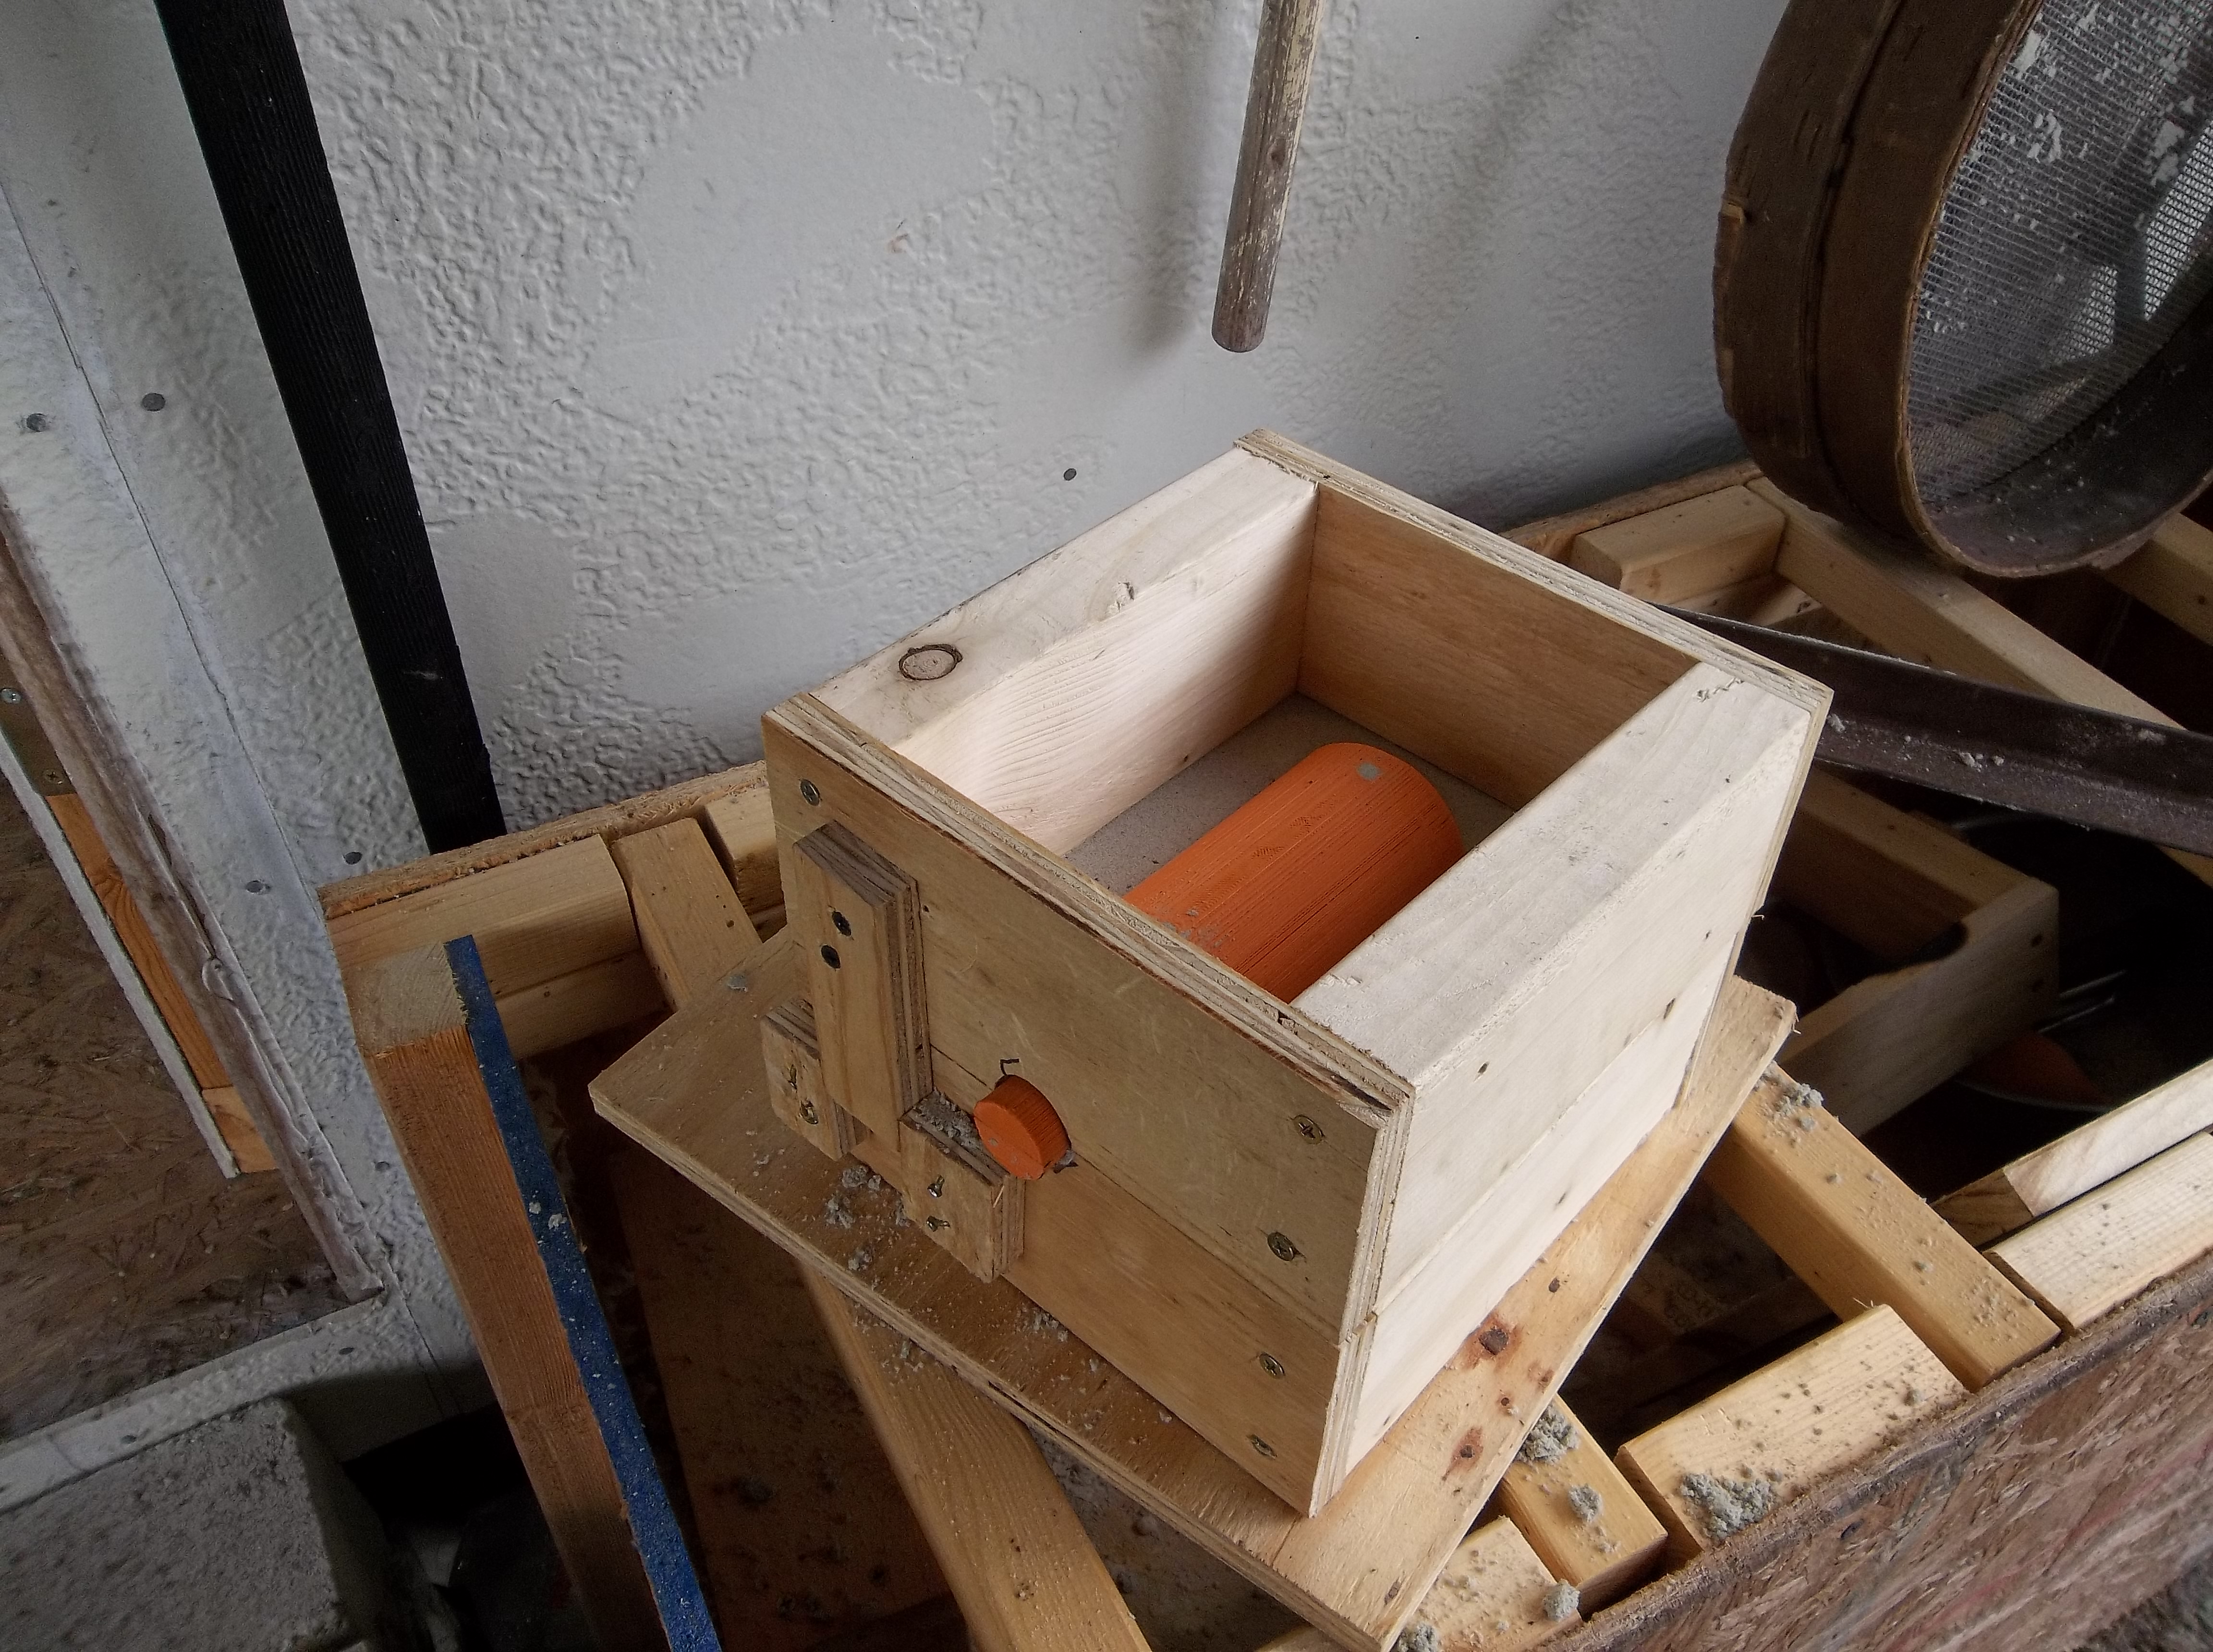 Showing the end of the pattern sticking out of the flask. 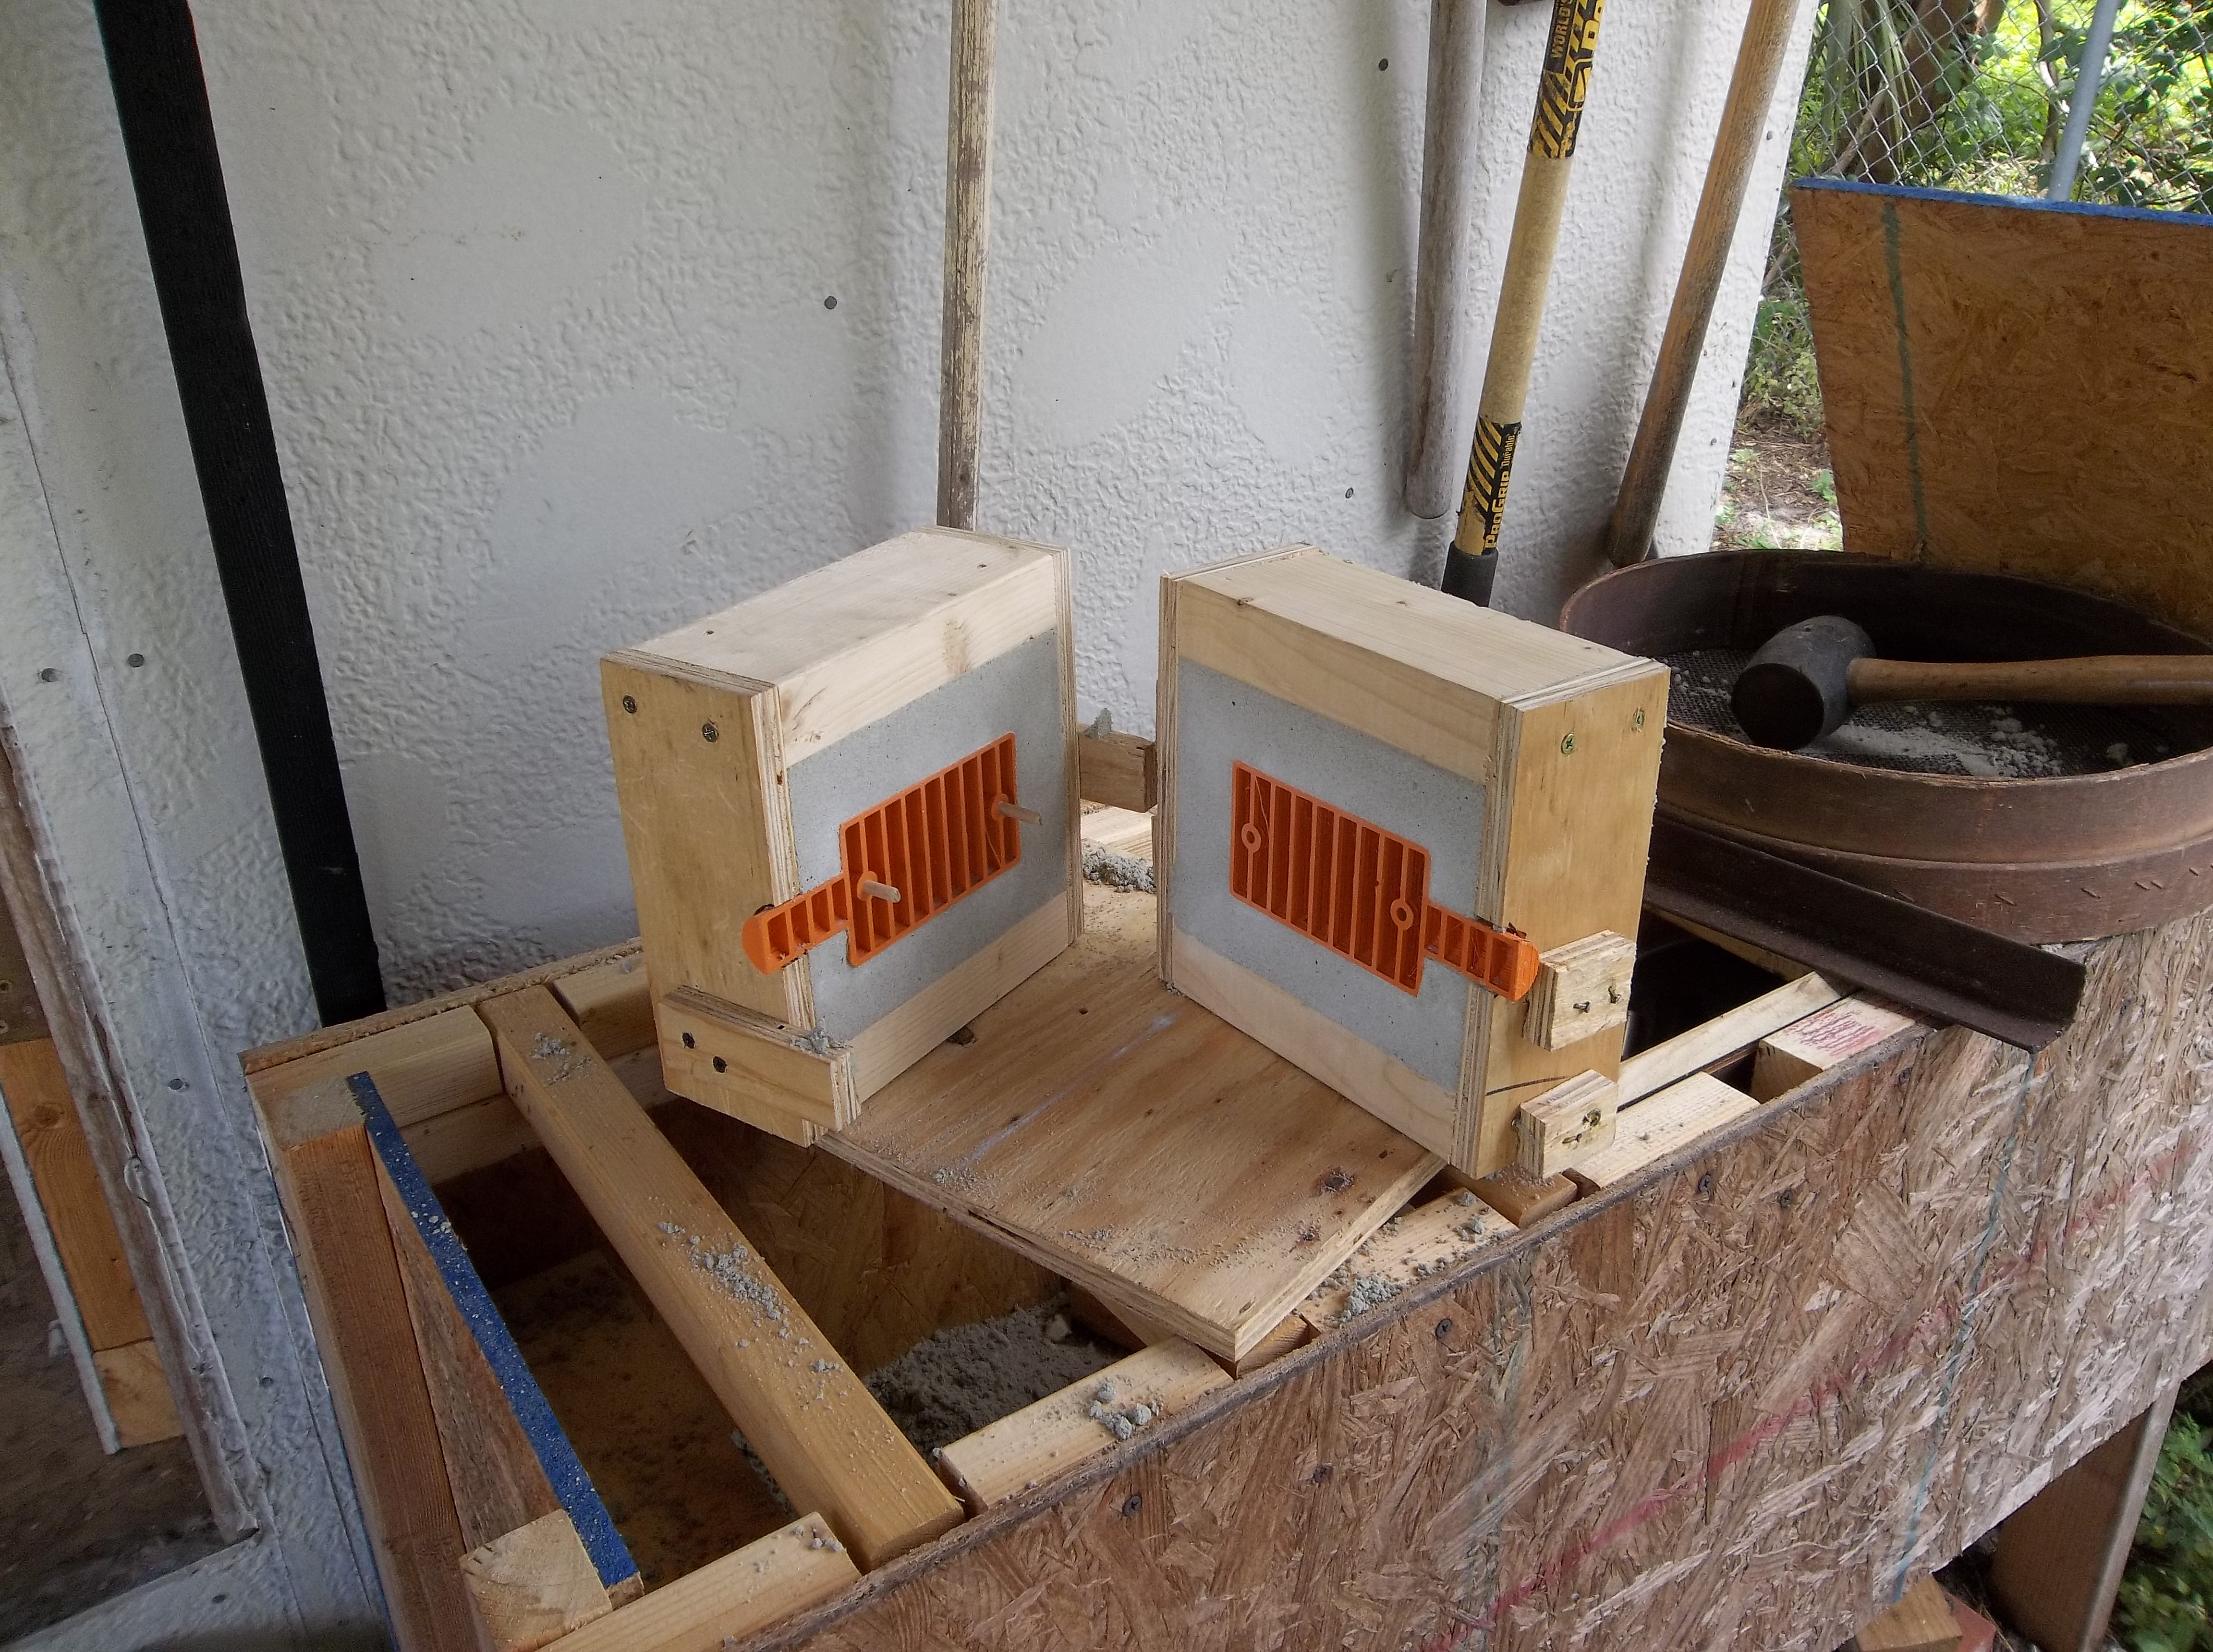 After ramming the second half. 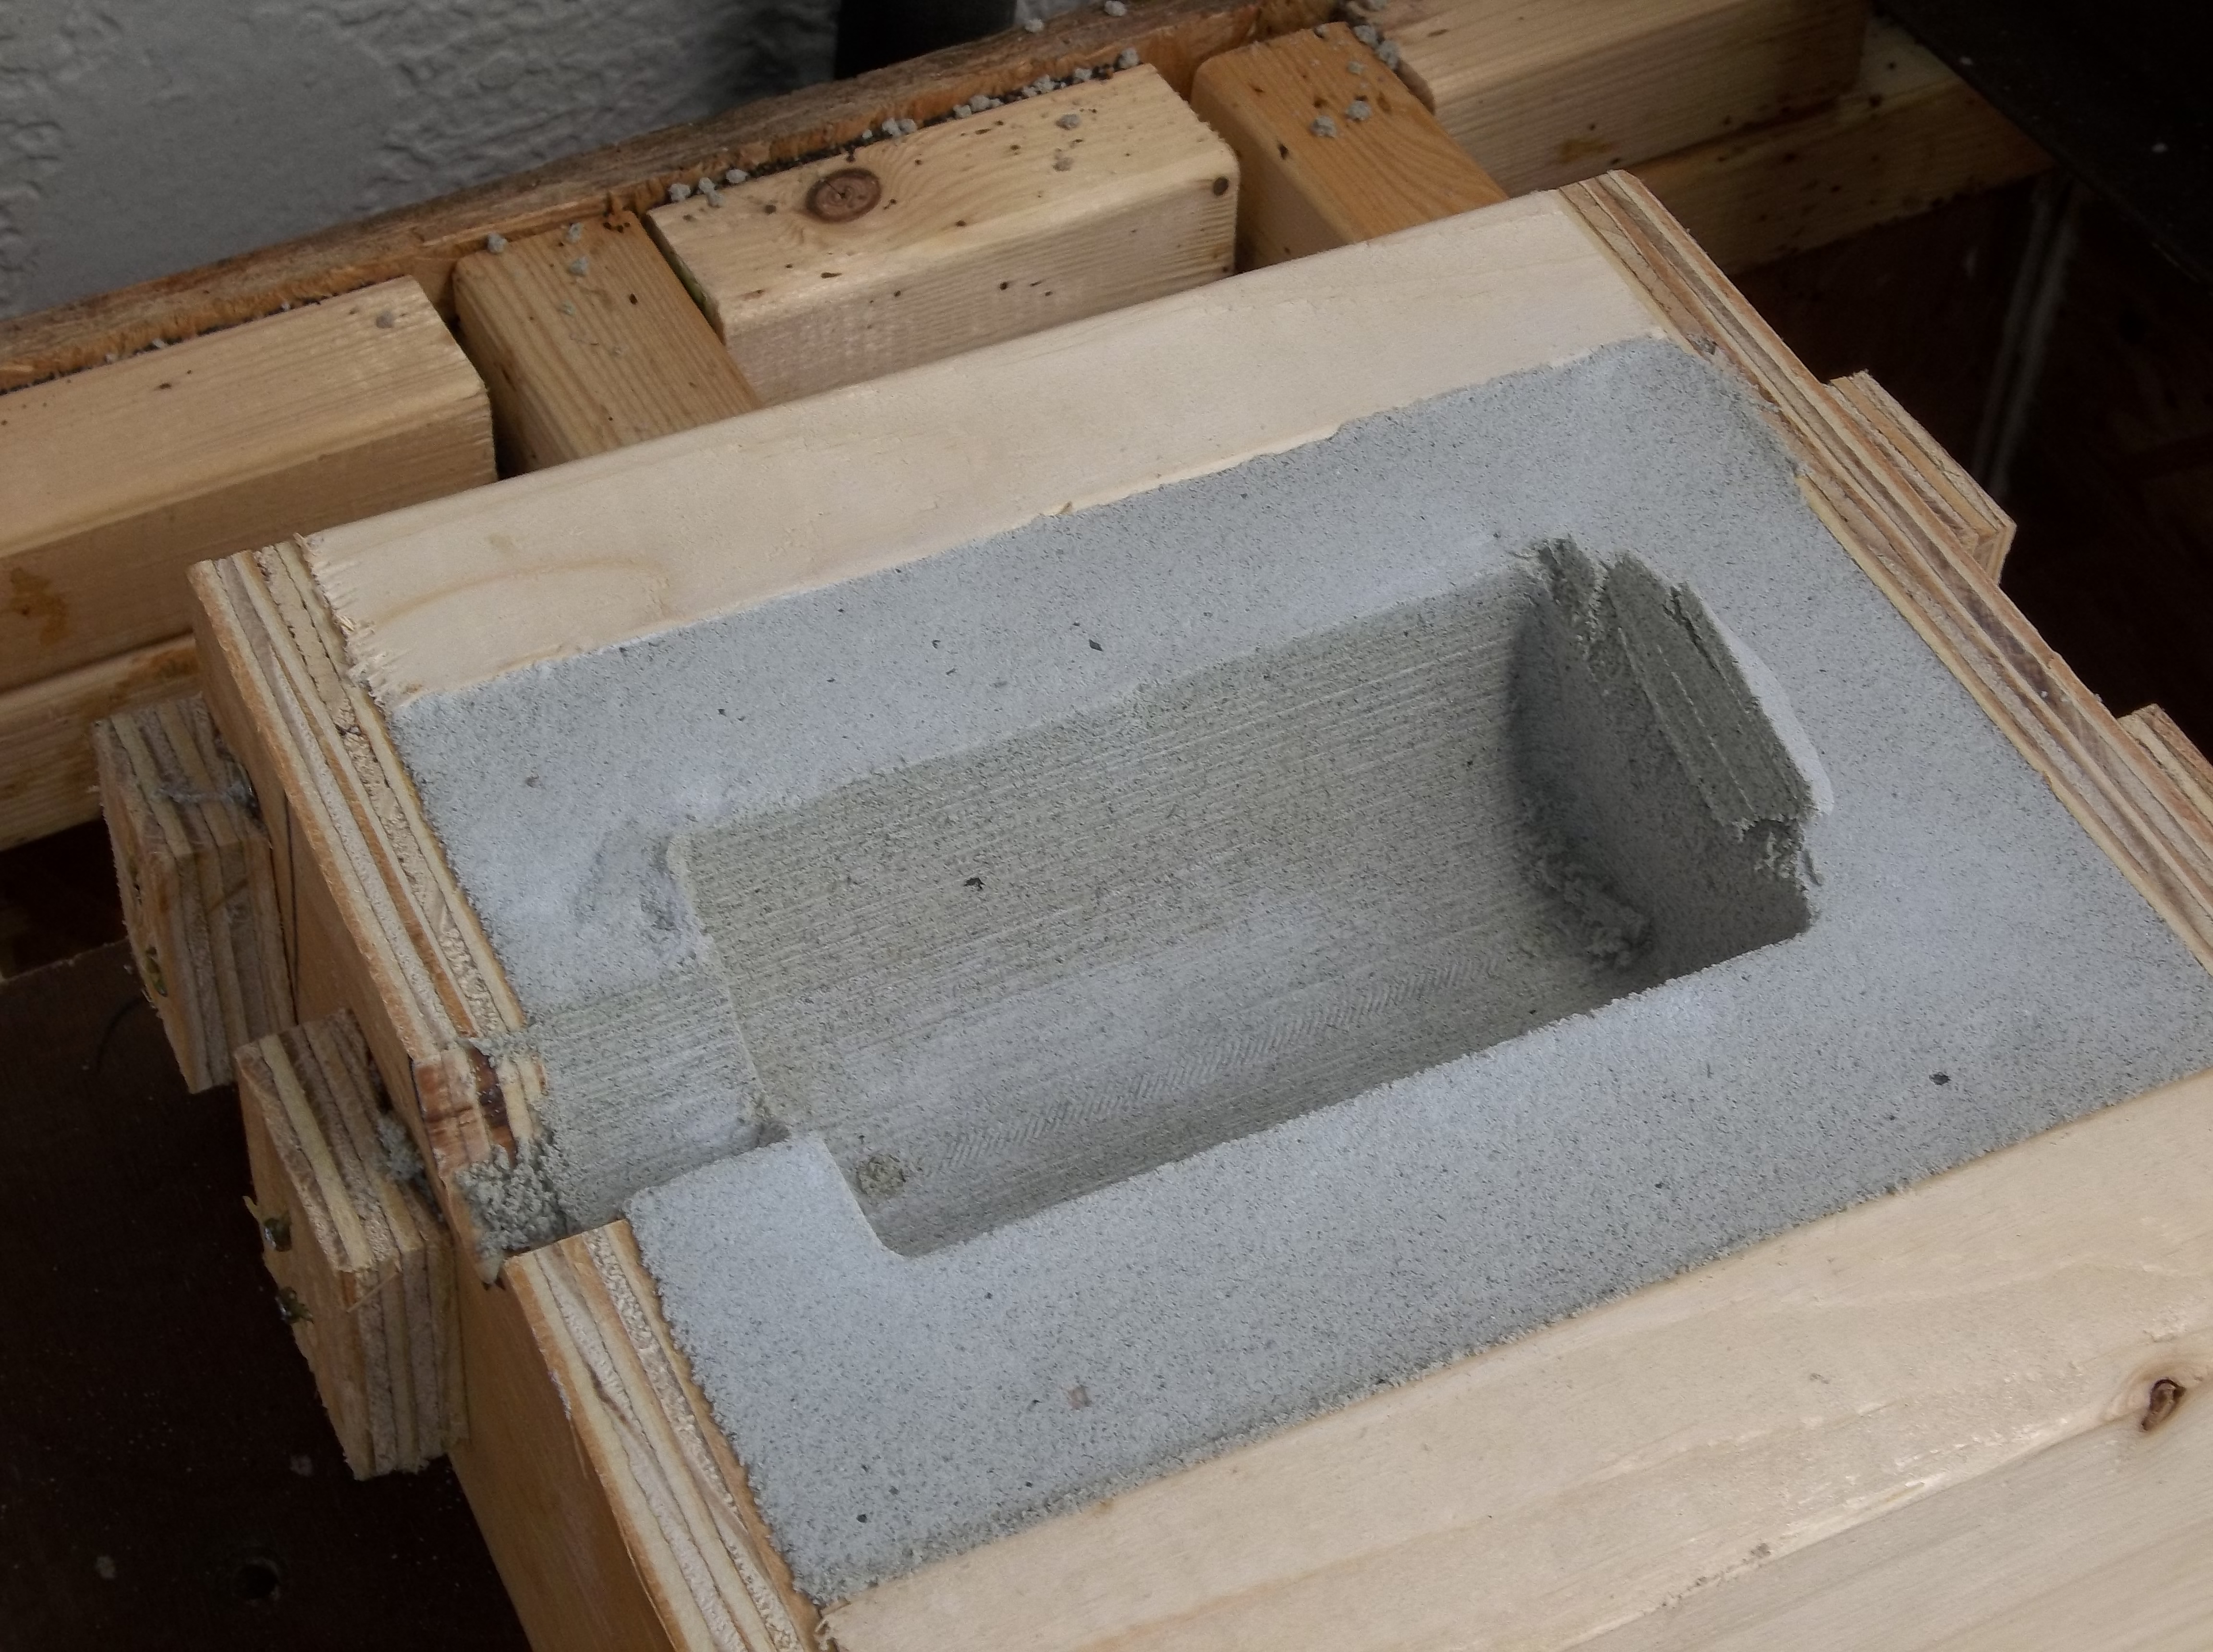 The
pattern had no draft on the end. It tore the sand a little when
extracted. Click to enlarge the photo, the mold shows every line on the
3D printed pattern! 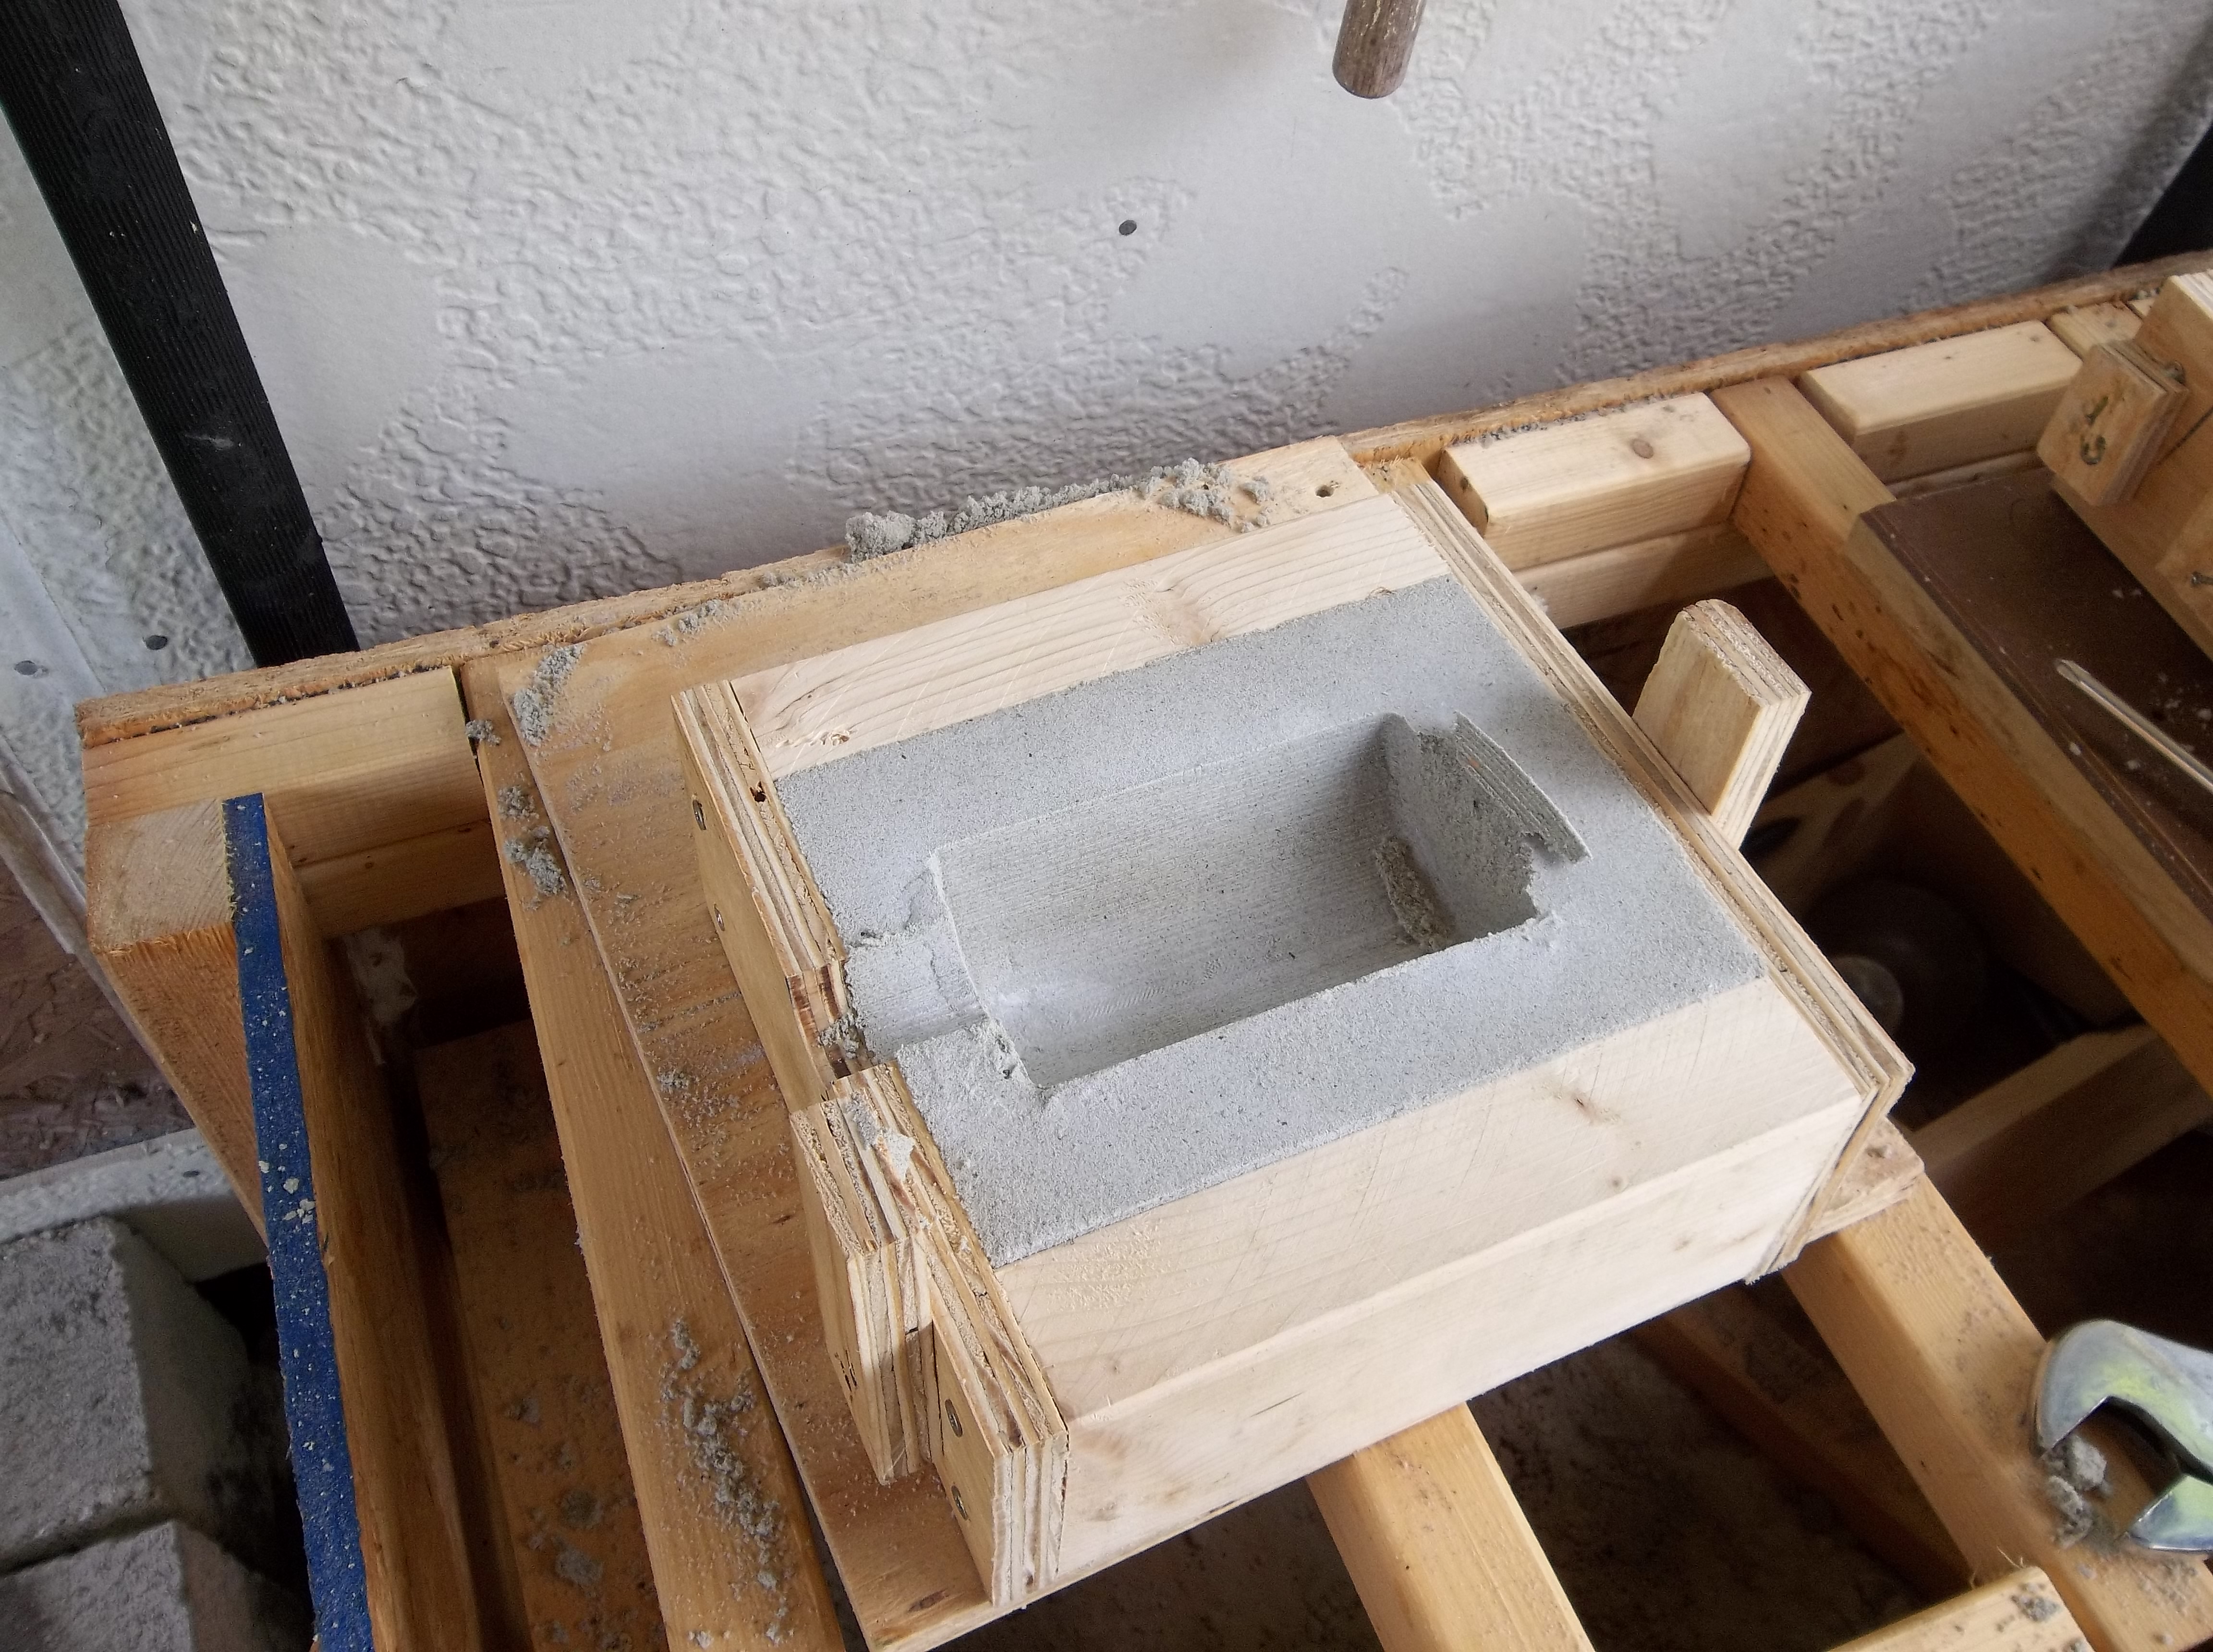 And this side did the same thing. 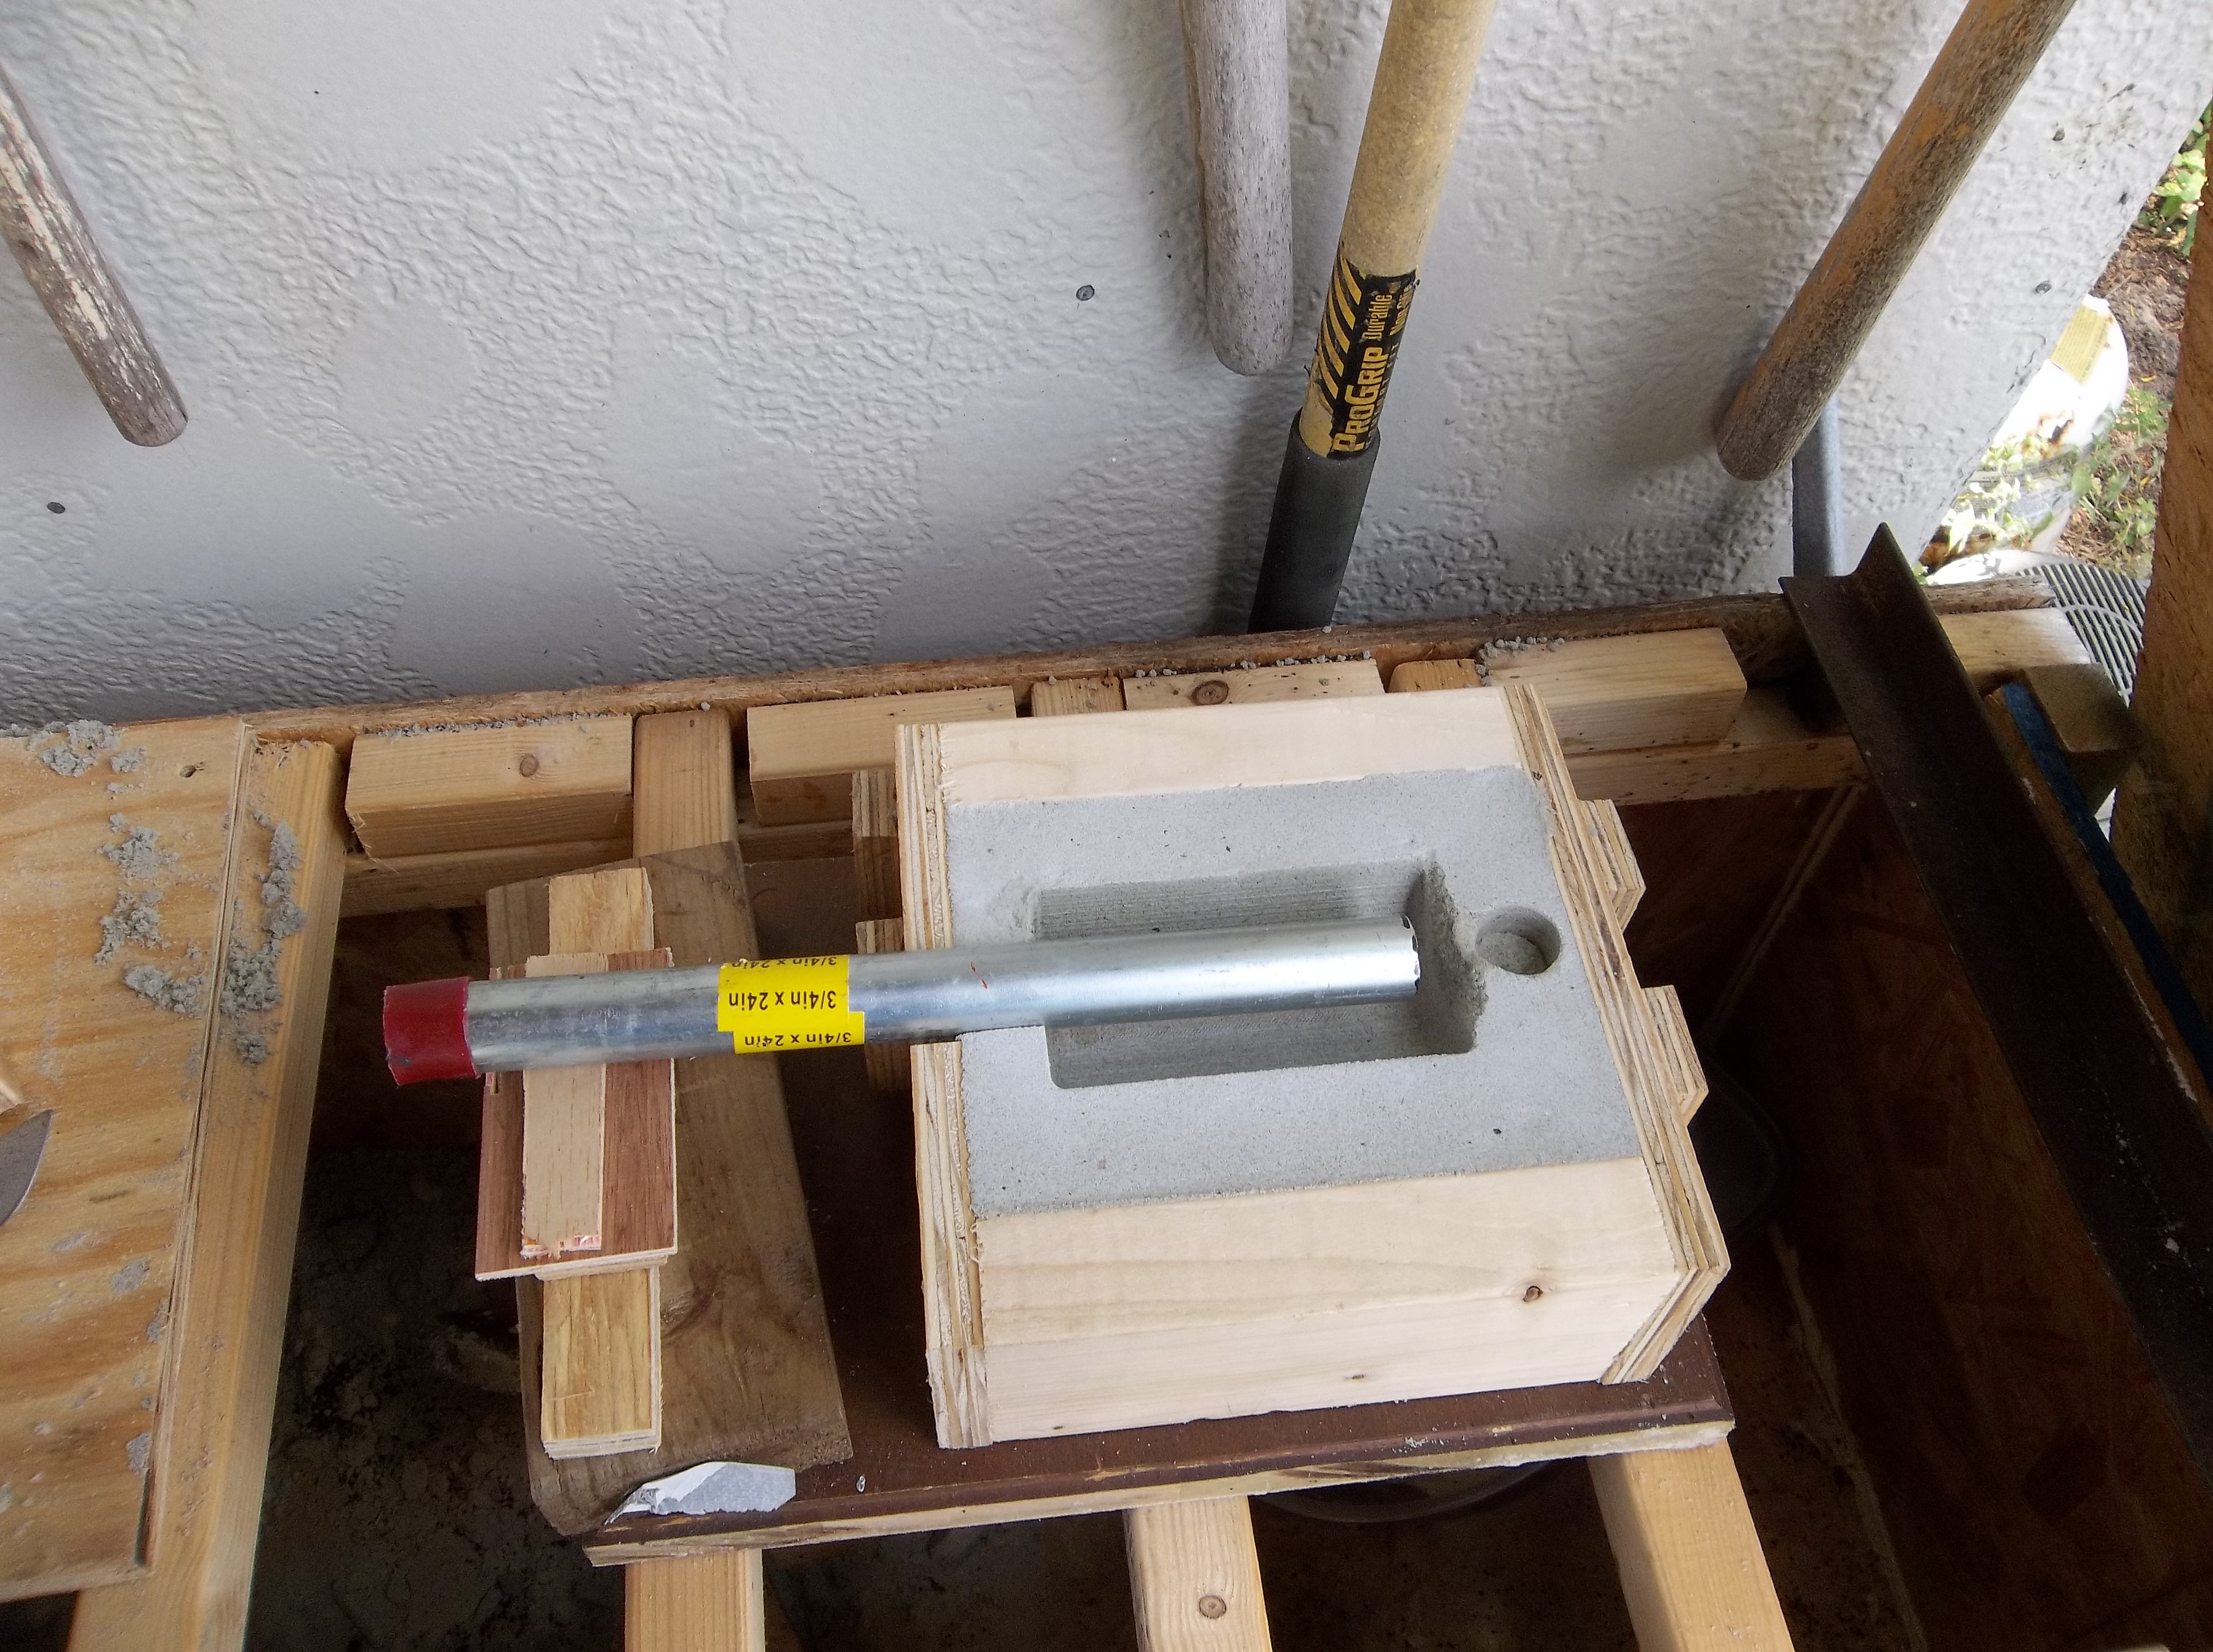 Test
fitting the pipe, looks good! The hole in the sand is the pouring basin
that will sit below the sprue. There is a small gate between the basin
and the mold cavity. 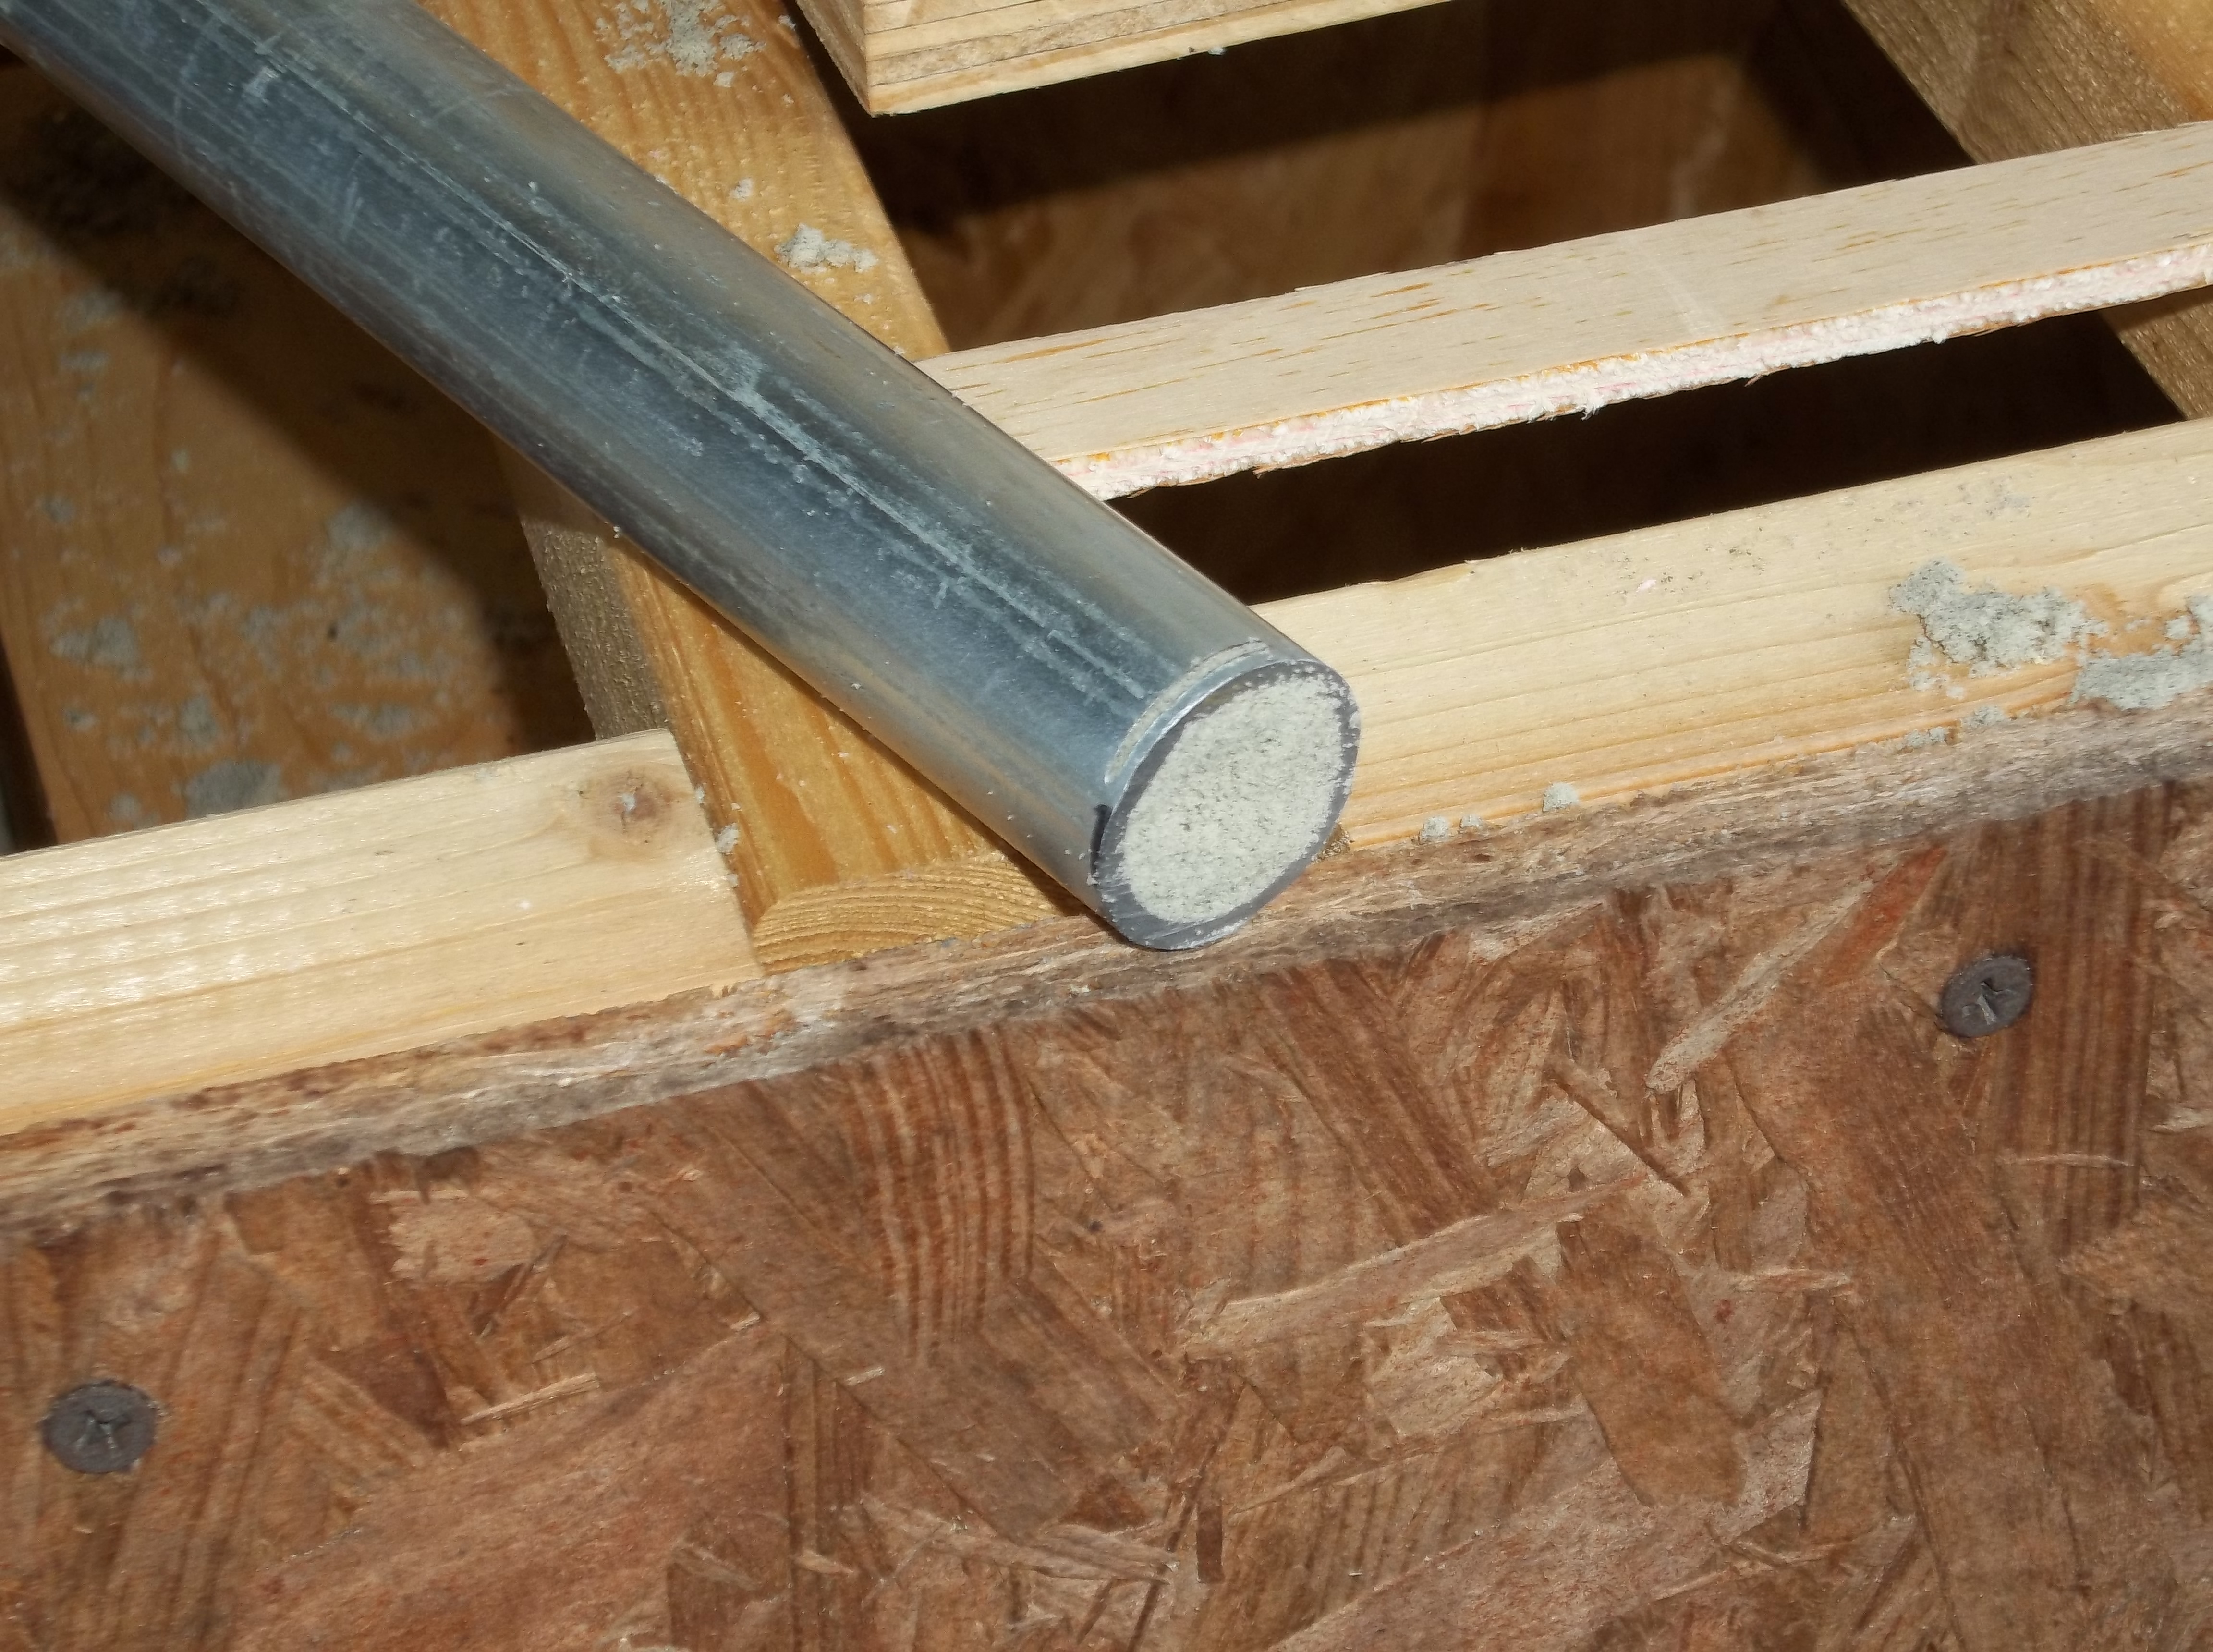 I packed the pipe with casting sand... 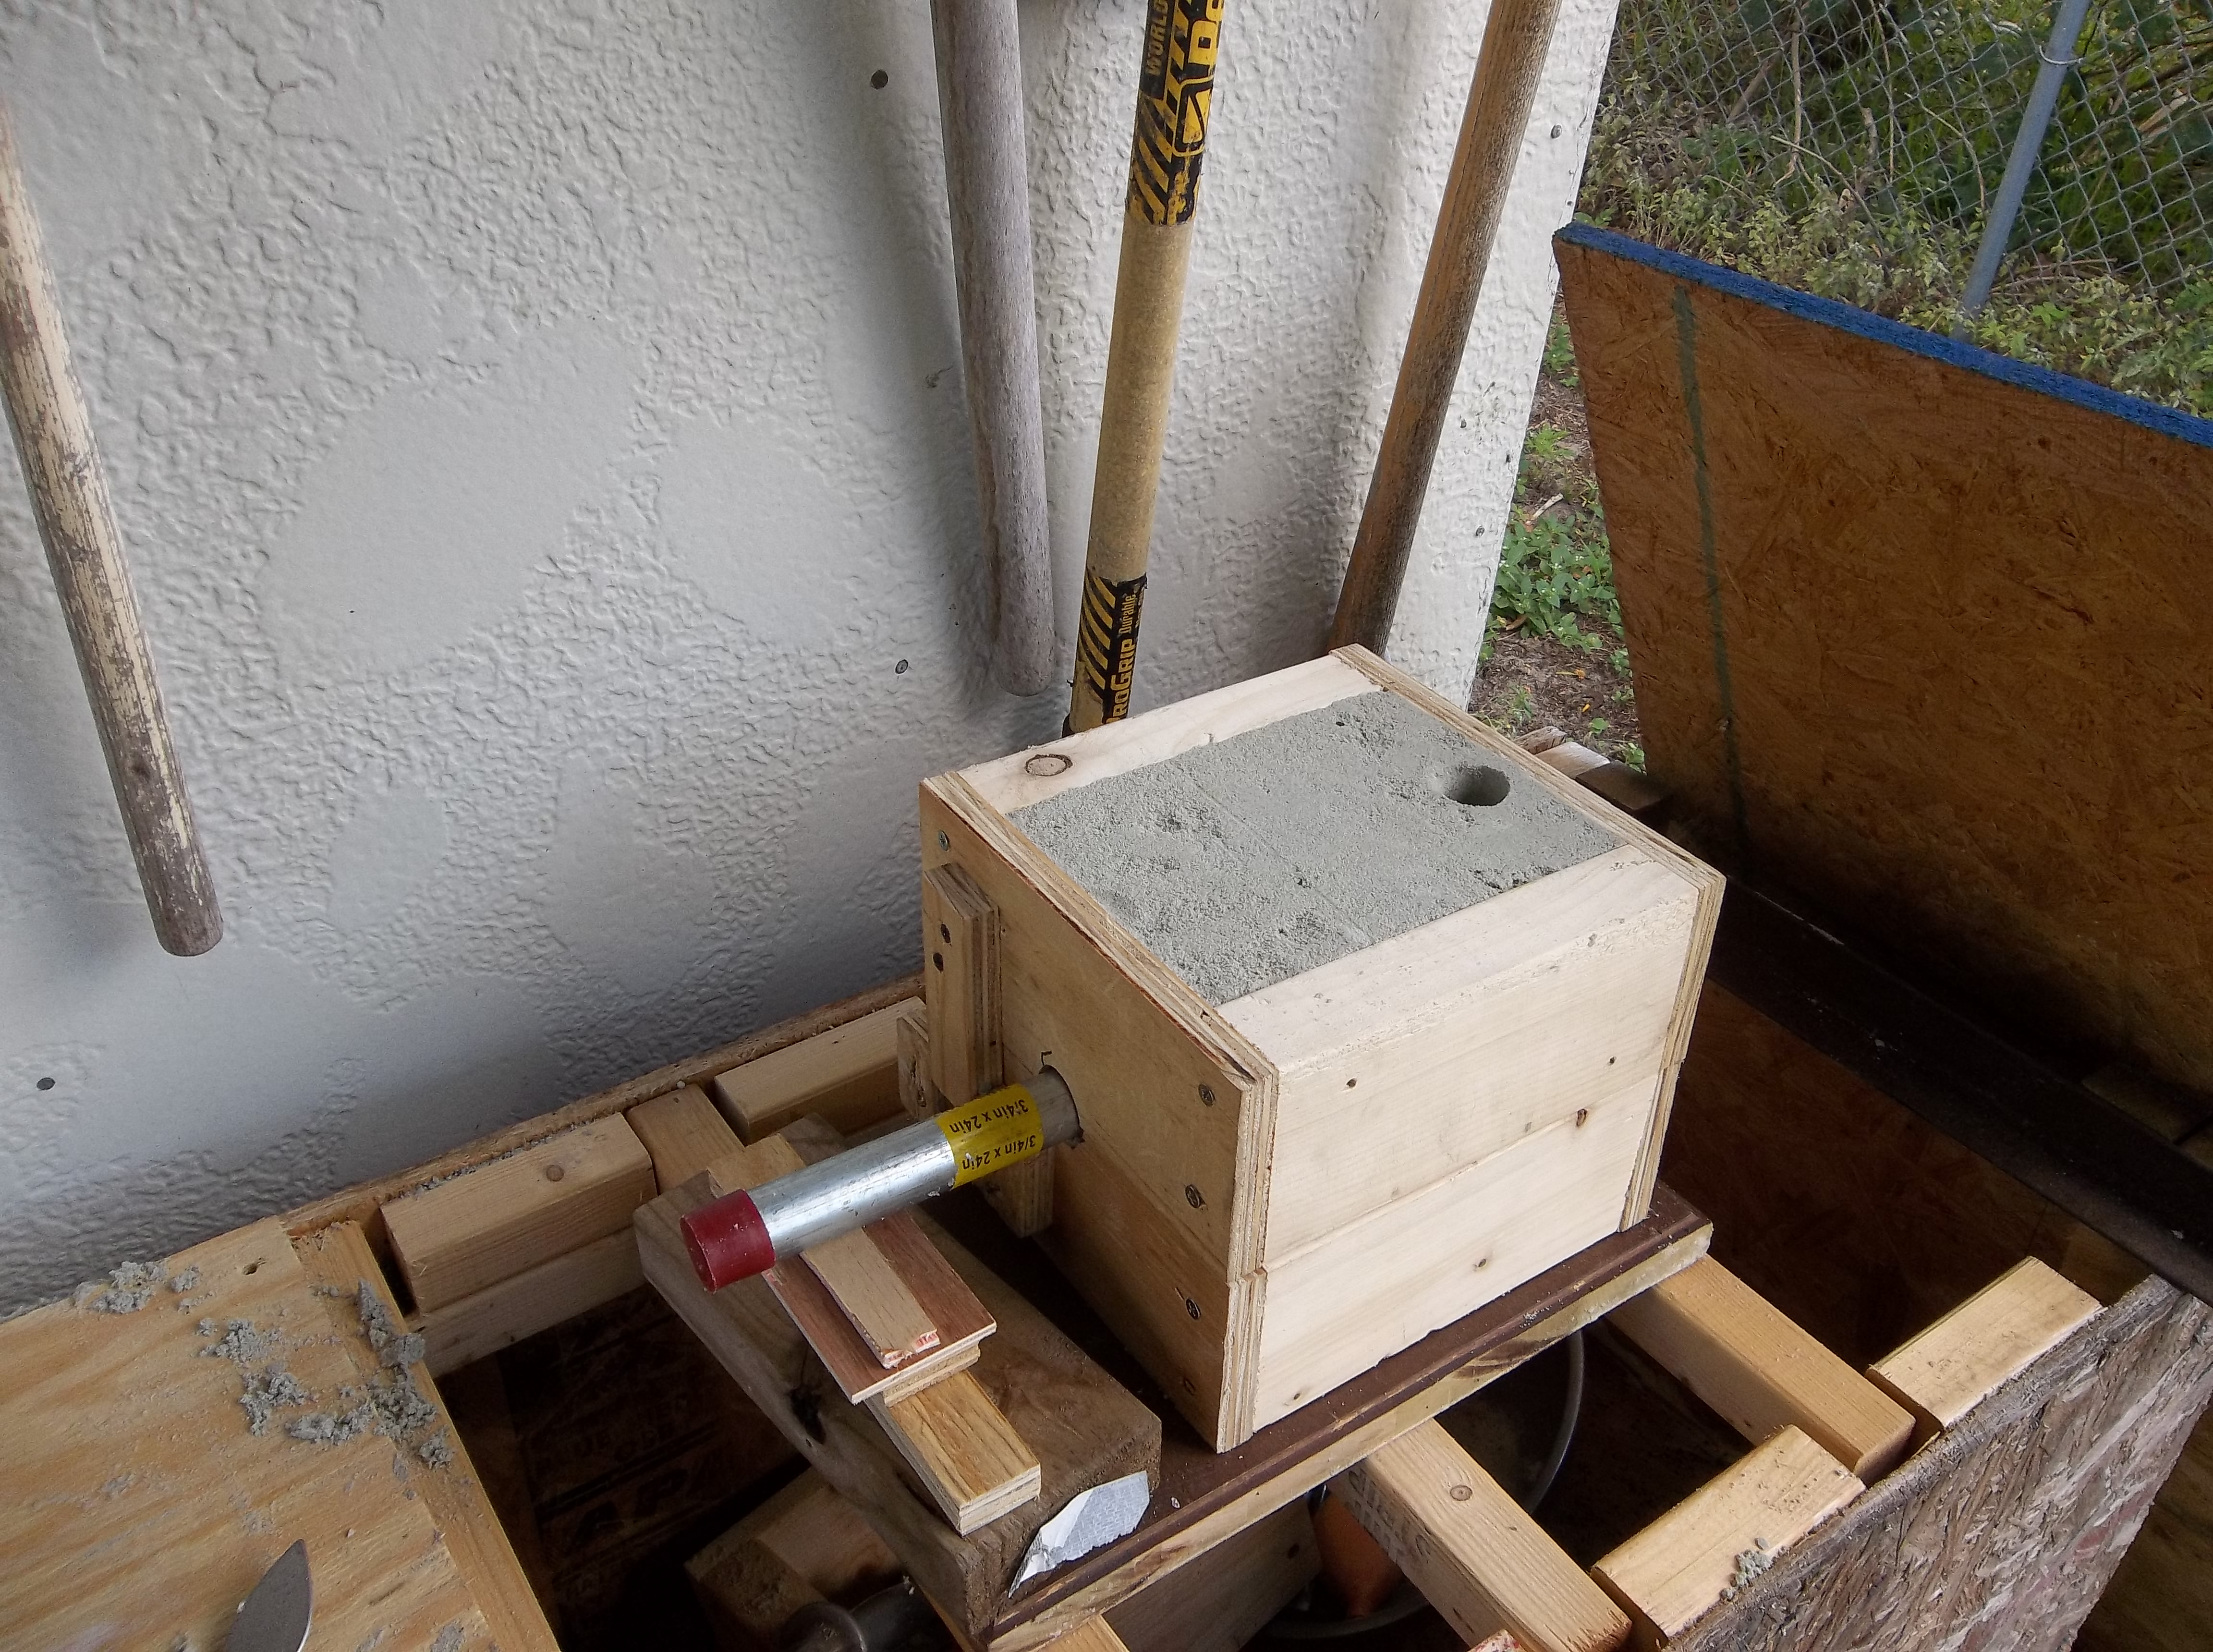 ...put it back in and closed the mold. As you can see, I also cut the sprue. 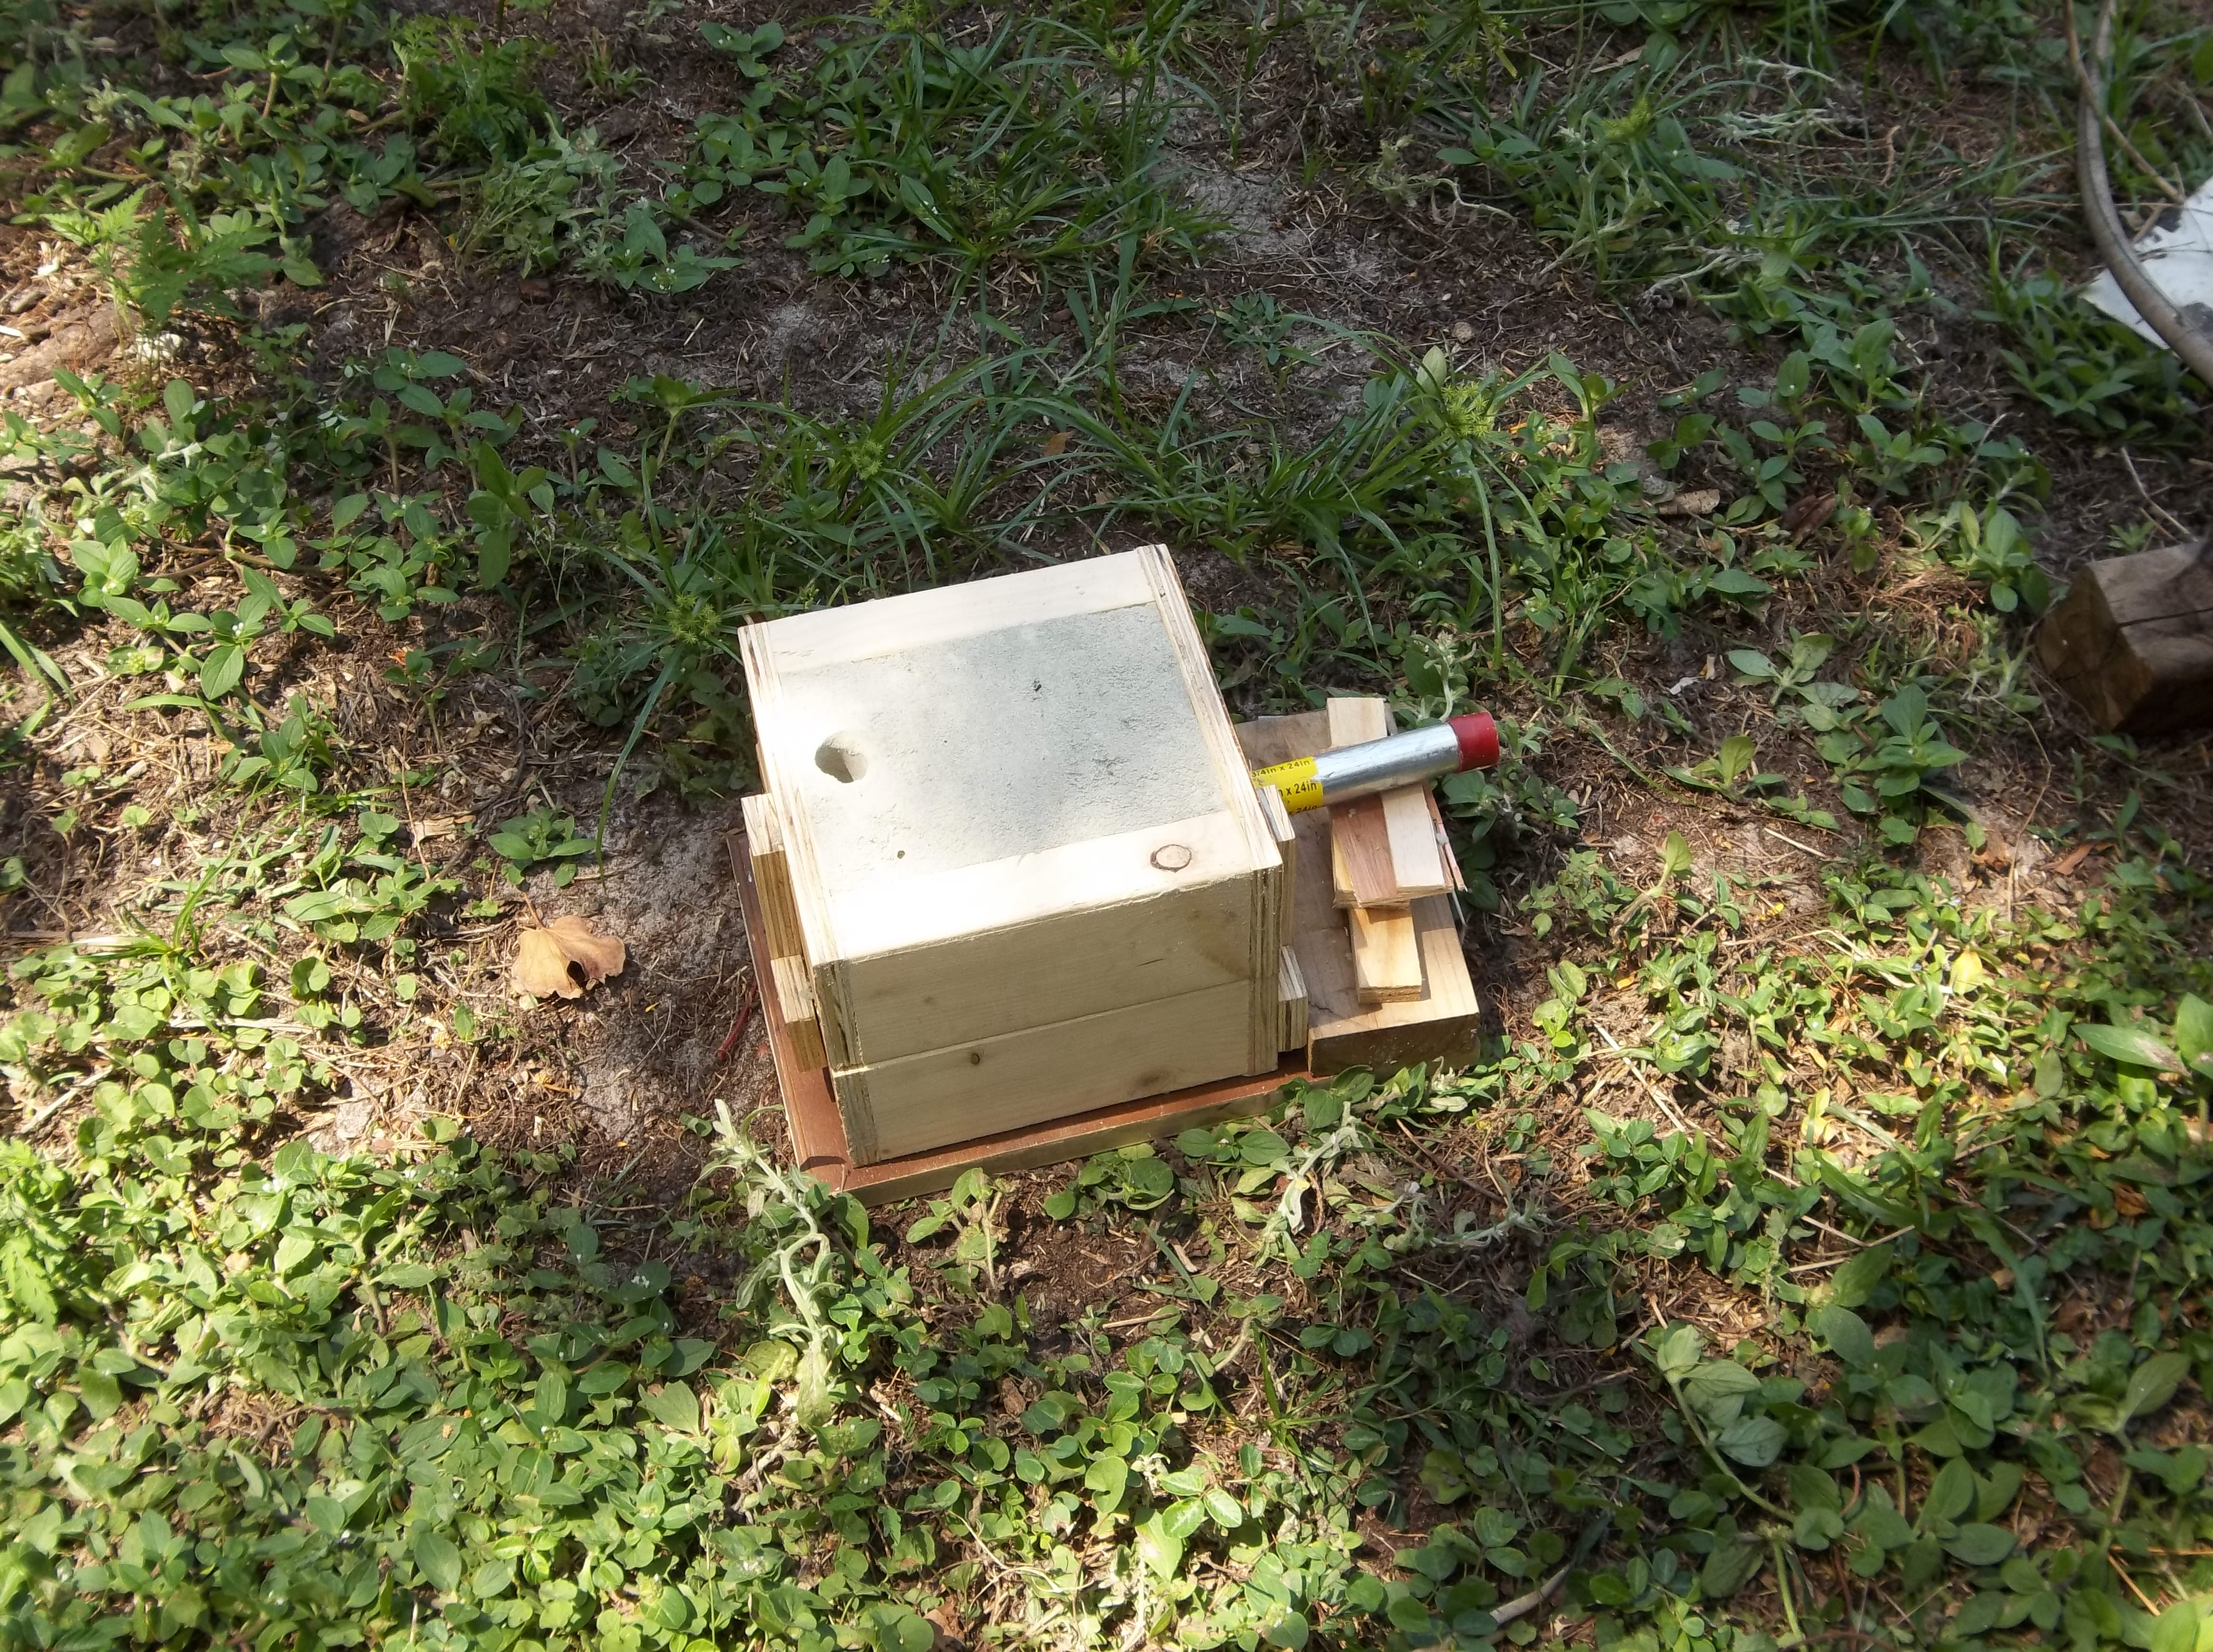 Ready to pour! I wasn't sure the pattern would pull from the sand, so I didn't light the furnace. 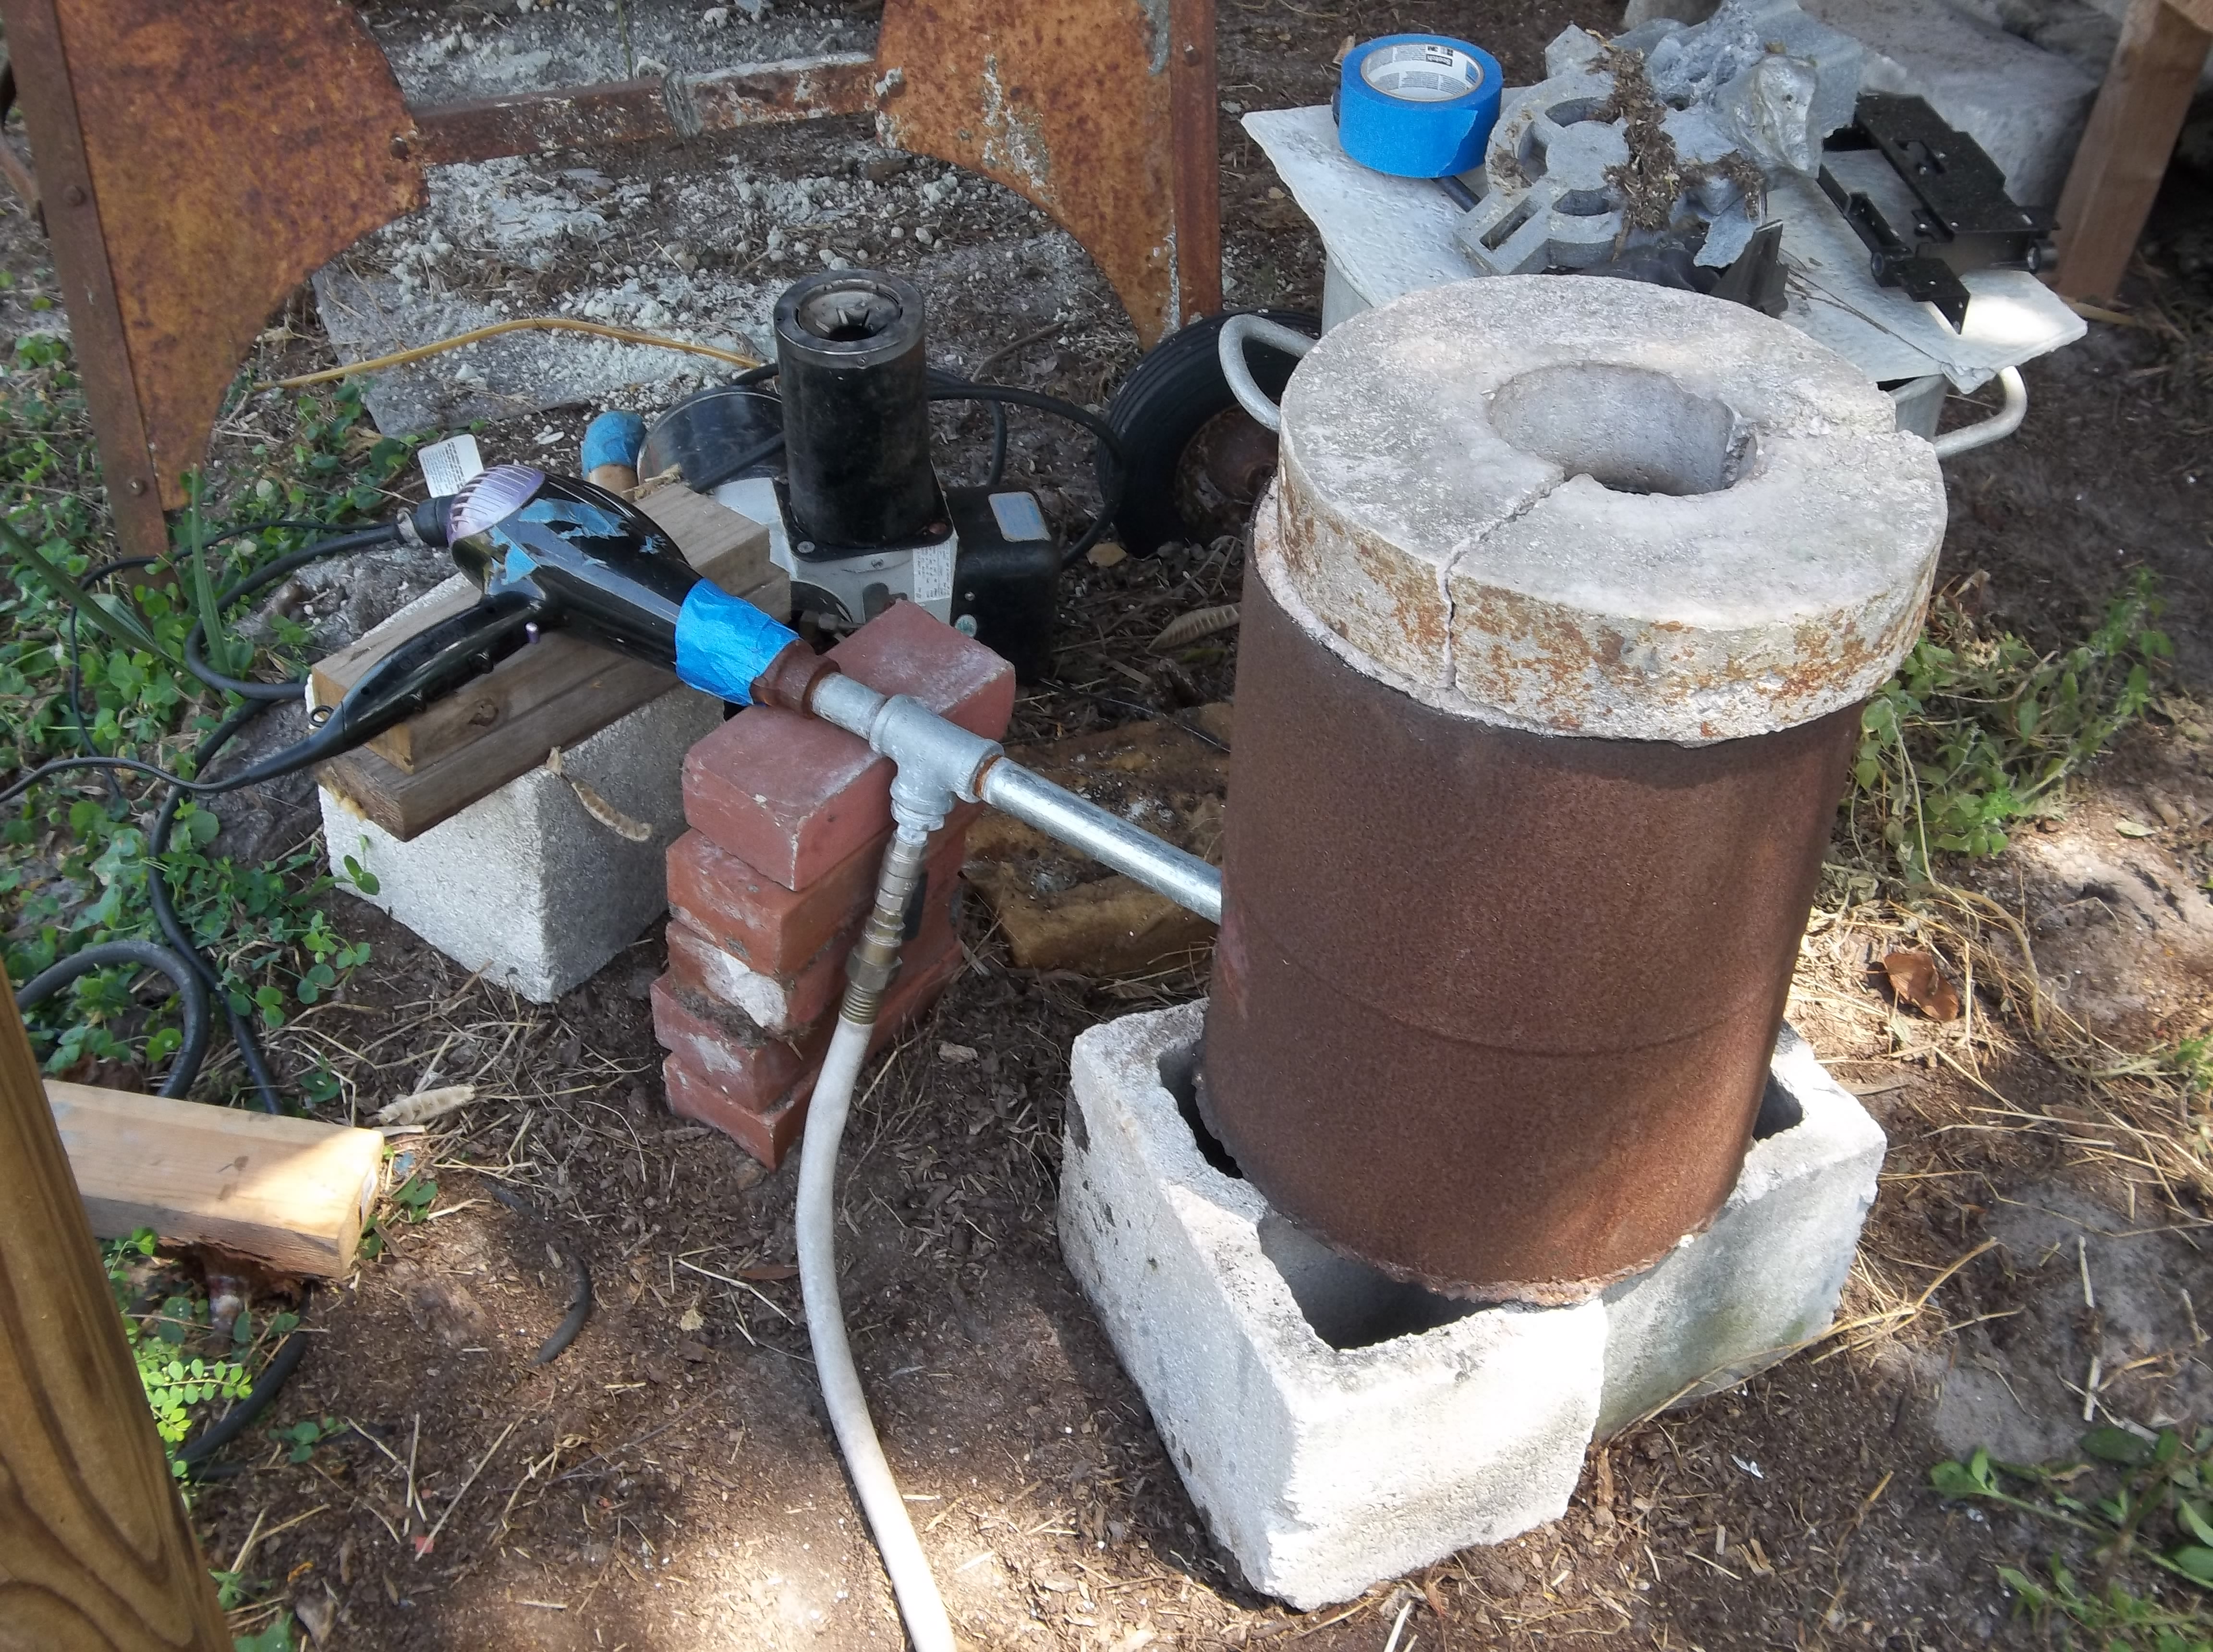 I drug out the hose and plugged it in to the natural gas (town gas) line for the BBQ. Hair dryer on low and fired it up. Rain was forecast and it was getting cloudy!  I moved the mold under the awning and was able to pour just as the rain started. Luckily, it started slow with just a few drops. 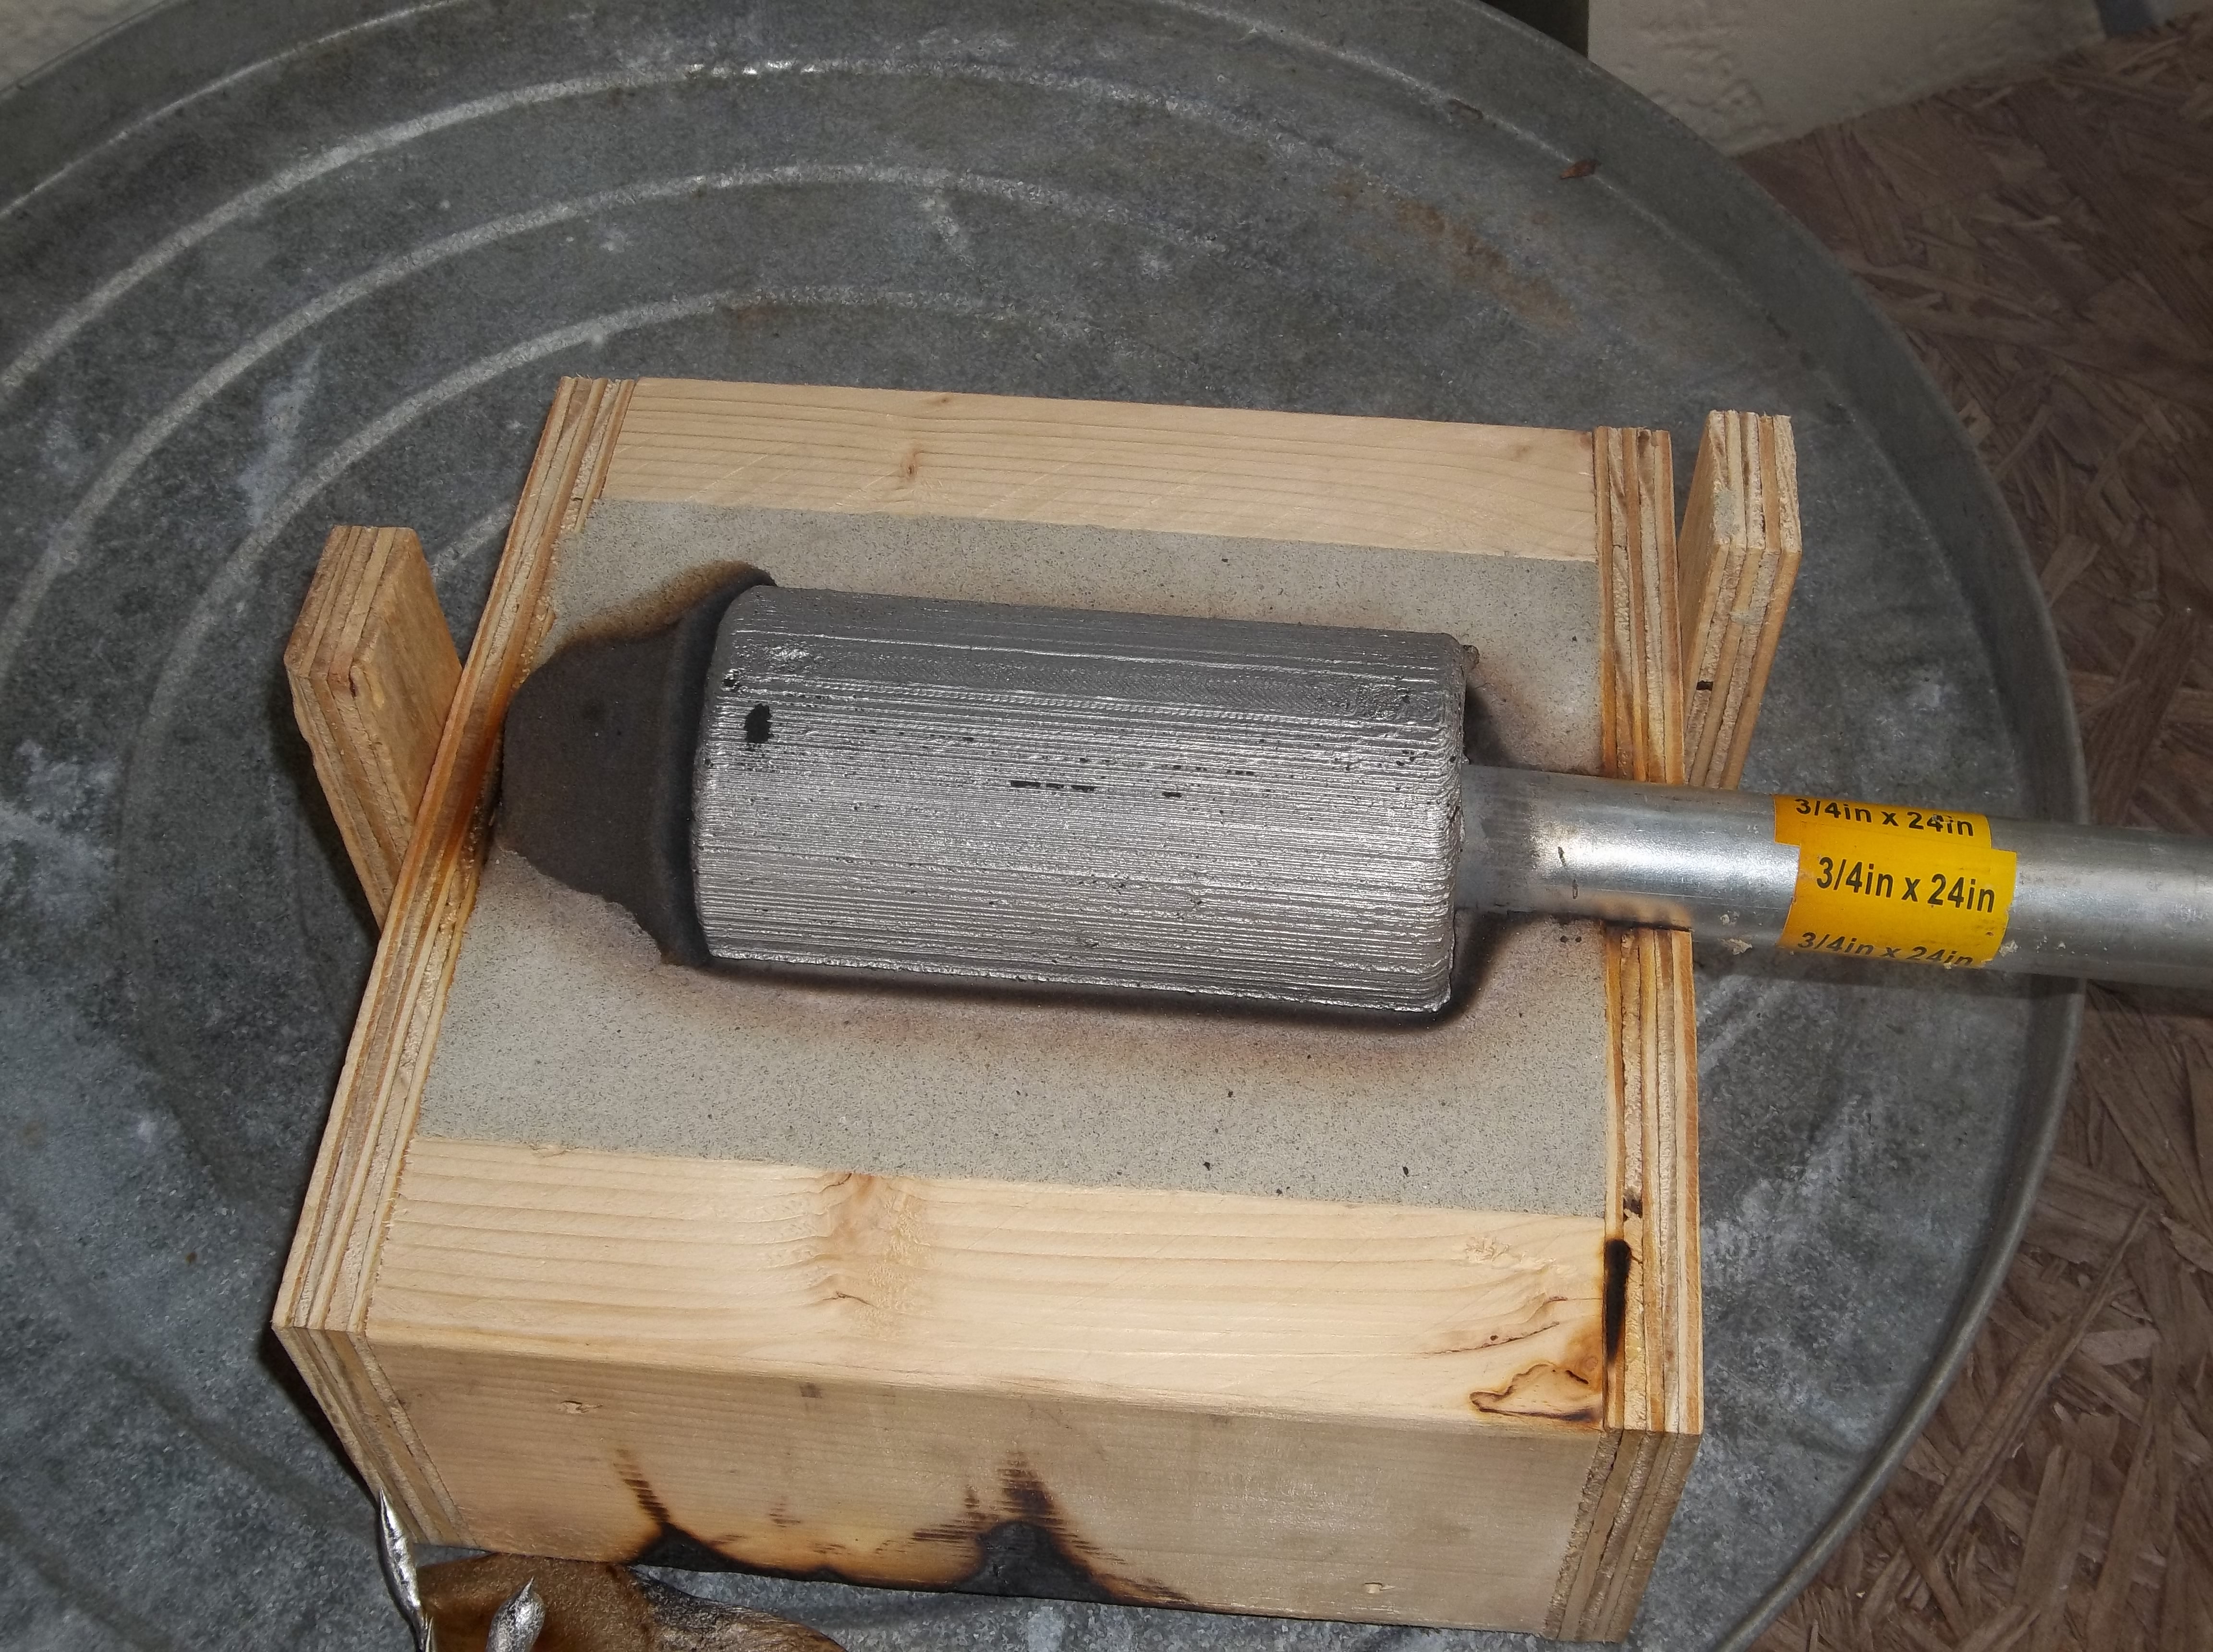 I opened the mold and the sand was still smoking. 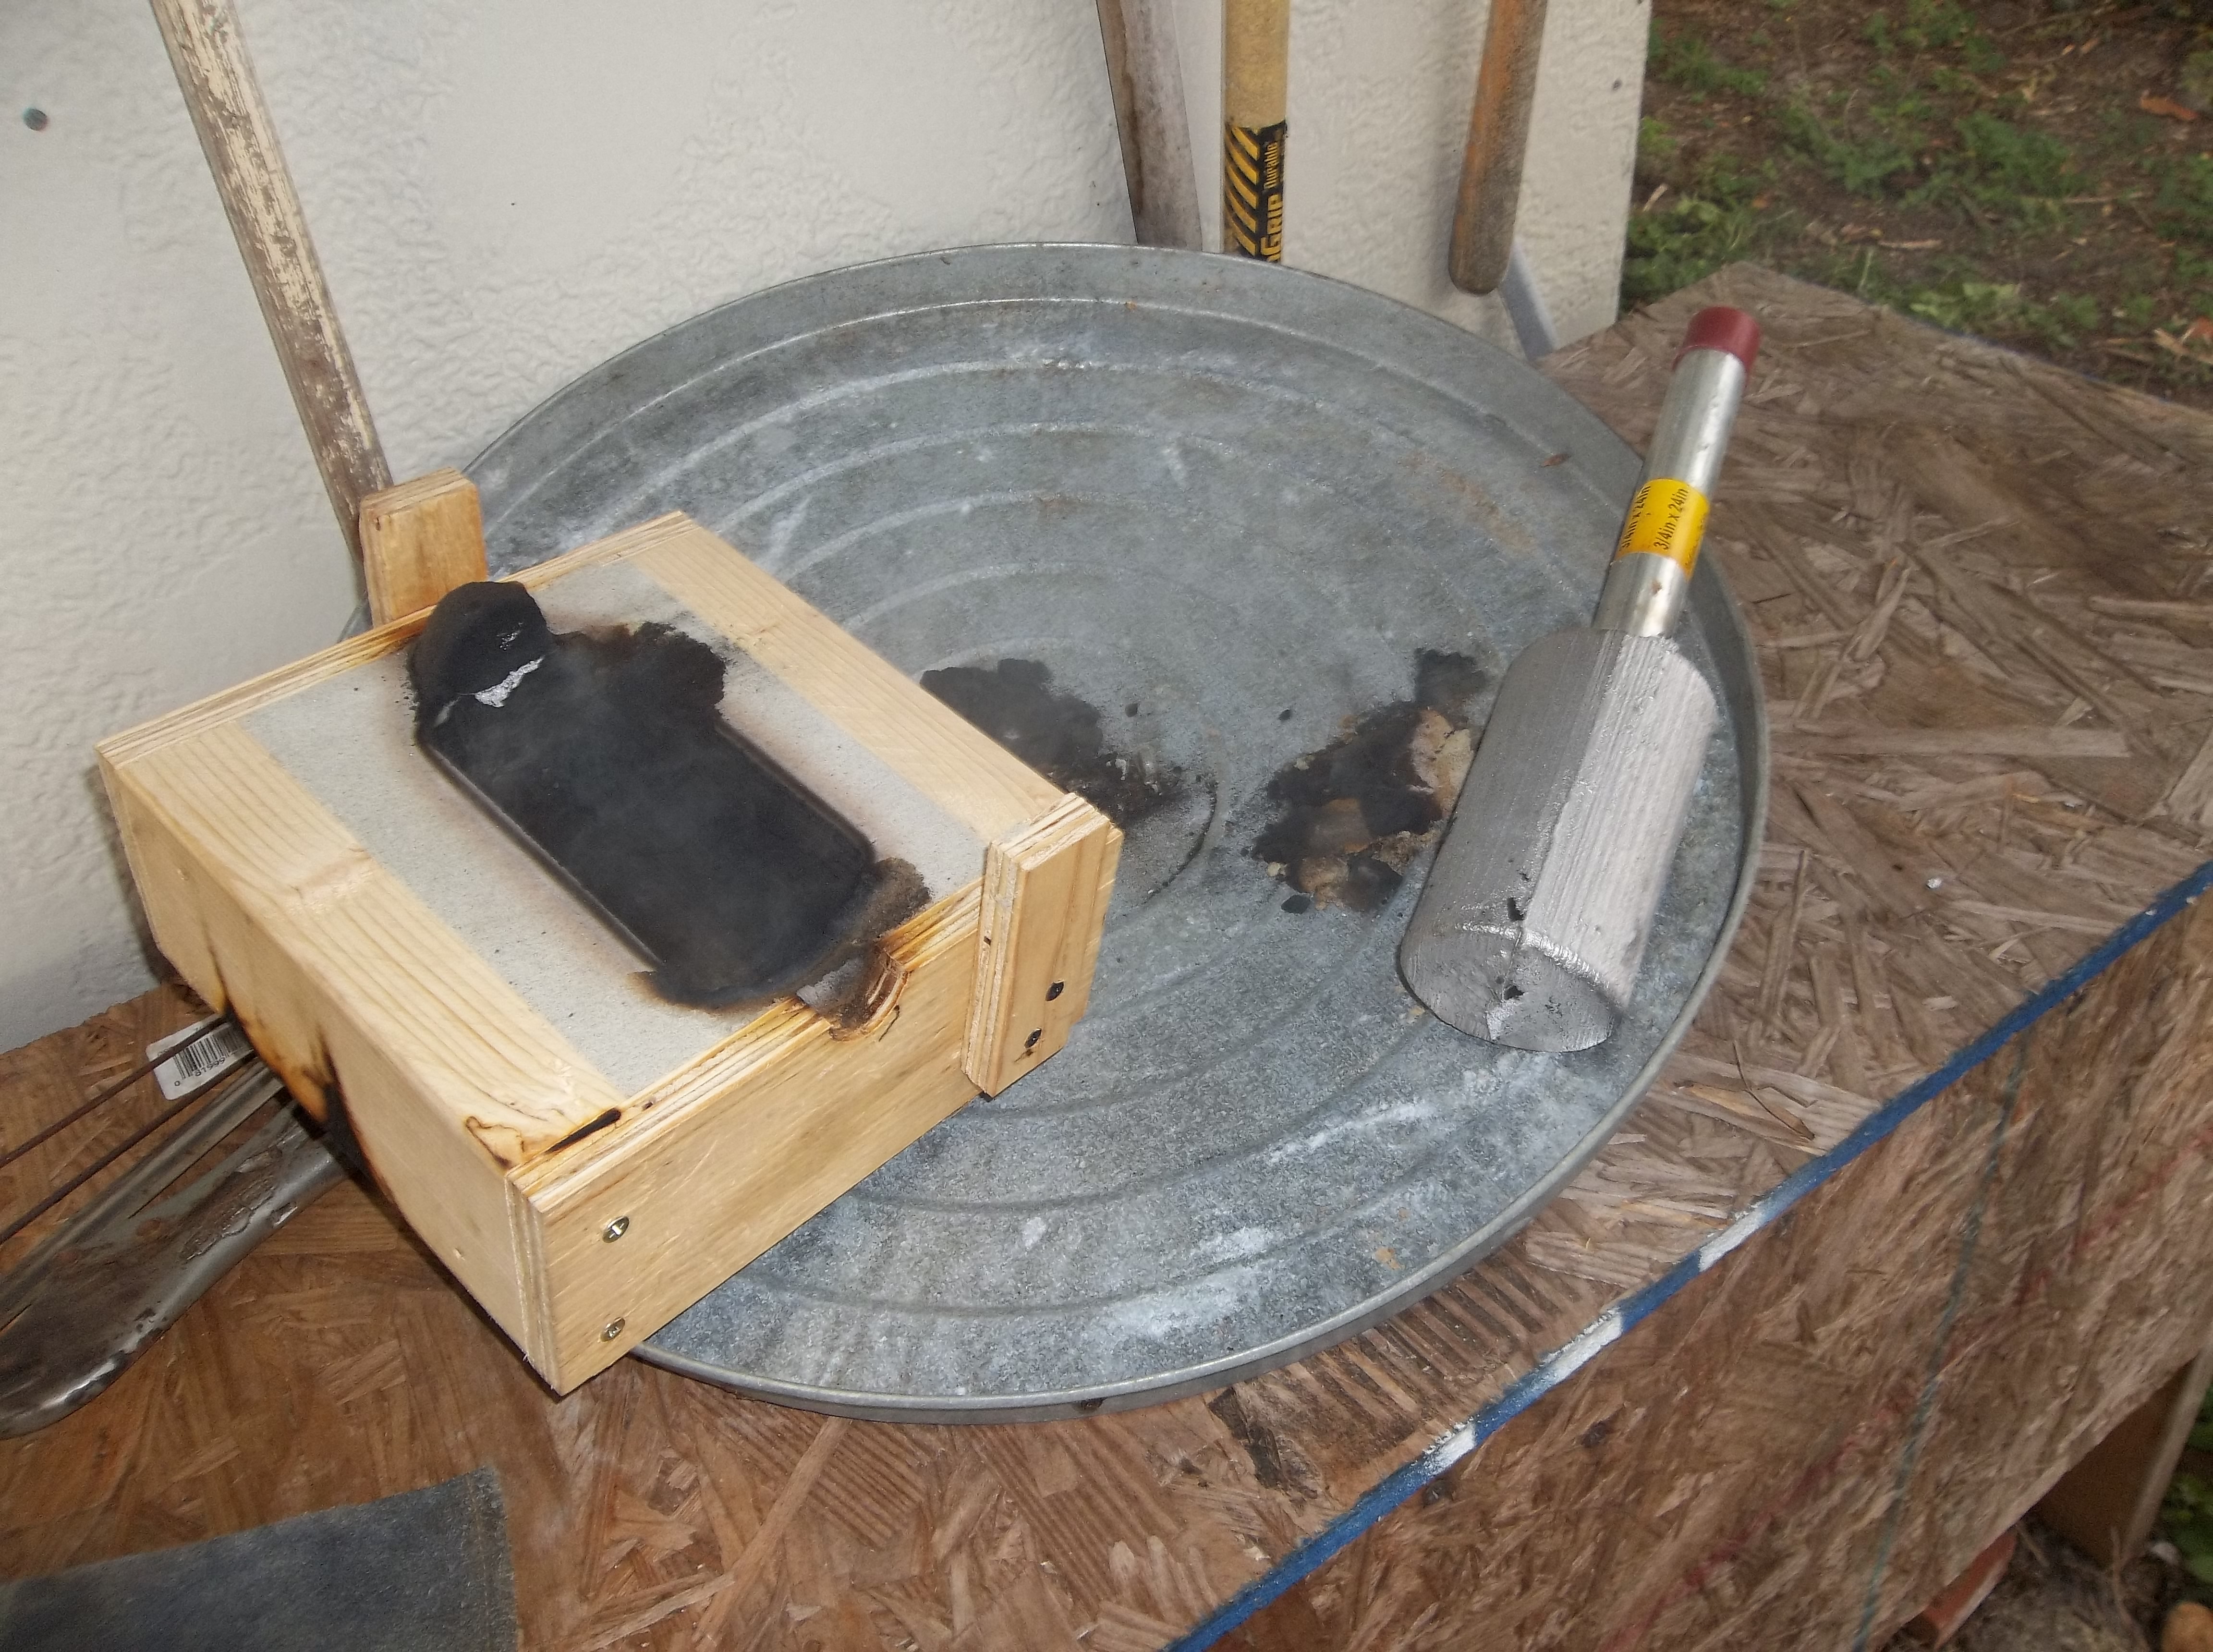 I lifted the pipe to break out the sand and the gate broke. Perfect! This is where I would have cut it, anyway. I was lucky that no aluminum tried to exit along the pipe. The printed pattern was just the right size to make the sand hug the pipe. Next time, I'll drill the holes, one for the extrusion nozzle and two for the 500 Watt heaters. And I'll wire it up with a solid state relay instead of my triac. But for now, I am declaring a success in using a Reprap 3D printed pattern for sand casting! |