Gravity Extruder

Part 3

Think, Draw, Print. 3D printers ROCK!

Written and maintained by Ron Thompson.
April 21, 2012


OK, the casting is cooled overnight. Time to get busy!

I chucked the thing in my big ole Monarch lathe to face off the end and drill the extruder hole. Was I surprised! I didn't center the pipe in the mold as well as I thought I had. Either that or it moved when I moved the mold under the shed awning to avoid the rain.


Doesn't look too bad here...


...but turn it 90 degrees and you can see where I turned off part of it. Pretty lopsided, but good enough for an extruder.


I had to return it to the lathe to face off the side with the pipe sticking out. This was so it would sit straight on the drill press. The center hole of the table was too small, so I lifted it off. This worked. I started the 3/8" holes for the cartridge heaters with a center drill, then drilled as deep as I could with a standard jobber length drill. I had to buy an extra long bit to finish the holes all the way through. Deep drilling is a pain. You have to clear chips more often than you would think.


I had to clean the holes well so the heaters would slide in easily. I used a chisel to upset a few places around the hole so the heaters couldn't slide back out. This shows where I drilled for the thermocouple. It should have been a piece of cake, but the captive bolt on the thermocouple broke! I had to use an angle grinder to cut it away. I wound up cross drilling and using a set screw to hold the thermocouple in place.


The set screw hole.


I replaced the triac with a solid state relay (taped to the PID controller). The two 500 watt heaters are wired in parallel and then the SSR is wired to break the hot side. I know it's ugly. If it works out, I'll pretty it up.


The same jury rig clamping stand as before.


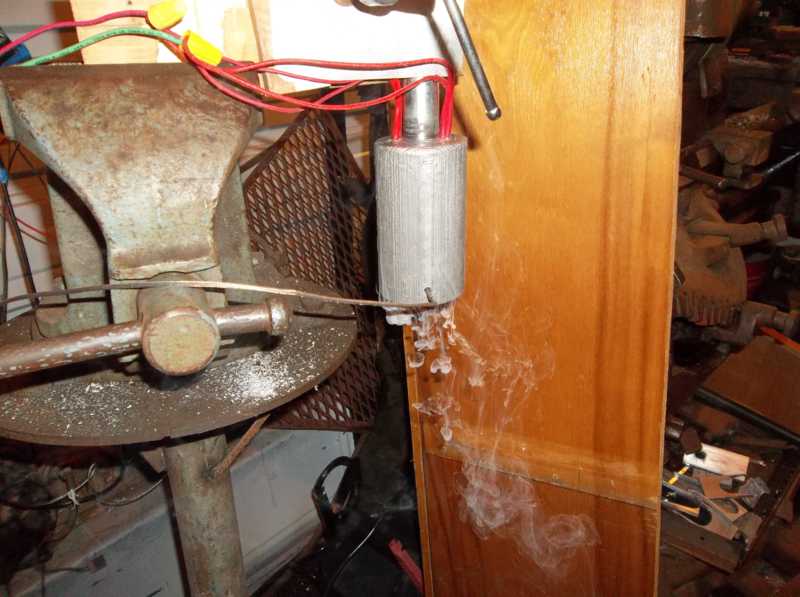
We have heat! I was watching the temperature closely. This smoke was WD-40 residue from machining.


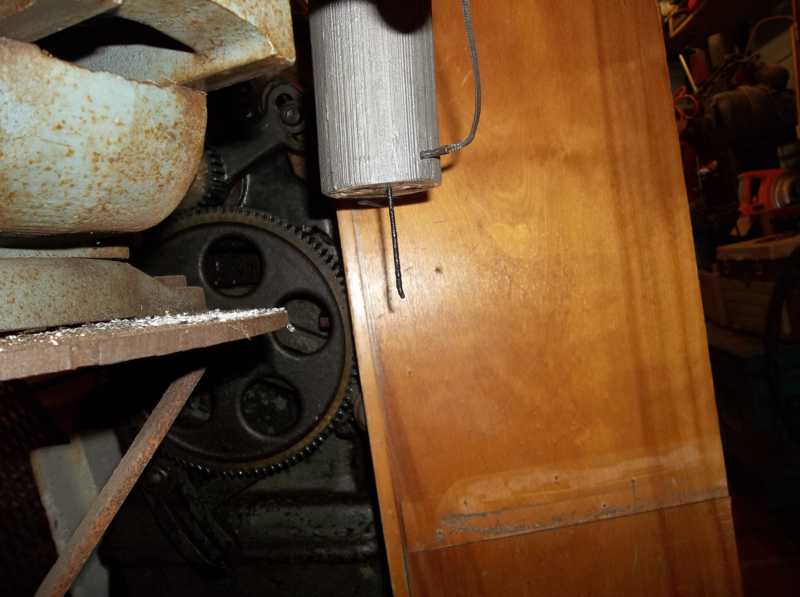
The first extrusion. And without any added heat.


About the same quality as the first attempt. Kind of bumpy looking. Seems too cold. The controller is set at 230C. I think it needs time to equalize all that thermal mass.


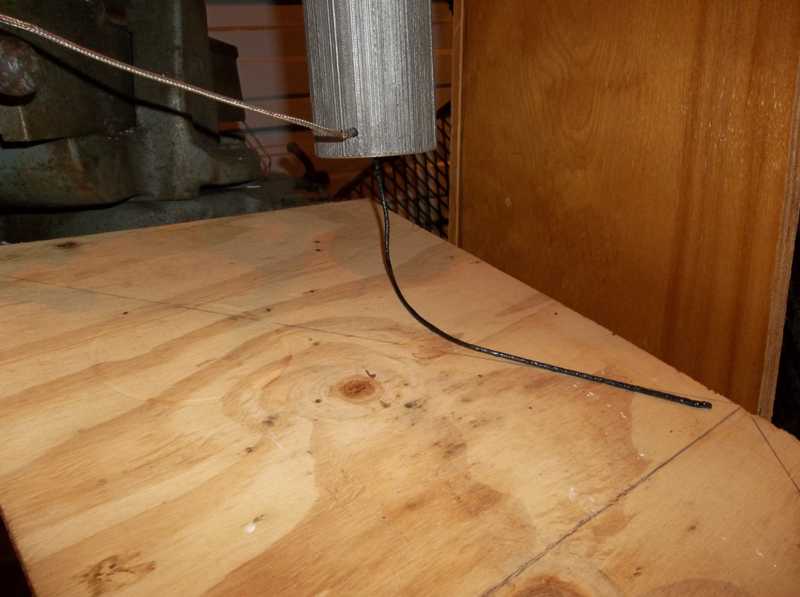
I thought a little friction in the form of a wood ramp might help keep it from stretching and thinning the filament.

This is as far as I got, today. The shop AC kicked on and the extrusion stopped. Maybe too much surface area. I have some high temp insulation to try. And I can always turn up the controller.

Again, I am declaring success. I got a gravity fed extrusion from a single source of heat with a PID temperature controller.

Now to work on quality and speed of extrusion.

I expect these to lie in the realm of temperature control and take up method to wind the filament on a reel.

I also expect, at some point, to need to make a pellet feeder to replenish the hopper as needed. Something like the auger cat food feeder on thingiverse with a sensor to tell when it's full.

And then...and then...