More parts in this update. First some thoughts on when to bail out on a print.

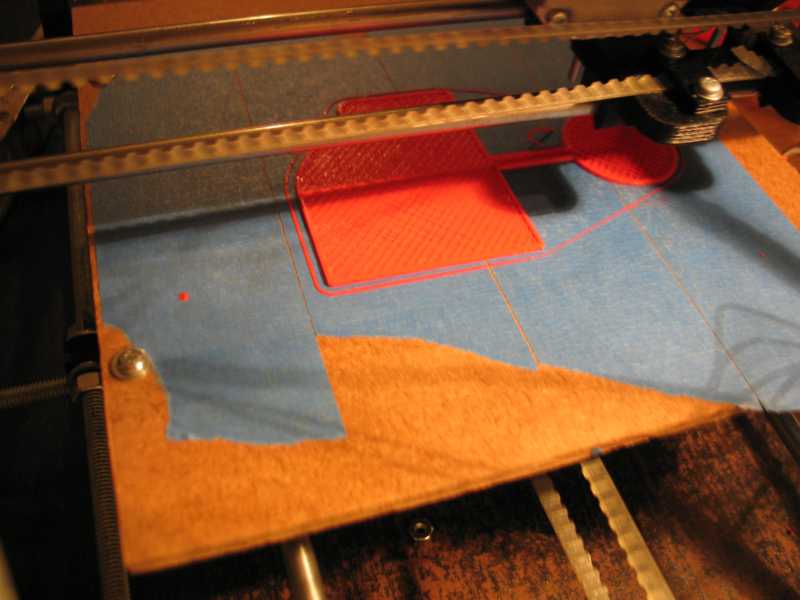
Starting OK...
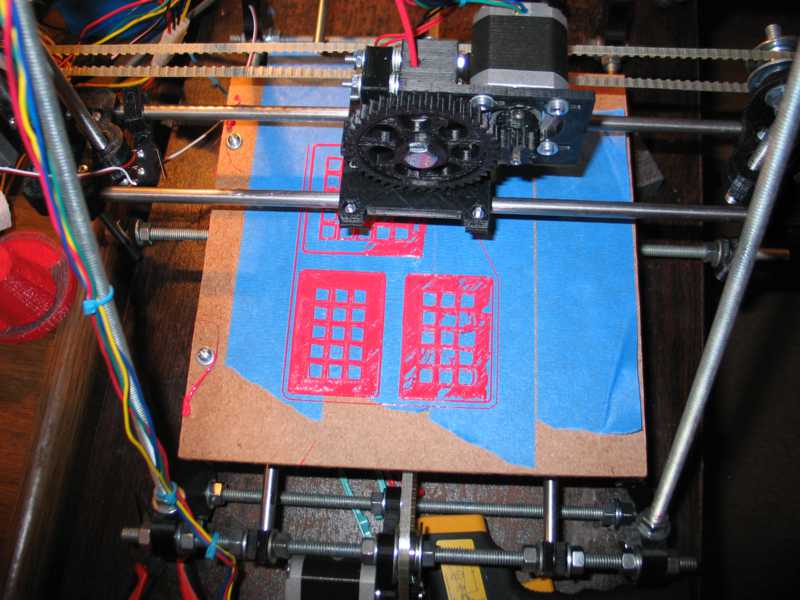
But the right hand part isn't adhereing to the tape too well...
But after a few layers, it seems to
catch up. While it would have been nice for the first layer or two to
have been better, this is a perfectly acceptable part. Of course, what
is acceptable is up to you, and it depends on the intended use. Just
don't be in too much of a hurry to try again.
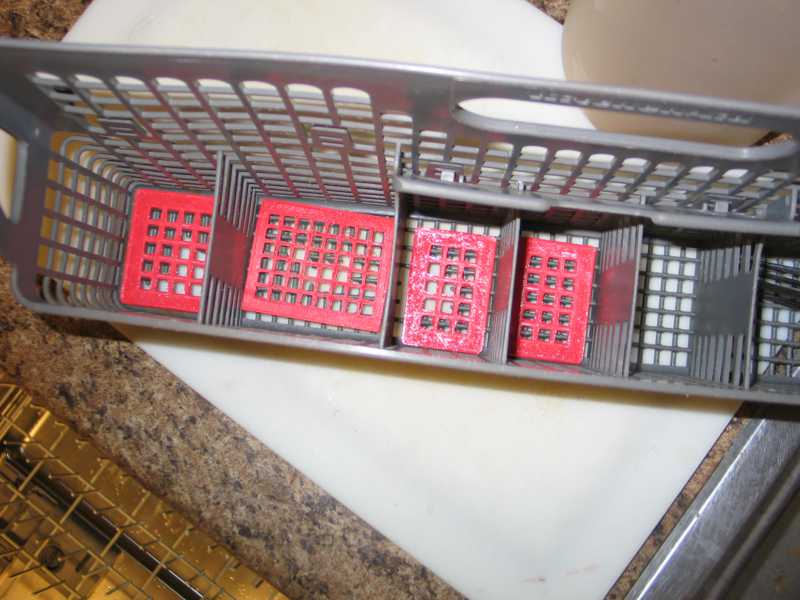


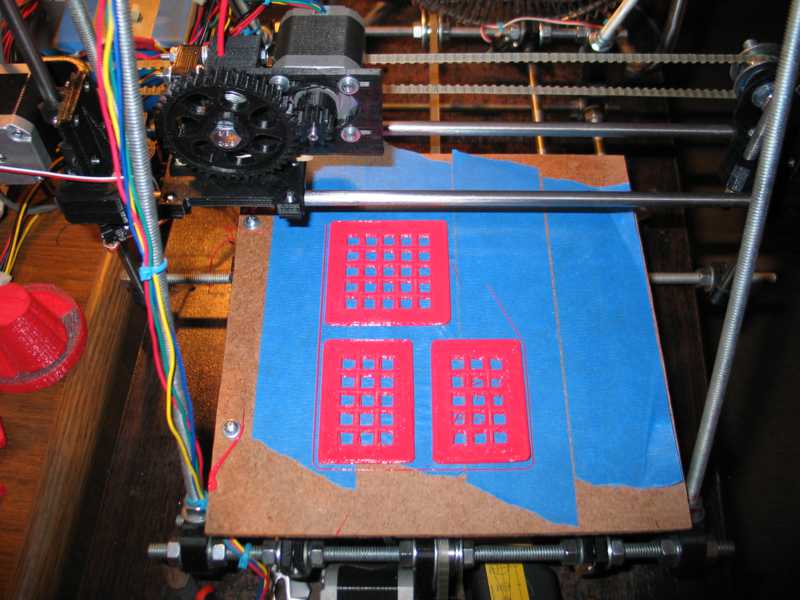
These dishwasher hacks don't
care. What matters in this part is nothing falls through the holes and
the plastic doesn't break apart and clog the pump. Pretty modest
requirements.

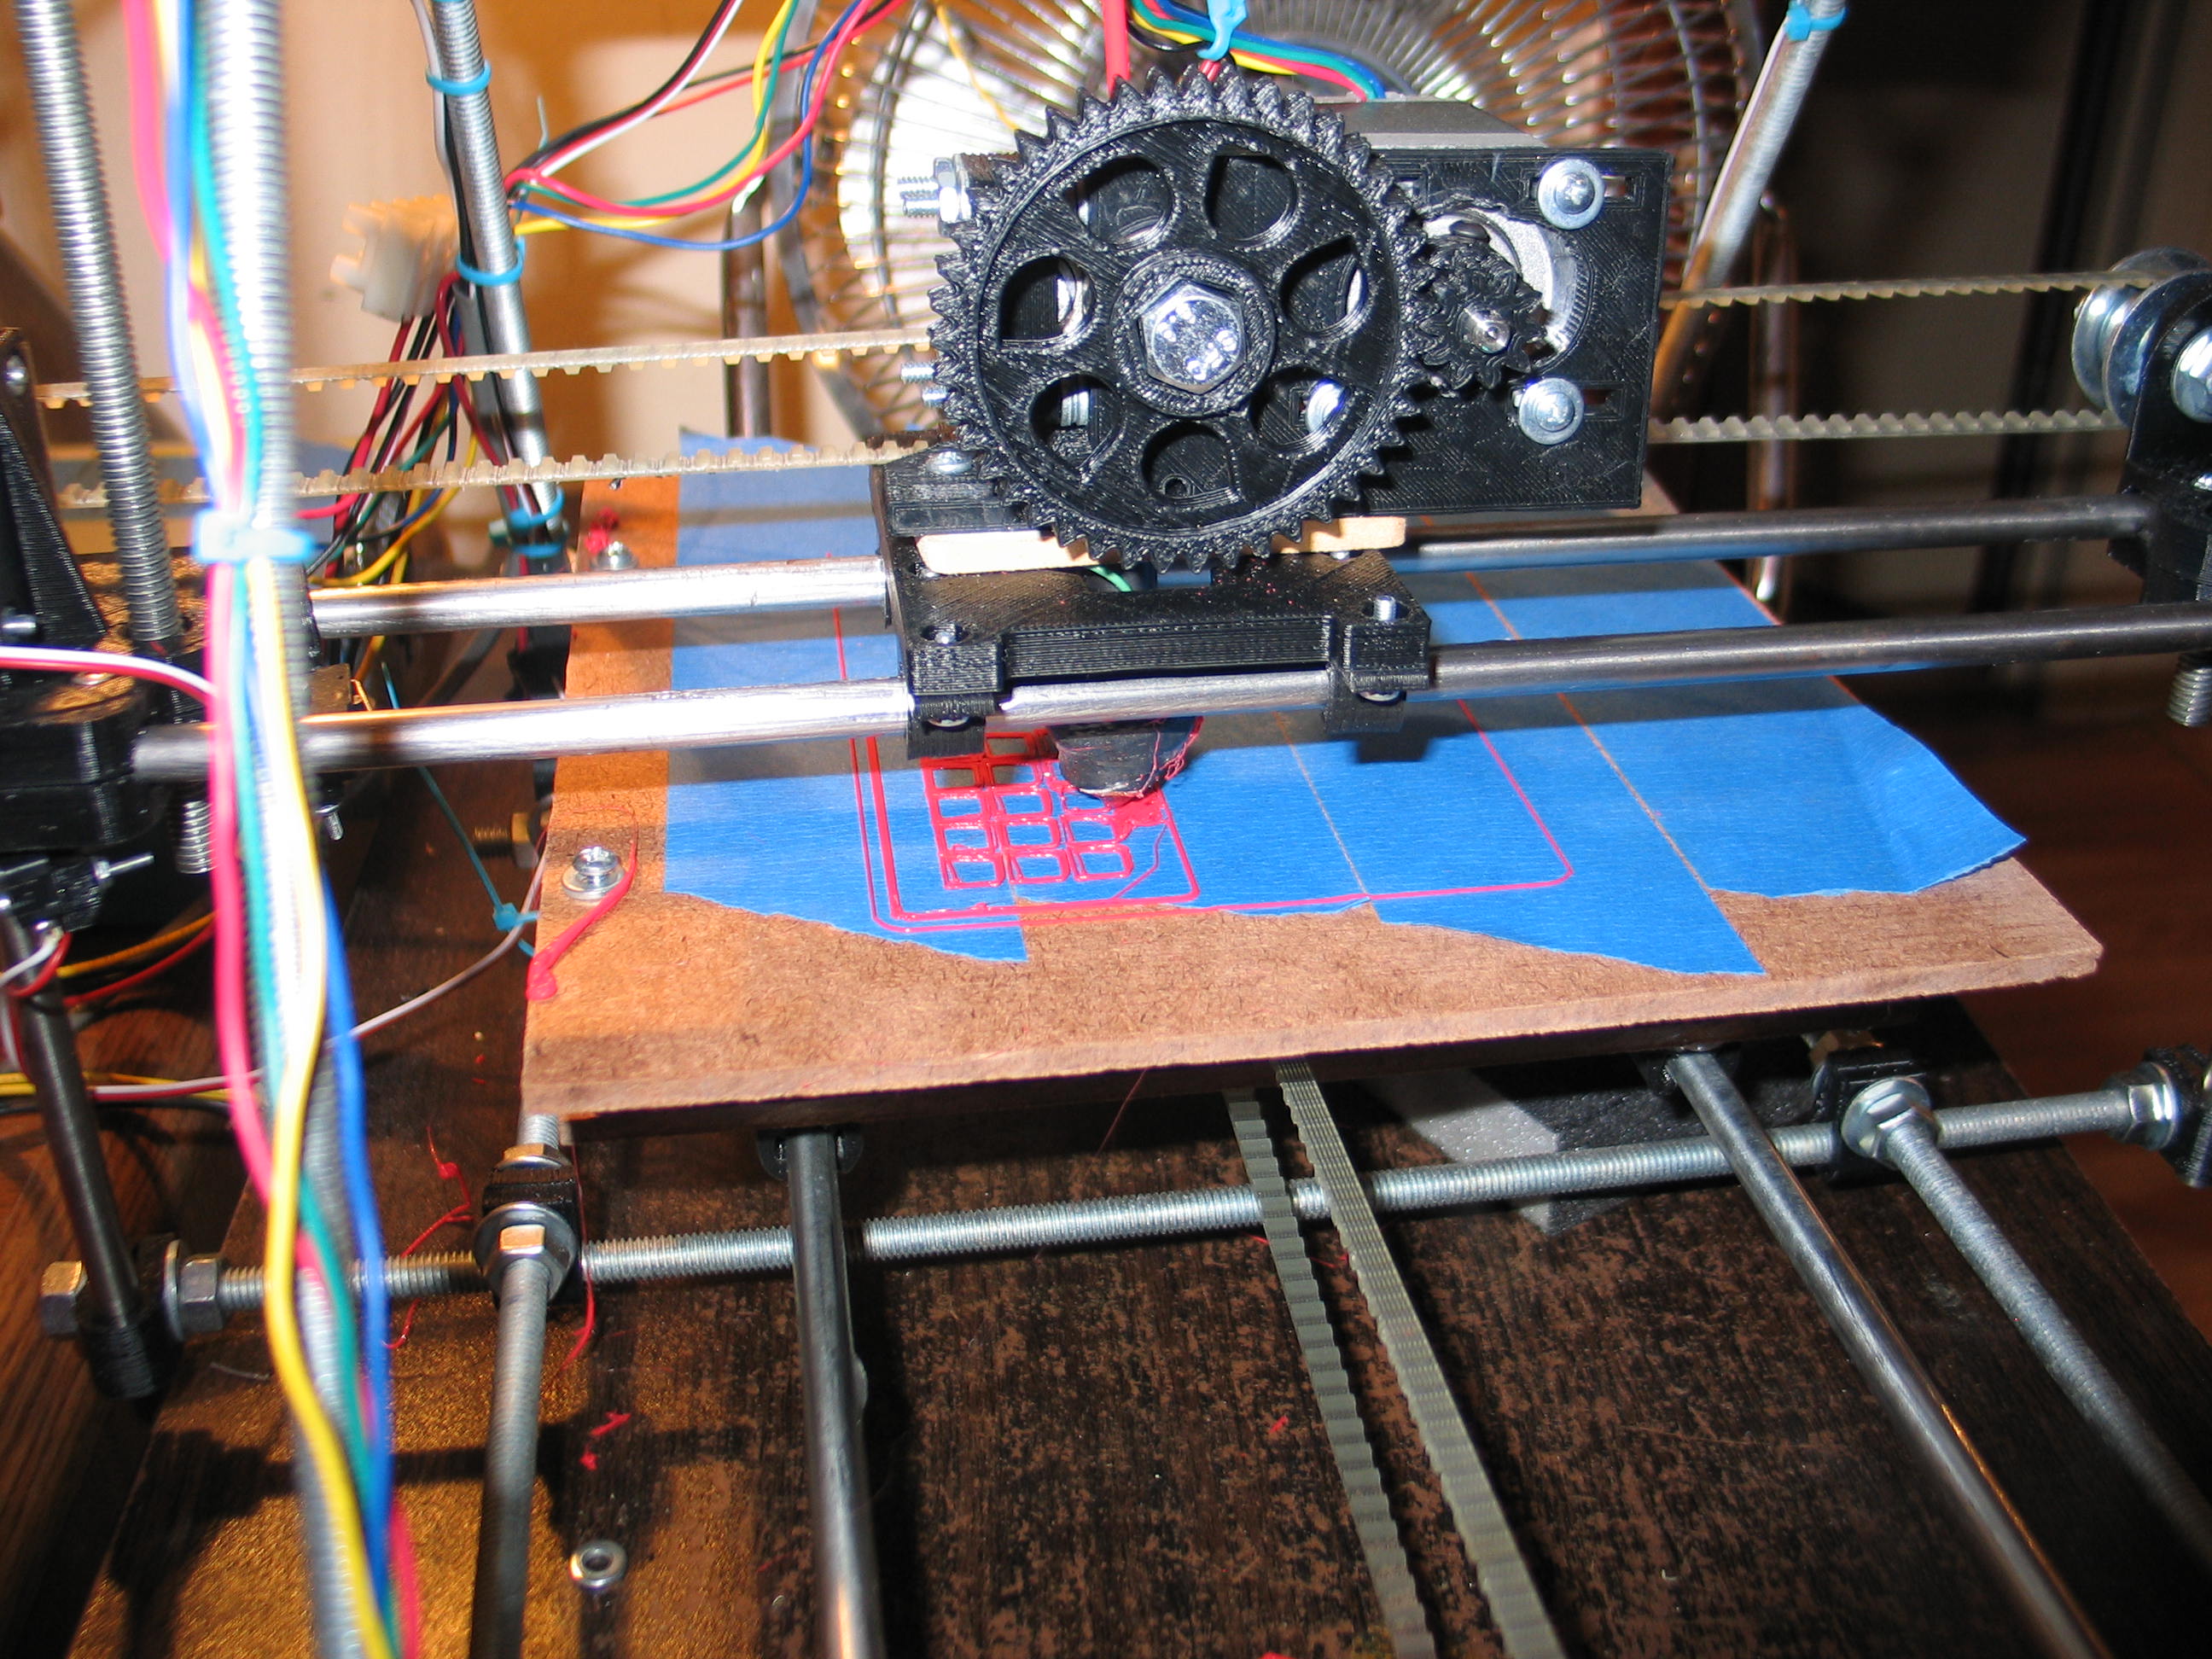
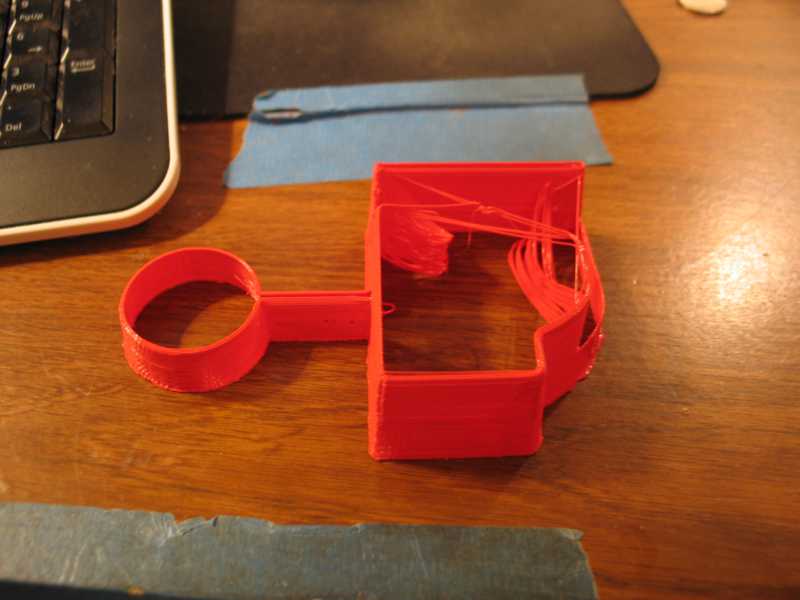
This is the beginings of a Wade's Accessible hinged extruder. I'll be pickier about it.
This is the beginings of a Wade's Accessible hinged extruder. I'll be pickier about it.
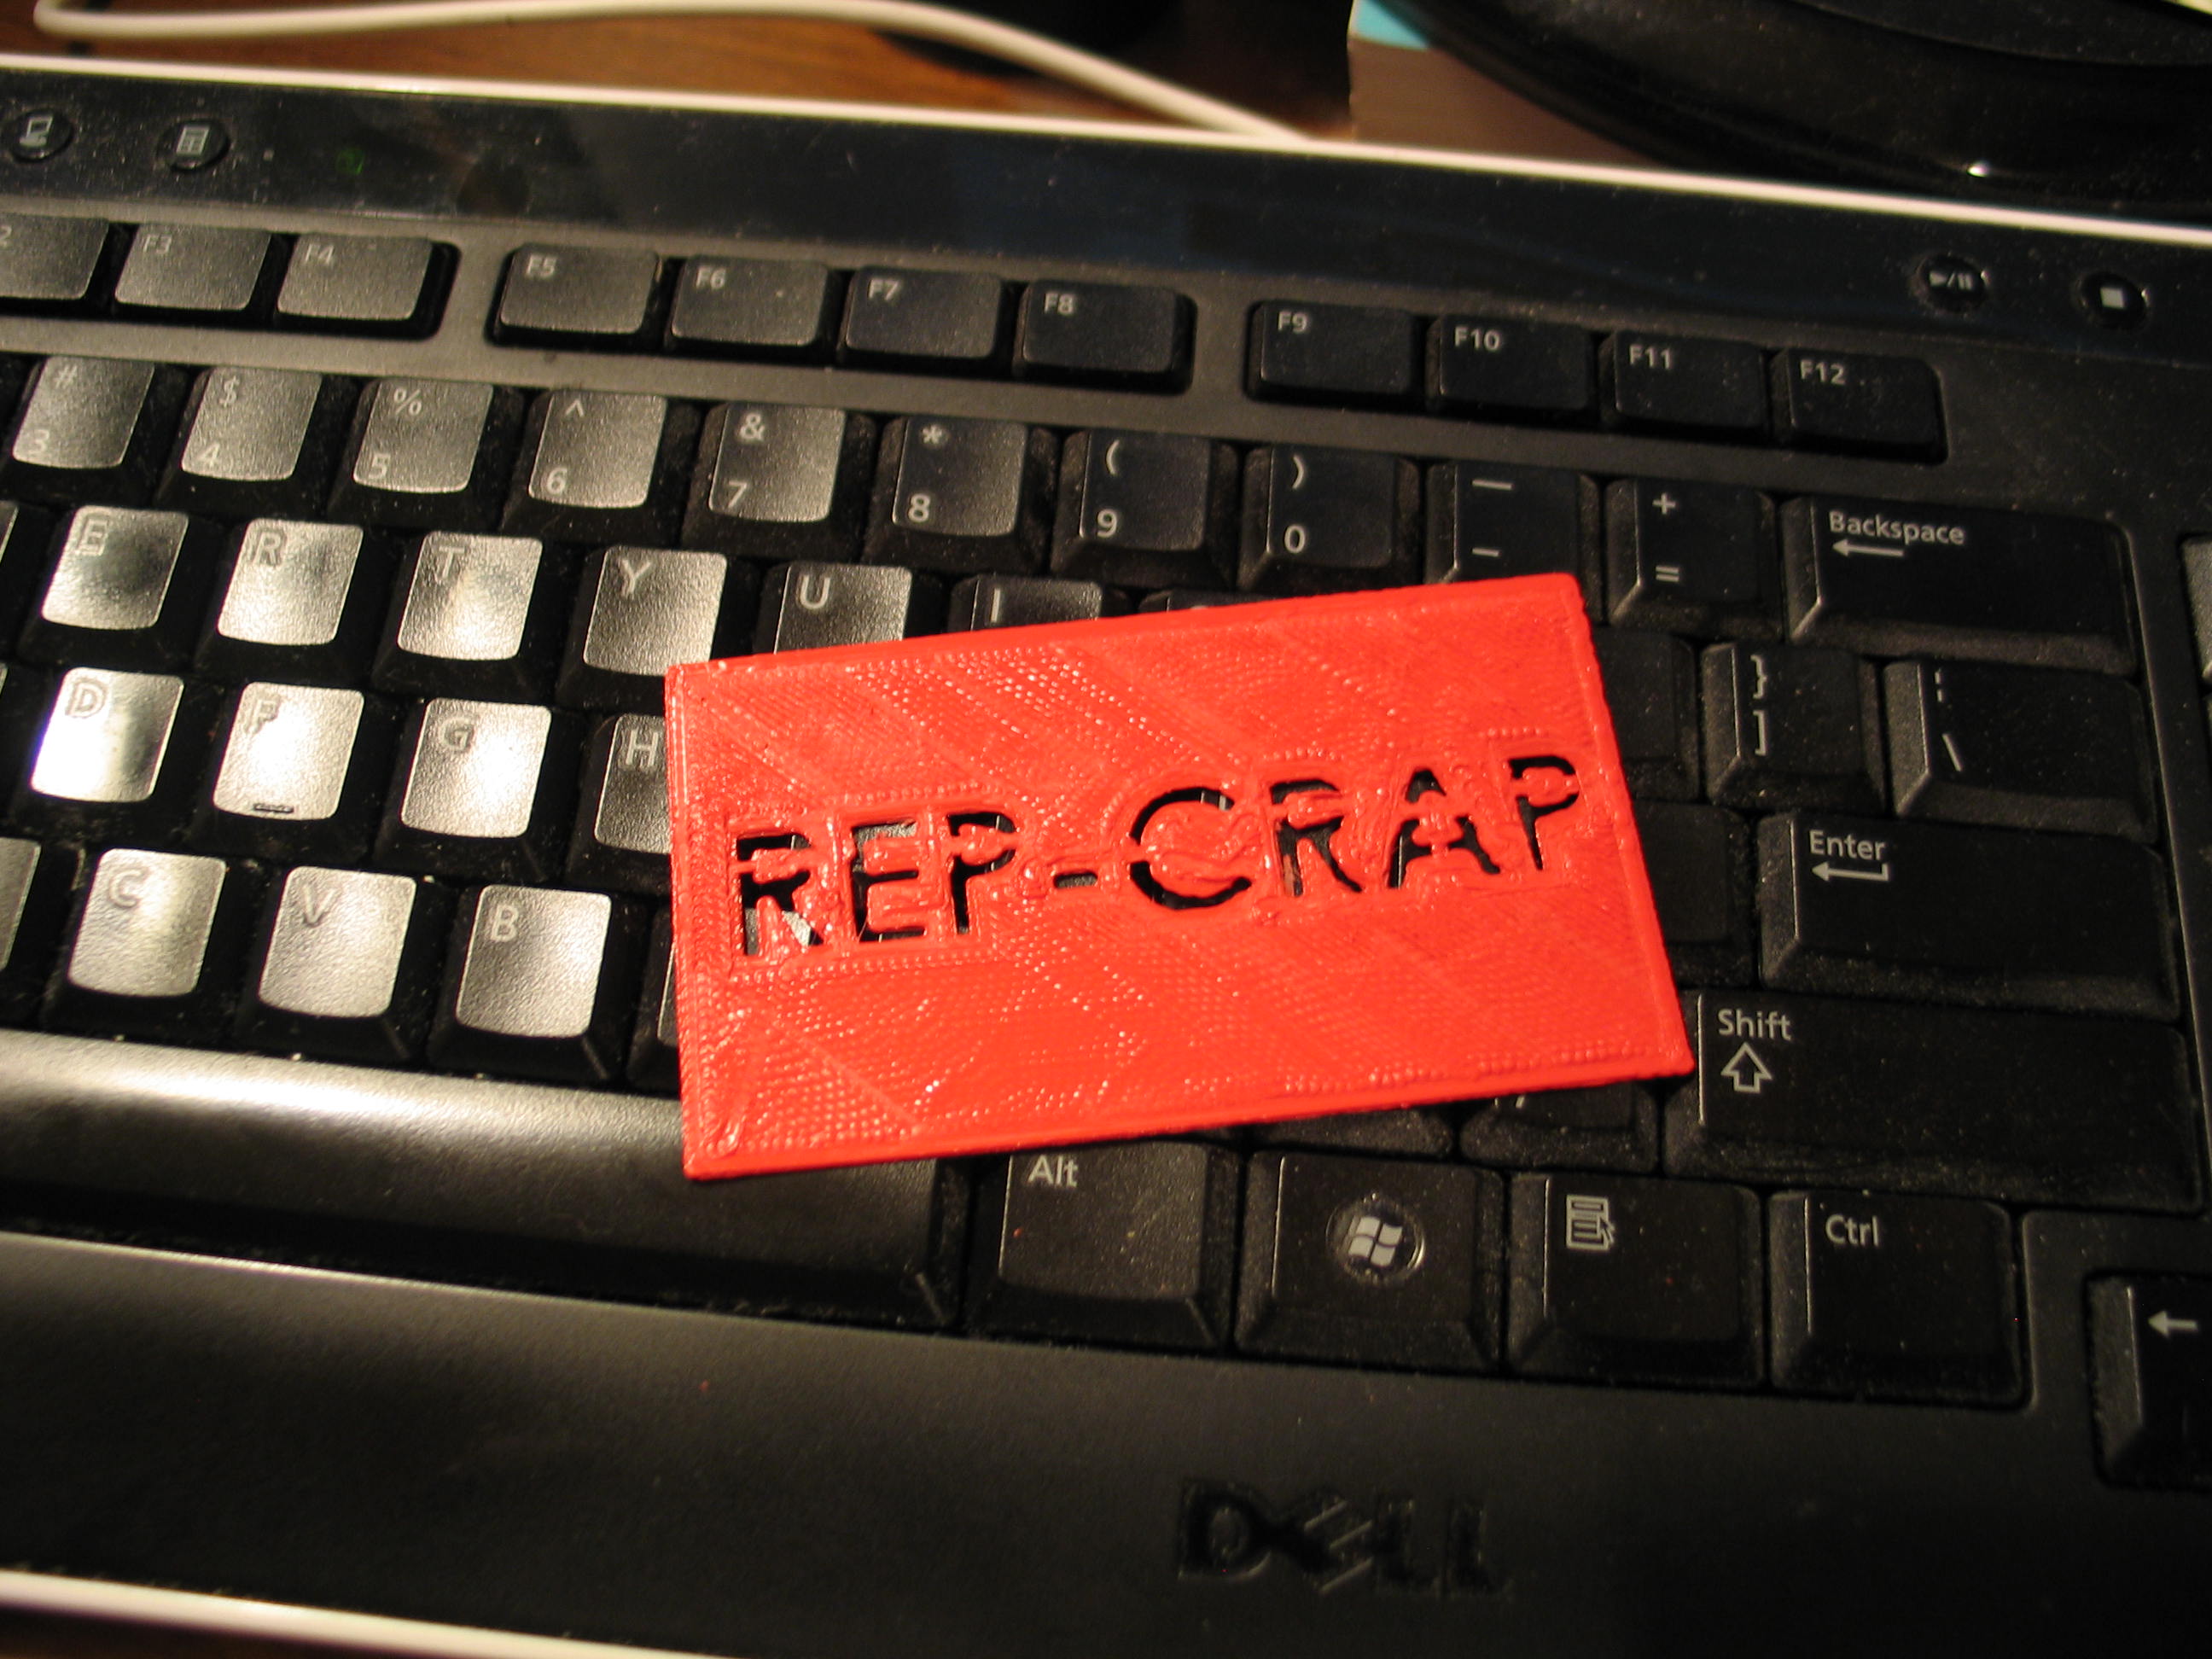
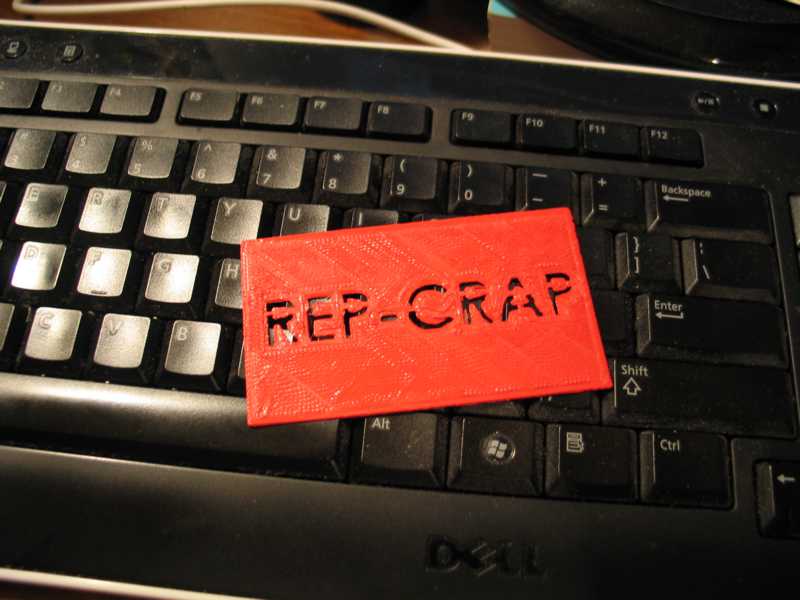
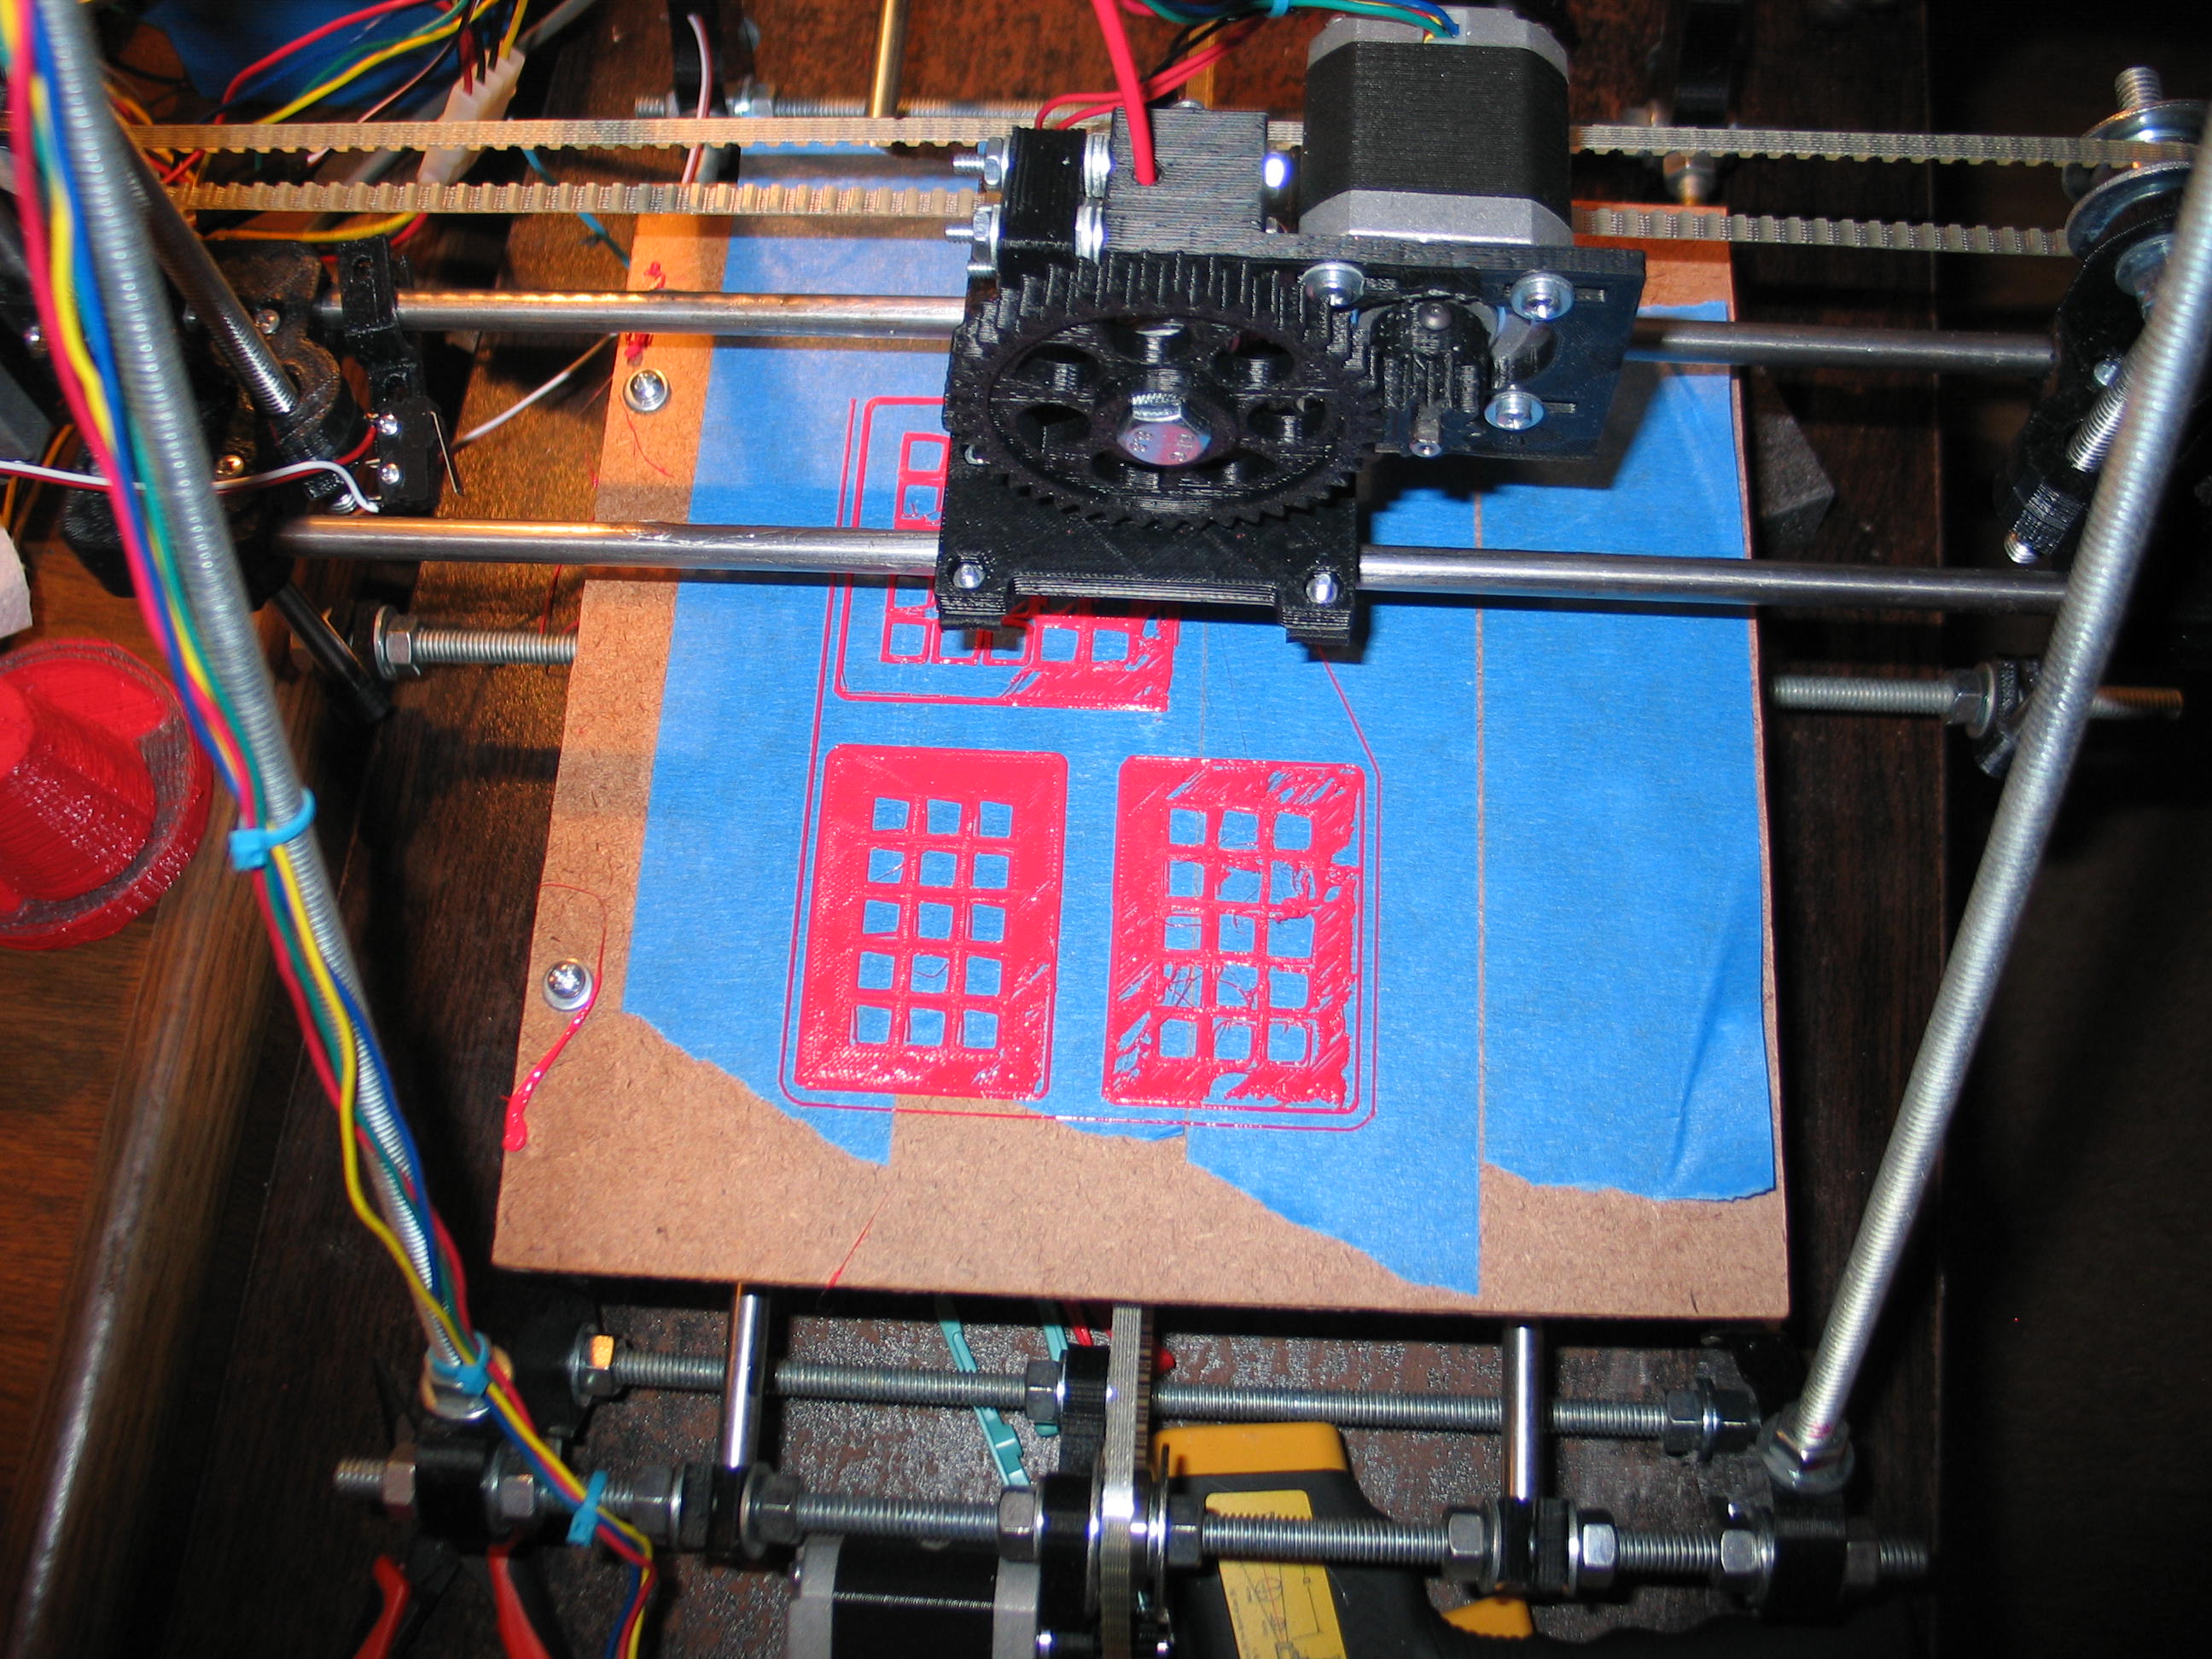
This is another non-critical part. Just a sign for the junk box.
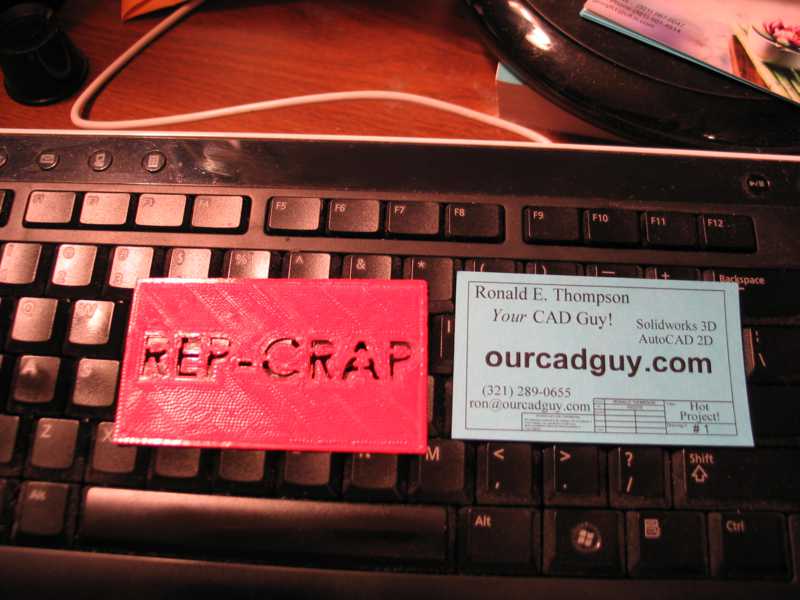

This can also be used for a business card ot a stencil. It's on Thingiverse if you want to make it.
2" X 3.5" and only .025" thin.

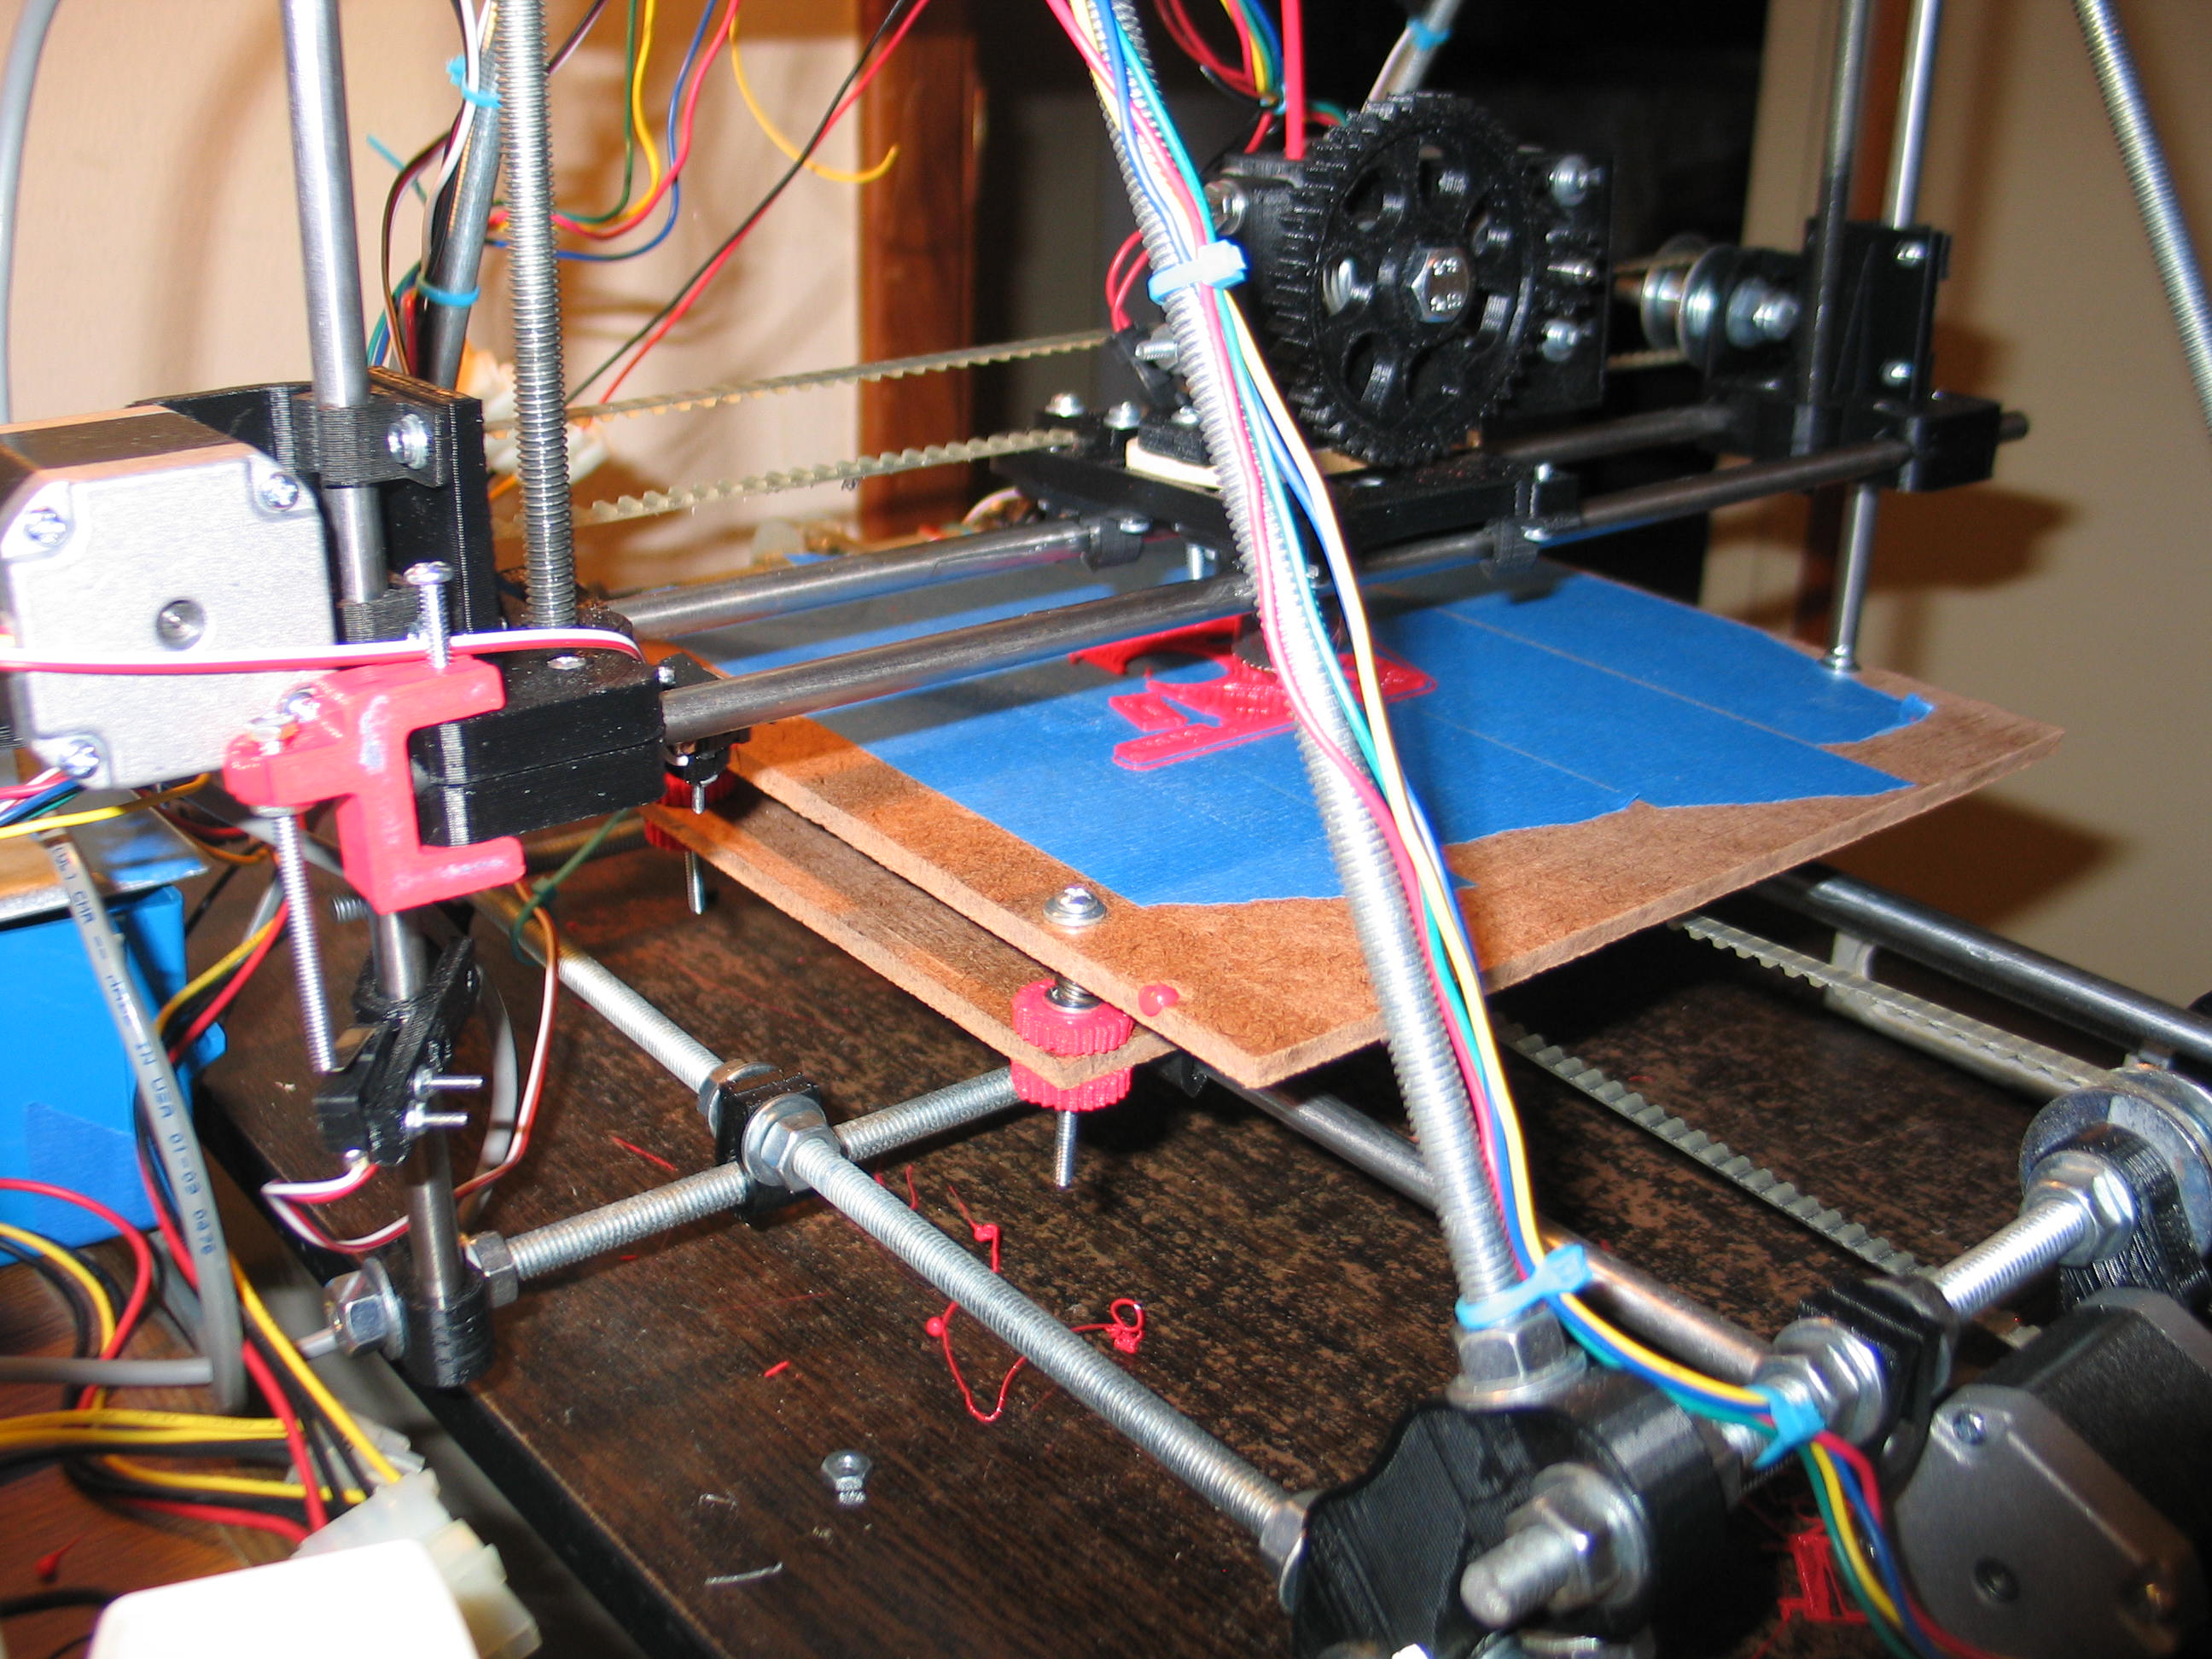
This is a duplicate of this part. The first one was made by a commercial 3D printer.
2" X 3.5" and only .025" thin.
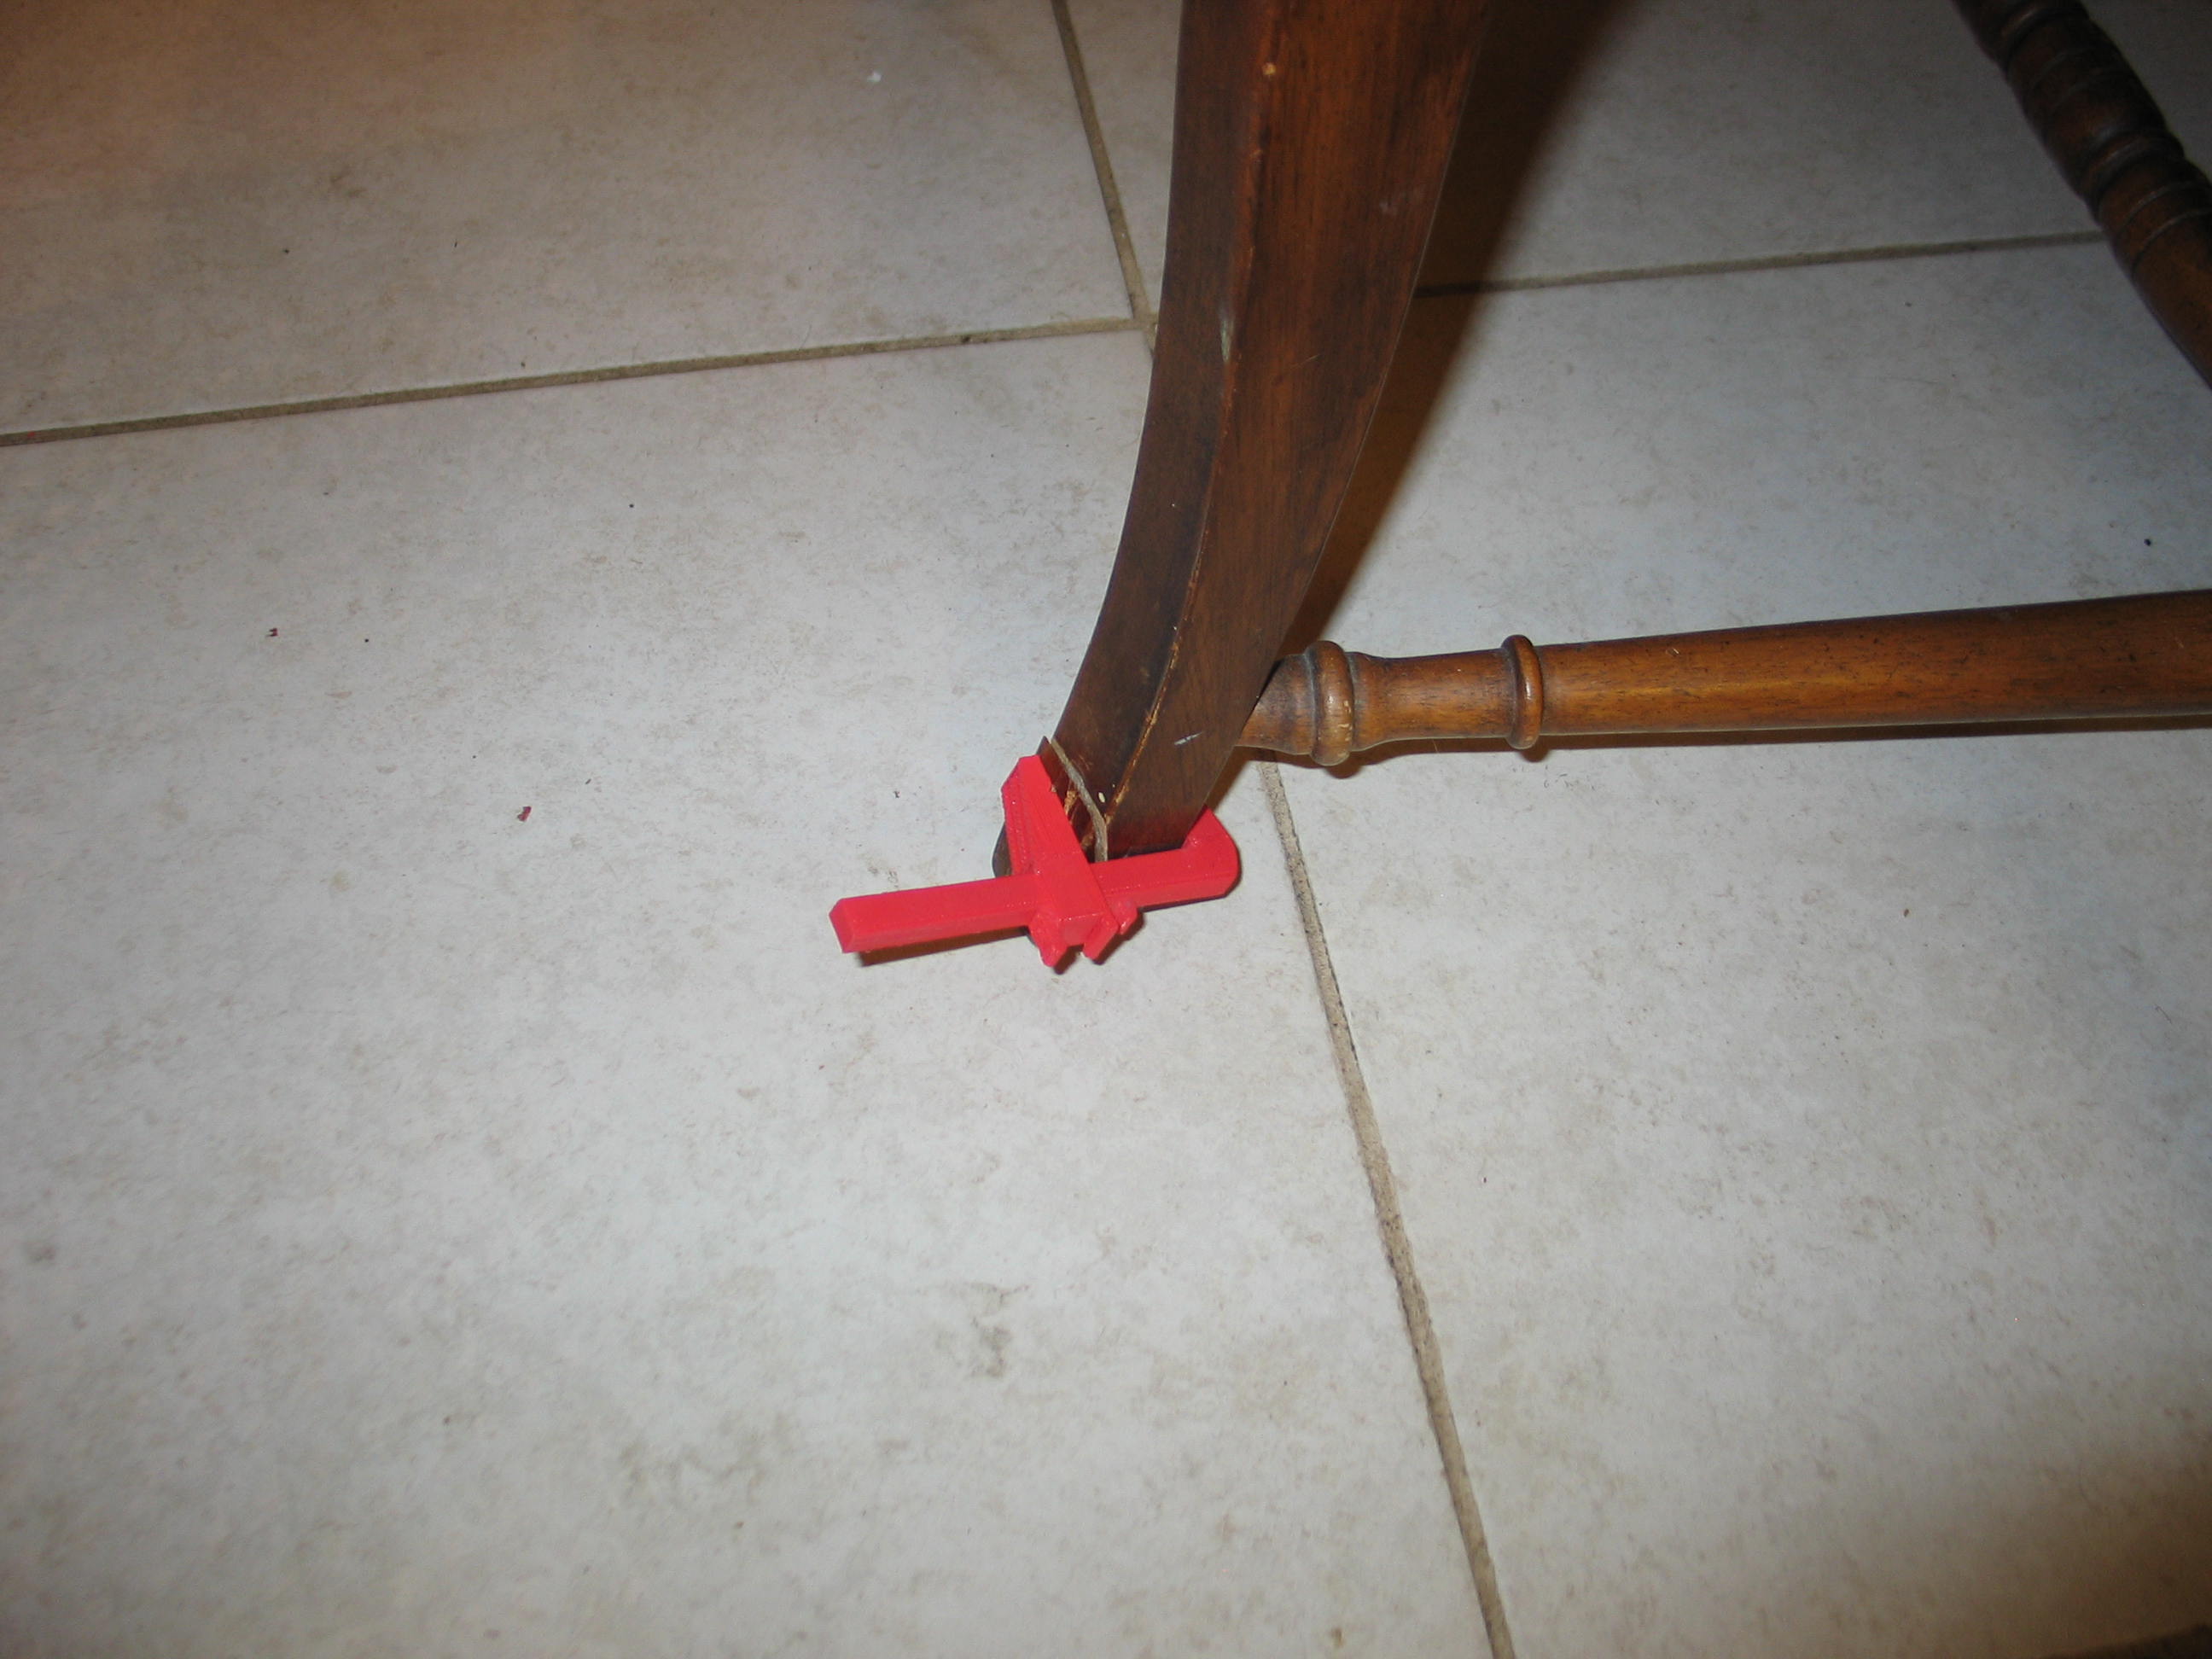
A quick shot of the plastic clamp in use. The back of the chair leg is being glued back in place.

This is a duplicate of this part. The first one was made by a commercial 3D printer.

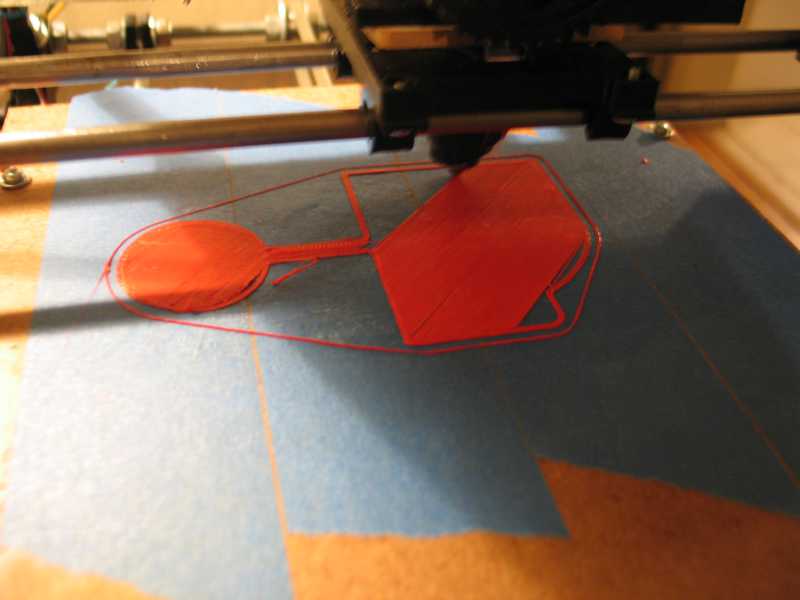
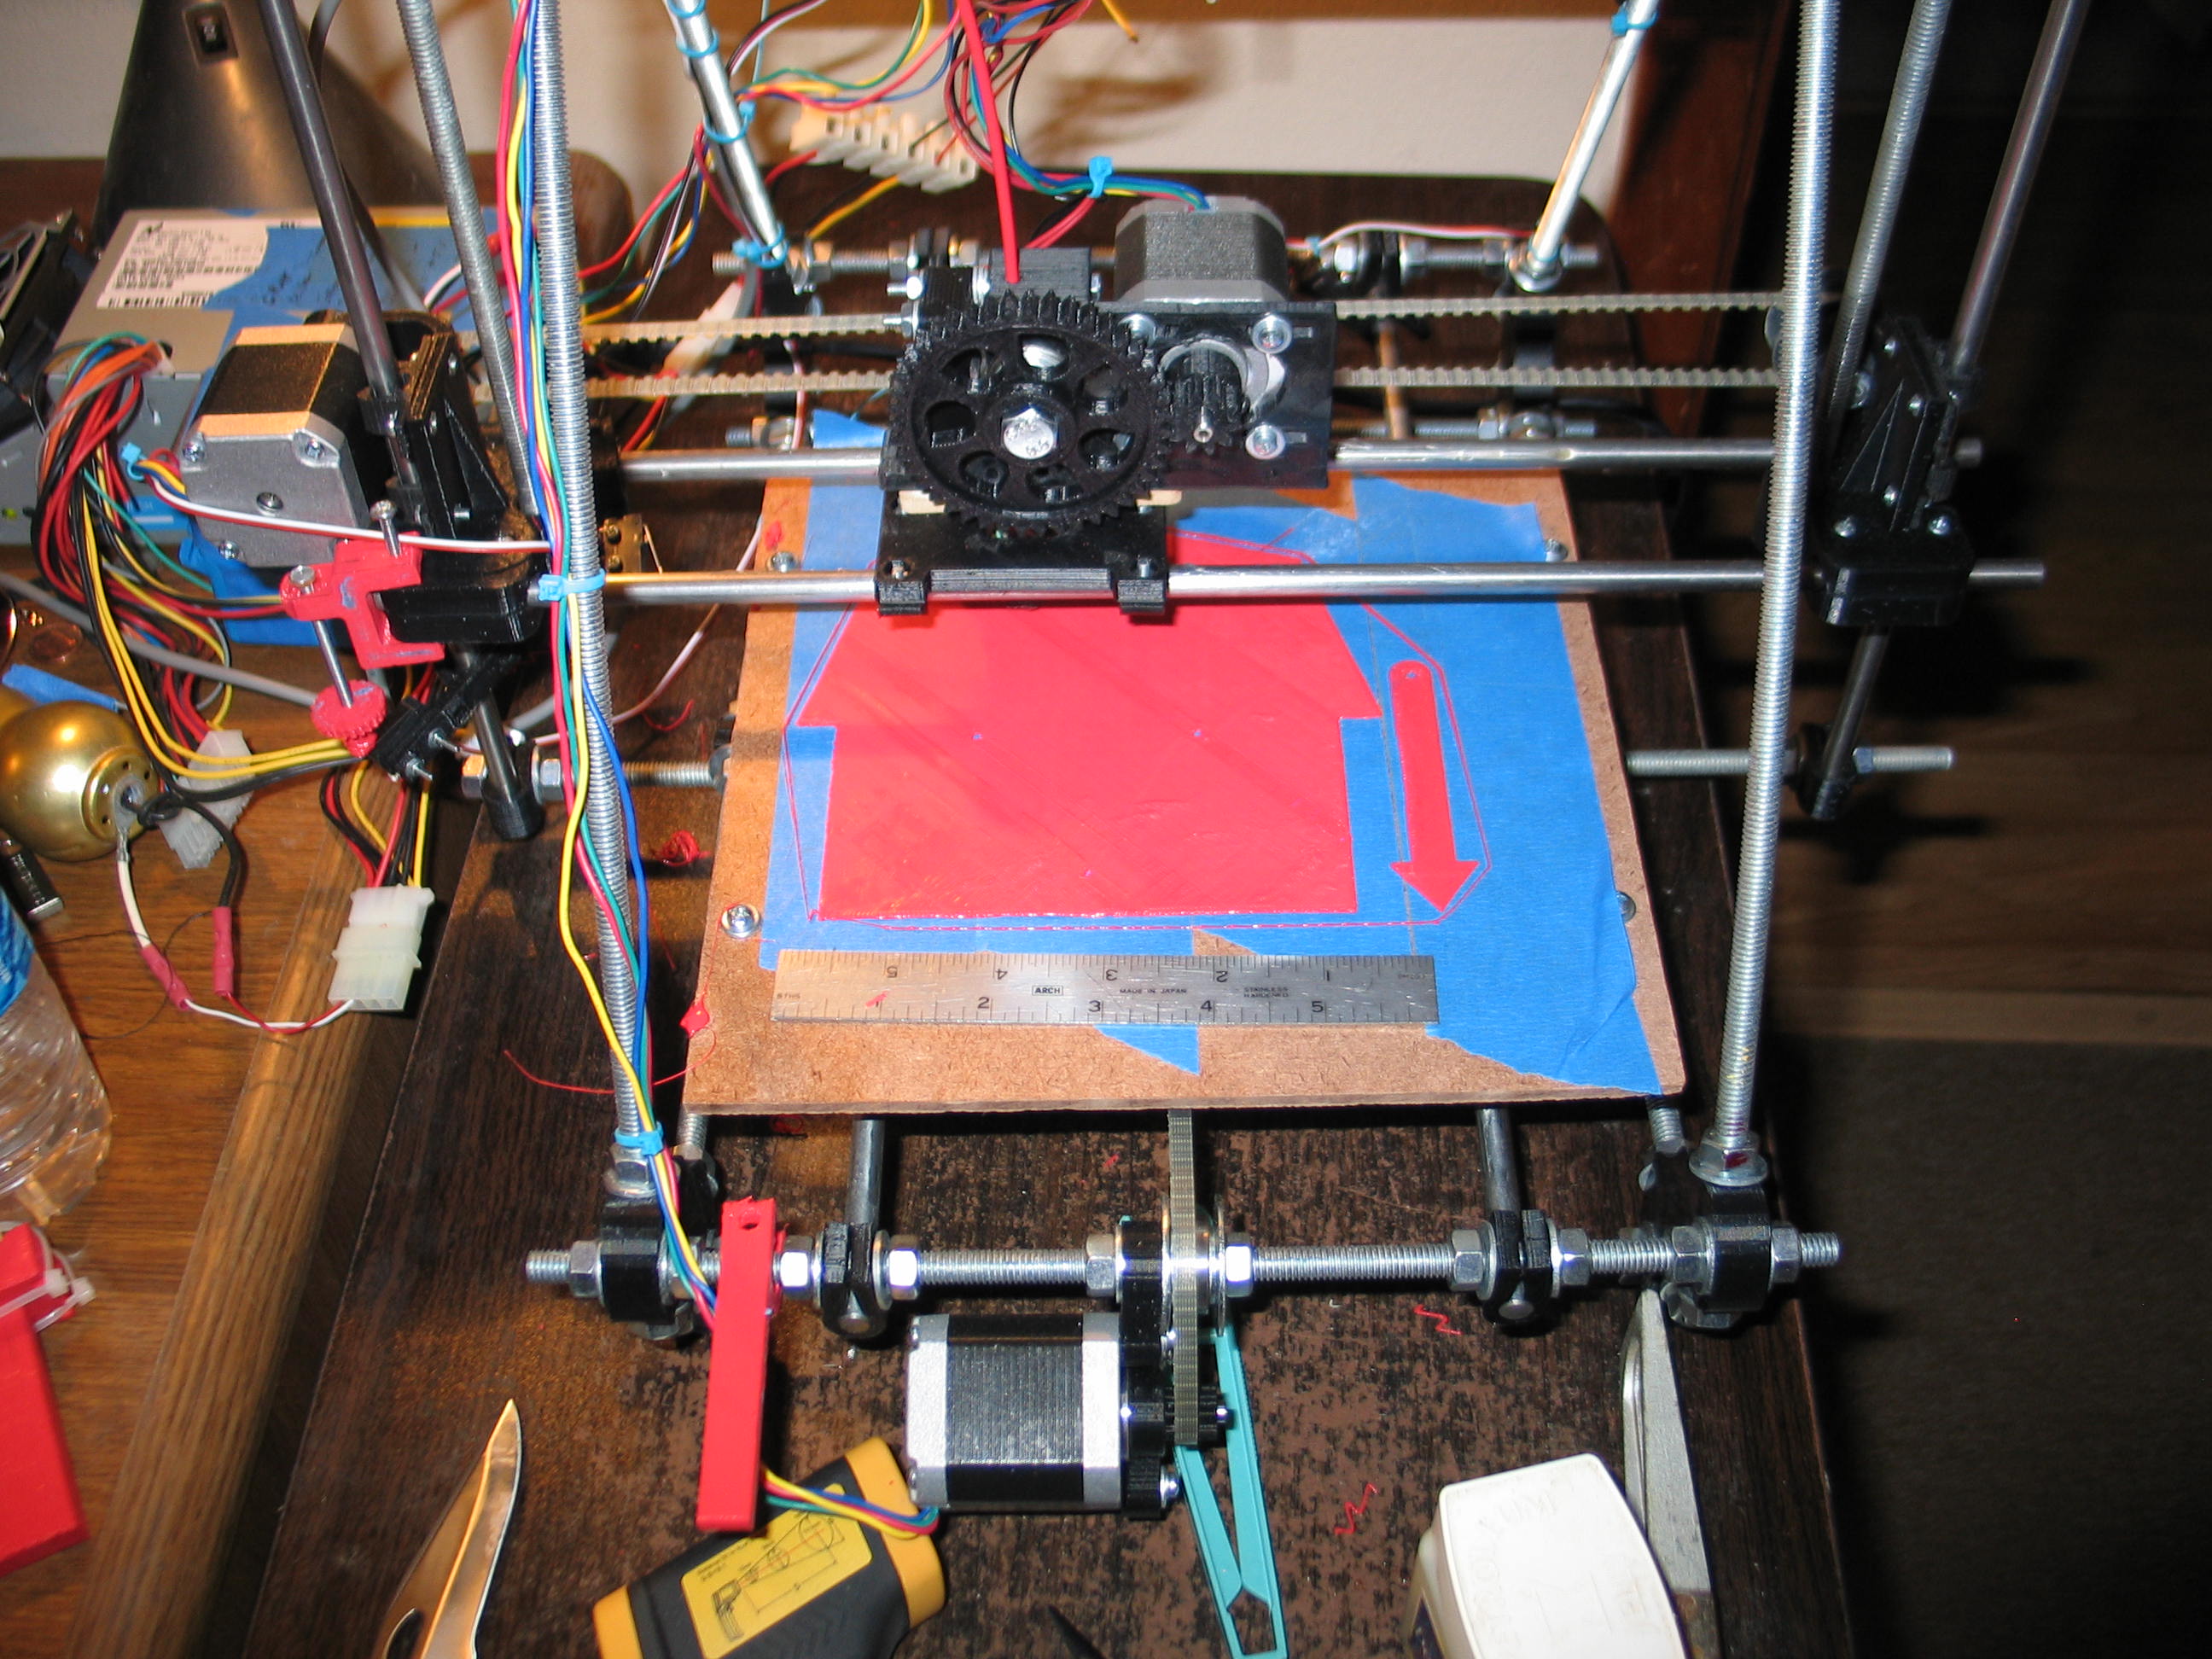
The first few layers looked very good...

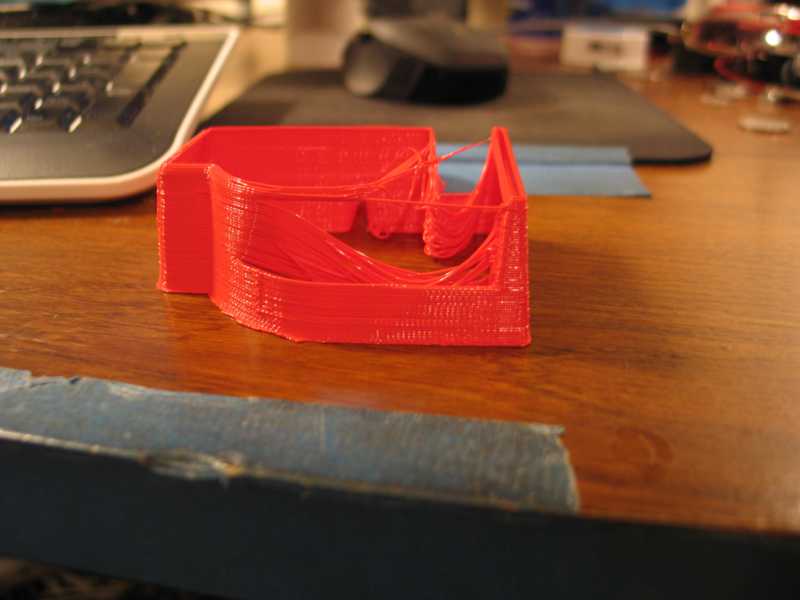
But there was a problem in the 3D model. About half way through it went stupid.
The right side shows the taper of the bottom of the casting.
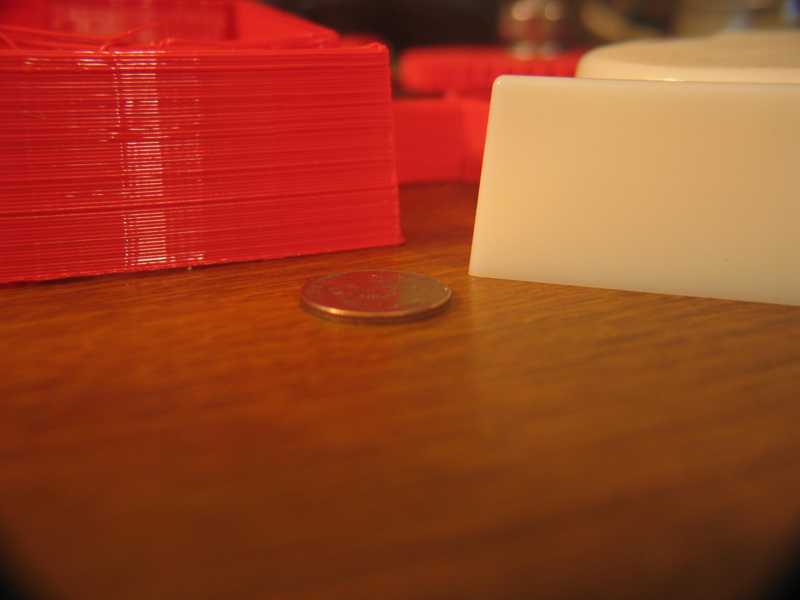
The surface finish is no where neare as smooth as the commercial part, but the reprap did't cost fifty thousand dollars, either. That is a US dime for size. It looks like a penny in the photo.

This part first made it's appearance here as the Dishwasher Magnet Thingie. It was originally designed to be made on my CNC Router.
I took the Solidworks part and saved it as an STL. The only modification I did was to arrange the barn and the arrow side by side for printing.

I chose this angle to allow the camera to see the lettering. This was an experiment in low density printing. I printed this with an infill of .1 and no additional shells. The part is quite light at .09 pounds. If I do it again, I'll add 2 or 3 shells to try to smooth the surface.
In all liklyhood, I'll remodel it for 3D printing by making it thinner and extruding the lettering above the face of the part.
Navigate in this series
First Previous Next Last
Please leave a comment on the bottom of the page. Was this useful? What would you like to see different? Thanks.
But there was a problem in the 3D model. About half way through it went stupid.

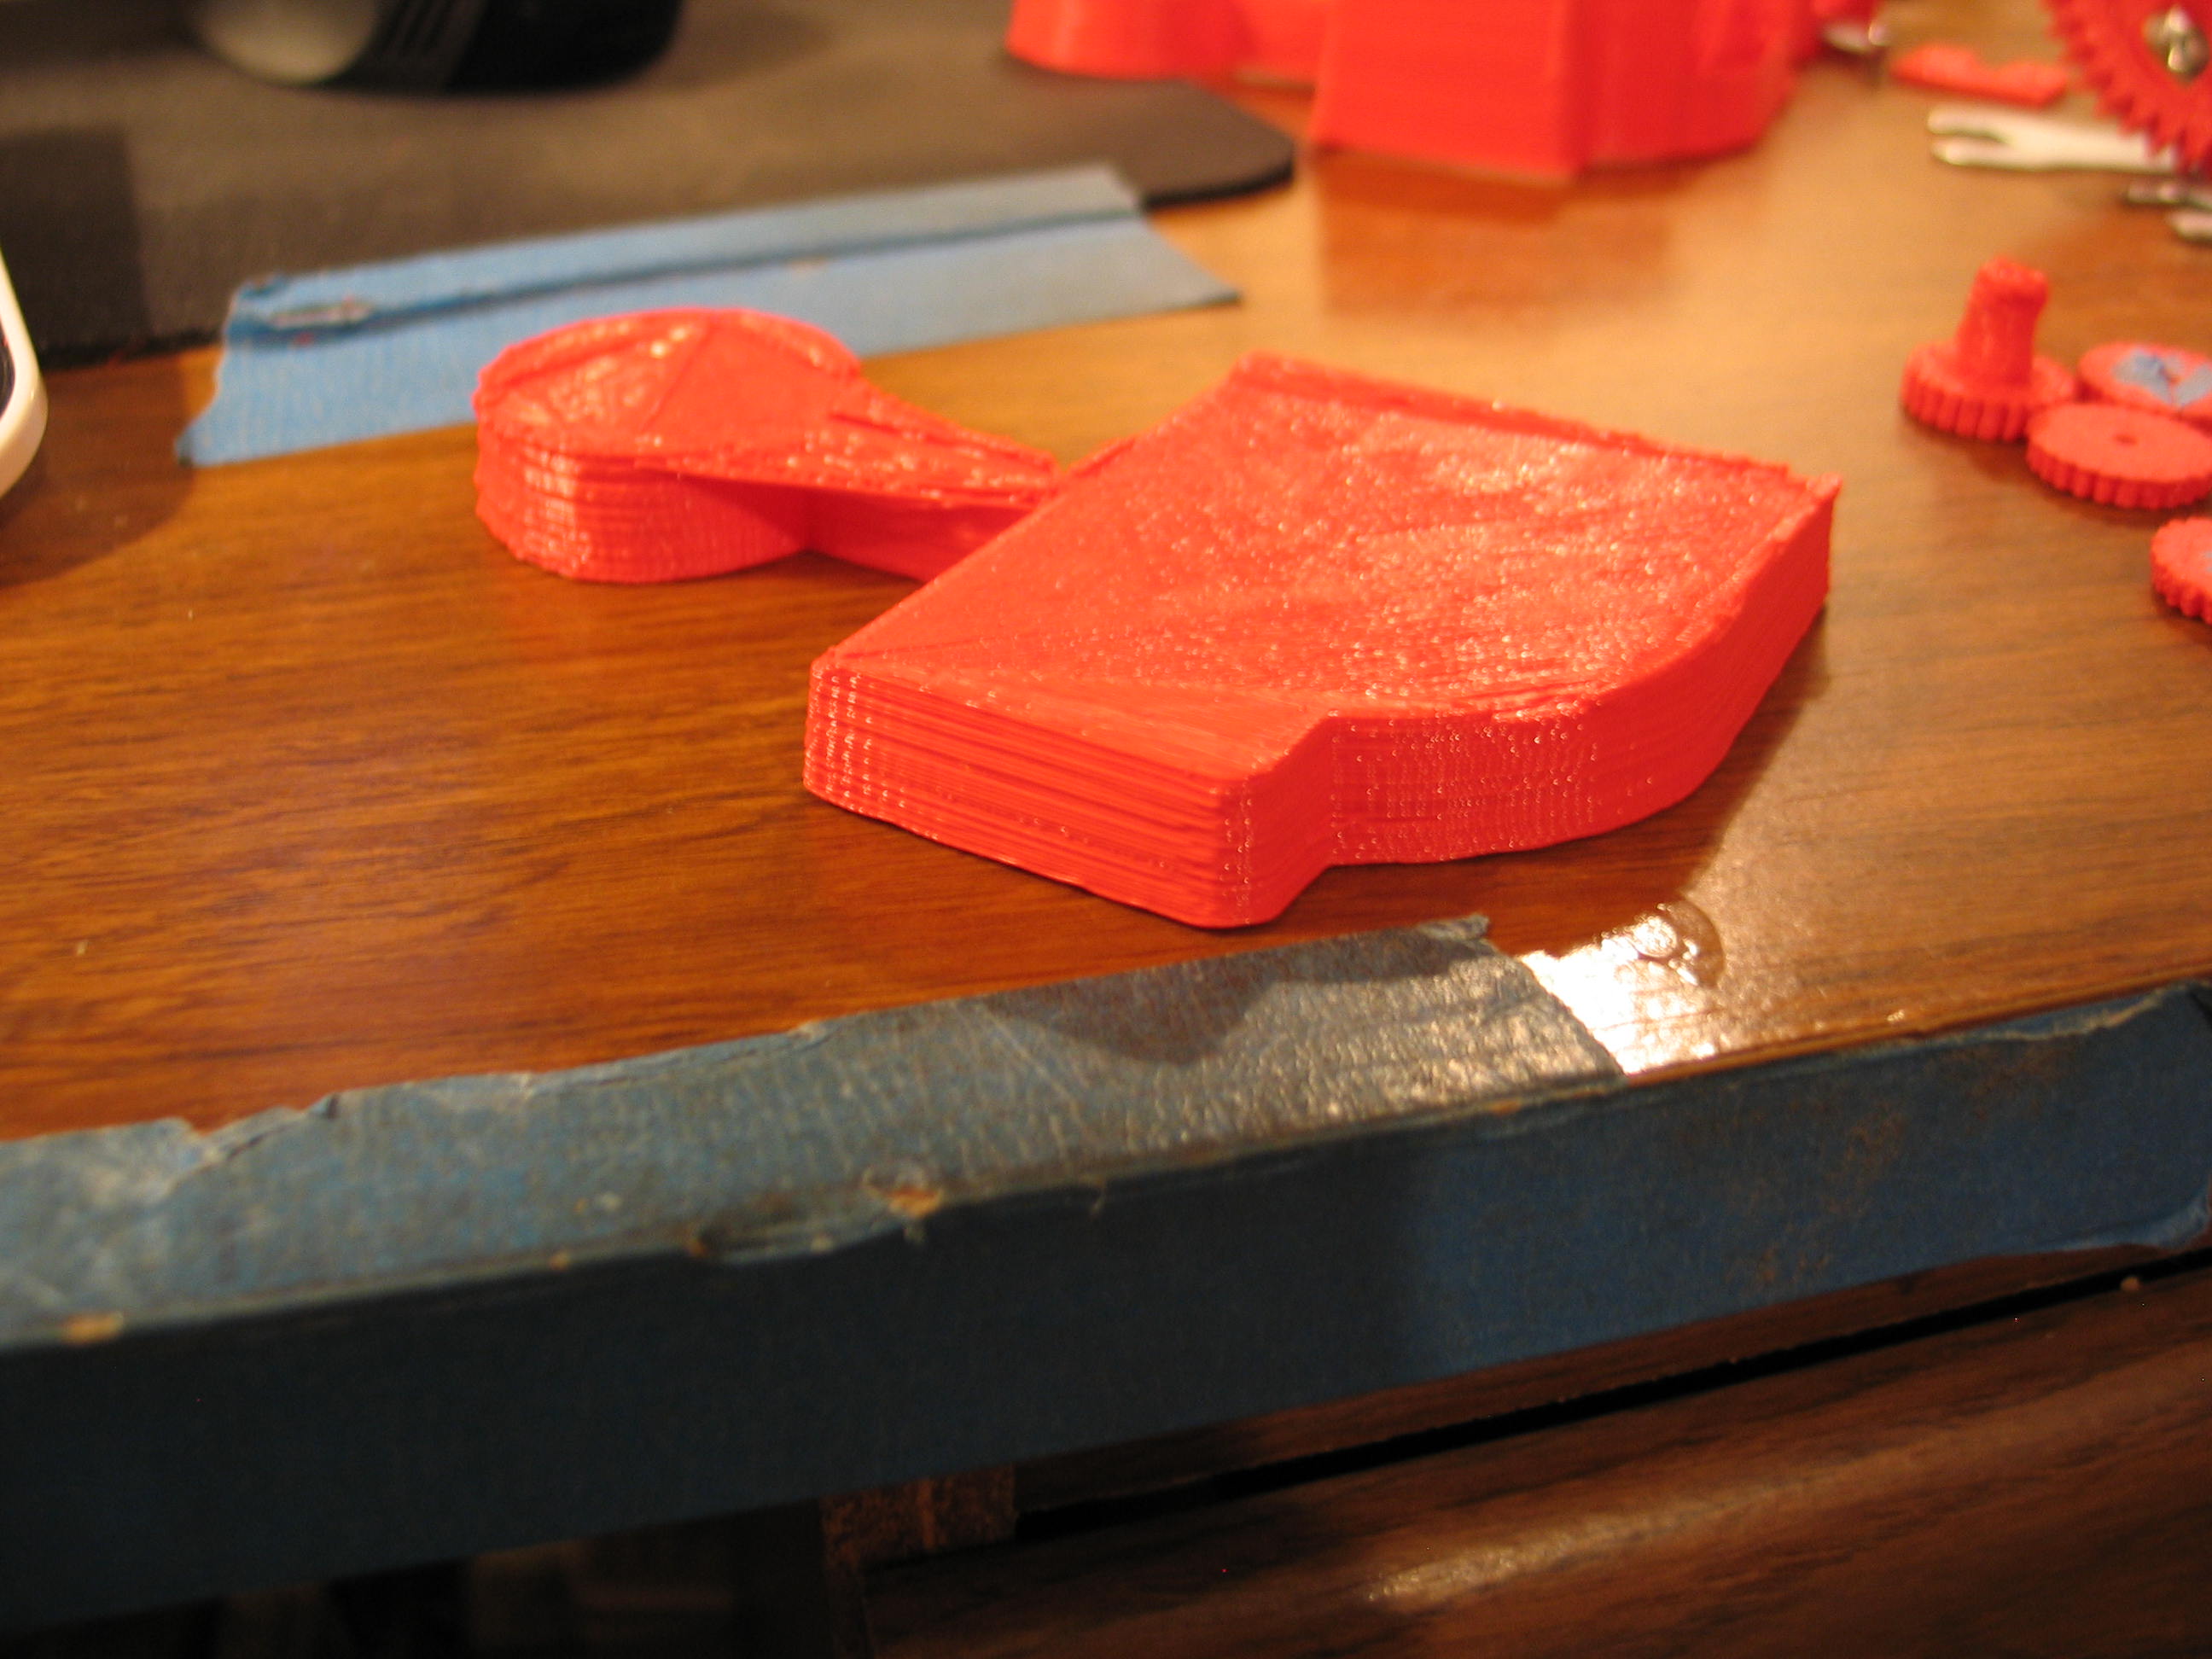
All
I wanted to do was compare the surface for casting. I discovered
you can uncheck the fill box in skeinforge and it will print a thin
shell. It looks bad because the top surfaces had no support, but it
served the purpose of printing the edges without wasting a lot of
material.

The right side shows the taper of the bottom of the casting.
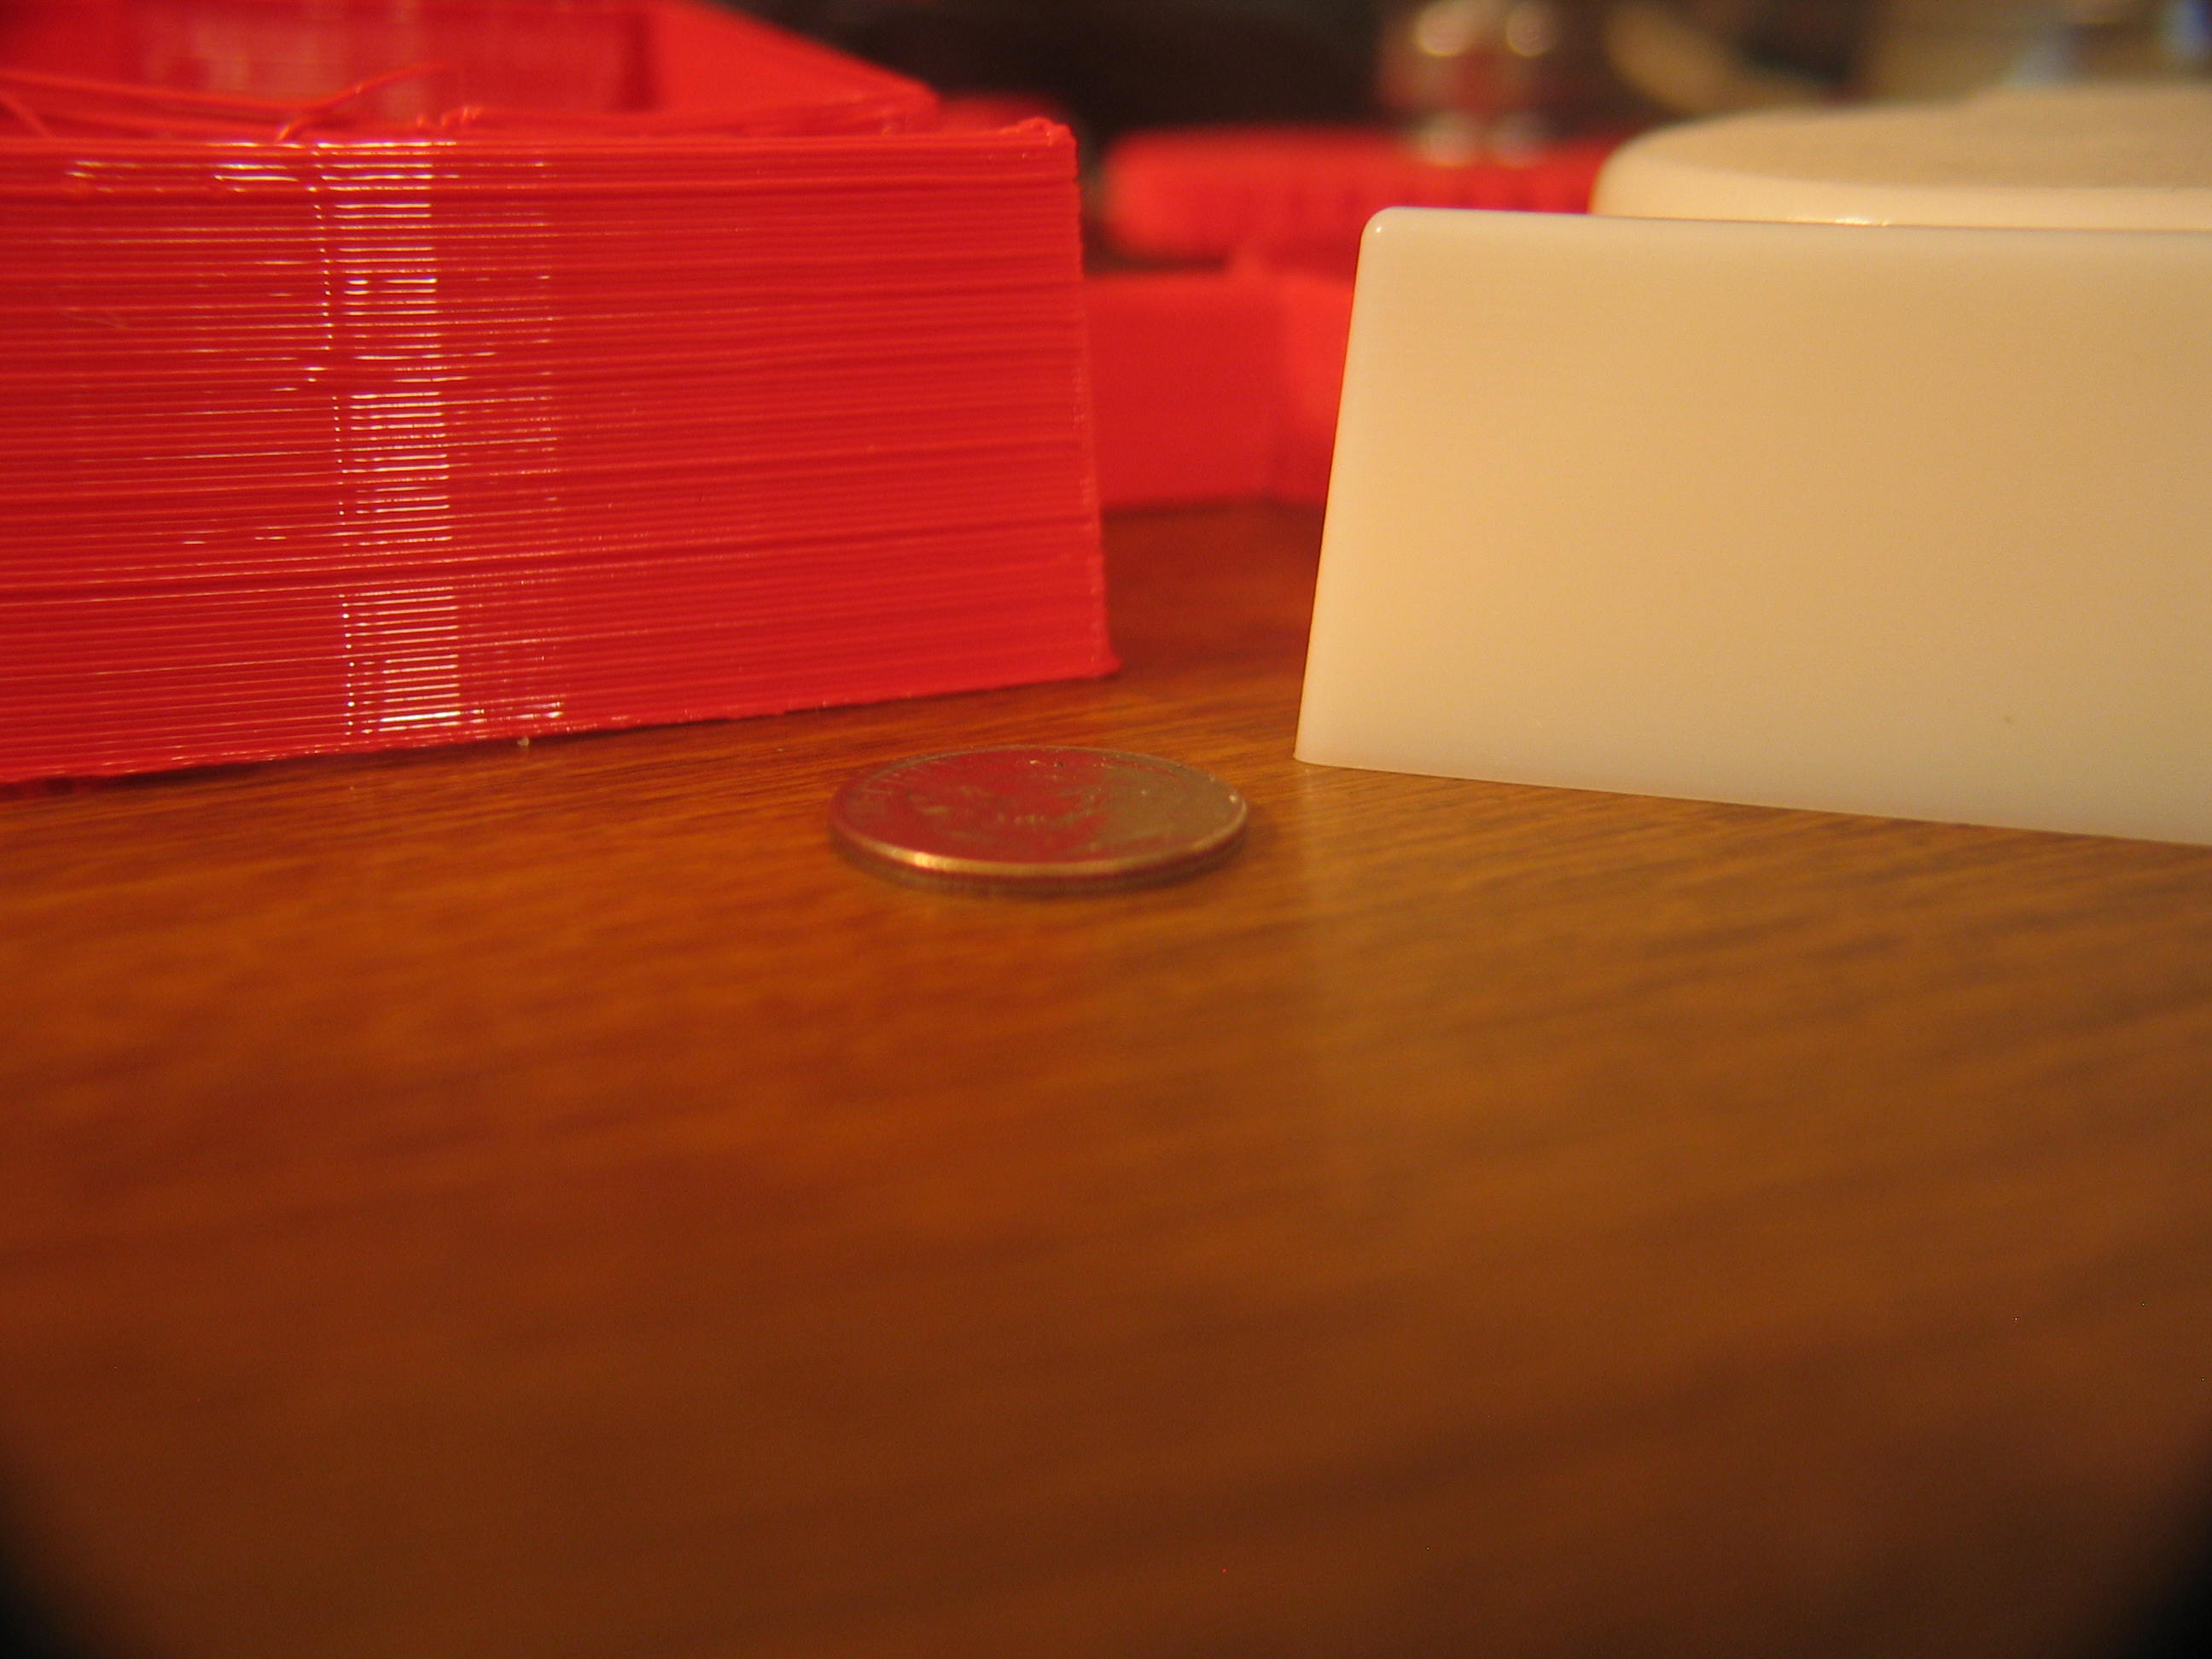
The surface finish is no where neare as smooth as the commercial part, but the reprap did't cost fifty thousand dollars, either. That is a US dime for size. It looks like a penny in the photo.
This part first made it's appearance here as the Dishwasher Magnet Thingie. It was originally designed to be made on my CNC Router.
I took the Solidworks part and saved it as an STL. The only modification I did was to arrange the barn and the arrow side by side for printing.
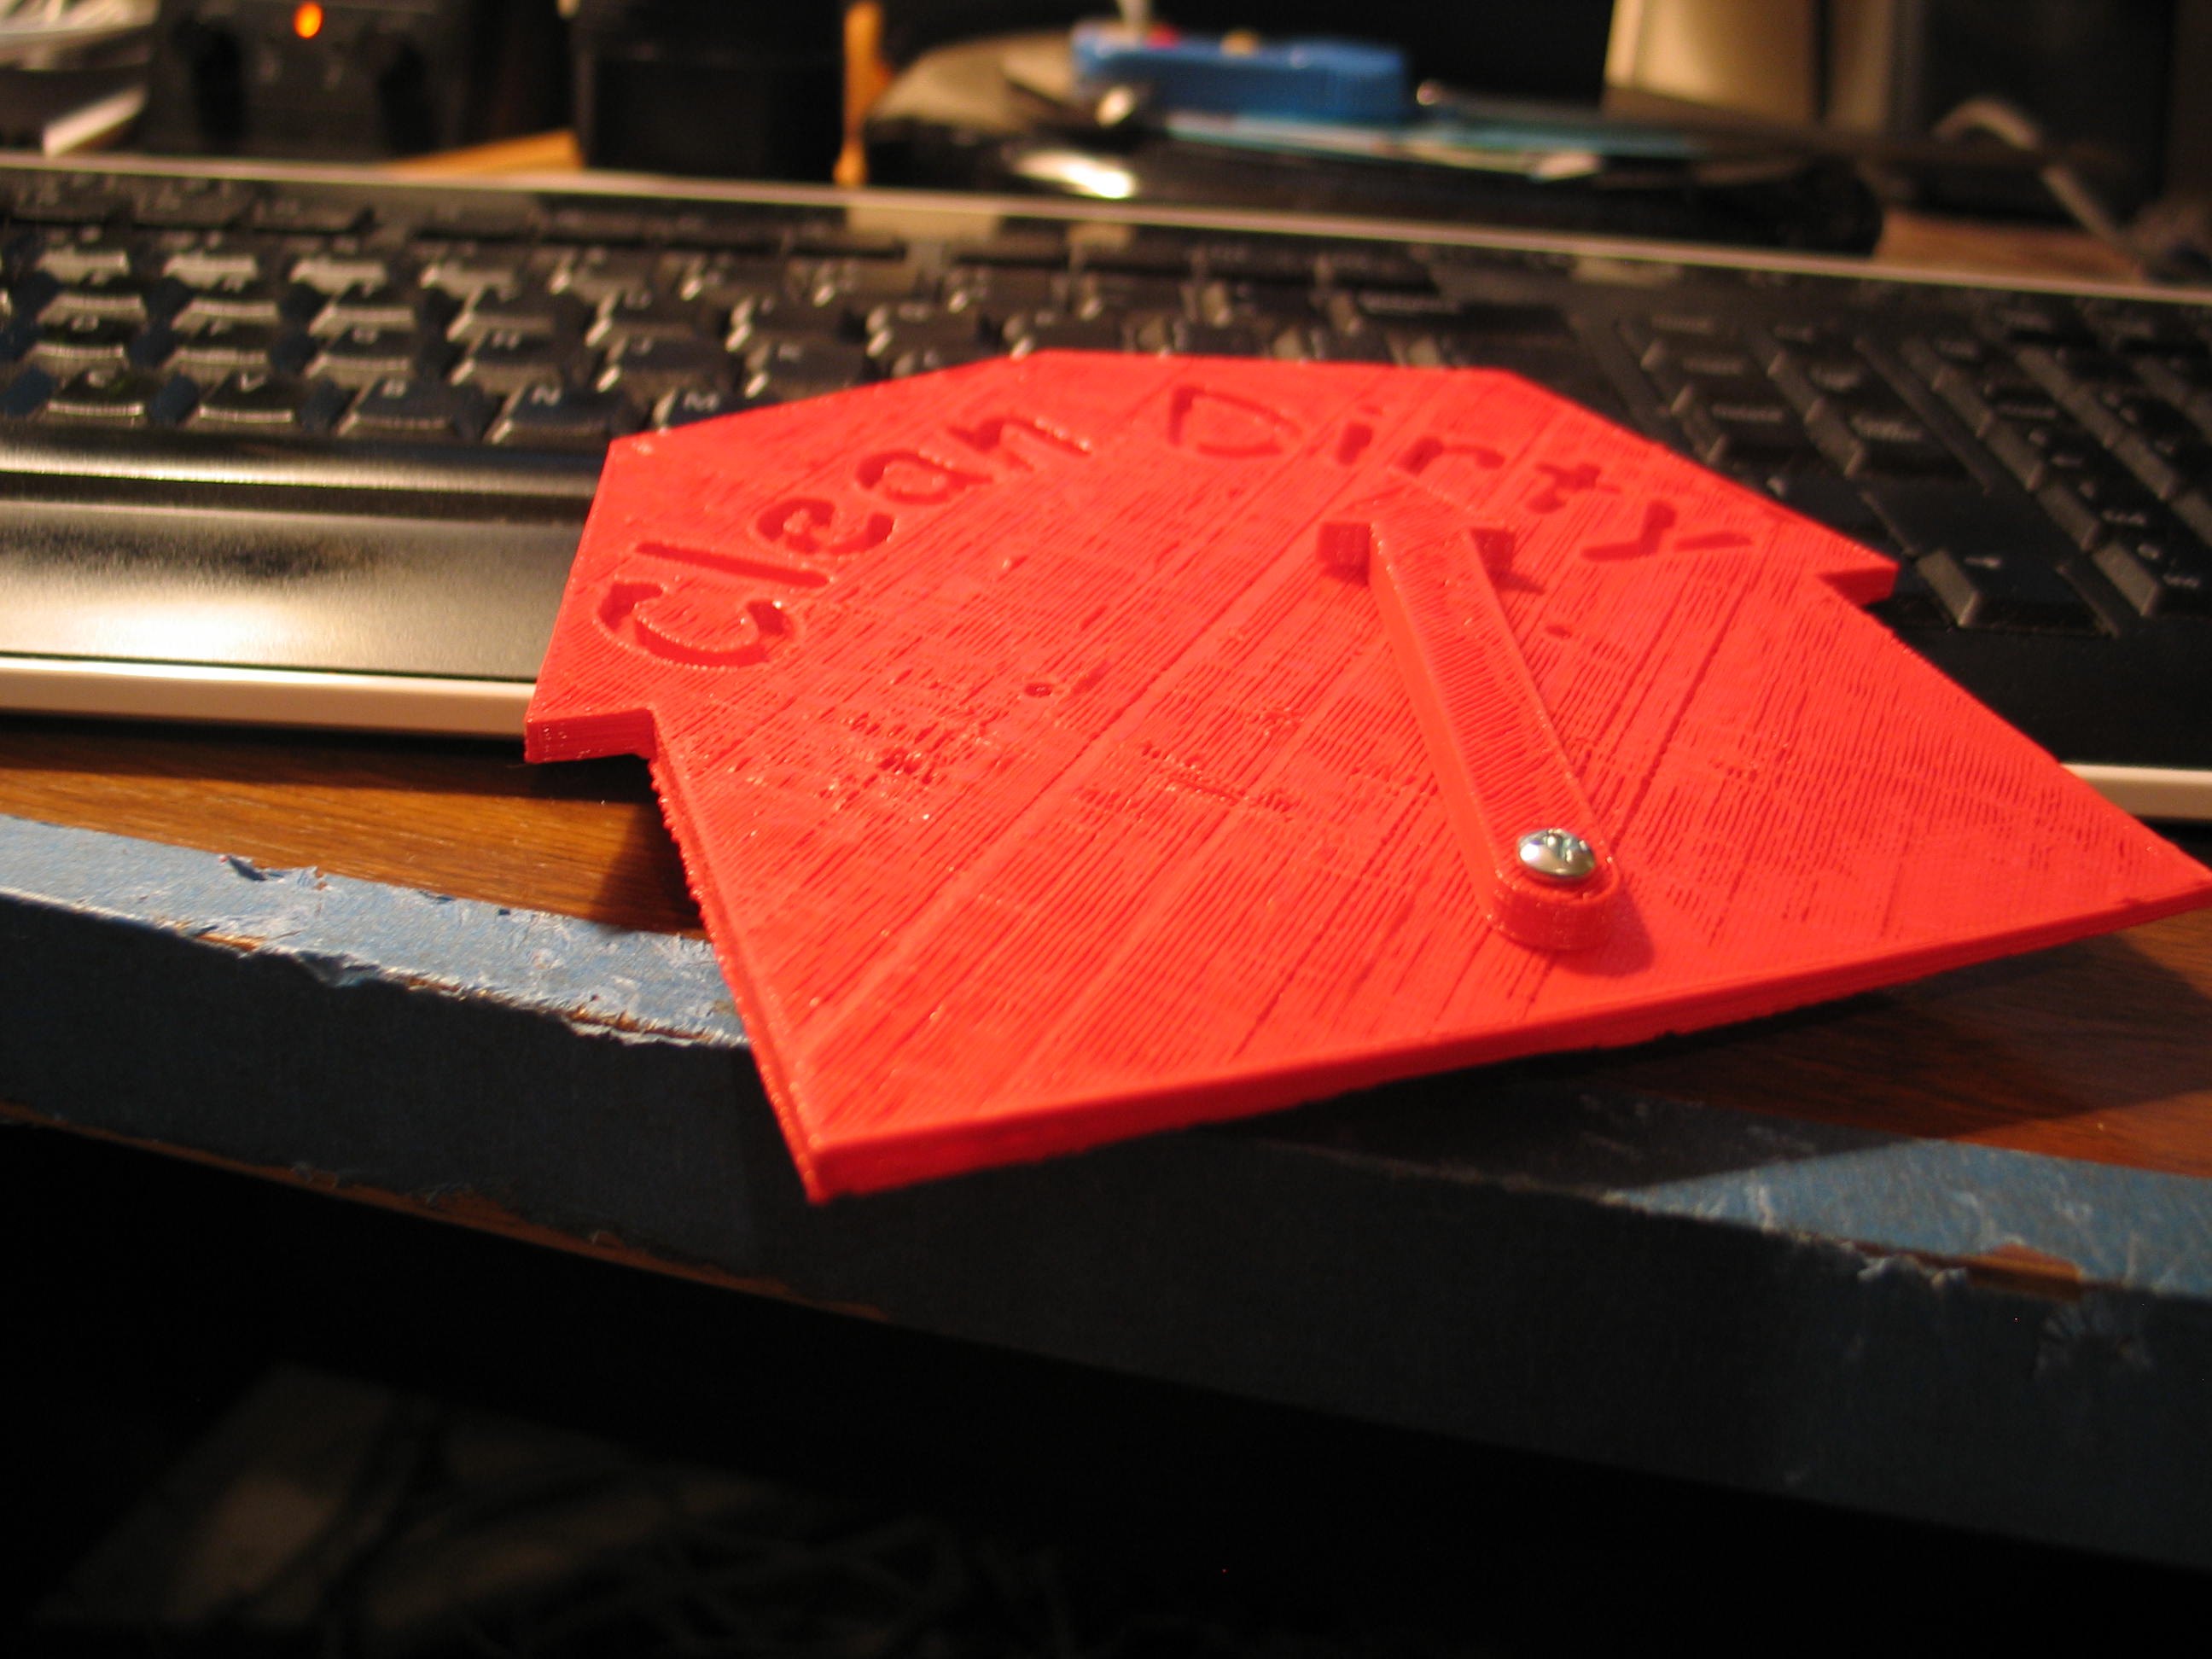
I chose this angle to allow the camera to see the lettering. This was an experiment in low density printing. I printed this with an infill of .1 and no additional shells. The part is quite light at .09 pounds. If I do it again, I'll add 2 or 3 shells to try to smooth the surface.
In all liklyhood, I'll remodel it for 3D printing by making it thinner and extruding the lettering above the face of the part.
Navigate in this series
First Previous Next Last
Please leave a comment on the bottom of the page. Was this useful? What would you like to see different? Thanks.