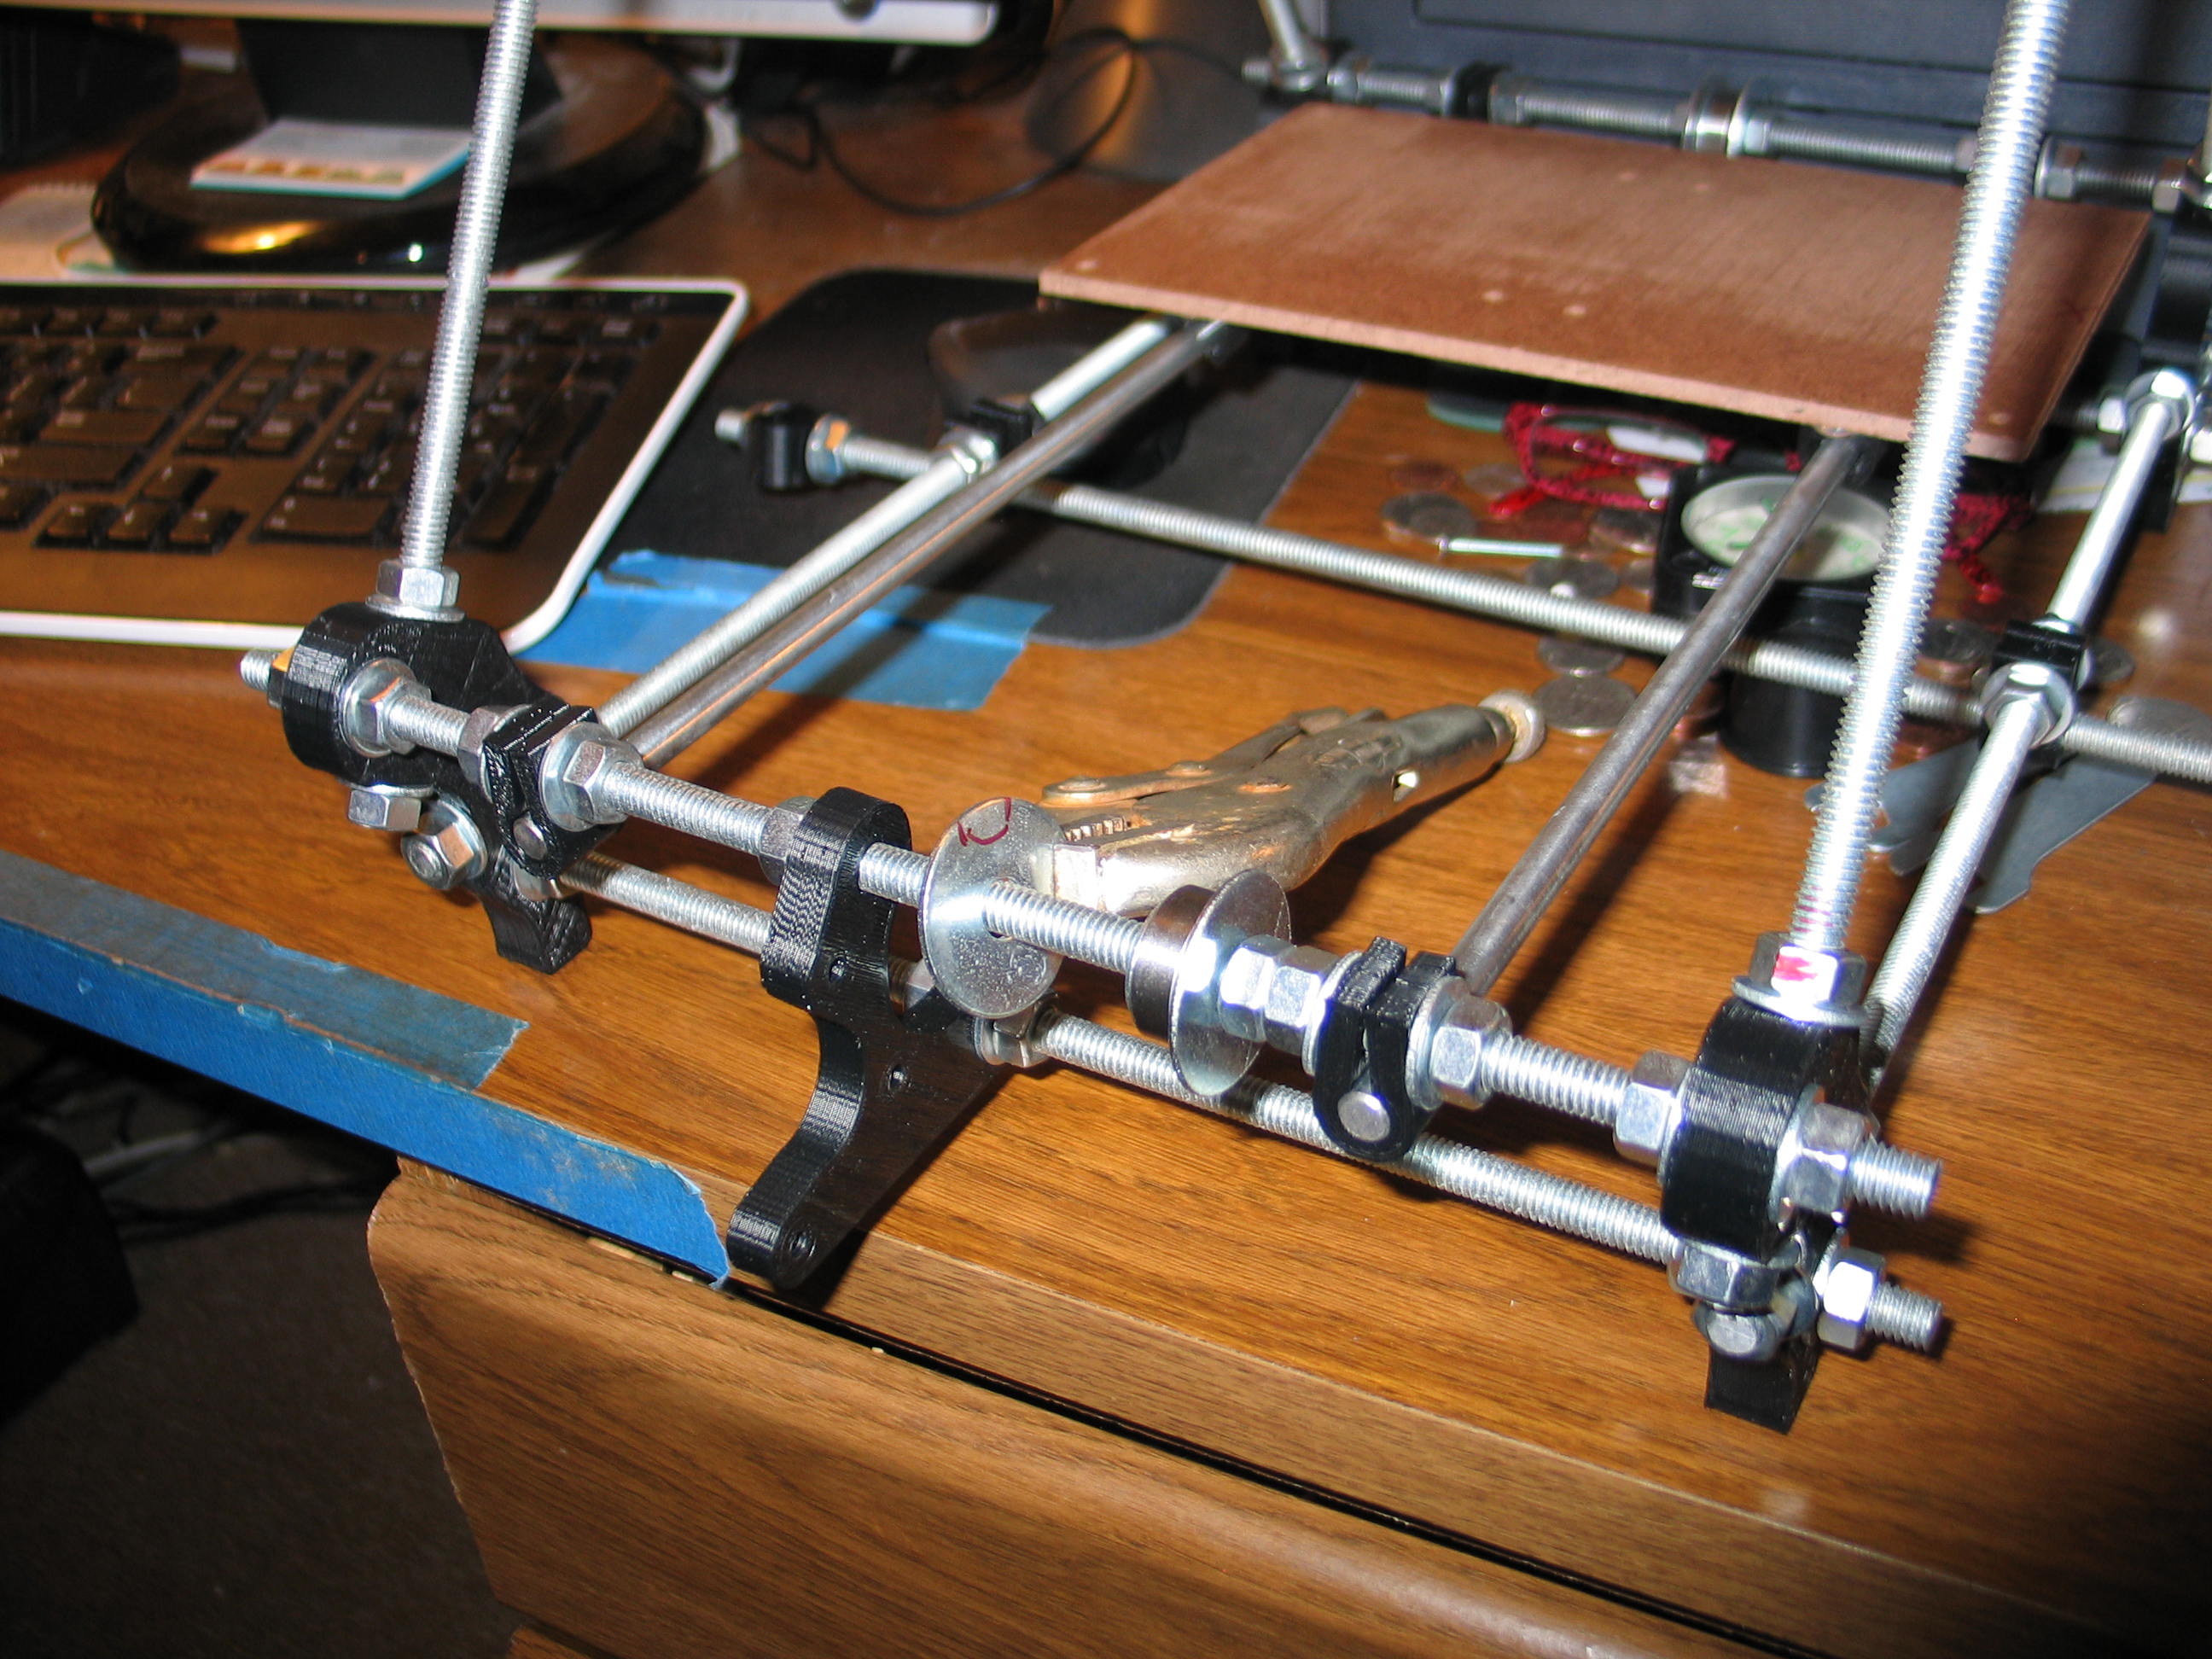
Here is some of the ugly I promised...
I marked the area to grind with a Sharpie marker and removed the motor.
Then
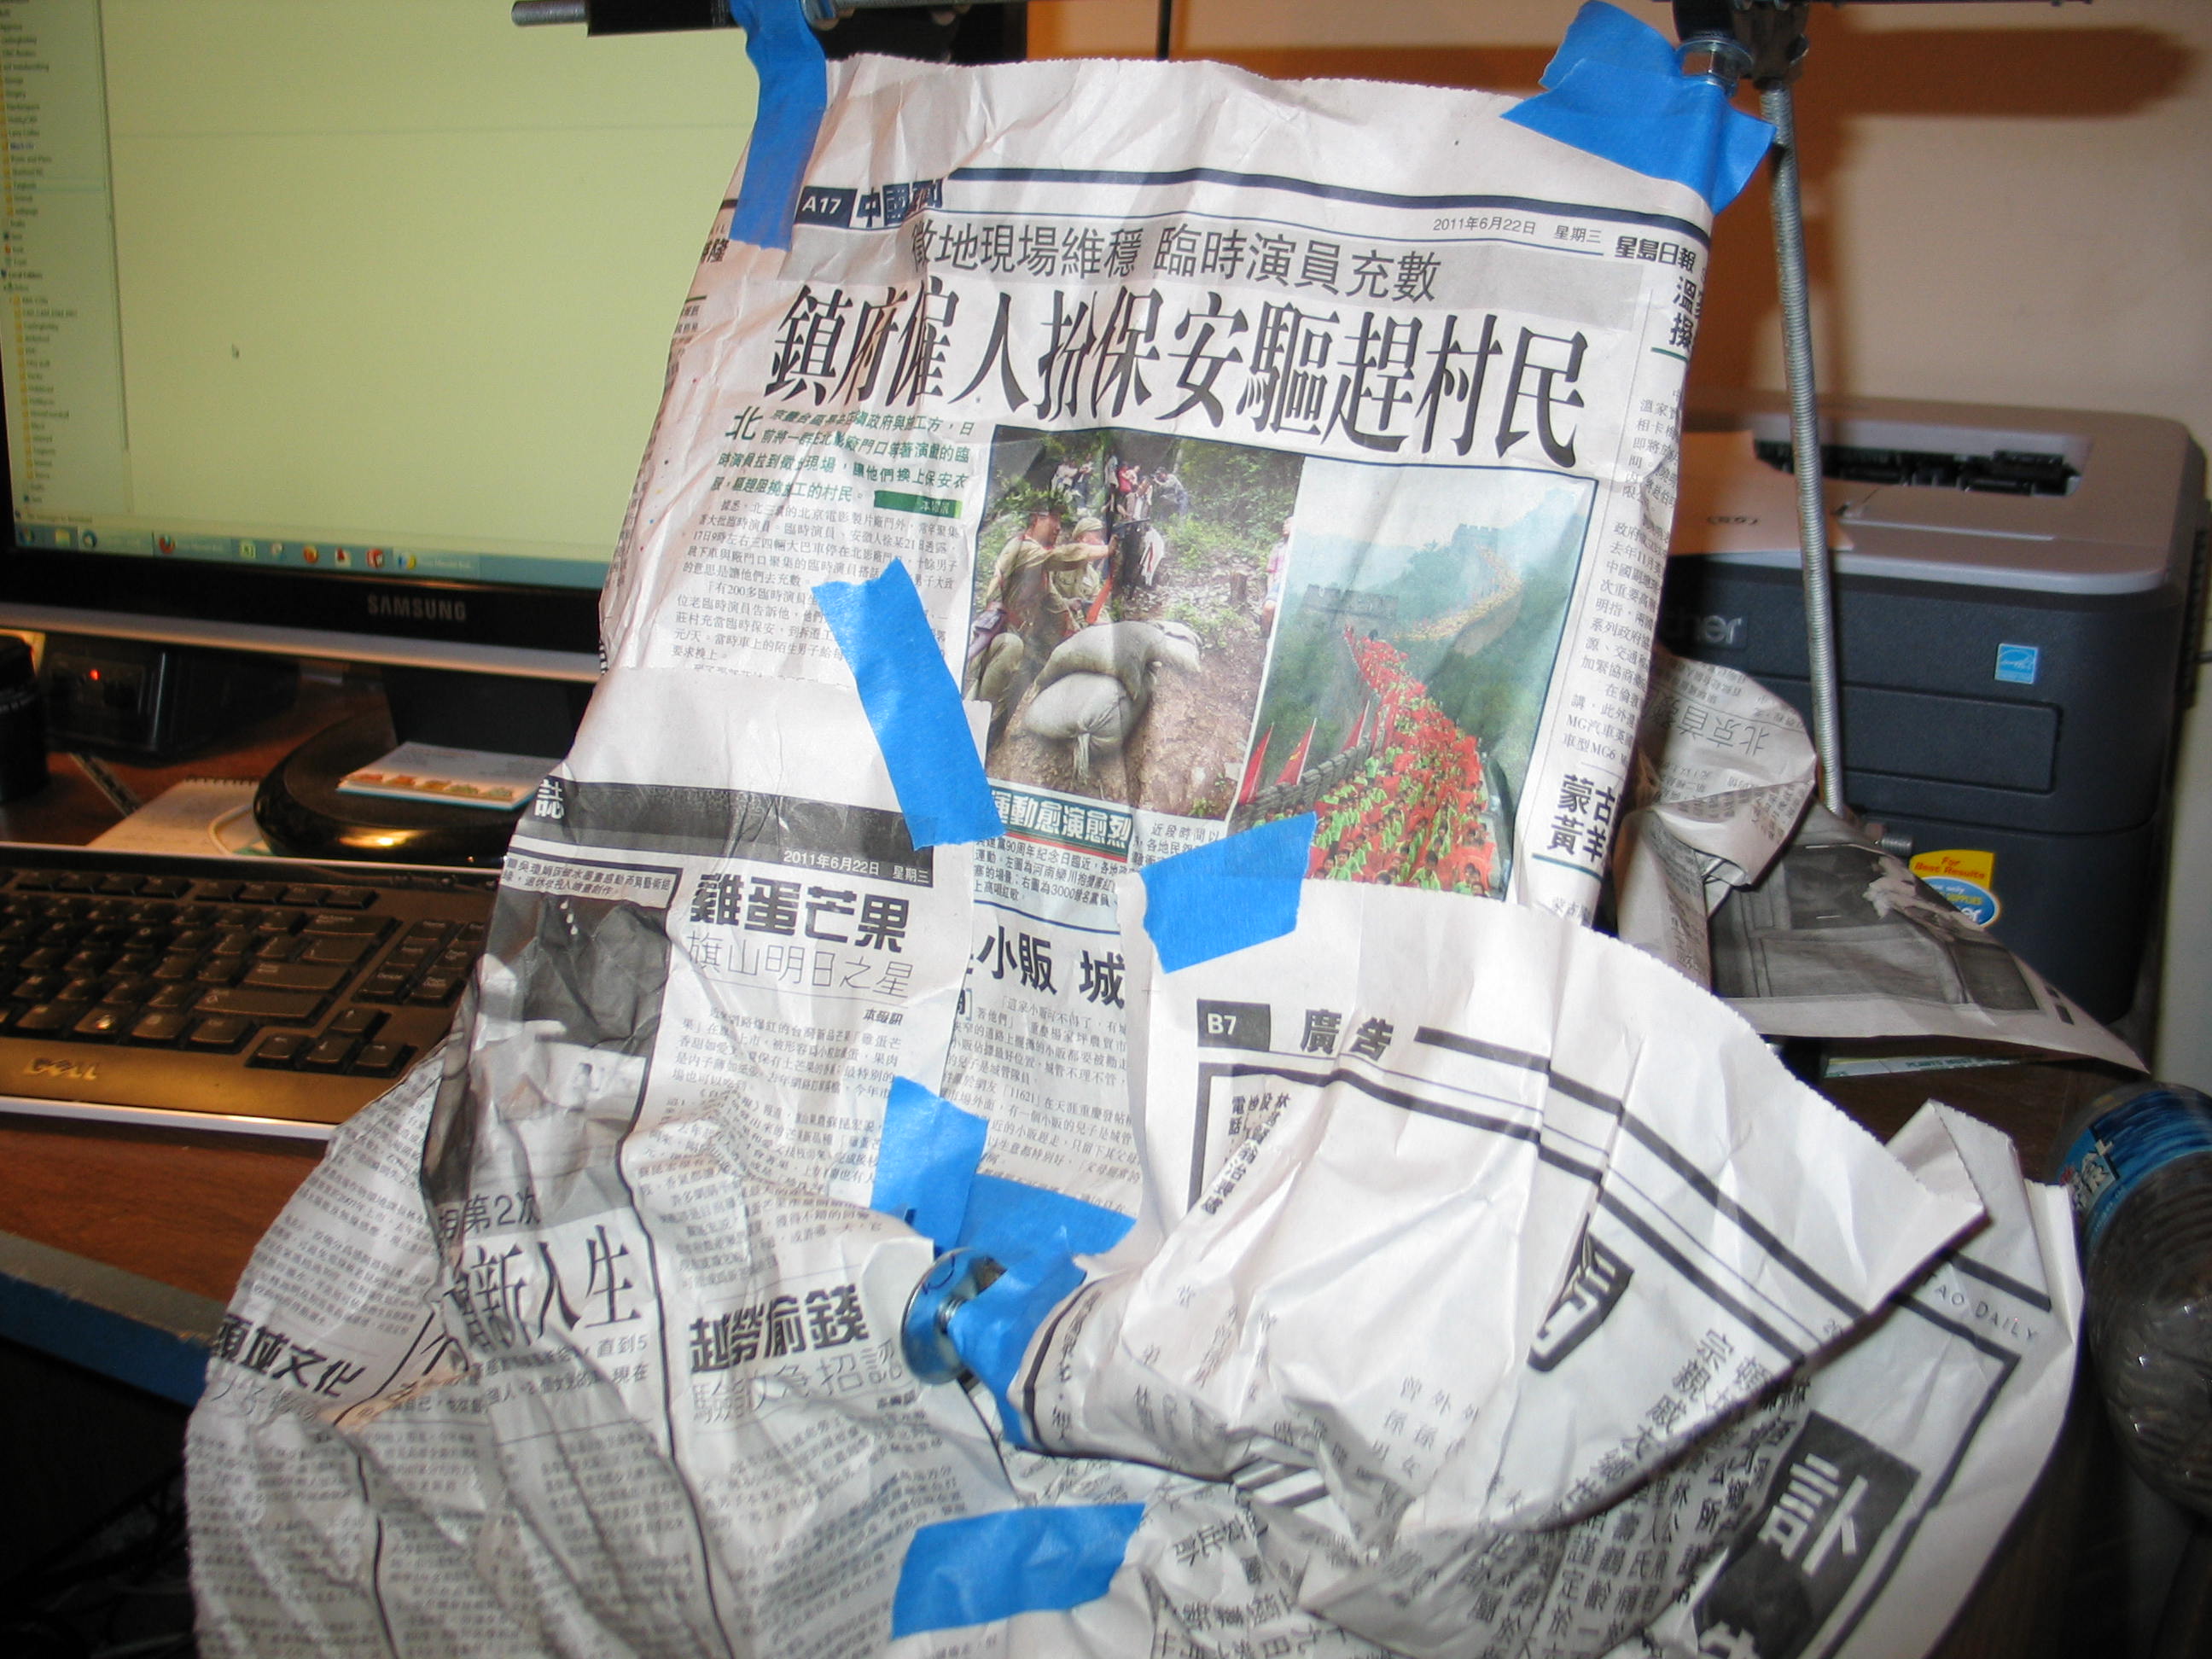
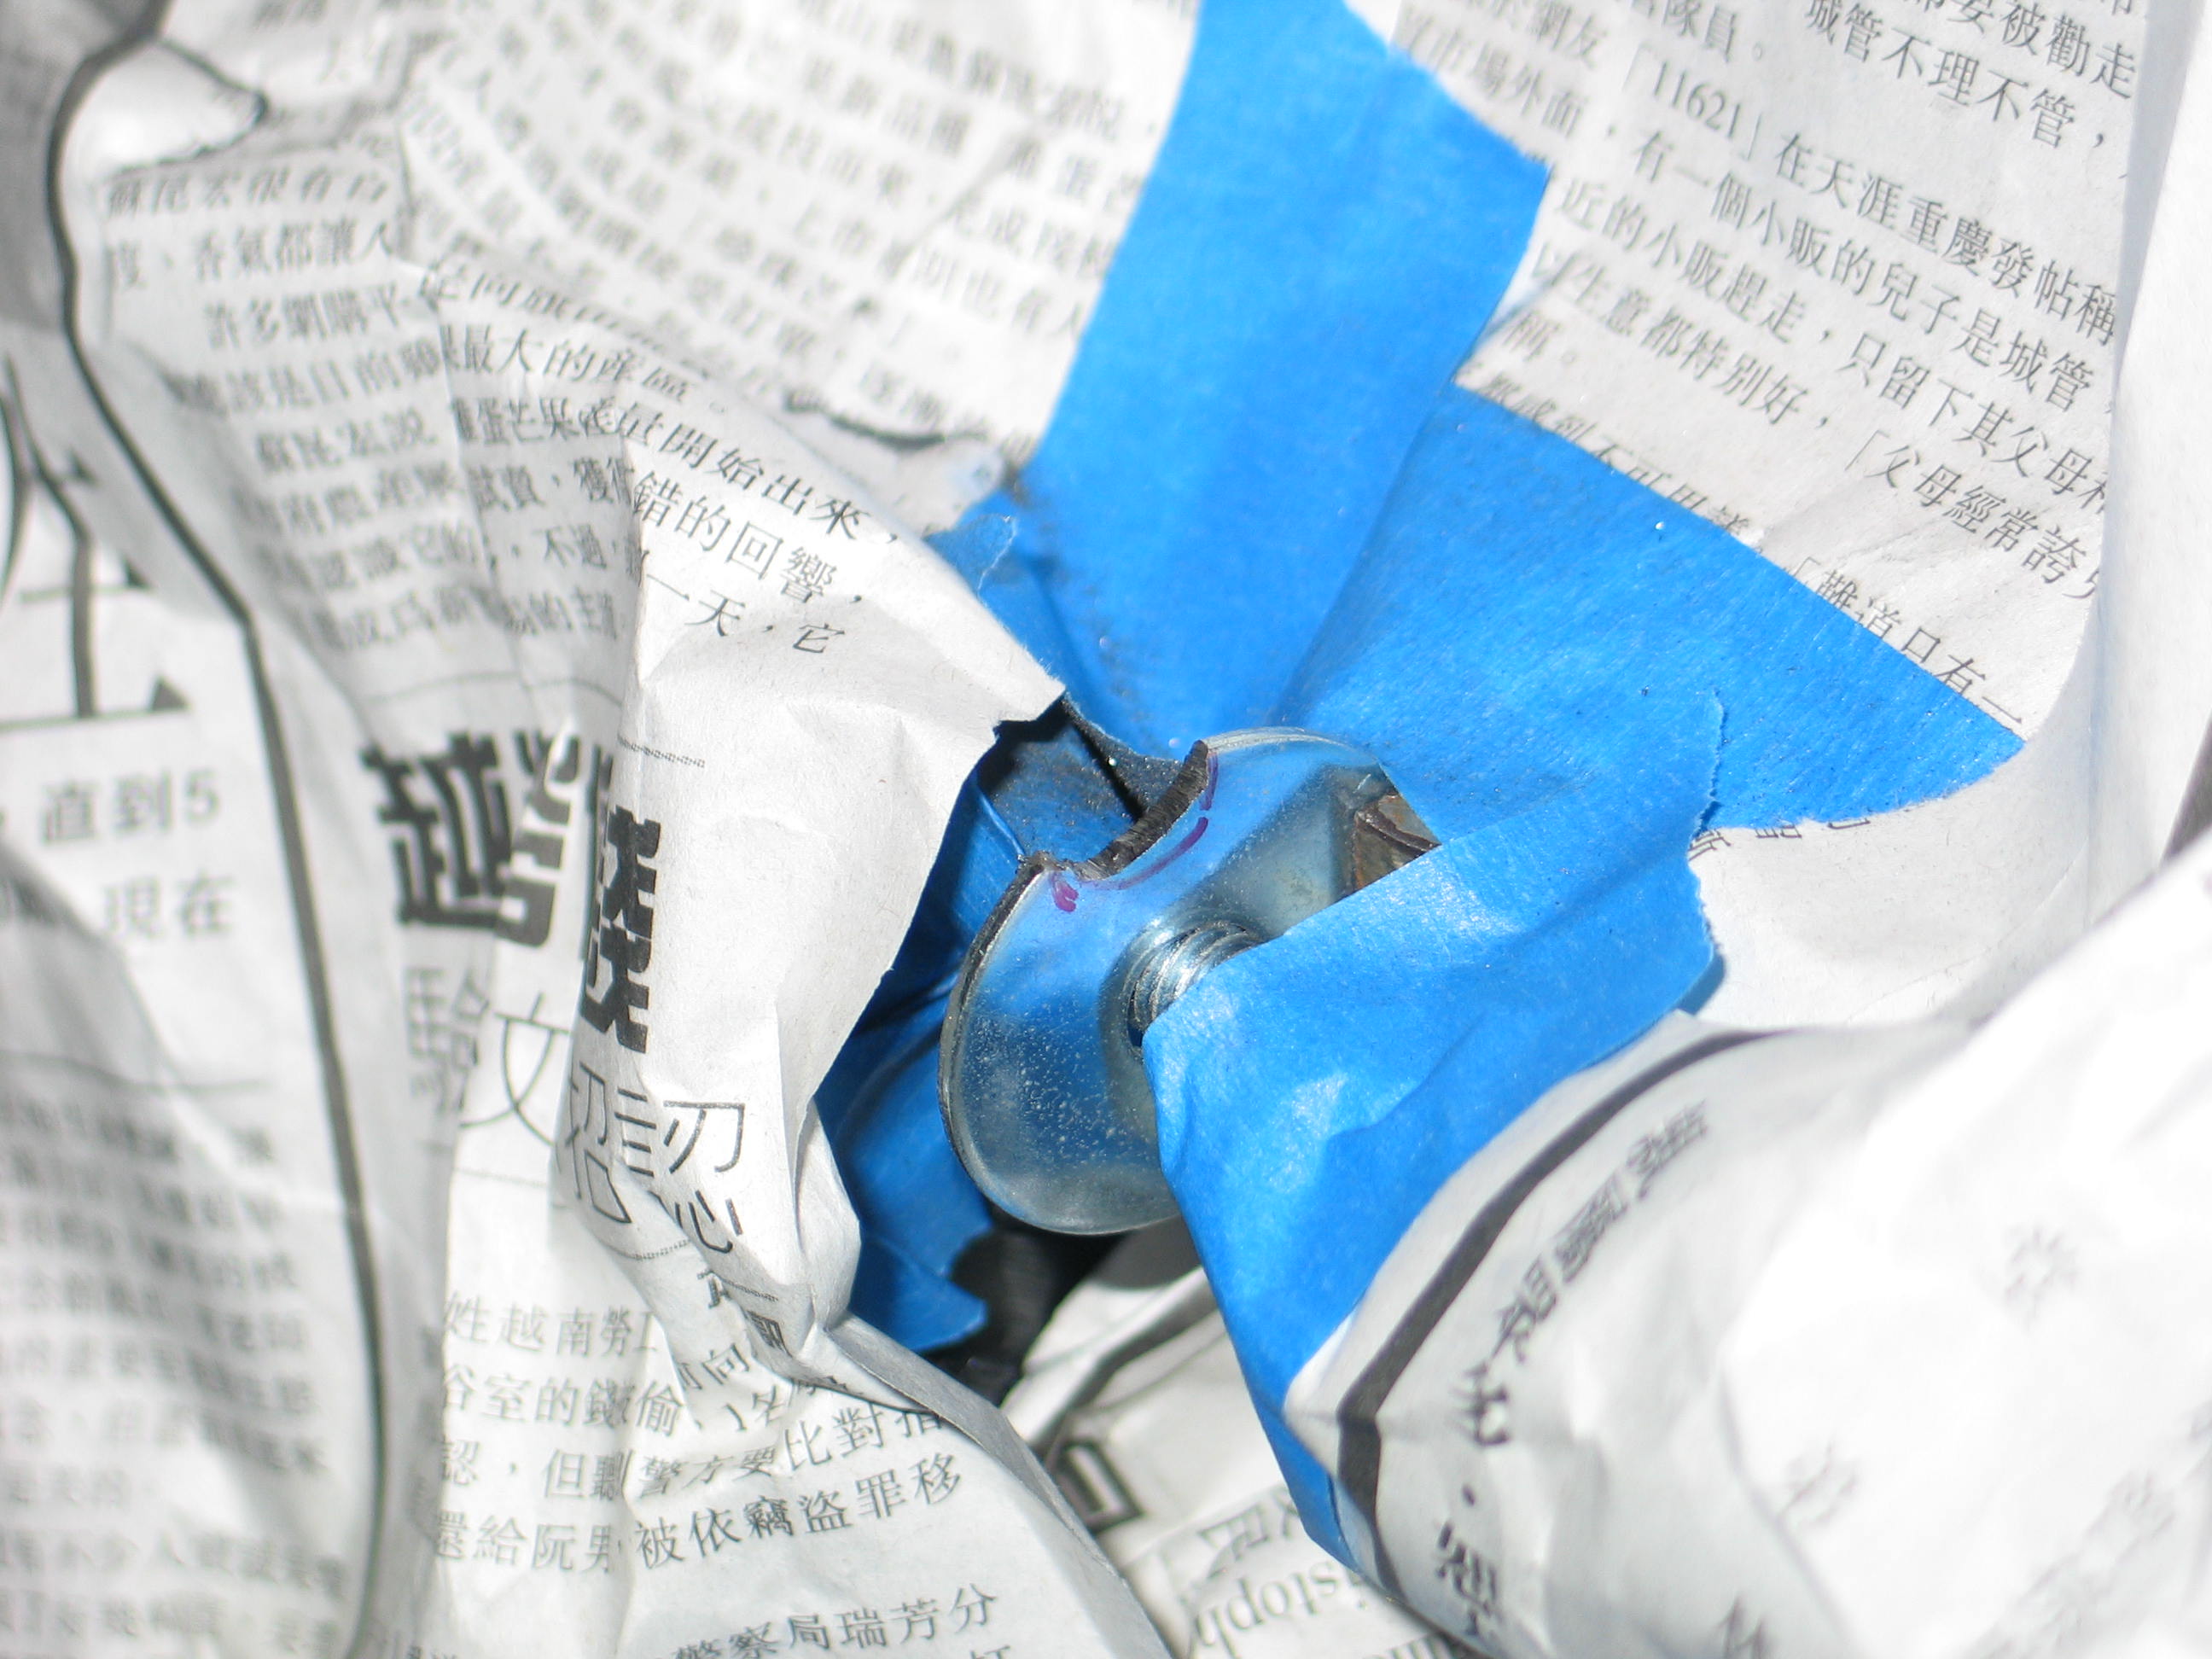
I masked the machine as much as possible to keep the grinding dust from
causing mischief.
I'm in Florida, but I don't get the paper. I dug in the trash and used
this from the hardware packing from New York. Enlarge the photo by
clicking it and look for the cool pistol!
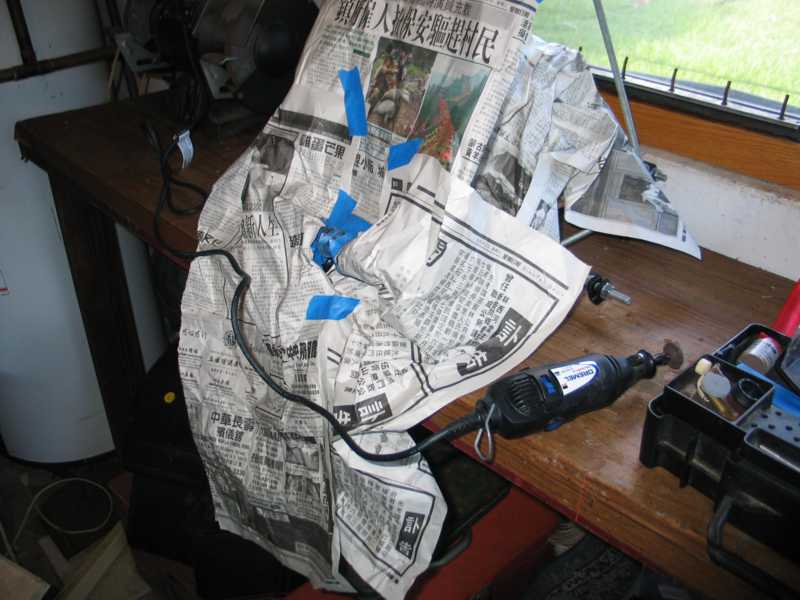
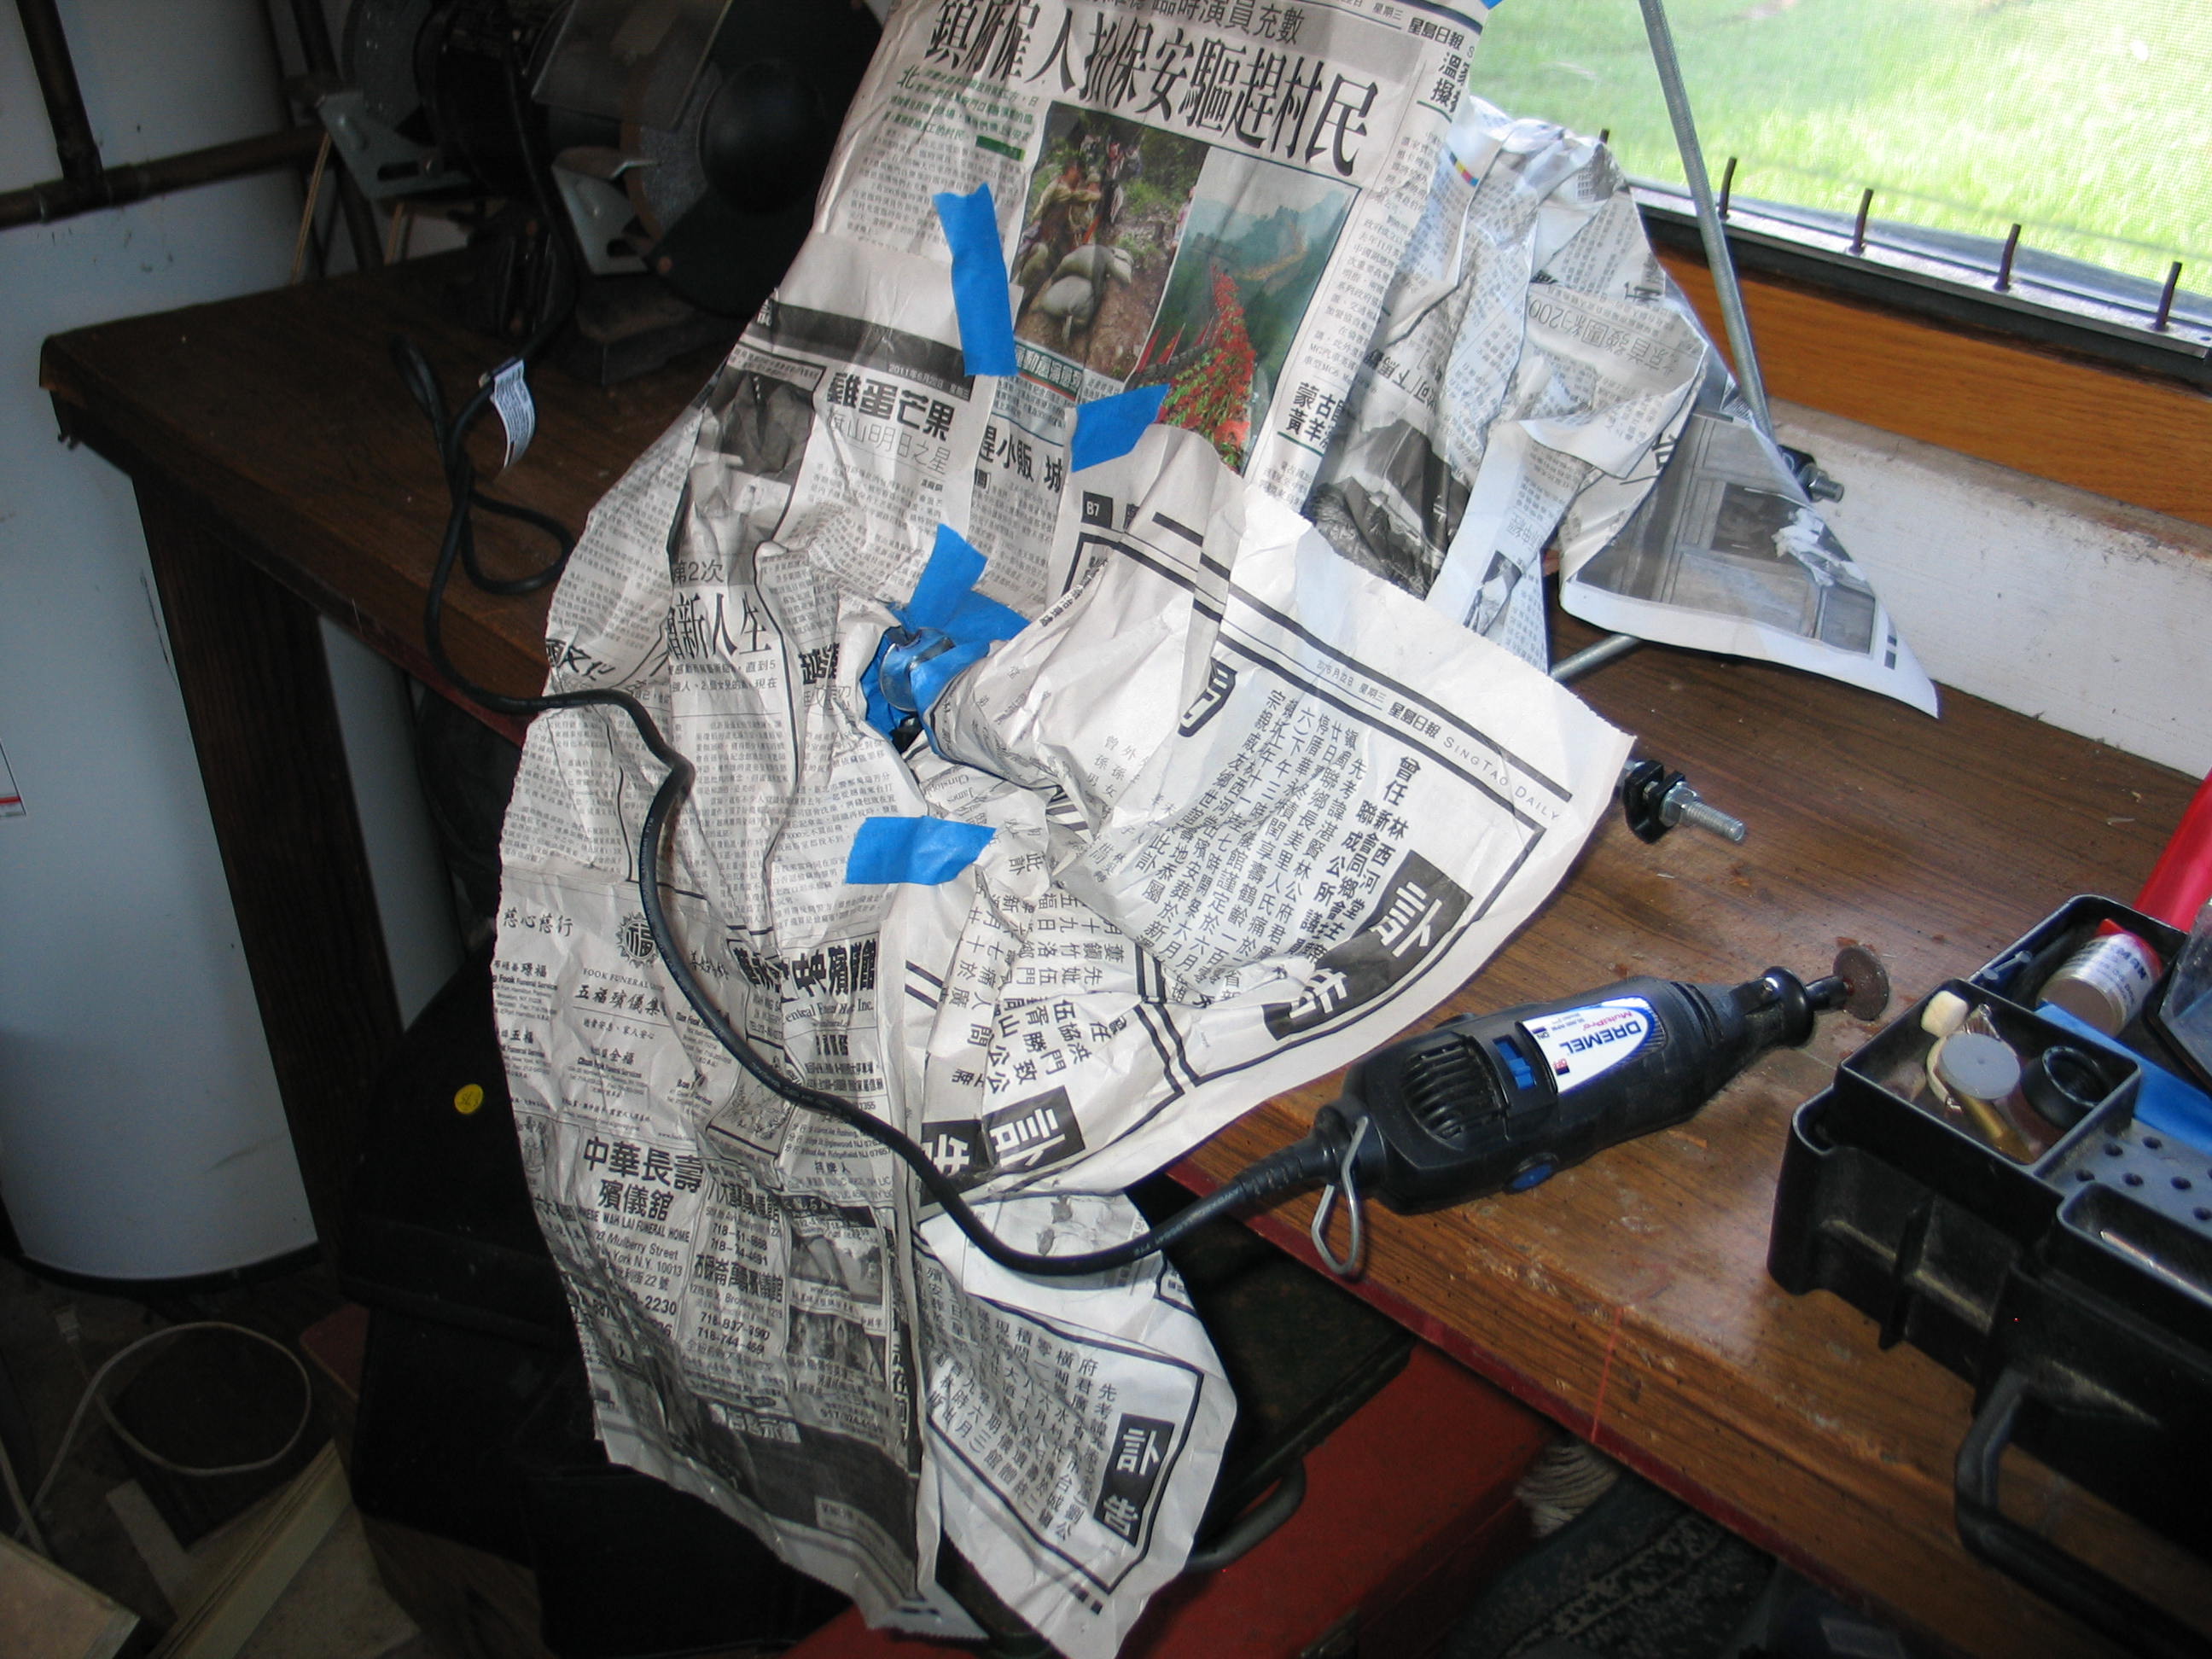
I took the whole thing out to a workbench to keep the dust and noise out of the house. And before you net nanny me, the safety glasses appear in the last photo.<GRIN>

I took the whole thing out to a workbench to keep the dust and noise out of the house. And before you net nanny me, the safety glasses appear in the last photo.<GRIN>
Almost
there...
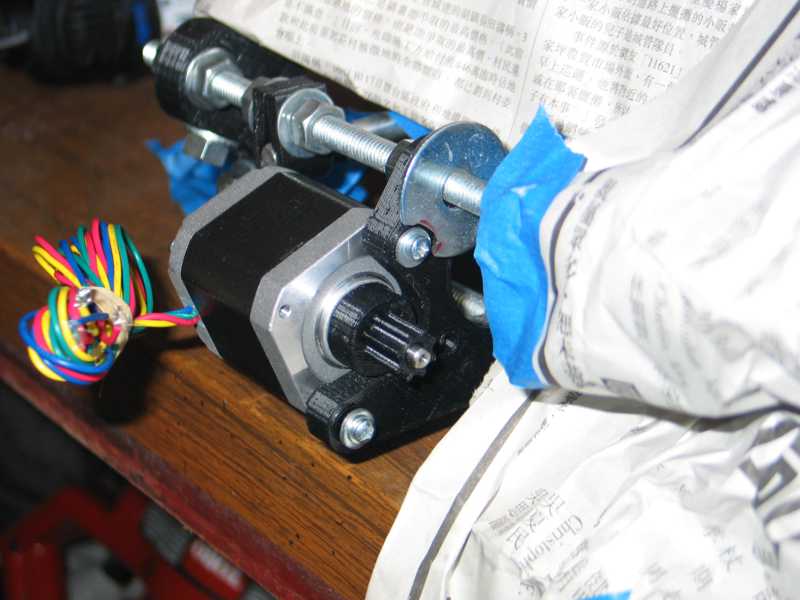

I put the motor back on to check the fit before I unmasked everything.
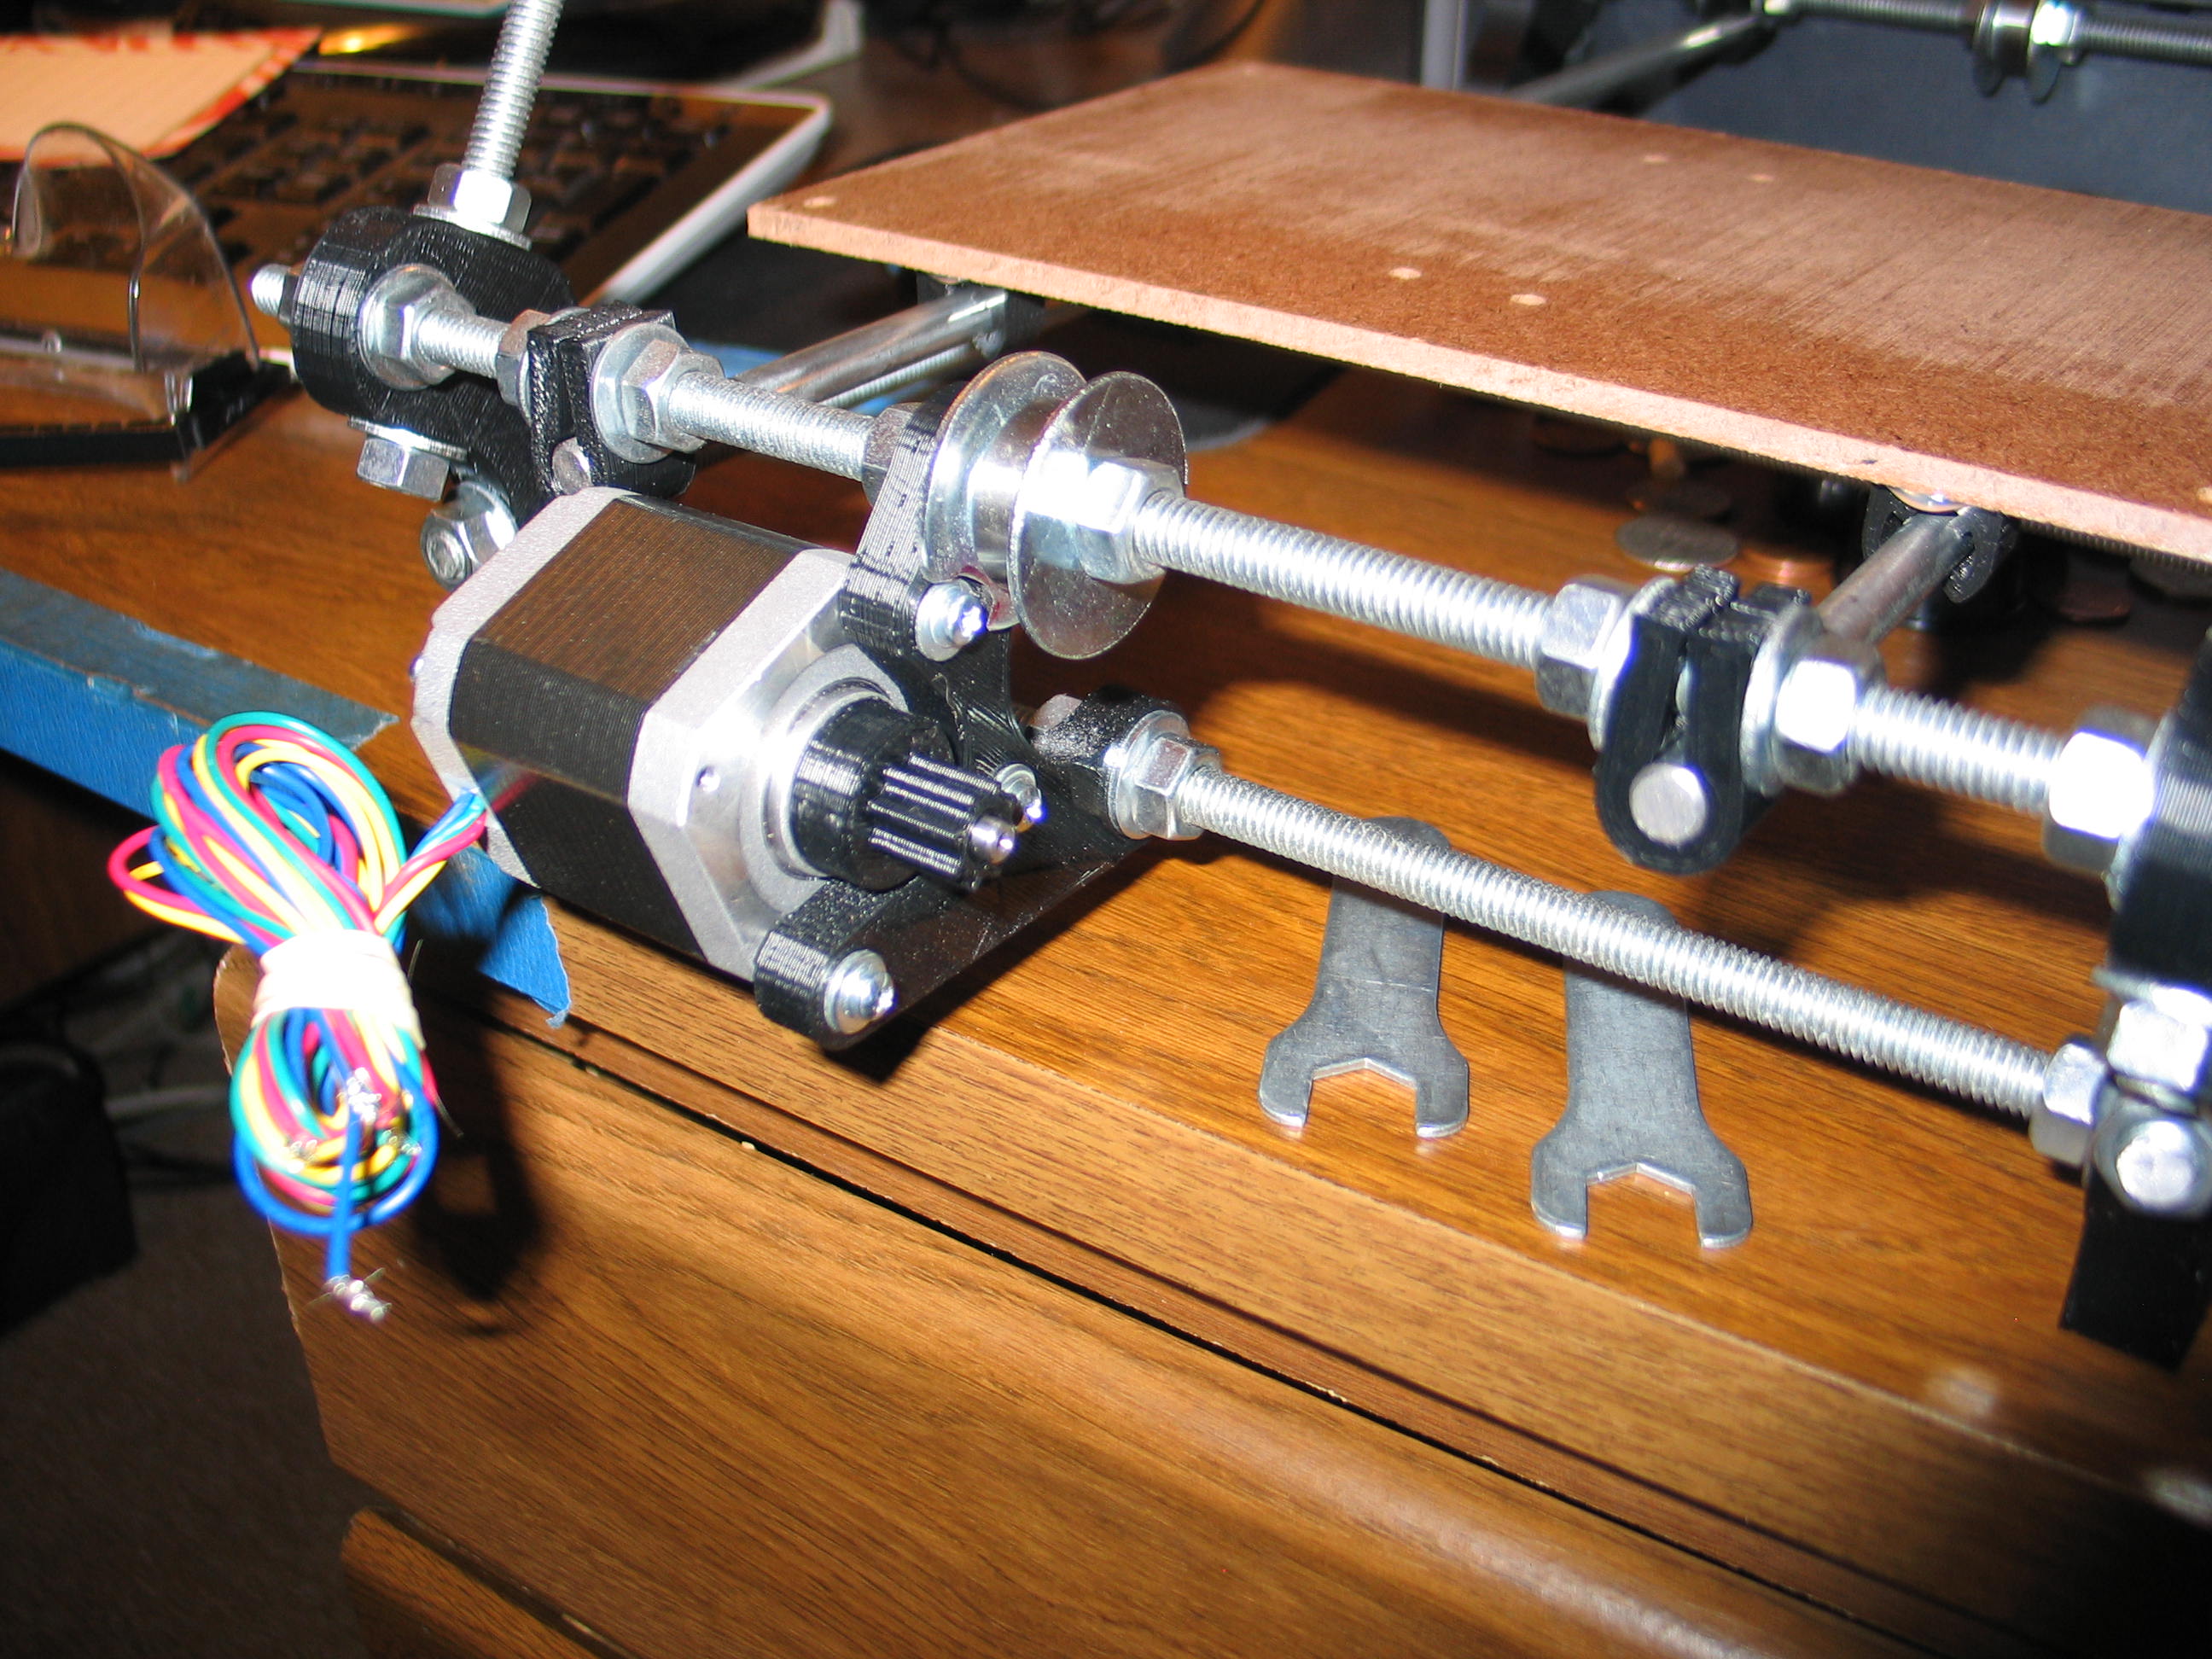
Back together. What a pain in the ass!
From the Taigtools group:
On 10/11/2011 3:08 PM, Don Rogers wrote:
>
> Ron, I would have approached the washer issue a little differently. A flat
> head machine screw with a counter sink in the mount would have eliminated
> the clearance issue. For the next time.
>
> Don
Thanks, Don.
And then...
>I think the pan head and washer are better in plastic, less chance of
>cracking the plastic with the wedge effect of the flat head screw.
>Managers at work liked the cleaner look of flat heads in Plexiglas, but
>one turn too much and you have a crack. Also because of thermal
>expansion you should use a generous clearance hole. In my bus the
>Plexiglas in the doors split end to end when the temperature went under
>20F. I know you are following instructions, but you might do more trial
>fitting before you commit to an assemble.
>Ron, it looks like you are doing a great job! Carl.
So you decide.
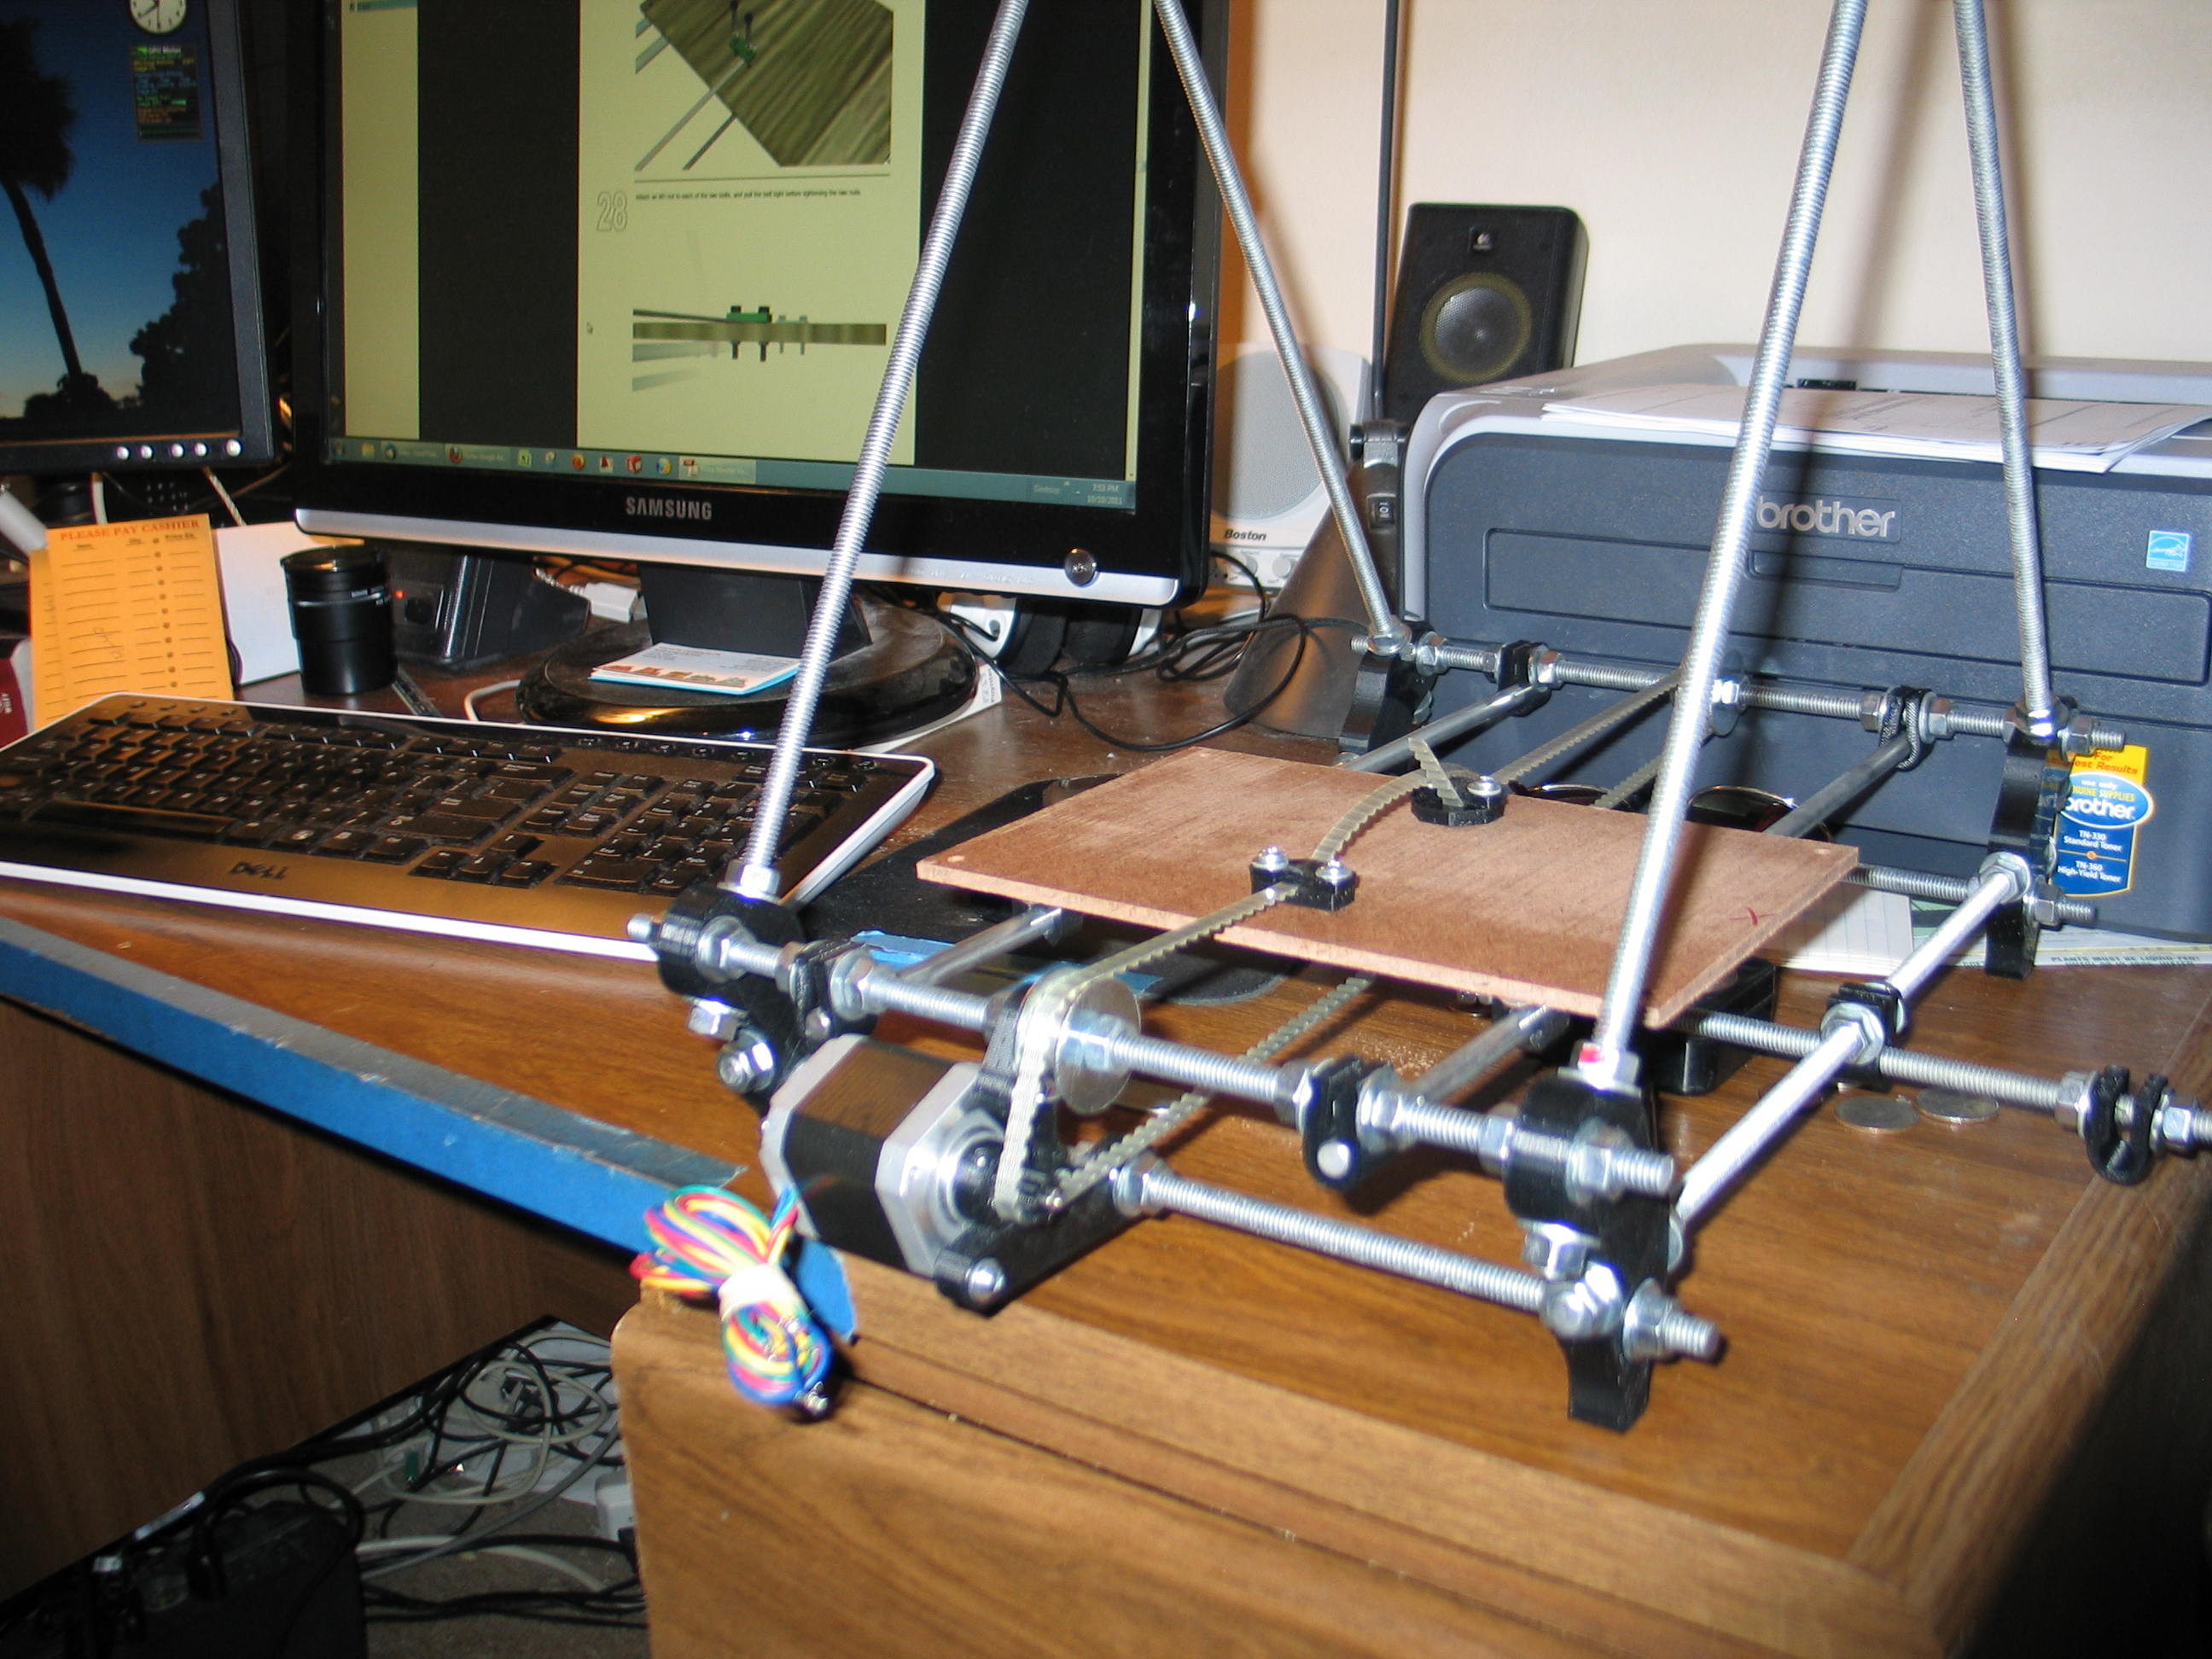
Time
for the belt. I cut it with a pair of scissors. The cords in the belt
from Ultimachine
seem to be metal. They didn't seem to hurt the scissors, though. The
instructions say to stretch the belt tight as you tighten it. I thought
this would be tough with only hand stretching, but it went OK.
There was some tendency for the belt to go sideways. I adjusted one side to bring the idlers to a more parallel position. It still walks a little, but not enough to rub anything. Getting the Y axis motor mount as vertical as possible helps a lot.
Next up, the X axis.
There was some tendency for the belt to go sideways. I adjusted one side to bring the idlers to a more parallel position. It still walks a little, but not enough to rub anything. Getting the Y axis motor mount as vertical as possible helps a lot.
Next up, the X axis.
Please leave a comment on the bottom of the page. Was this useful? What would you like to see different? Thanks.