 .........
My First Lost Foam
Casting
By
Ronald E. Thompson
July 20, 2003
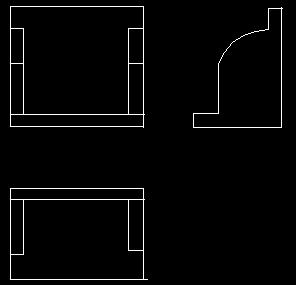
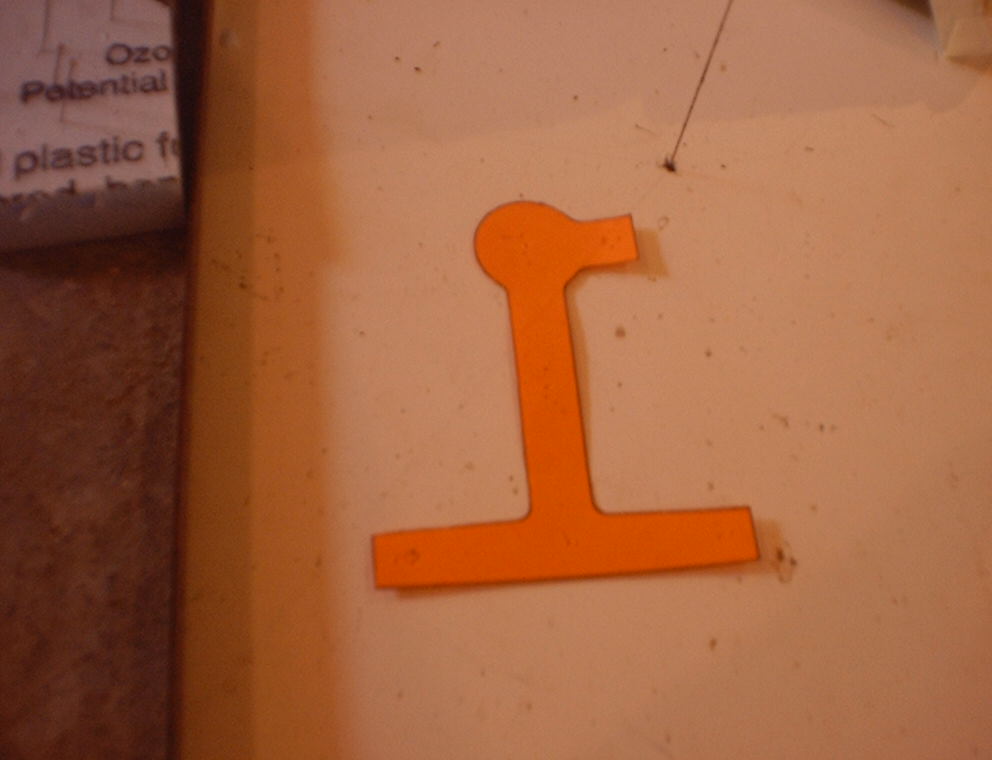
It all started when a friend of mine, Bill McGown, was playing with his new toy. He had recently acquired a Taig tabletop CNC milling machine. He went all out and opted for the fourth axis, which is a Sherline rotary table with a stepper motor on it. Bill was trying to put a spiral design in a piece of wood that looked like a chunk of large diameter broomstick. It wasn't going too well and I told him he needed a tailstock to support the free end. We tossed around a few ideas and then it hit me. We could cast this pretty easily. Bill thought this was a heck of an idea. He had been wanting to participate in a pour for a while, now. We each had our own ideas about how this should take shape, so later that day we each drew our ideas in AutoCAD and emailed them to each other. We are very different thinkers and they looked nothing alike. Bill's is on the left.
.........
We discussed the pros and cons of each design, paying attention to draft, radius' (radii?), how much 'meat' to leave for machining, etc. Then we hit on the idea of lost foam. Neither of us had done it, so we were 'off to the races'!
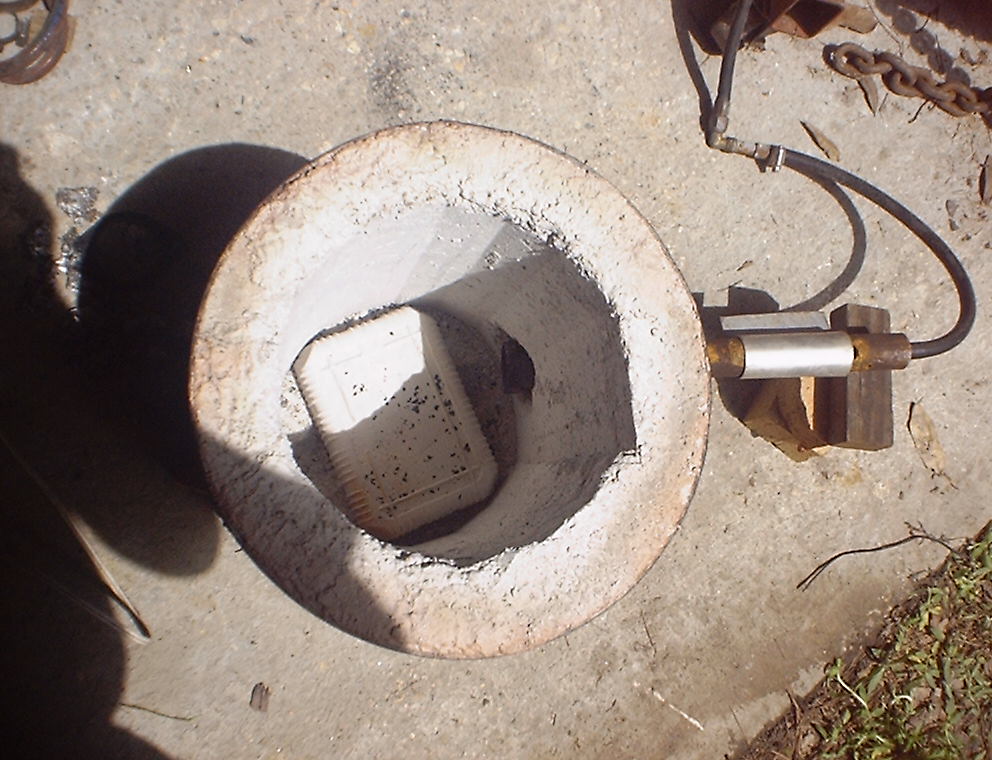
The Hot
Wire Foam Cutter
I had made a hot wire cutter some time back, but hadn't used it
much. Bill had a quantity of ½" thick blue foam board left
over from something or other. I introduced Bill to the cutter and
it was love at first bite. Click the pictures for a larger view.
 .............
  .........
Now, understand, my foam cutter was my first attempt at making anything like it. It worked so well I've never modified it. It gets the job done, but I would do a few things differently if I made another one (and took more than 30 minutes to throw it together).
The choice of wire, a used guitar string, has been wholly adequate for my purposes, and it was free. I made it long because I wanted to be able to slide the power supply lead down the wire to help regulate the heat, if needed. It wasn't. A shorter one would be better.
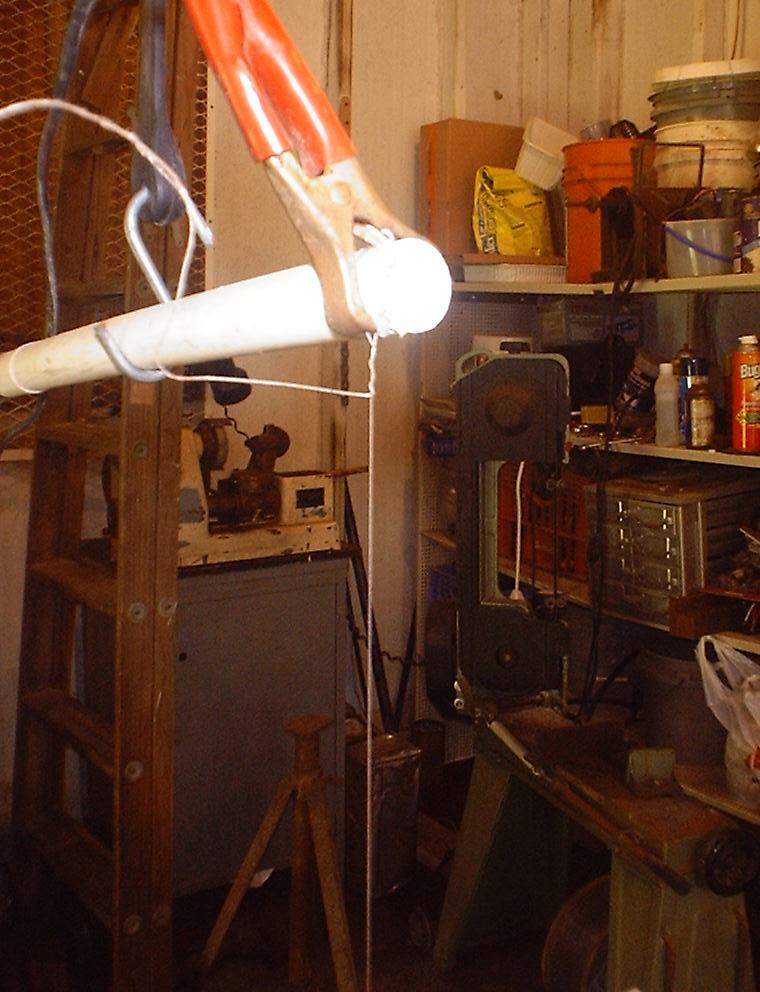
The over arm was a piece of PVC pipe I heated to bend and flattened on the bottom so it could be screwed to the wooden table. You can do this with boiling water and get good results. I used a cutting torch for speed. When it caught on fire I just blew it out. When it had the shape I wanted, I 'quenched' it in cold water. The PVC gave a little spring action to help hold the wire tight. When Bill and I were cutting large, glued up blocks of foam, we were getting uneven cuts. Bill's critical eye spotted the tension as the problem. I held up on the overarm while he made a cut and it was much improved, so we hung a rubber tarp strap from a roof truss and "helped" it.
The table was plywood, so insulating the connections was not a problem. The white top is a piece of sheet plastic left over from a bathtub surround kit. It makes the foam glide across the table. I drilled a small hole and passed the wire through.
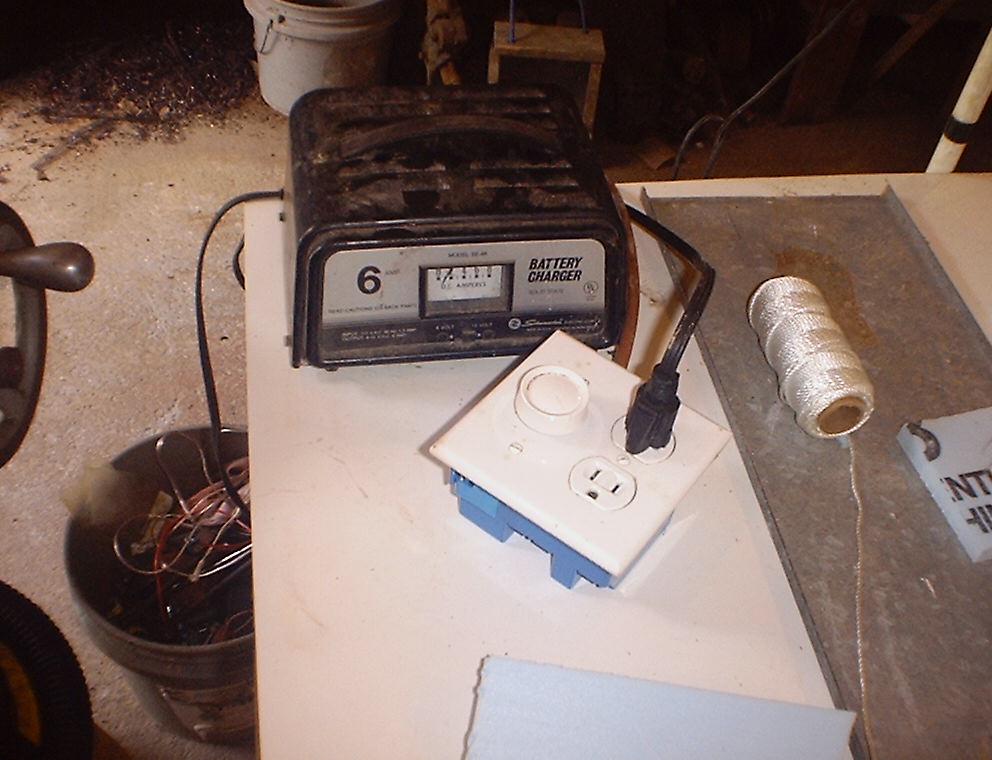
The electrical connections were easy. A small battery charger plugged into a homemade dimmer. I saw it on the internet someplace. The $3 dimmer is wired in series with the outlet. It does a good job of regulating the heat. If it smokes the plastic, it's too hot. A little practice and you will get the hang of it in no time. A light would be nice so you could tell if the wire was turned off or not. I turn it off when I won't use it again for a at least a few minutes.
 ...........
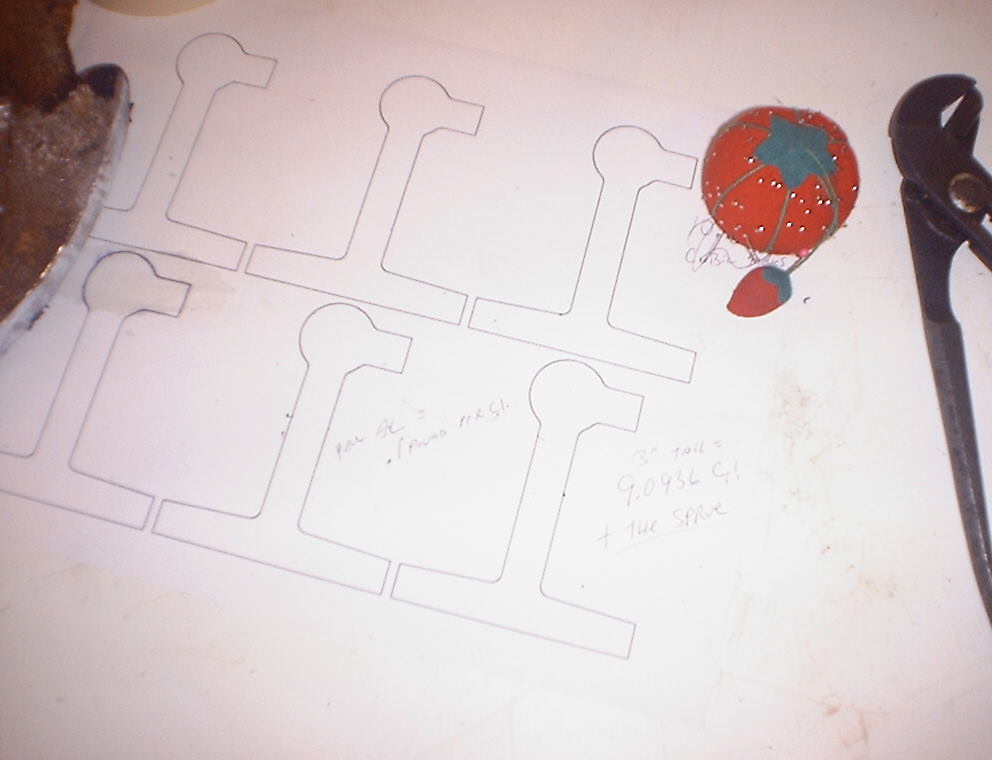
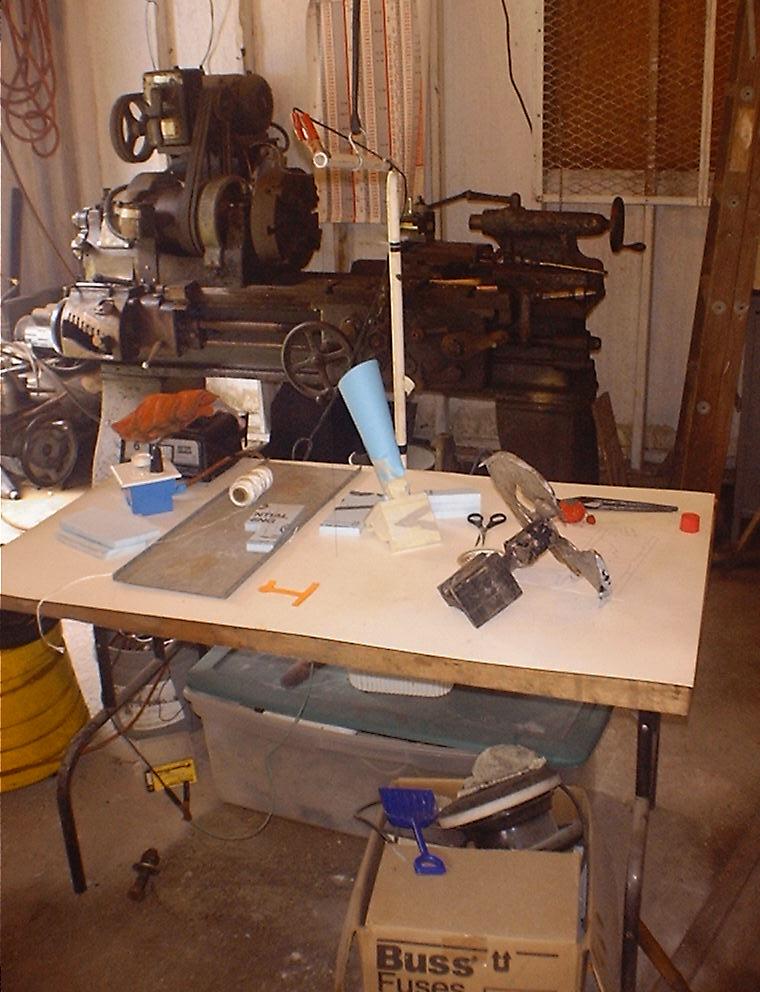
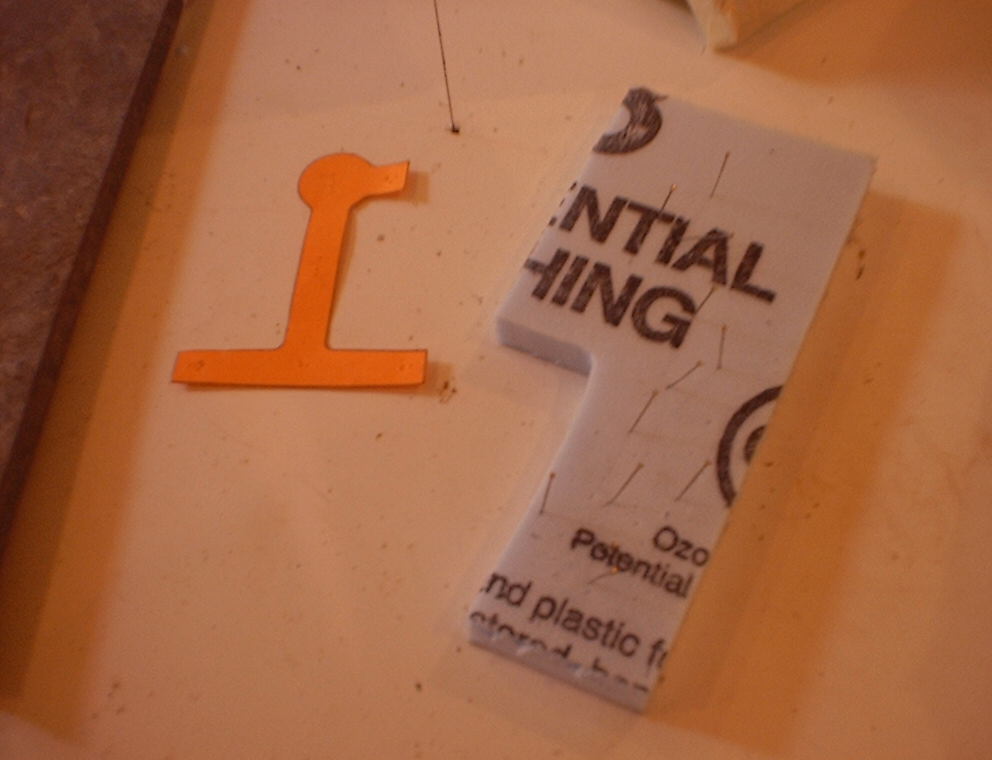
The
Patterns
The patterns were
printed on heavy paper called card stock (like business cards),
cut out and pinned to the foam. My pattern needed to be 3"
high, so we glued up a stack and went to cutting. My cutter was
not rigid enough to give us straight cuts of that depth, so after
messing up a few we decided to cut them individually and then
glue them together. The card stock allowed us to cut right up to
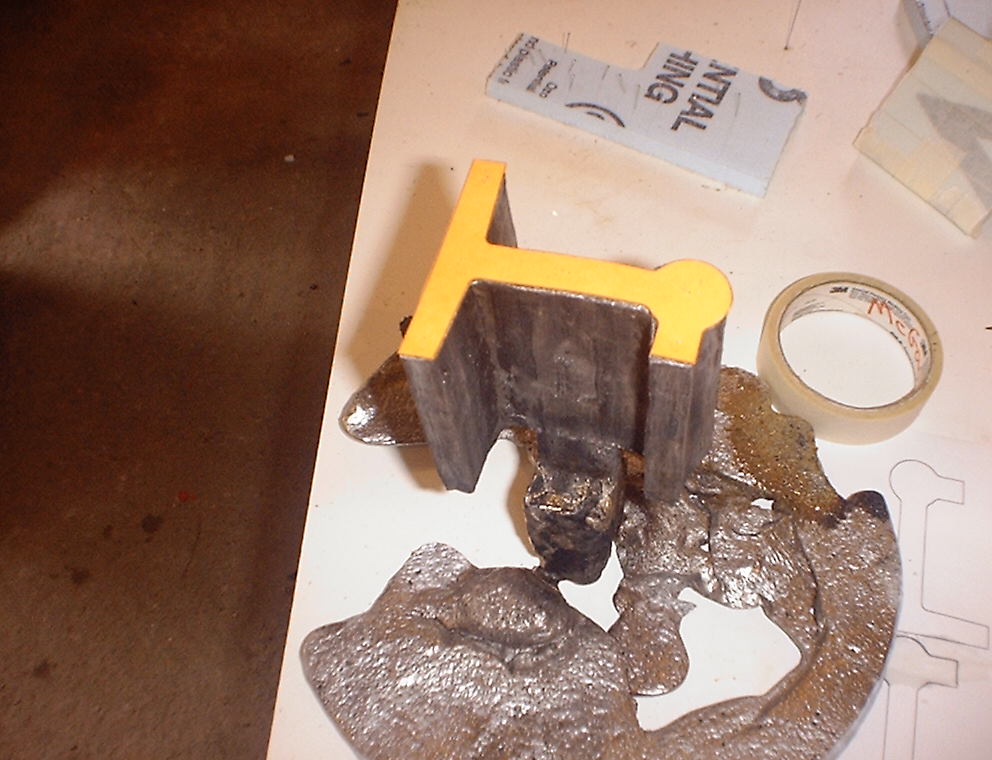
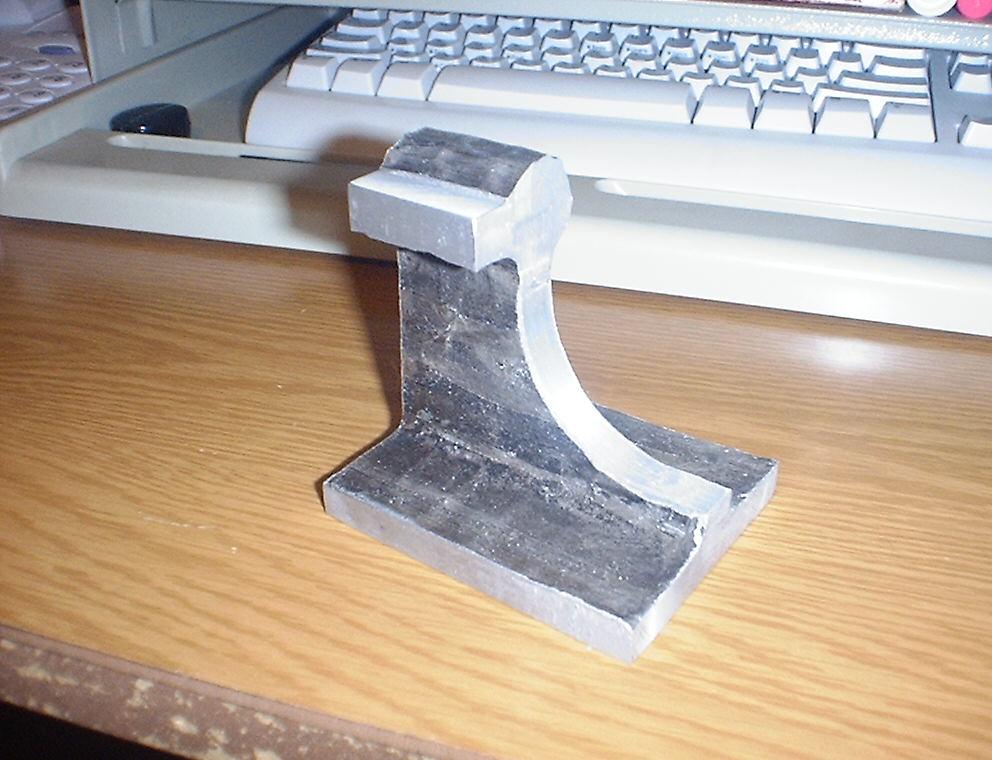
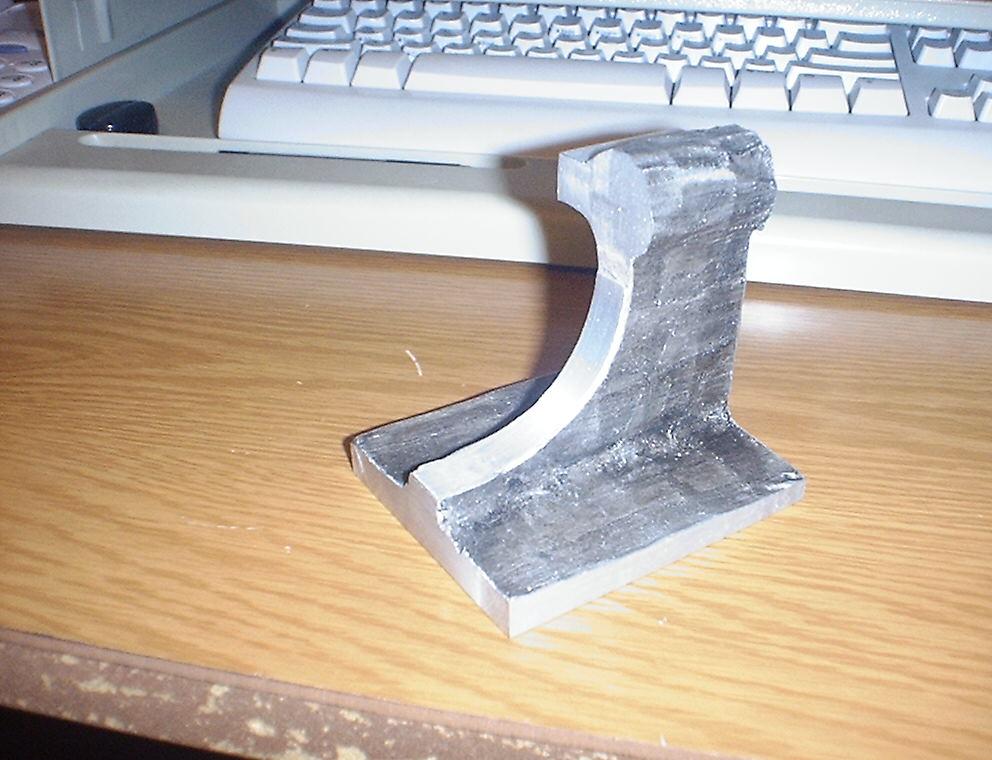
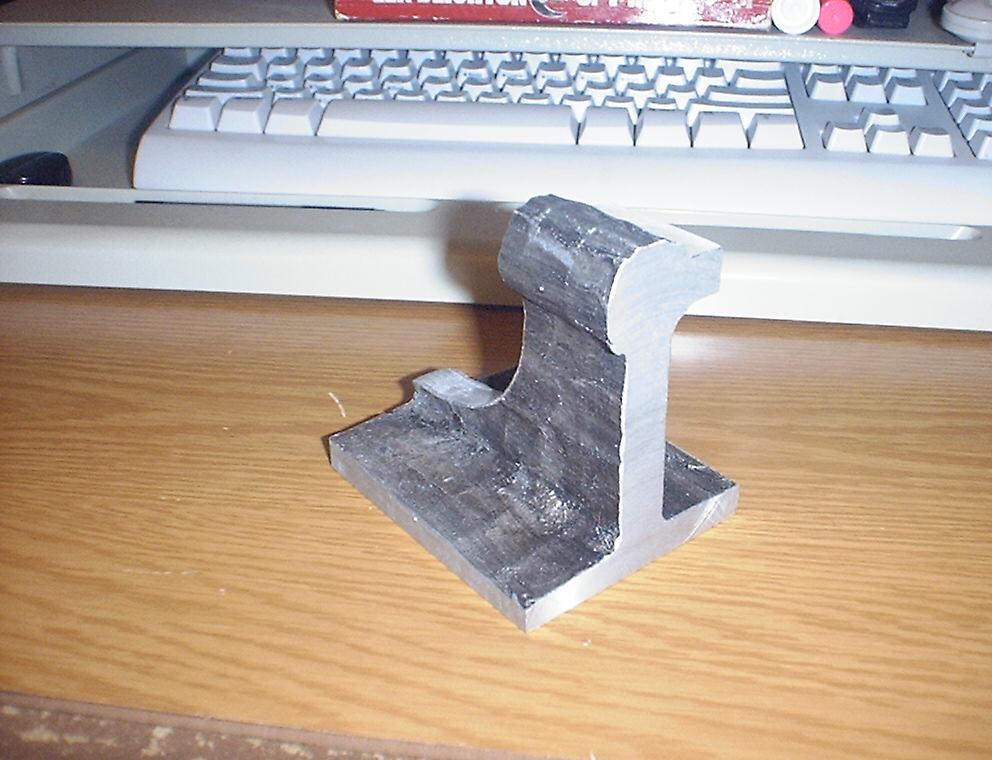
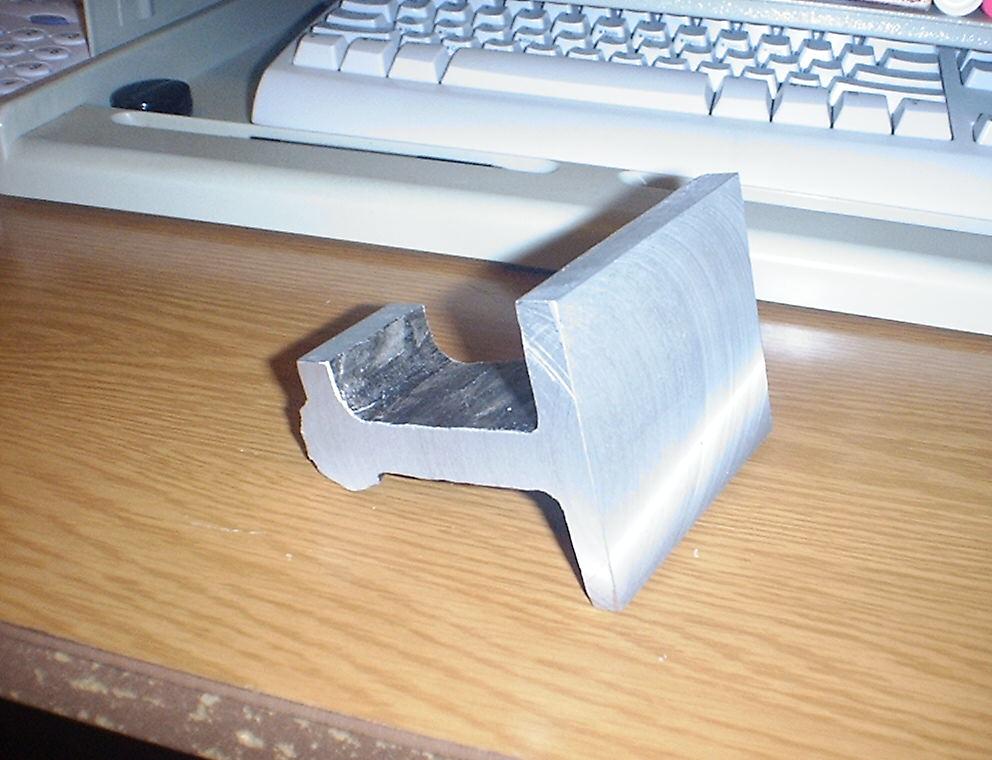
the pattern, dragging it against the wire. As you can see (below,
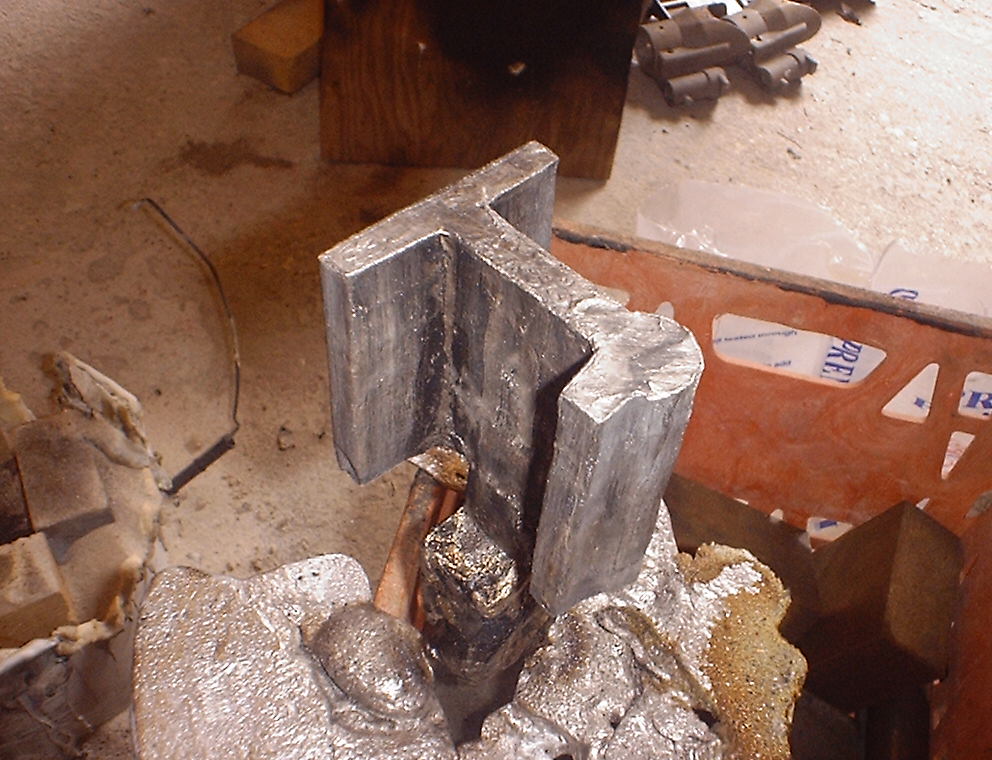
right) the casting was a faithful reproduction of the pattern.
(That is the same pattern, the lighting wasn't good enough for my
old digital camera to get the color right)
 ..........
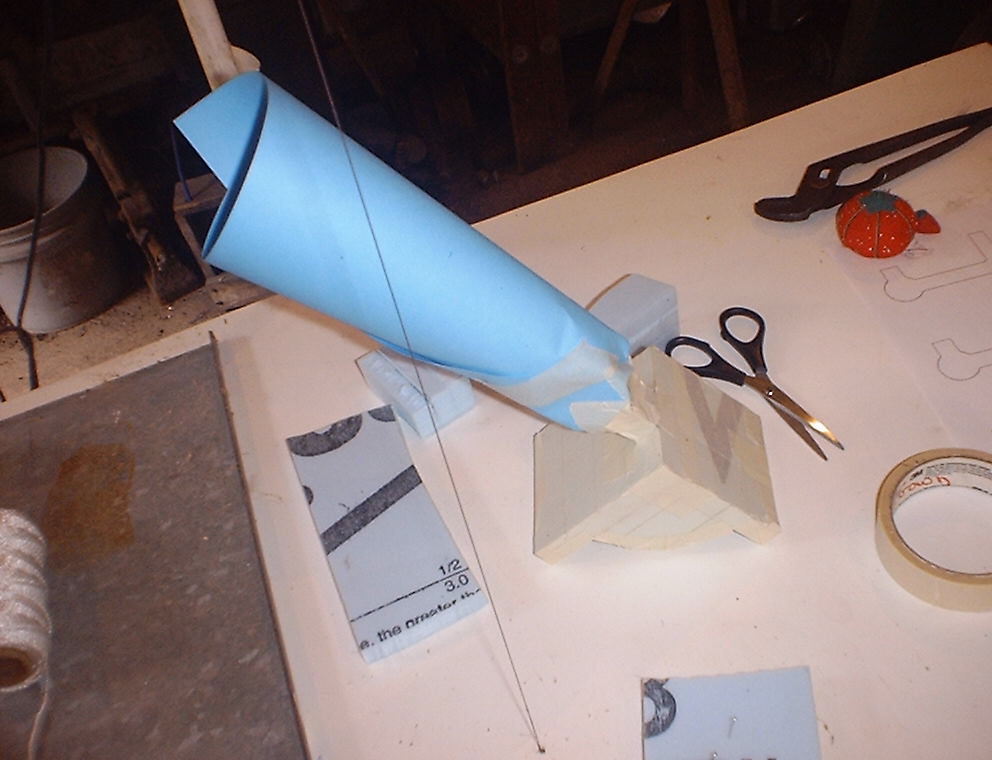
This is Bill's pattern. I poured mine before I took the pictures. We wrapped the foam in masking tape to help fill in any gaps and to hopefully give us a better surface finish.
 ............
We put more card stock around the sprue to try to keep sand from falling into the molten aluminum. I told Bill I thought his pattern would make a good angle plate when machined. The sheet metal was used as a fence to get straight cuts.
 .............
The Ugly
Truth!
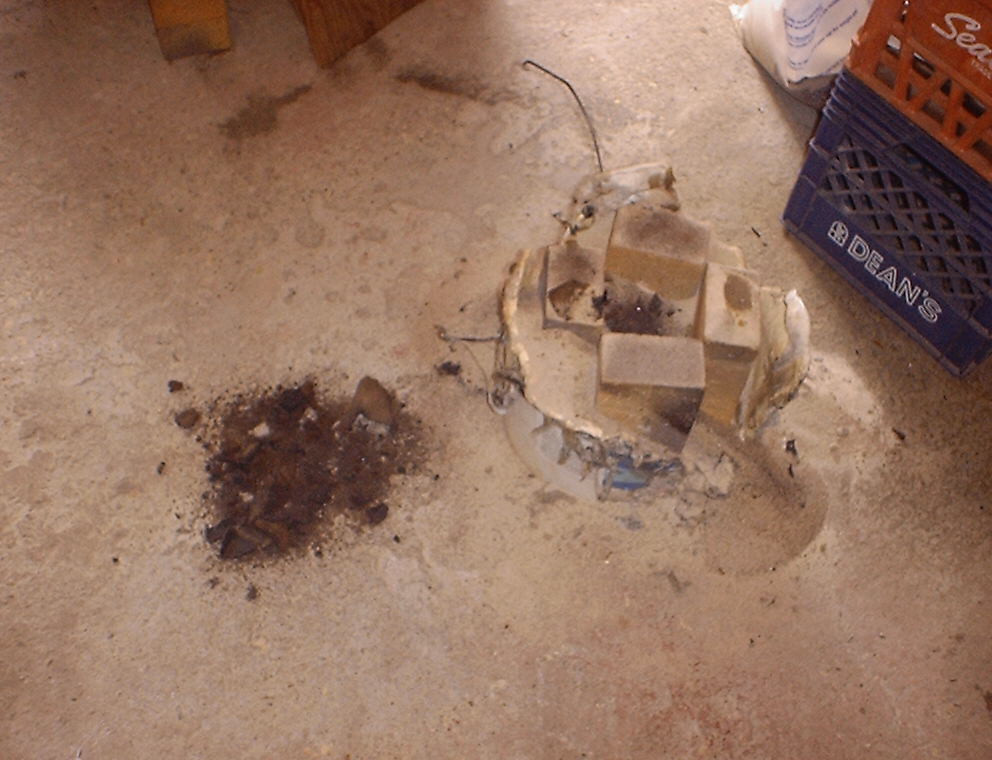
I placed my pattern into a plastic
bucket on top of a couple of inches of loose play sand from
Lowe's. I used a kids sand shovel to gently fill the bucket with
more of the sand, tapping the sides every so often to make sure
it settled OK. I put 4 firebricks into the bucket to take up
space so I wouldn't run out of sand. I fired up the furnace and
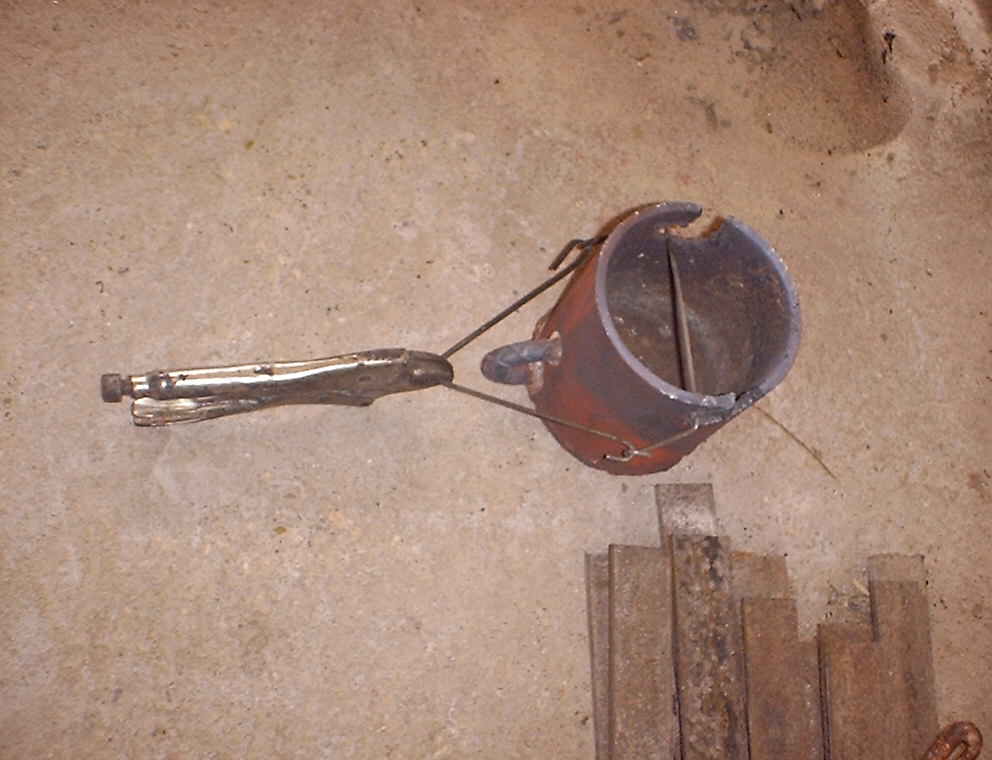
melted a half an iron pot crucible of cast aluminum scrap,
skimmed the dross and poured it. I missed the sprue a little and
got some molten aluminum on the bucket. Massive smoke! My quick
and dirty shank was too short, forcing me to bend over the bucket
as I poured. I continued to pour, hitting the sprue with some of
it. I poured hard while holding my breath, not being able to see
what I was doing. The top of the bucket was filled with
over-running molten metal. The fumes were fierce! The bucket was
on fire. I think Bill was running by now, (I would have been) but
I can't say for sure, as I couldn't see. I threw the
crucible into a waiting cast iron skillet that was to hold the
excess pour, to make a large round ingot. I made sure the
crucible landed upside down. I placed a piece of plywood over the
bucket to smother the fires. Bill was back (if indeed he had high
tailed it like any sane person would have) and we went to sit on
the porch and talk about what we wouldn't do next time. After a
few minutes, we moseyed back to the scene of destruction. The top
of the bucket had melted, allowing the plywood to drop down
on the puddle of hot aluminum. The sides of the bucket were
aflame and molten, burning plastic was dripping on the
concrete floor. I pulled the plywood off and laid it aside. That
charred mess used to be a pretty good bottom board for my flask.
We were trying to figure out how to put out the burning plastic
as the sand was slowly escaping the gaping holes in the bucket.
We knew better than to try water! The aluminum was still pretty
hot. Bill, showing off his superior intellect, asked if I
had a larger bucket to put over it, denying it the oxygen it
needed to burn. Great idea! But no such bucket. I wound up
using a shovel to scoop up the sand that had made its way to the
floor and pour it over the burning mess, killing the fire but not
the smell. We surmised that it still may be too soon to pull the
surely ruined part from the sand. So we retired into the air
conditioning for a glass of iced tea. I, for one, needed it
sorely! We gave it another 10 or 12 minutes while we soaked up as
much cool air as we could. There wasn't much hurry now. I had
seen free form "art" once or twice before. We
reluctantly left the house and pulled the enormous mushroom
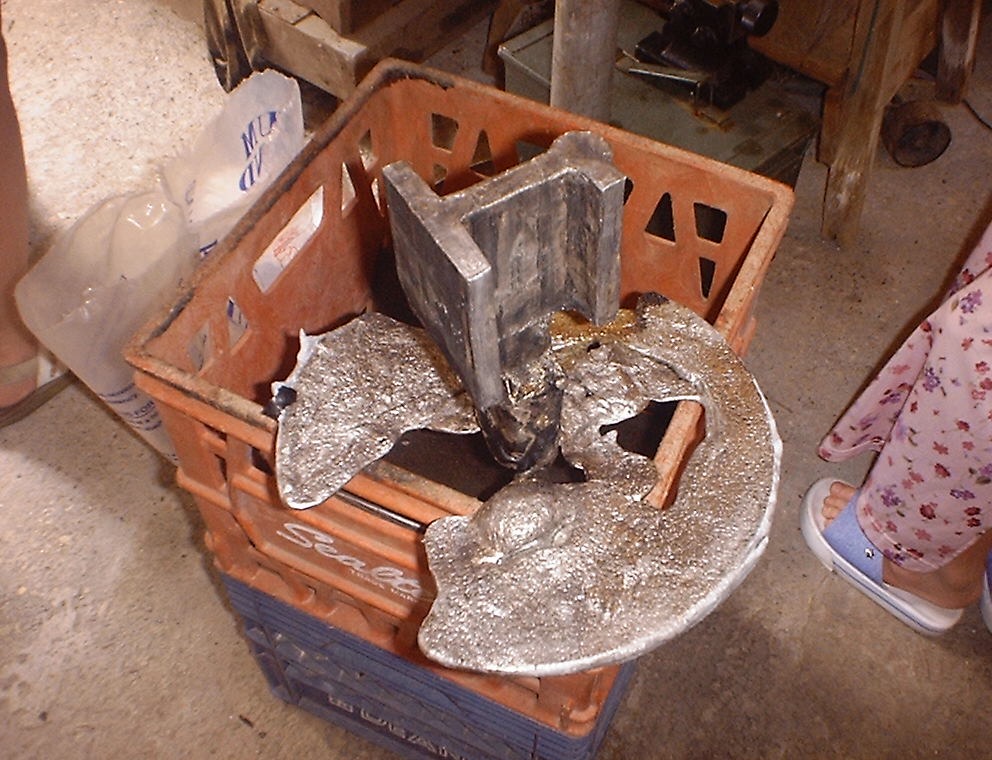
looking chunk of aluminum from the sand. Low and behold, after
all the trials and tribulations, what do you think we saw? A near
perfect part! Well as near perfect as a first time lost foam part
ever is. The aluminum that had went everywhere had at least
filled the pattern first. The tape did it's job and didn't allow
the sand into the little voids where we didn't have perfect
mating surfaces at the glue joints. The oversized sprue had acted
as a riser, filling the part as it shrank so there doesn't appear
to be any voids. We will know more about this when we cut the
sprue from the casting. Looking at it now, there are a few things
I wish I had done a little differently, like make some parts
thicker. But the lost foam did just what it was supposed to do.
The part looks just like the foam we cut, imperfections and
all. Until you pour lost foam for
yourself, you don't quite believe that something that is solid
will just disappear and let the molten metal take its place. But
it does. The surface finish is not nearly as good as the patterns
I ram up in my K-bond, but I have seen some lost foam castings on
the internet that are. Maybe next time.
 .............
 .............
 .............
 .............
 .............
 .............
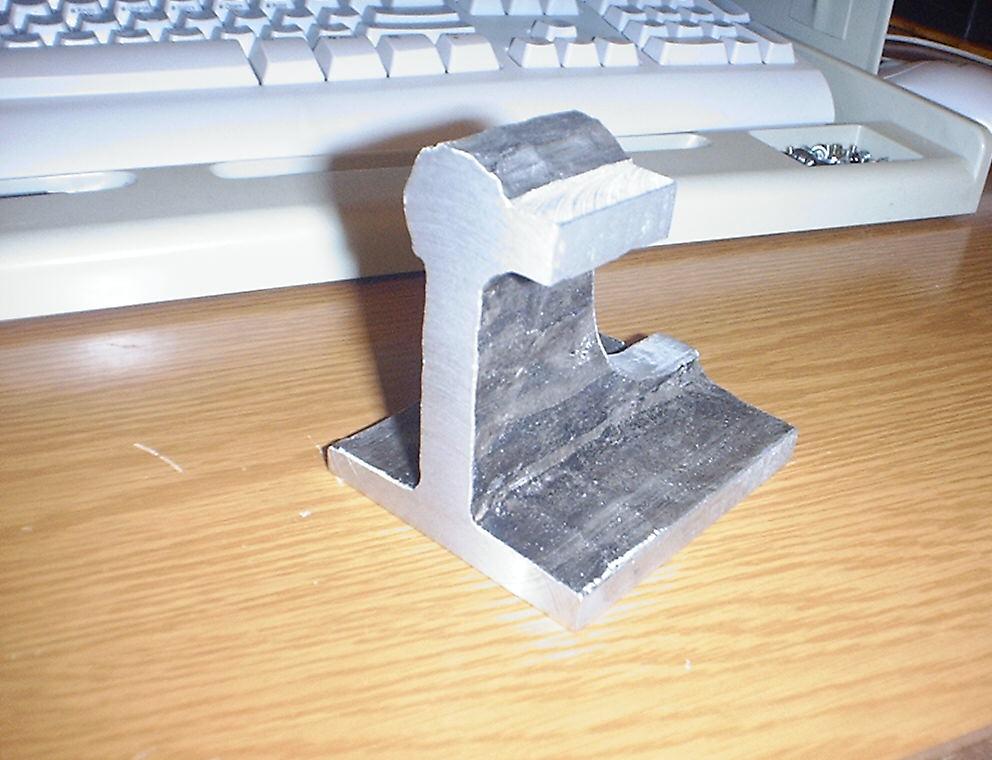
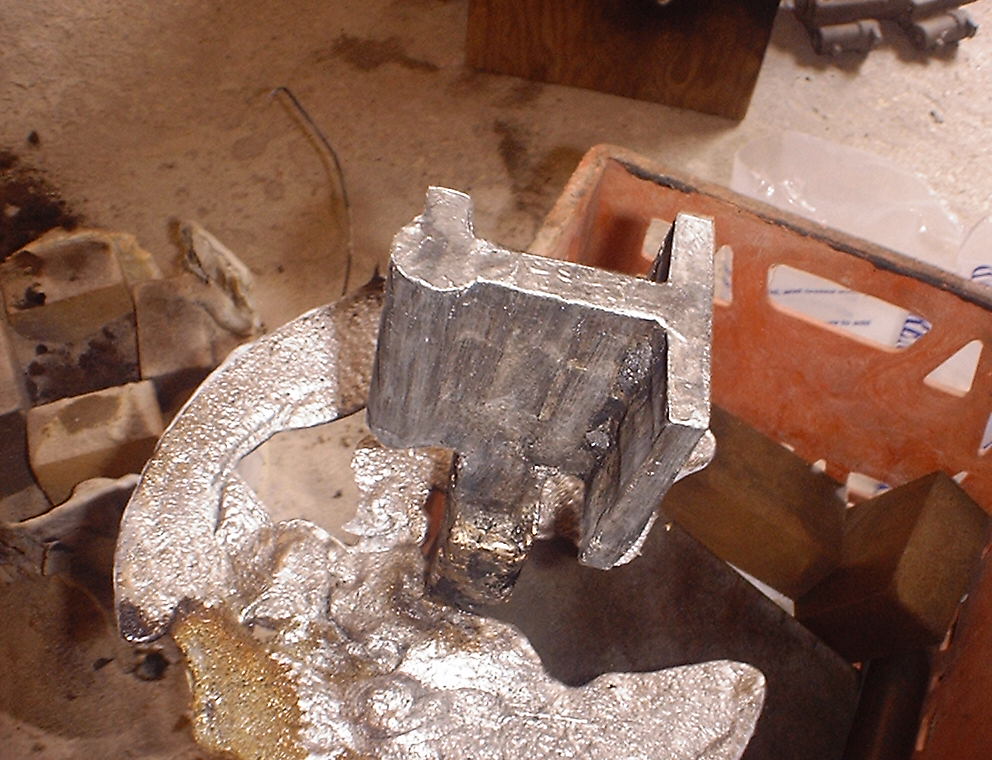
The part machined very well. I found no inclusions or voids.
 .............
 .............
While it is not quite finished, I am proud of my first lost foam casting. My previous castings were from melted wire. Melting cast aluminum assures the right alloy and makes a big difference. And Bill's pattern? Maybe next time.
http://www.plansandprojects.com