by
Ronald E. Thompson
Copyright 2005
I was tired of bending over and using a tipsy wheel barrow for a make-shift bench. And storing my foundry sand in a plastic tub was getting old, too. I had to wait for it to cool before I could put it back in the tub, or risk melting the tub.
I wanted a good molding bench like the one Ray Brandes had. He was nice enough to put a good drawing on the internet, so I thought I'd give it a go. His plans are here:
I started looking over the details and quickly decided this was more than I needed. I didn't want to buy three sheets of 3/4" plywood for this project. I'd have to take out a home equity loan or a payday loan! (you know, one of those payday advance places that take you for an arm and a leg.)
I started looking at the features I needed and what I could do without. I wanted a solid lid and a sturdy bench that could be used as a regular bench when I wasn't doing foundry work. The removable bars are nice, and I kept the 34" working height. This seems low until you consider the height of the flasks you will be pounding sand into.
No plastic! I wanted to be able to shake out hot flasks directly into the bench. Ray's plan calls for a sheet metal lining. I think that's a nice touch and will keep the wood from absorbing the oil from the sand, but for economy I will just paint it for now. To keep the cost down, I wanted to be able to make this from one sheet of 1/2" plywood (or OSB) and some 2X4s. I also wanted something you wouldn't need an associates degree to put together.
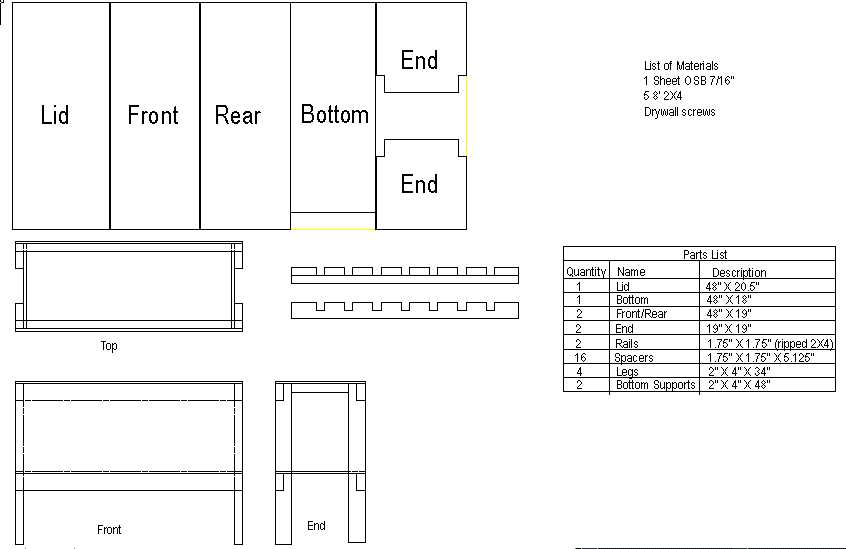
Here is what I came up with.
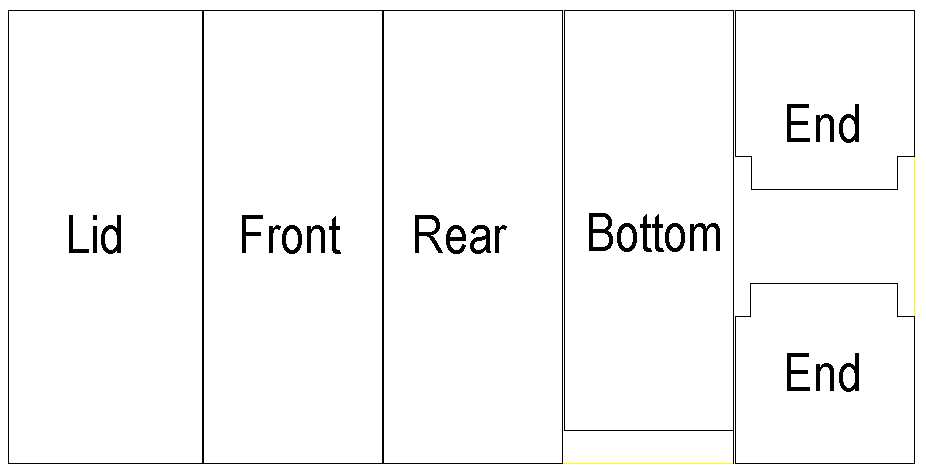
The details don't show too well so I will have larger details further down the page. I drew this in AutoCAD and then captured the image with Paint Shop Pro.
The cut sheet (below) is self explanatory and the dimensions are listed in the parts list.
The list of materials is pretty simple. One sheet of plywood and five 8' 2X4s and some wood screws. I just love the way they hold stuff together with a quick shot from the electric drill. It's the next best thing to a nail gun. A little slower, but it holds a whole lot better.
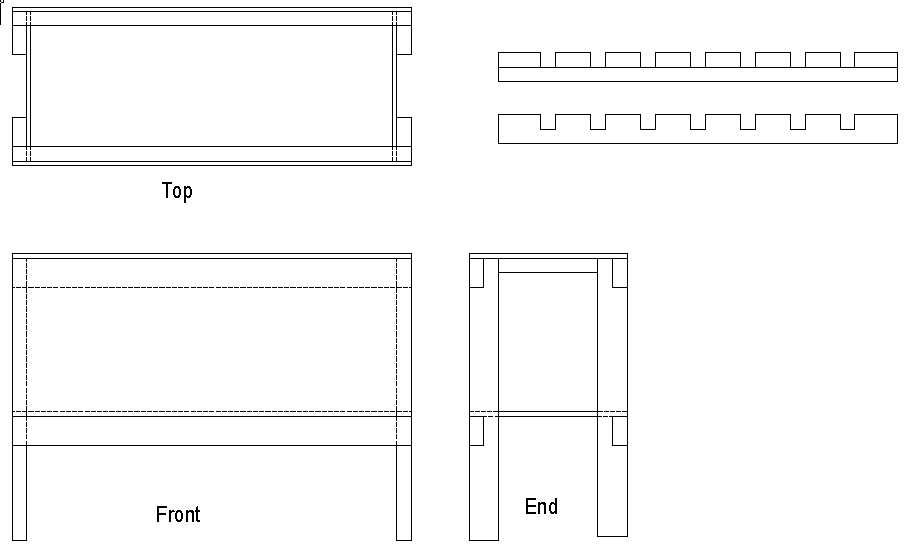
In the assembly detail (below), I show two versions of the rail. While it can be cut from one 2X4, I think it's easier to rip the board down the middle and reattach the spacers as needed. A quick look at Ray's drawing (In the first link on this page) will show how the rails and slats go in. Ray calls the slats "bars" in his drawing.
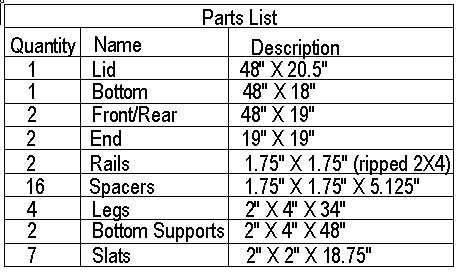
And just in case you can't read the parts list, here is a larger version.
Visit my main page here: Plansandprojects.com