Surprise
lost foam casting!
by I had been reading the Castinghobby group on the internet
for a while (a home foundry metal casting group). I was itching to try some of the ideas I had read about. The fluidized bed: In case you are not familiar with the concept, the idea is
to take a piece of soft copper tubing and form it into a circle to lay in the
bottom of a bucket, drill holes around the inside of the tubing and put
compressed air through it. When the tubing is placed in the bottom of the bucket
and sand is added to about half or three quarters full, and the air turned on,
you create a fluidized bed of sand. (The sand looks like boiling water.) When the air is turned off, the sand settles
back to its normal compact mass. The lost foam metal casting method: In the traditional lost foam method of metal
casting as practiced
in many home shop foundries, a piece of foam, such as beaded Styrofoam or the
blue or pink insulation foam (Never urethane foam, the fumes are toxic) is
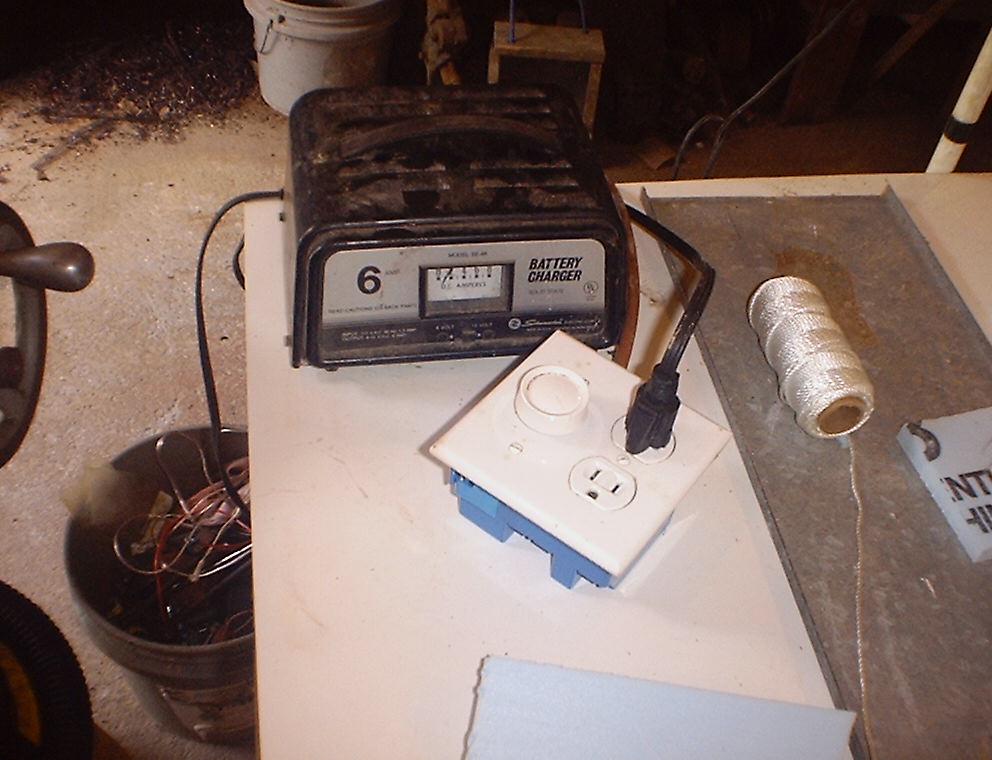
shaped by whatever method you choose, such as hot wire
cutting (battery
charger on a light dimmer), carving with a
sharp blade, sanding, etc. and then it is embedded in the sand in a bucket or other
container. The molten metal is poured right on the foam that sticks out of the
sand, vaporizing it. The metal miraculously takes the shape of the foam and
hardens. Some people use coatings on the foam to try to achieve a better surface
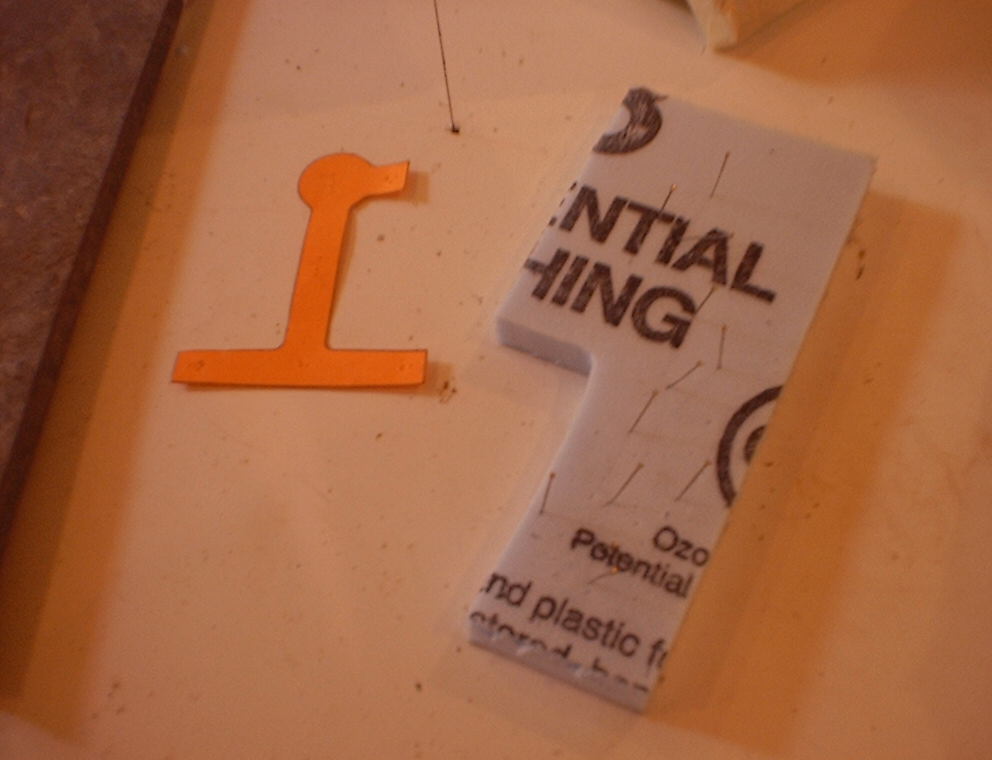
on the finished casting, but it isn’t entirely necessary. In my first attempt,
I wrapped the foam in masking tape. You can read about it here: I wanted something larger than a typical plastic
bucket,
besides, the overflowing molten aluminum eats them up pretty
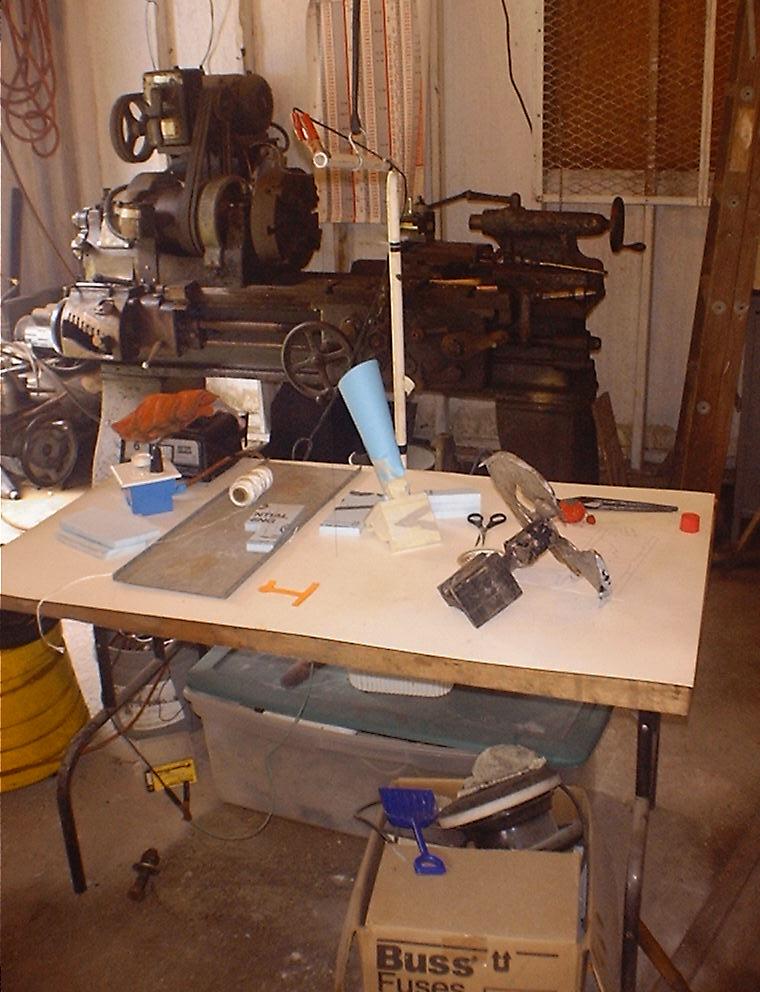
quickly.<GRIN> I decided on a wooden box, two feet by three feet and four
feet deep. I had in mind making a tree of small parts in Styrofoam, similar to a
wax tree of rings a jewelry maker might cast. This won’t require much molten
metal, but it will need plenty of room for the sand. Making the box was no problem, I used drywall screws to
hold plywood to 2X4 lumber for the corners. I had a piece of 3/8” copper
tubing I had been saving. I drilled a 1/8” hole every inch and bent it to lay
in the bottom near the edge. I used a piece of 3/8” rubber fuel line hose to
attach an air line quick disconnect to the copper. I filled the box with dry play sand and plugged in the air
line. Sand went everywhere! After sweeping up the sand and returning it to the
box, I put a regulator on the air line and tried again. Starting with no
pressure and screwing the regulator in a little at a time, the sand started to
move. As I added more air, the sand became more agitated until it looked like it
was boiling. I could put my hand right down into it with little resistance, just
like I had read on the internet. Cool! It was time to melt something and try
this sucker out. I fired up the furnace and put a crucible full of ingots in
it. I had a simple foam pattern in mind to try out. I just hot-glued some scrap
pieces of foam together as the furnace (different
picture) came up to temperature. (my regular hot
melt glue gun gets hot enough to melt the foam. A low temp model is recommended.
I just unplugged it when it got too hot and it did fine.) I added some more
preheated scrap to the pot and turned back to my pattern. It was ready to go, so
I turned on the air and the sand started to “boil.” Just then, my wife asked me to come see her for a minute. I
didn’t want to leave a hot furnace, but she just wanted me to get something
heavy down from a shelf, so I went. I was gone maybe sixty seconds, so no harm
done. The aluminum was about melted and the sand was still
boiling. I pushed the foam down into the rolling sand and turned off the air.
The sand settled and I tapped the sides of the box, just to make sure. I put a
“sprue tower” around the foam, where it stuck out of the sand. The sprue
tower is a piece of 4” pipe cut lengthwise and hinged back together. It
contains the pour. The hinge helps keep it from sticking to the aluminum. I got
the idea from http://www.buildyouridea.com/ I skimmed and poured the molten aluminum. There was a dense
cloud of smoke that flashed to flame for a minute as I poured. I’ve got to
remember to keep my head away when pouring! It seemed to go OK, but the smell
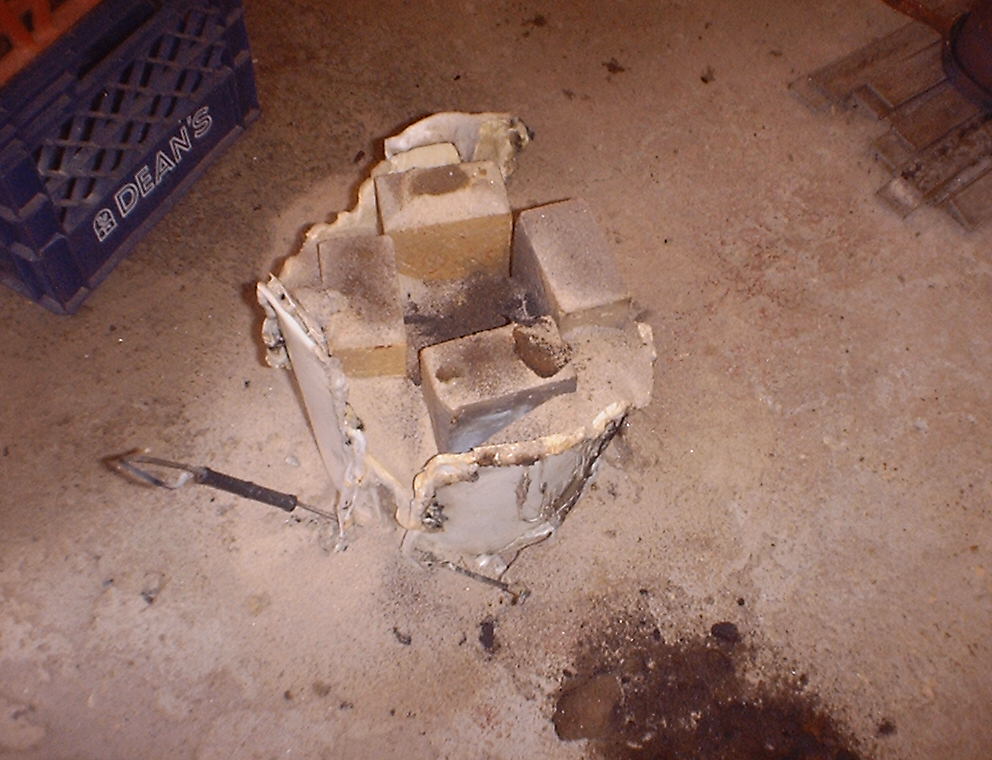
was terrible! My previous foam castings had smelled bad, but this was worse. I waited fifteen minutes to give the aluminum time to
solidify and was about to turn over the box to get at the casting, then I
thought about the air. I turned on the air and pulled the casting, no sweat. I was curious to see what the casting looked like, but I
wasn’t prepared for this. My pattern had filled OK, but below that was a
perfect cast aluminum cat! Now of course this story is fiction, but take heed and
guard your sand! If you enjoyed my little flight of fancy,
please click on a bunch of the ads at the top of this page. My main page is here: http://www.plansandprojects.com/
Ronald E. Thompson
Copyright 2004,
ALL RIGHTS RESERVED
Inspired by Bill McGown
http://groups.yahoo.com/group/castinghobby/
One idea
in particular had caught my attention and it was fluidized sand bed casting
using the lost foam metal casting method. I was interested in casting aluminum,
but who knows? Maybe bronze and cast iron would follow.