I needed an indoor furnace.
Here in Florida, it is either too hot or too wet to cast for much of
the year. Plus my foundry stuff is put away so the neighbors don't
complain. It's a major ordeal to drag everything out, do the casting
and then put it all away again.
I decided a while back to make an electric furnace. I gathered most of the parts;
Kanthal elements
Digital PID controller w/ type K thermocouple for feedback
25A solid state relay
240 VAC disconnect to interrupt both hot wires for safety when reaching into the furnace
Ceramic fiber blanket for insulation
A soft firebrick to use as a plinth

I modeled up what I wanted in Solidworks, thinking I'd use the dimensions from the drawings to cut sheet metal.
I priced galvanized heating duct at Lowe's home improvement store and got some sticker shock!
I started looking for alternatives for the shell. Even garbage cans aren't cheap.
I decided on a used, full sized galvanized garbage can that was nearing the end of it's useful life. My wife had used it since it was new to store bird feed for the yard feeders. It has been siting idle for a while now.
The problem is, it's way too big. I spent today remedying that with a pair of tin snips and a bandsaw!
All the photos below link to larger versions if you click on them.
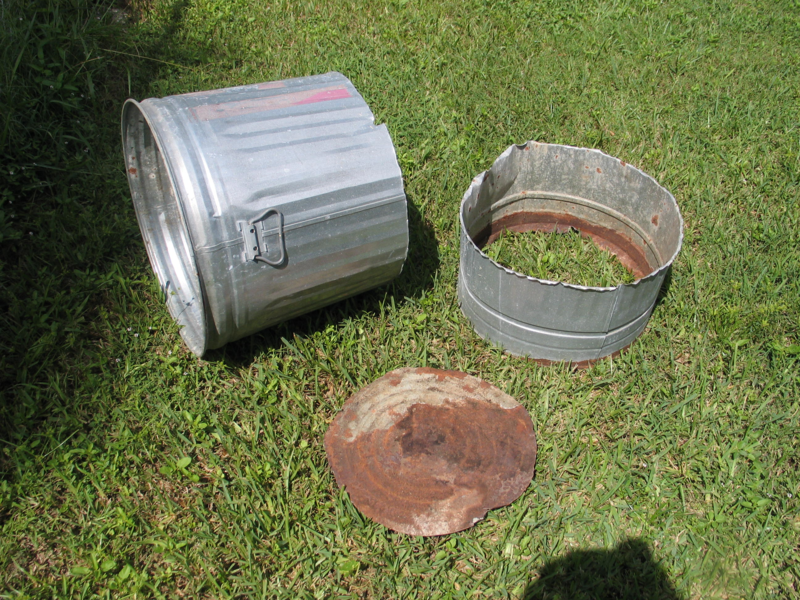
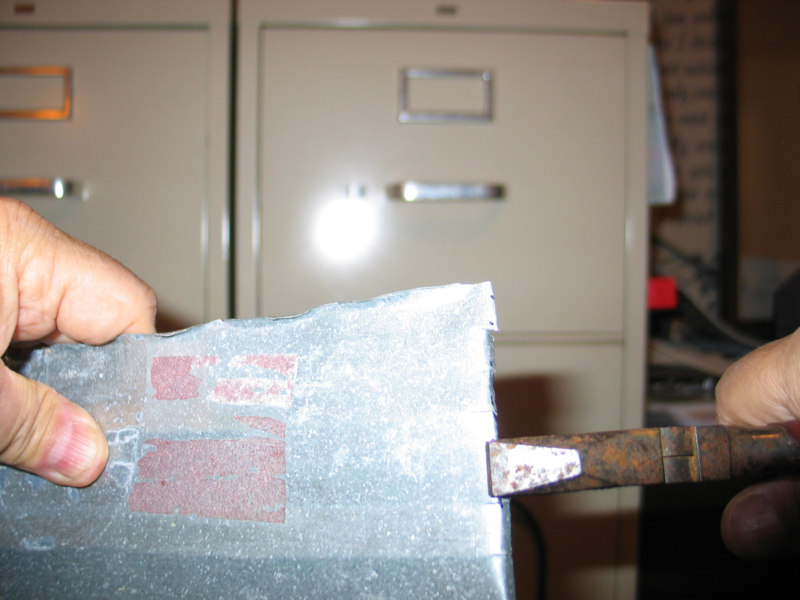
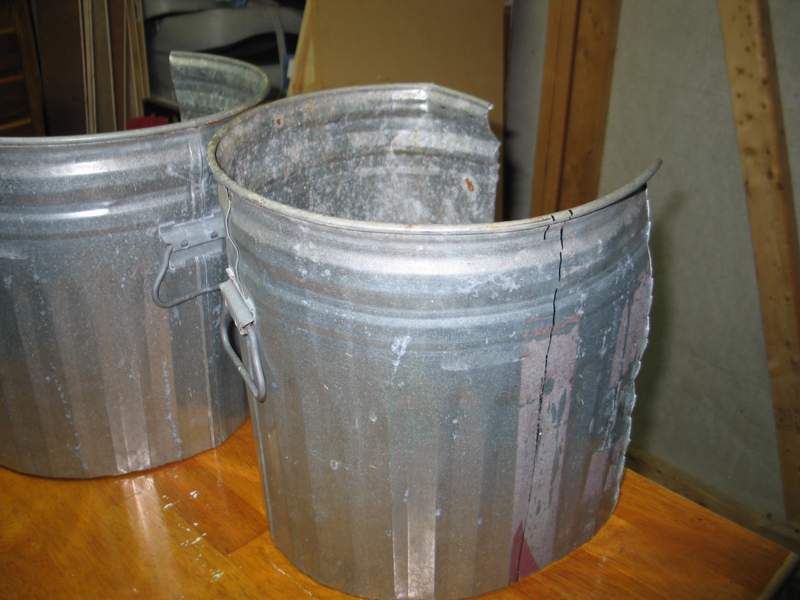
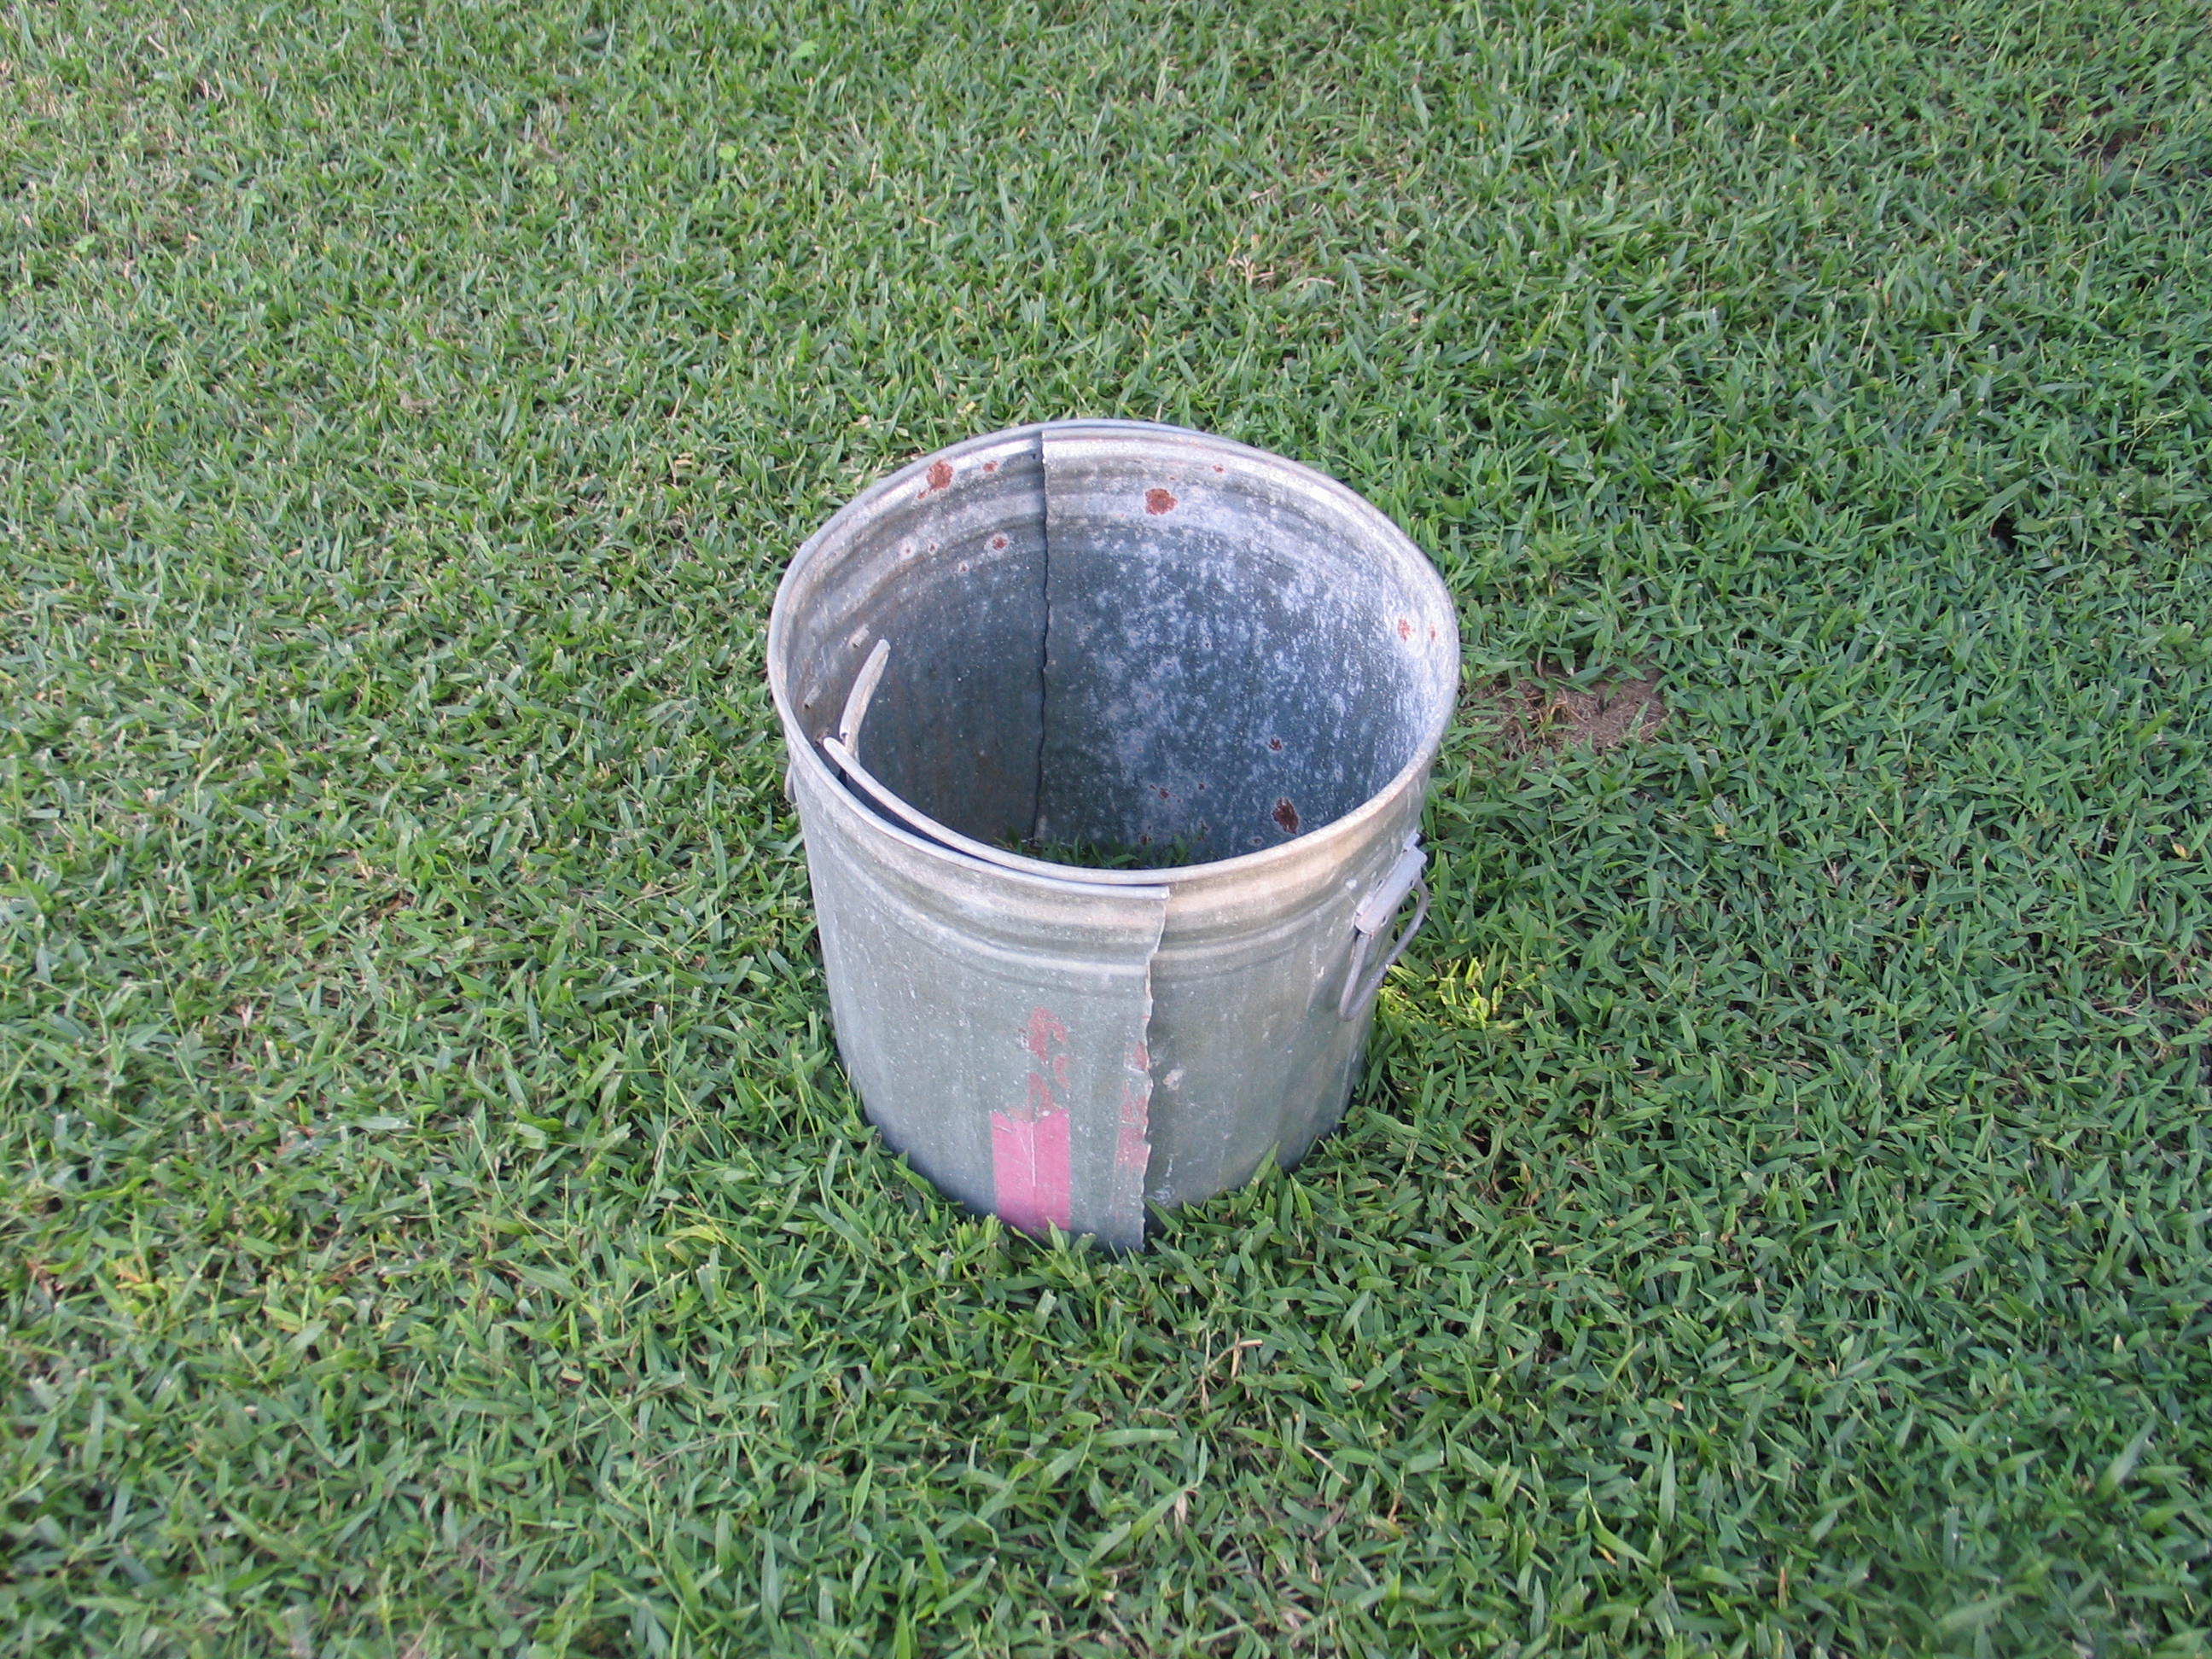
These are the first cuts with the tin snips. I started by piercing the bottom with the pointed end of a body hammer. It went right through! Then I snipped out the bottom large enough to trim later.
Next, I rough measured down from the top edge, adding a few inches to be trimmed later, and snipped it.
I was surprised how thin the garbage can was.

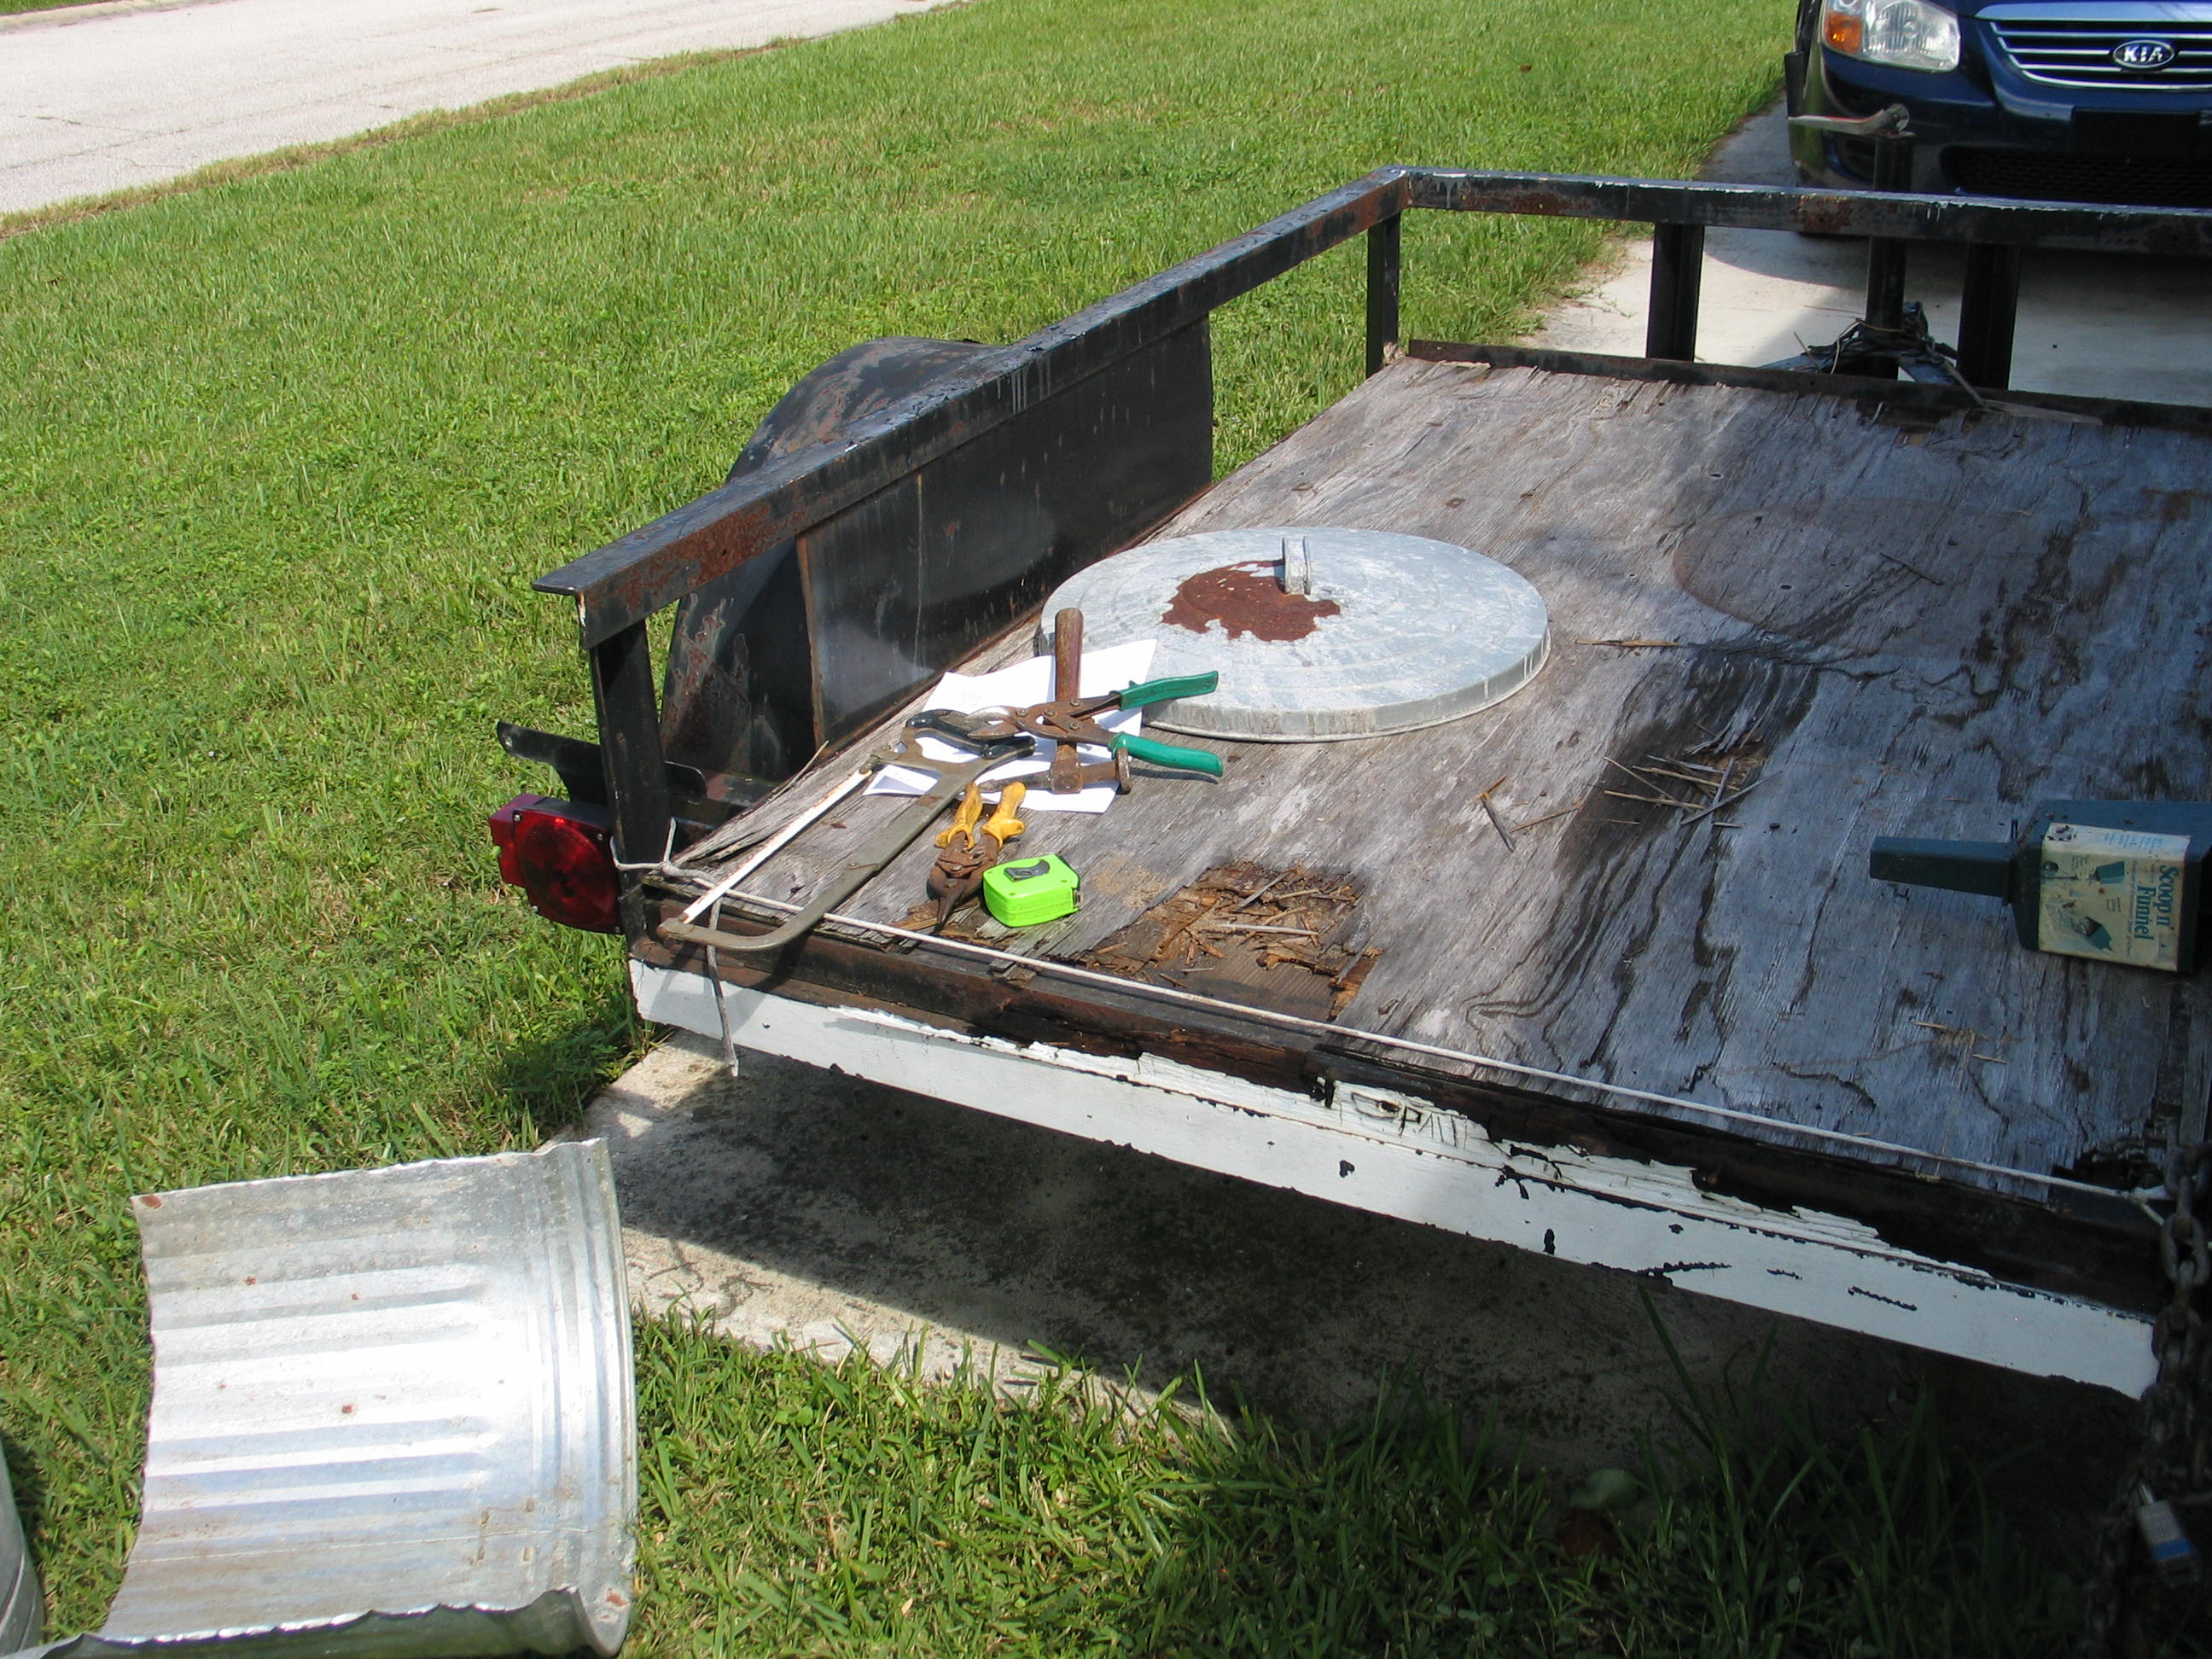
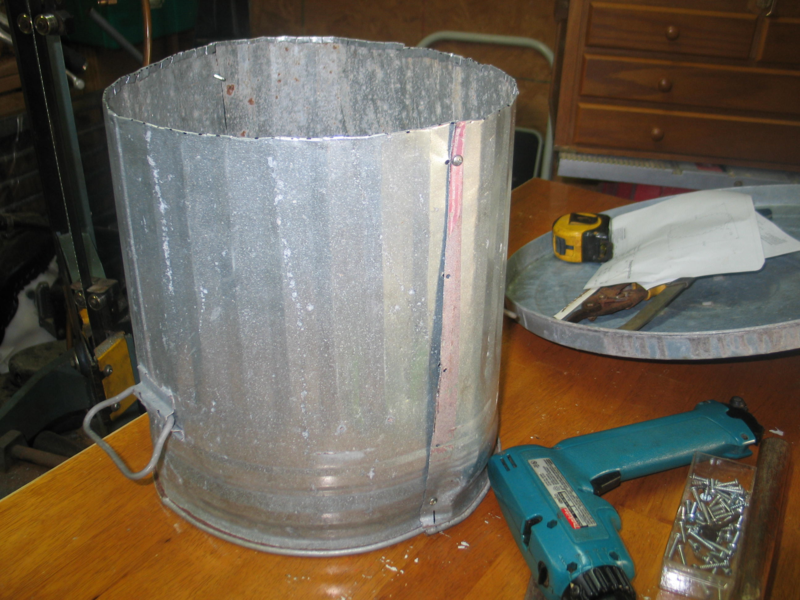
My spiffy portable workbench.

This shows the start of the final measurement for height. I want the finished furnace body to be 14 inches tall. The lines are a quarter inch over that to allow for a hem.
I decided a while back to make an electric furnace. I gathered most of the parts;
Kanthal elements
Digital PID controller w/ type K thermocouple for feedback
25A solid state relay
240 VAC disconnect to interrupt both hot wires for safety when reaching into the furnace
Ceramic fiber blanket for insulation
A soft firebrick to use as a plinth
I modeled up what I wanted in Solidworks, thinking I'd use the dimensions from the drawings to cut sheet metal.
I priced galvanized heating duct at Lowe's home improvement store and got some sticker shock!
I started looking for alternatives for the shell. Even garbage cans aren't cheap.
I decided on a used, full sized galvanized garbage can that was nearing the end of it's useful life. My wife had used it since it was new to store bird feed for the yard feeders. It has been siting idle for a while now.
The problem is, it's way too big. I spent today remedying that with a pair of tin snips and a bandsaw!
All the photos below link to larger versions if you click on them.

These are the first cuts with the tin snips. I started by piercing the bottom with the pointed end of a body hammer. It went right through! Then I snipped out the bottom large enough to trim later.
Next, I rough measured down from the top edge, adding a few inches to be trimmed later, and snipped it.
I was surprised how thin the garbage can was.
My spiffy portable workbench.
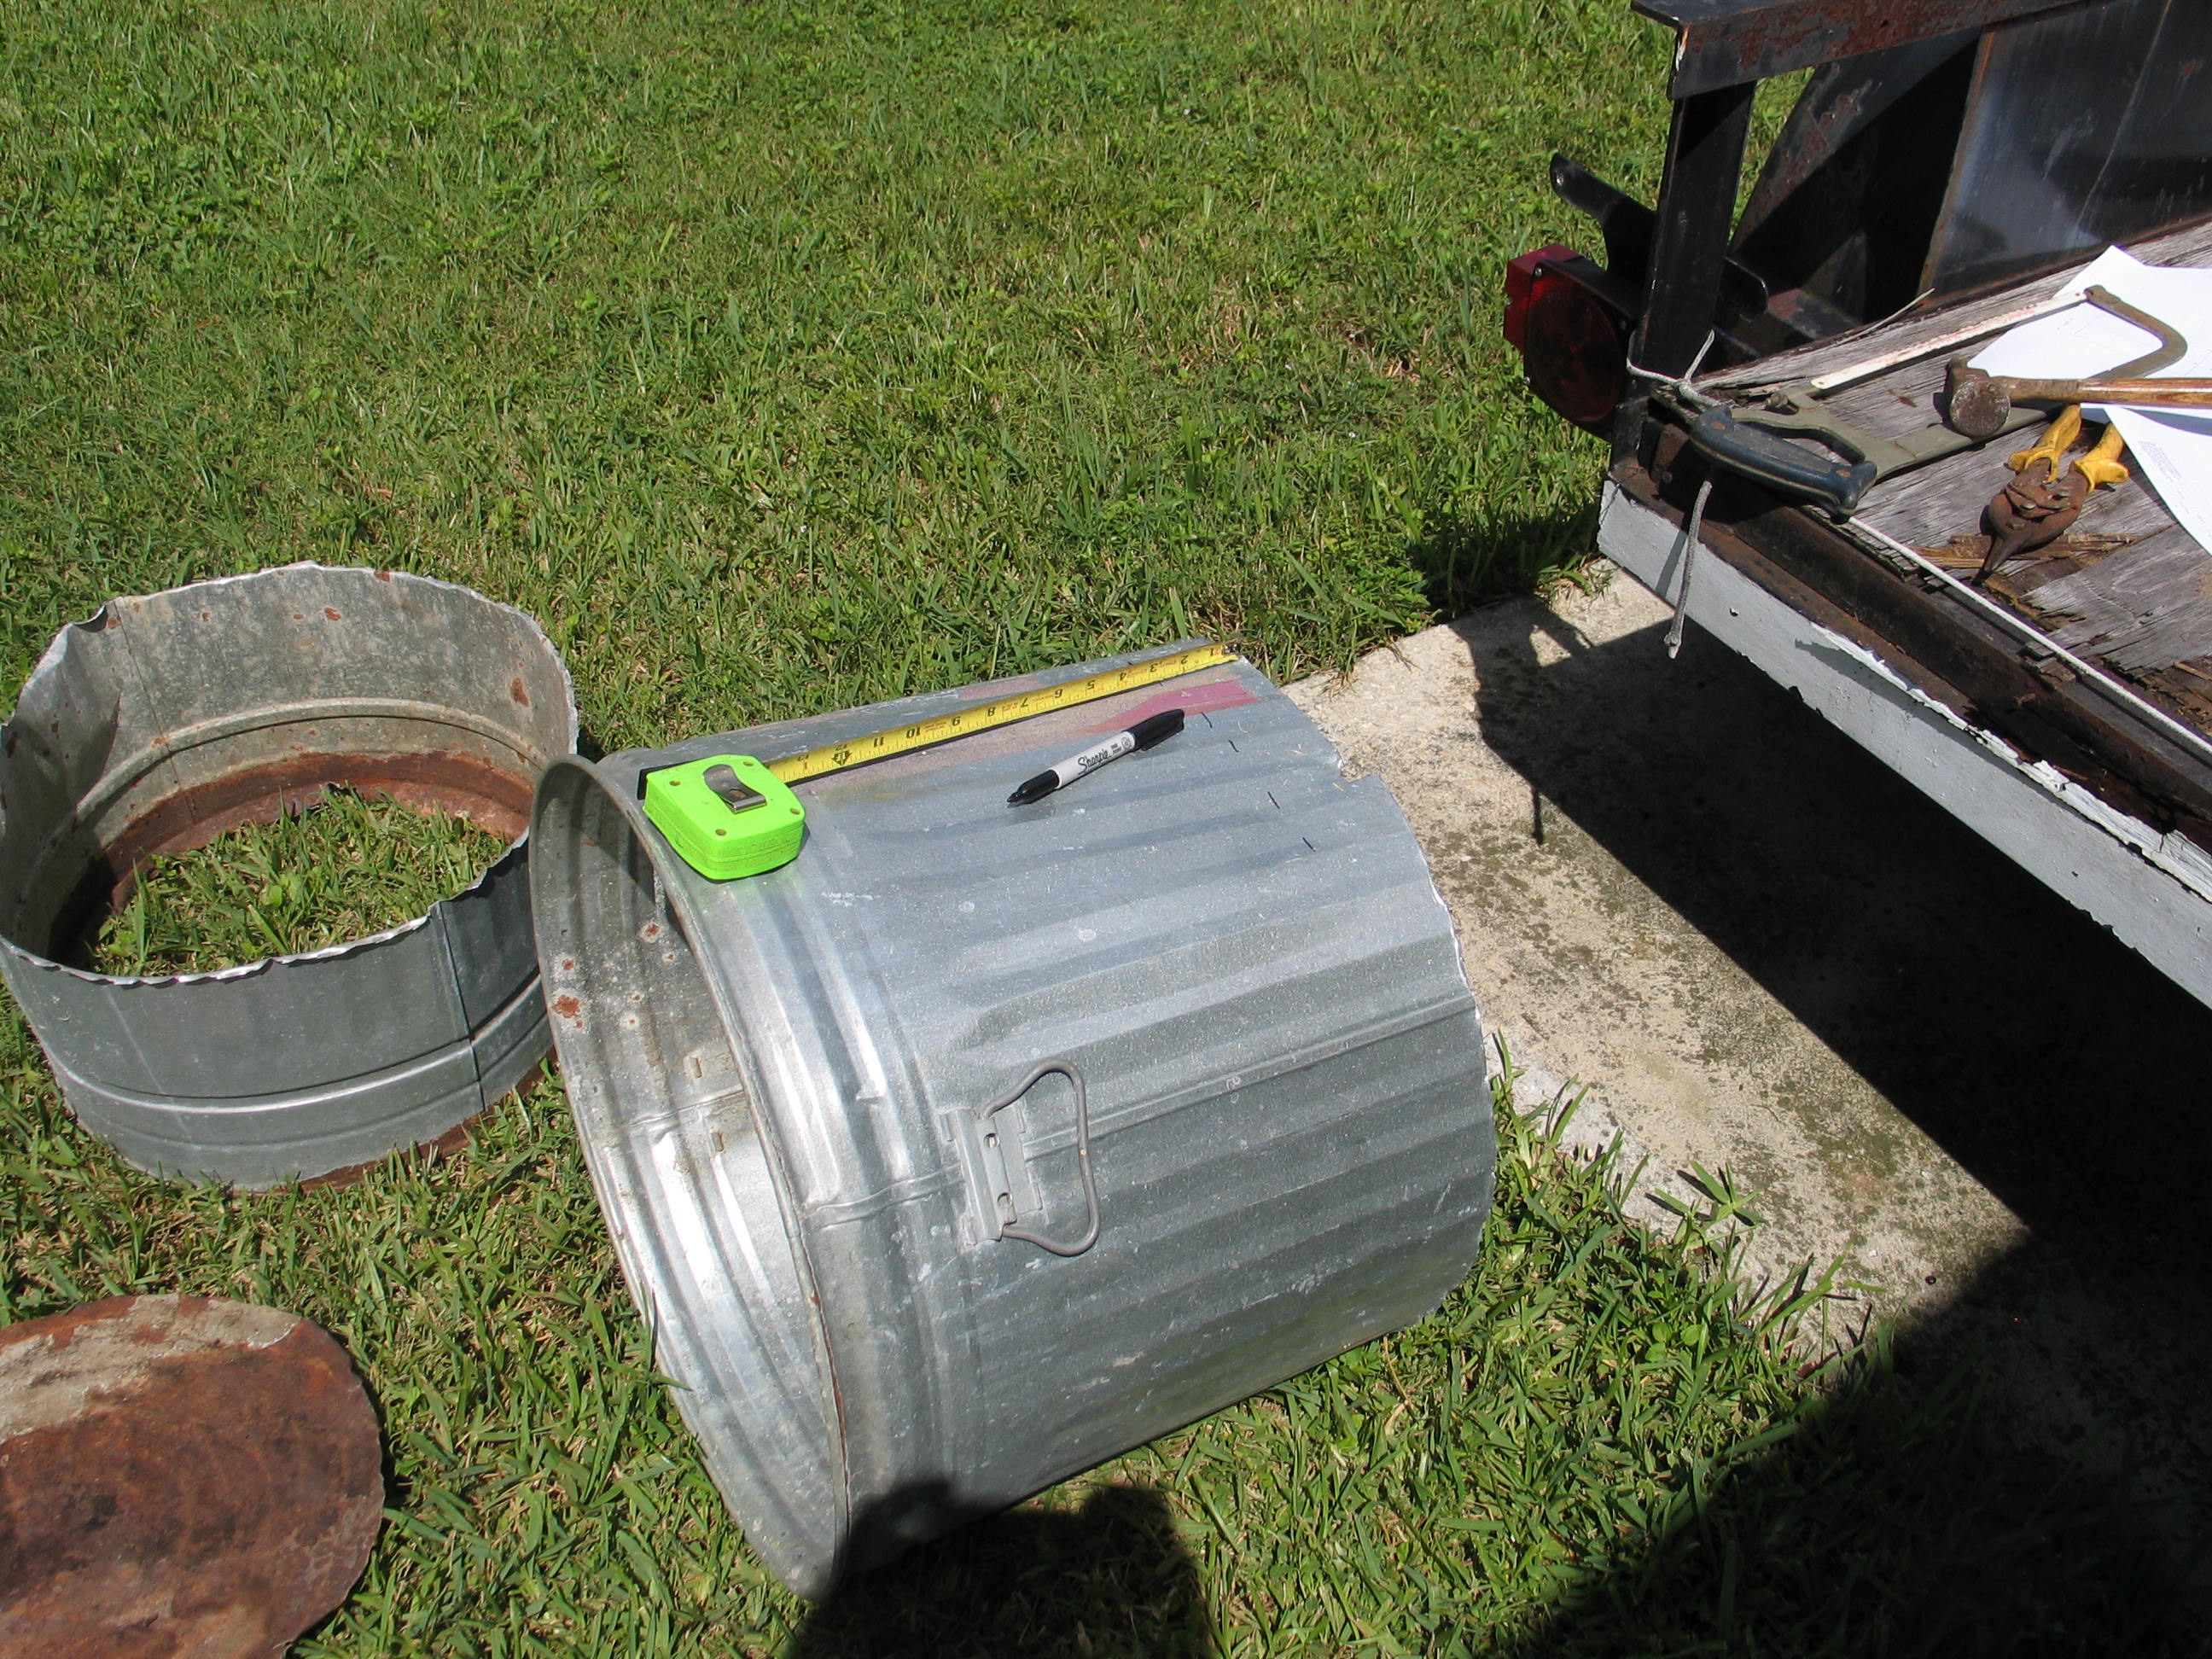
This shows the start of the final measurement for height. I want the finished furnace body to be 14 inches tall. The lines are a quarter inch over that to allow for a hem.

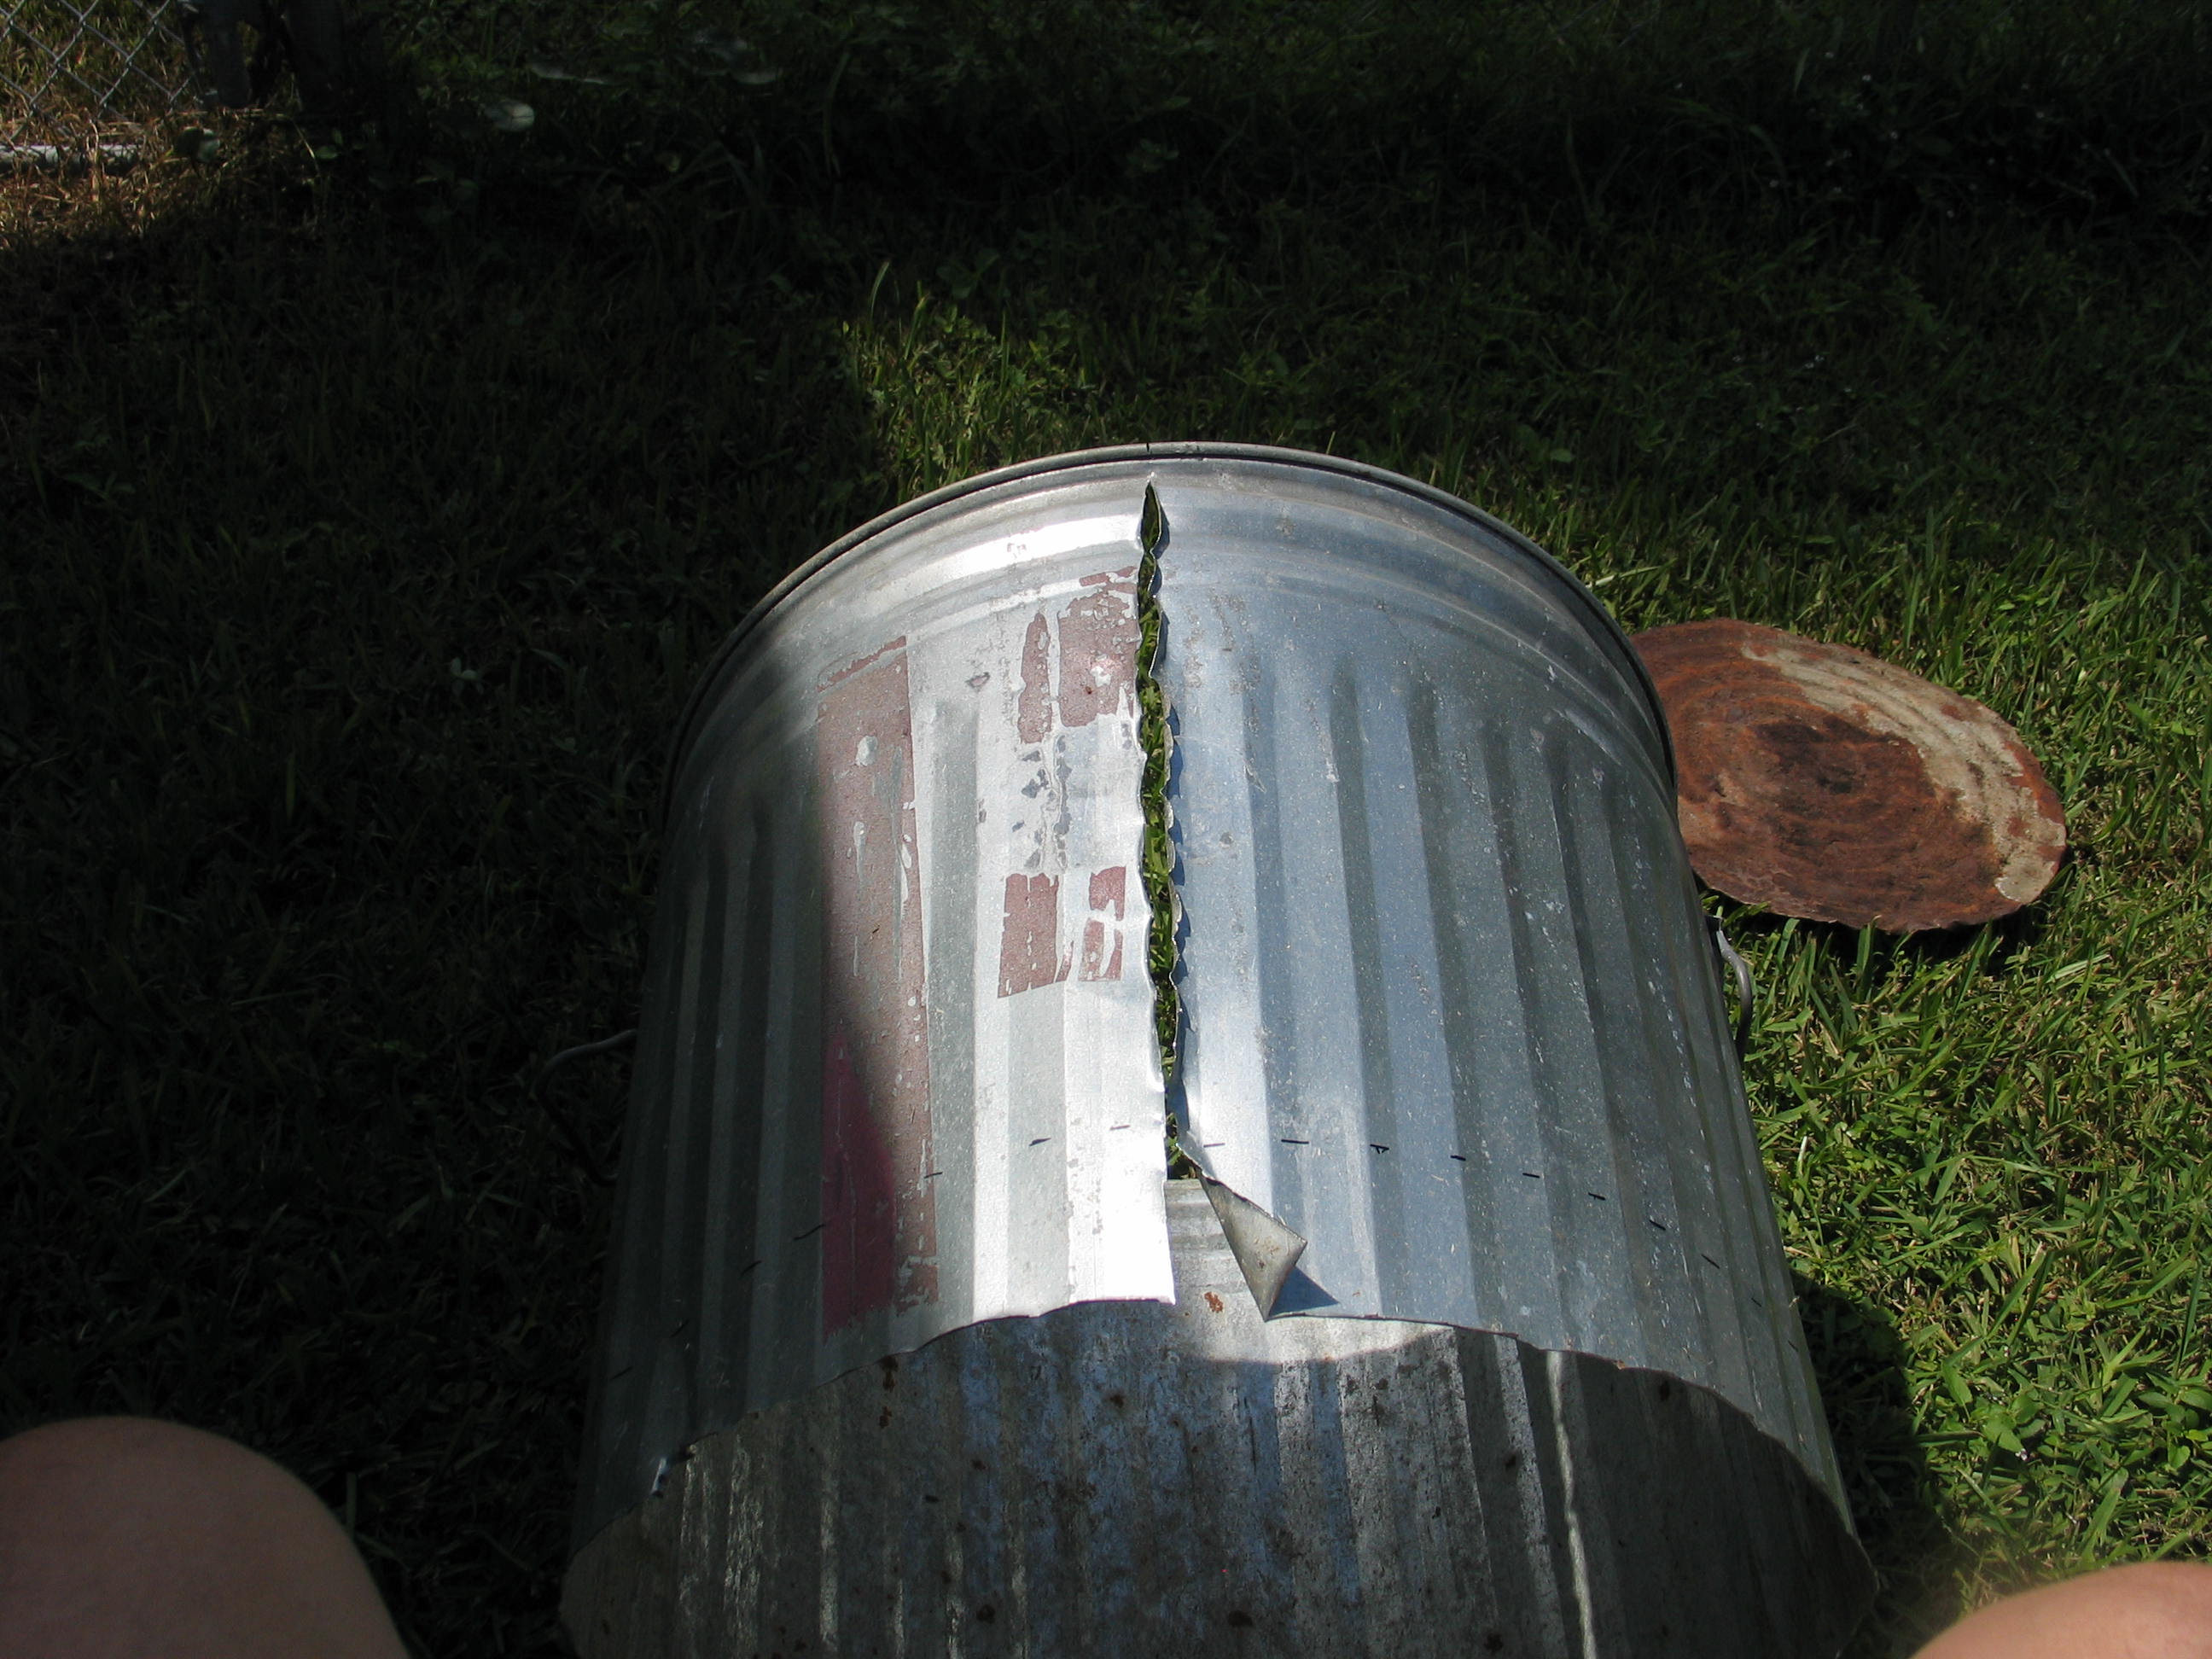
And continued all the way around.
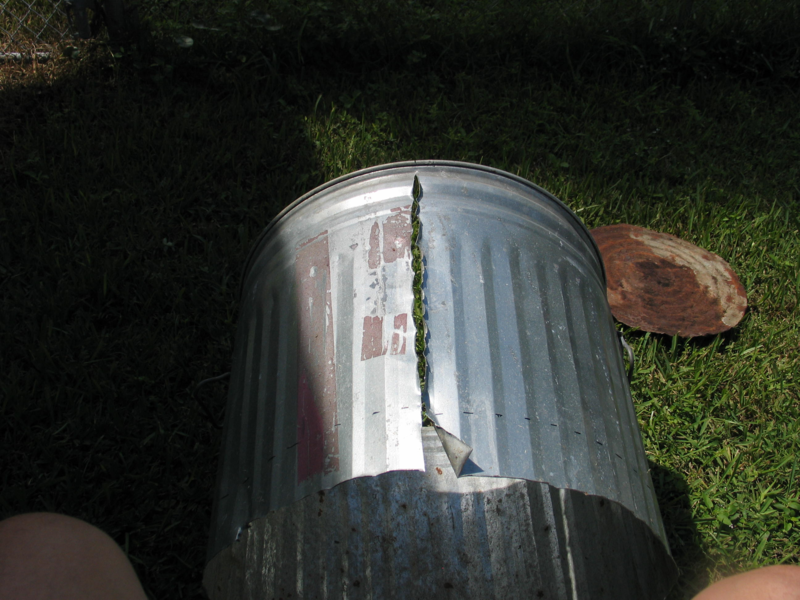
The start of the split with snips.

And finished with a hack saw.

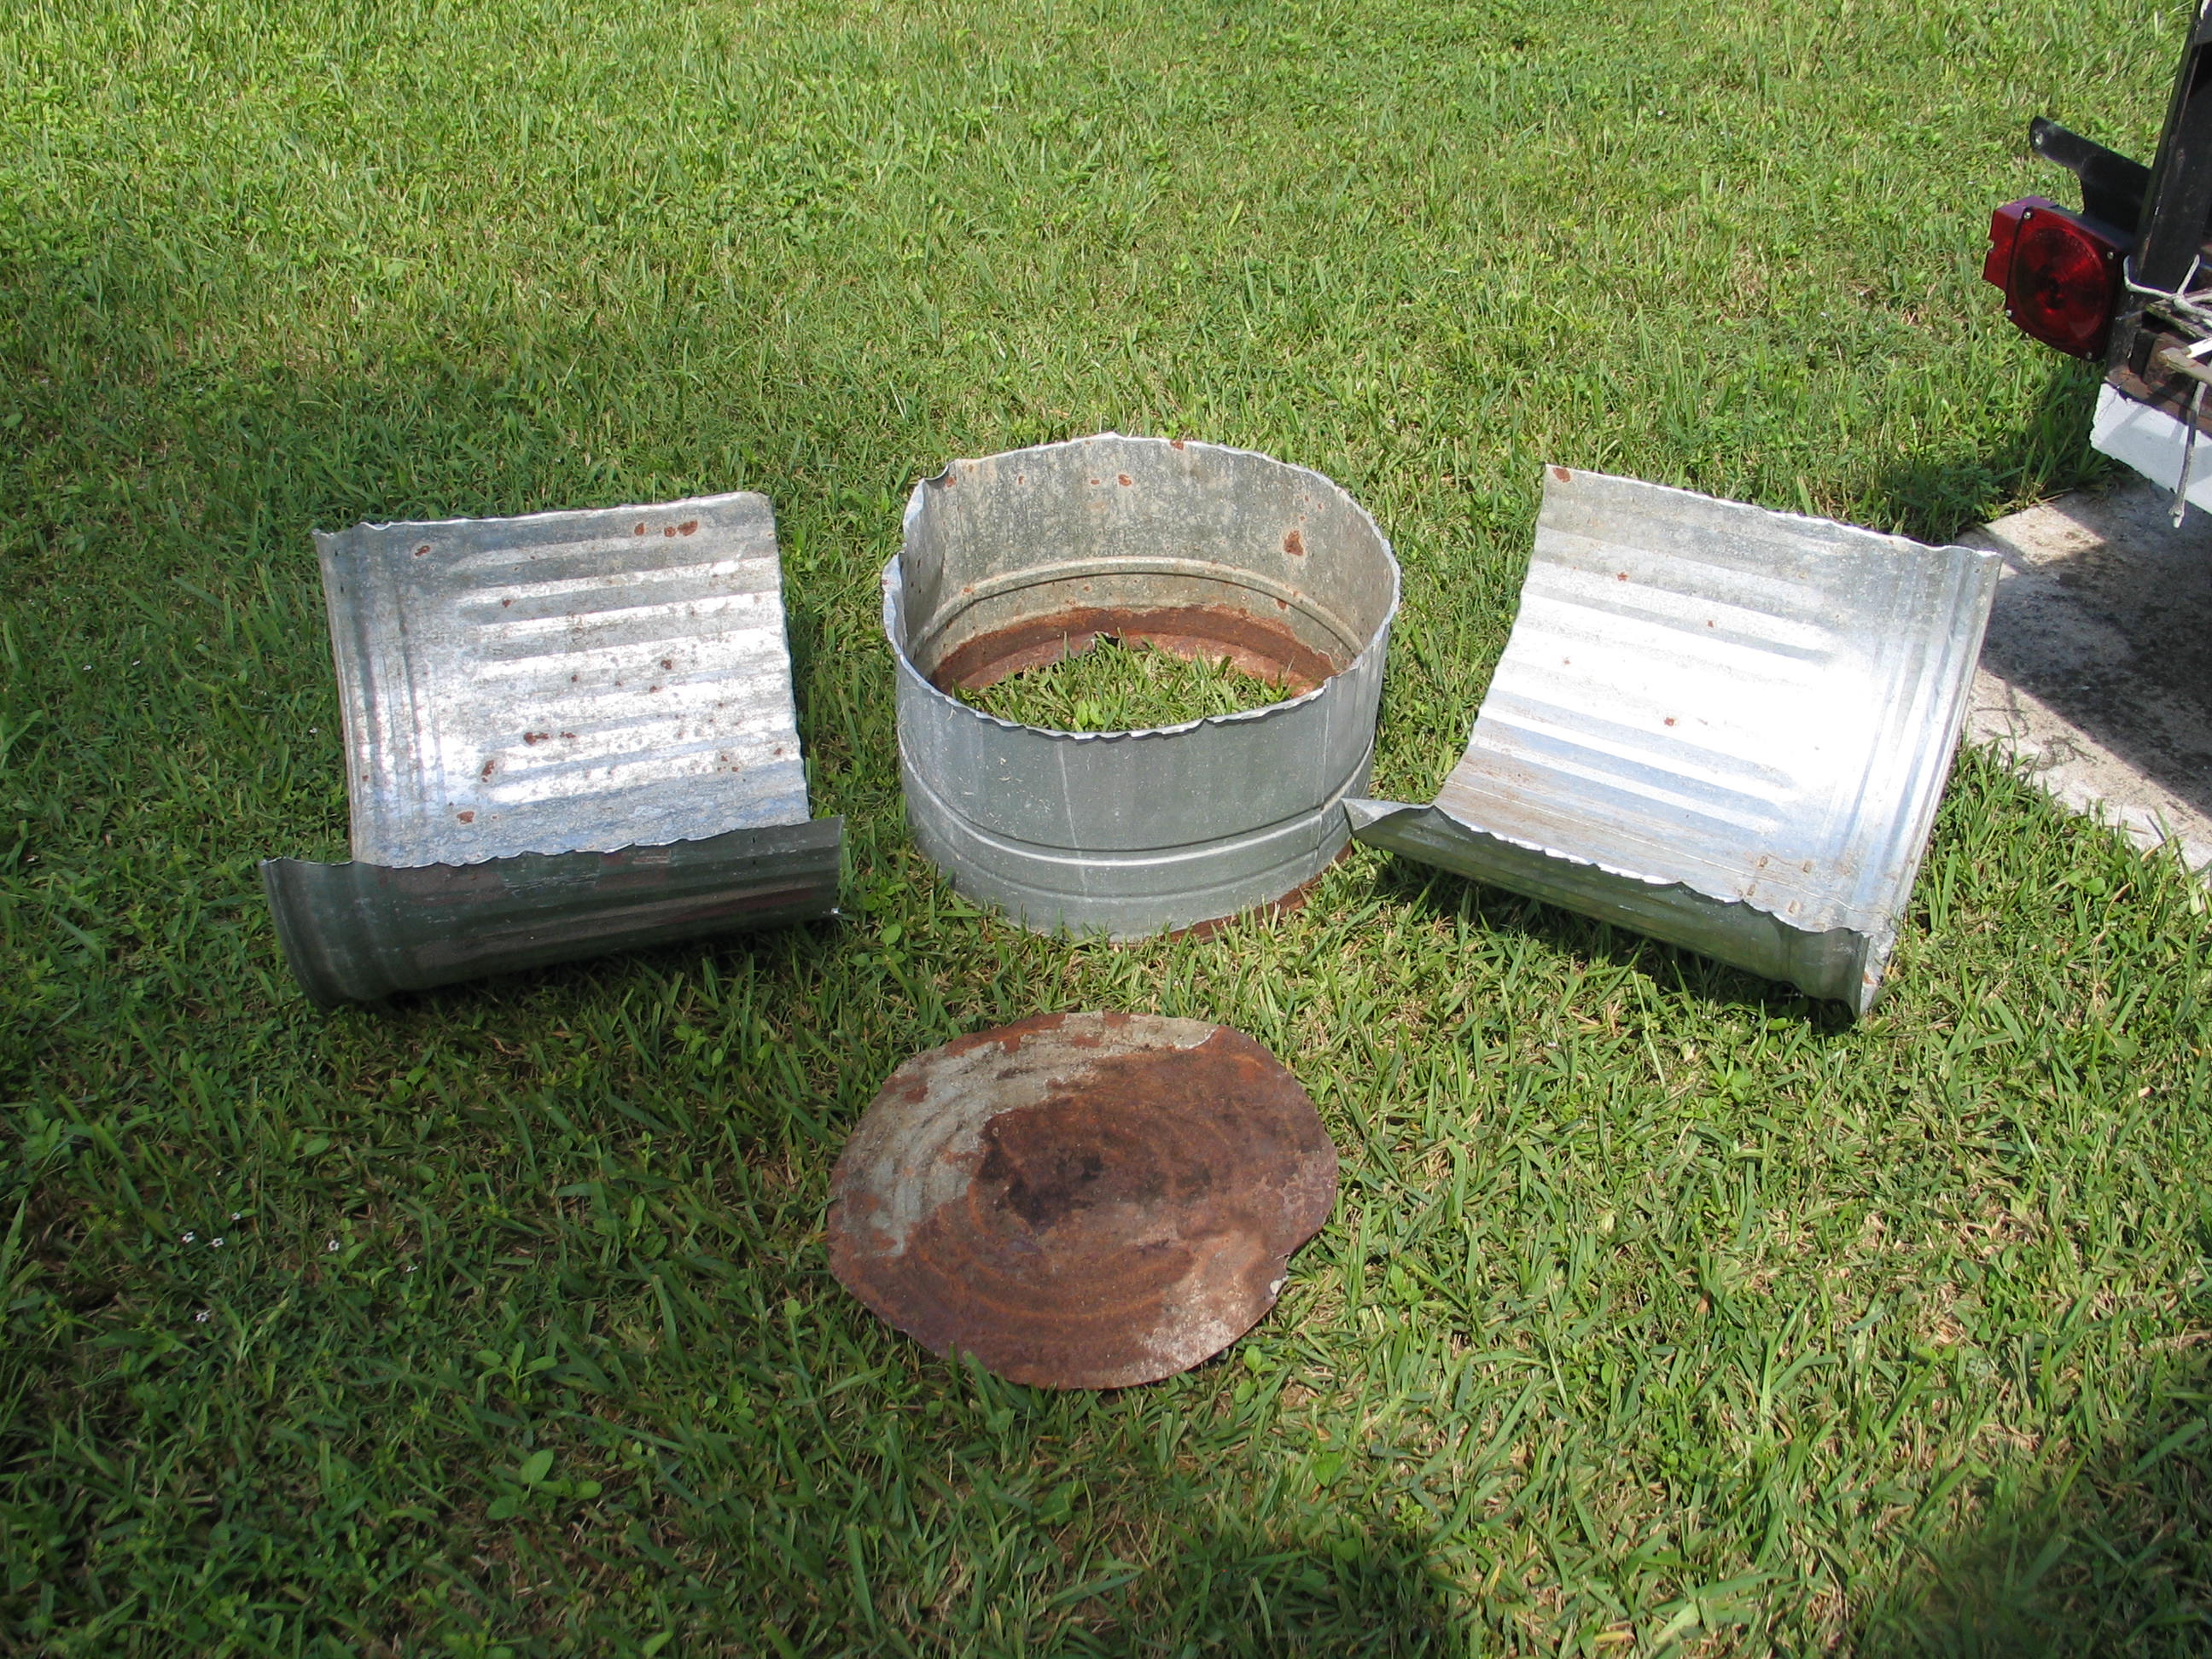
Repeated on the second side. This finishes the rough cuts.

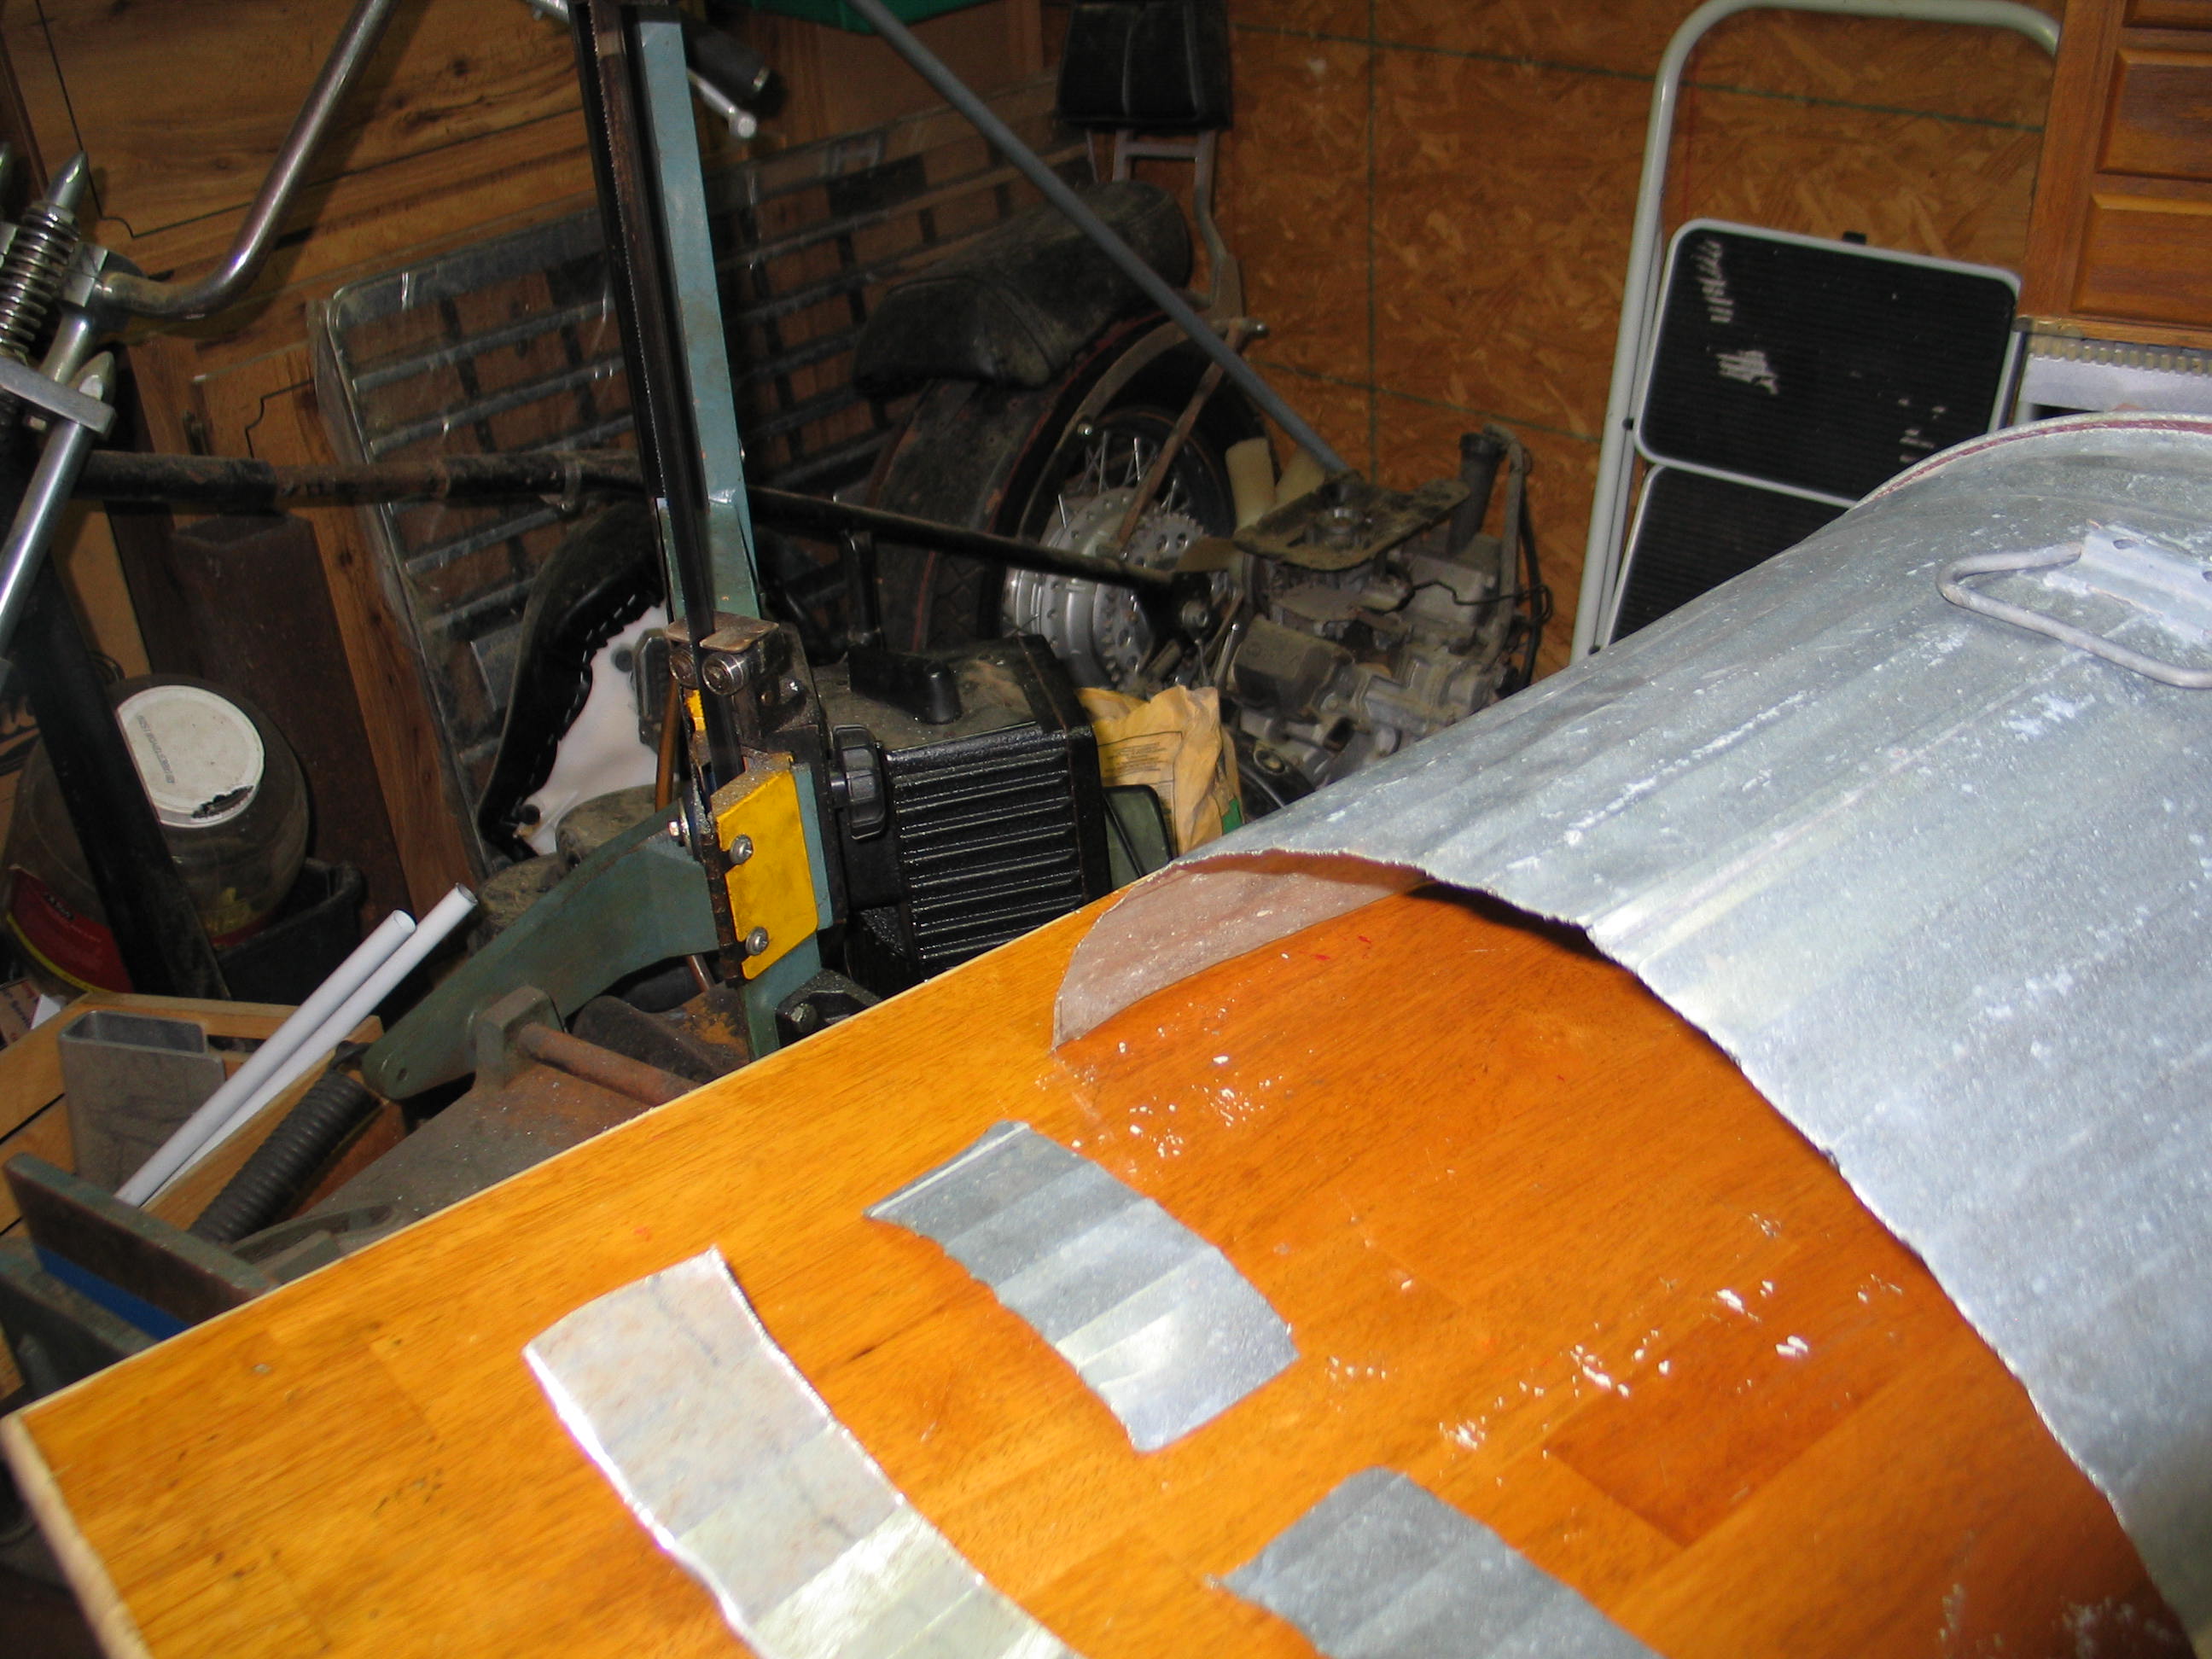
Inside to the band saw for the first trim.
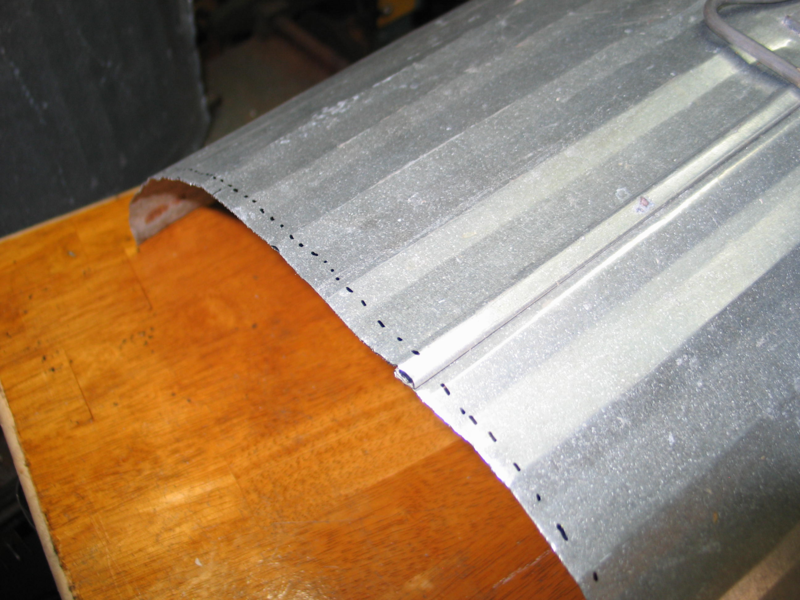
Next I marked for the hem. Just like in the cuff of your pants, the hem is folded under to give a better edge. Professionally done with a brake, it looks great. With my hack job and hand tools, we'll see.
I snipped a series of cuts to the hem line and bent the resulting tabs past 90 degrees with pliers.
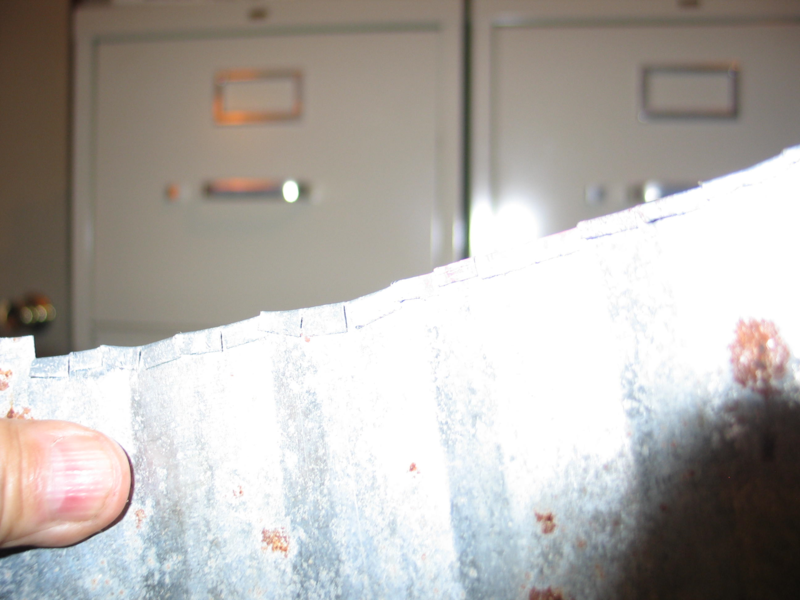
Then I used the pliers again to mash them flat. On the second piece, I did the slitting on the bandsaw and bent them over with the body hammer. This was faster and easier.

I used Solidworks to make a paper radius gauge and printed it 100%. I checked it against a ruler to make sure it printed right and cut it out.
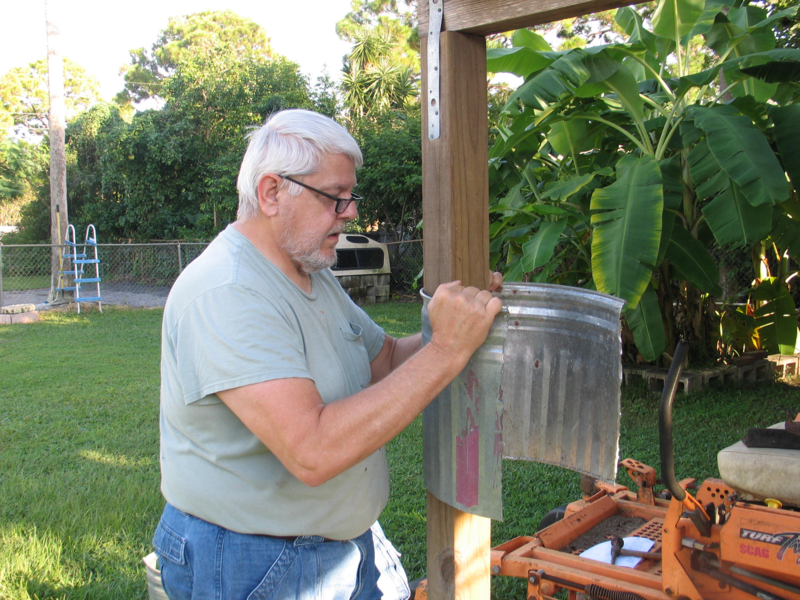
I formed it against a sturdy post...

...and used the paper radius gauge to verify the form.

This is the final diameter of 13".
I
marked the half-way point and added an inch for overlap. I cut them on
the bandsaw and hammered the overlap in slightly so they would meet.
Next time, putting it back together.
Please leave a comment on the bottom of the page. Was this useful? What would you like to see different? Thanks.

Repeated on the second side. This finishes the rough cuts.
Inside to the band saw for the first trim.

Next I marked for the hem. Just like in the cuff of your pants, the hem is folded under to give a better edge. Professionally done with a brake, it looks great. With my hack job and hand tools, we'll see.

I snipped a series of cuts to the hem line and bent the resulting tabs past 90 degrees with pliers.

Then I used the pliers again to mash them flat. On the second piece, I did the slitting on the bandsaw and bent them over with the body hammer. This was faster and easier.
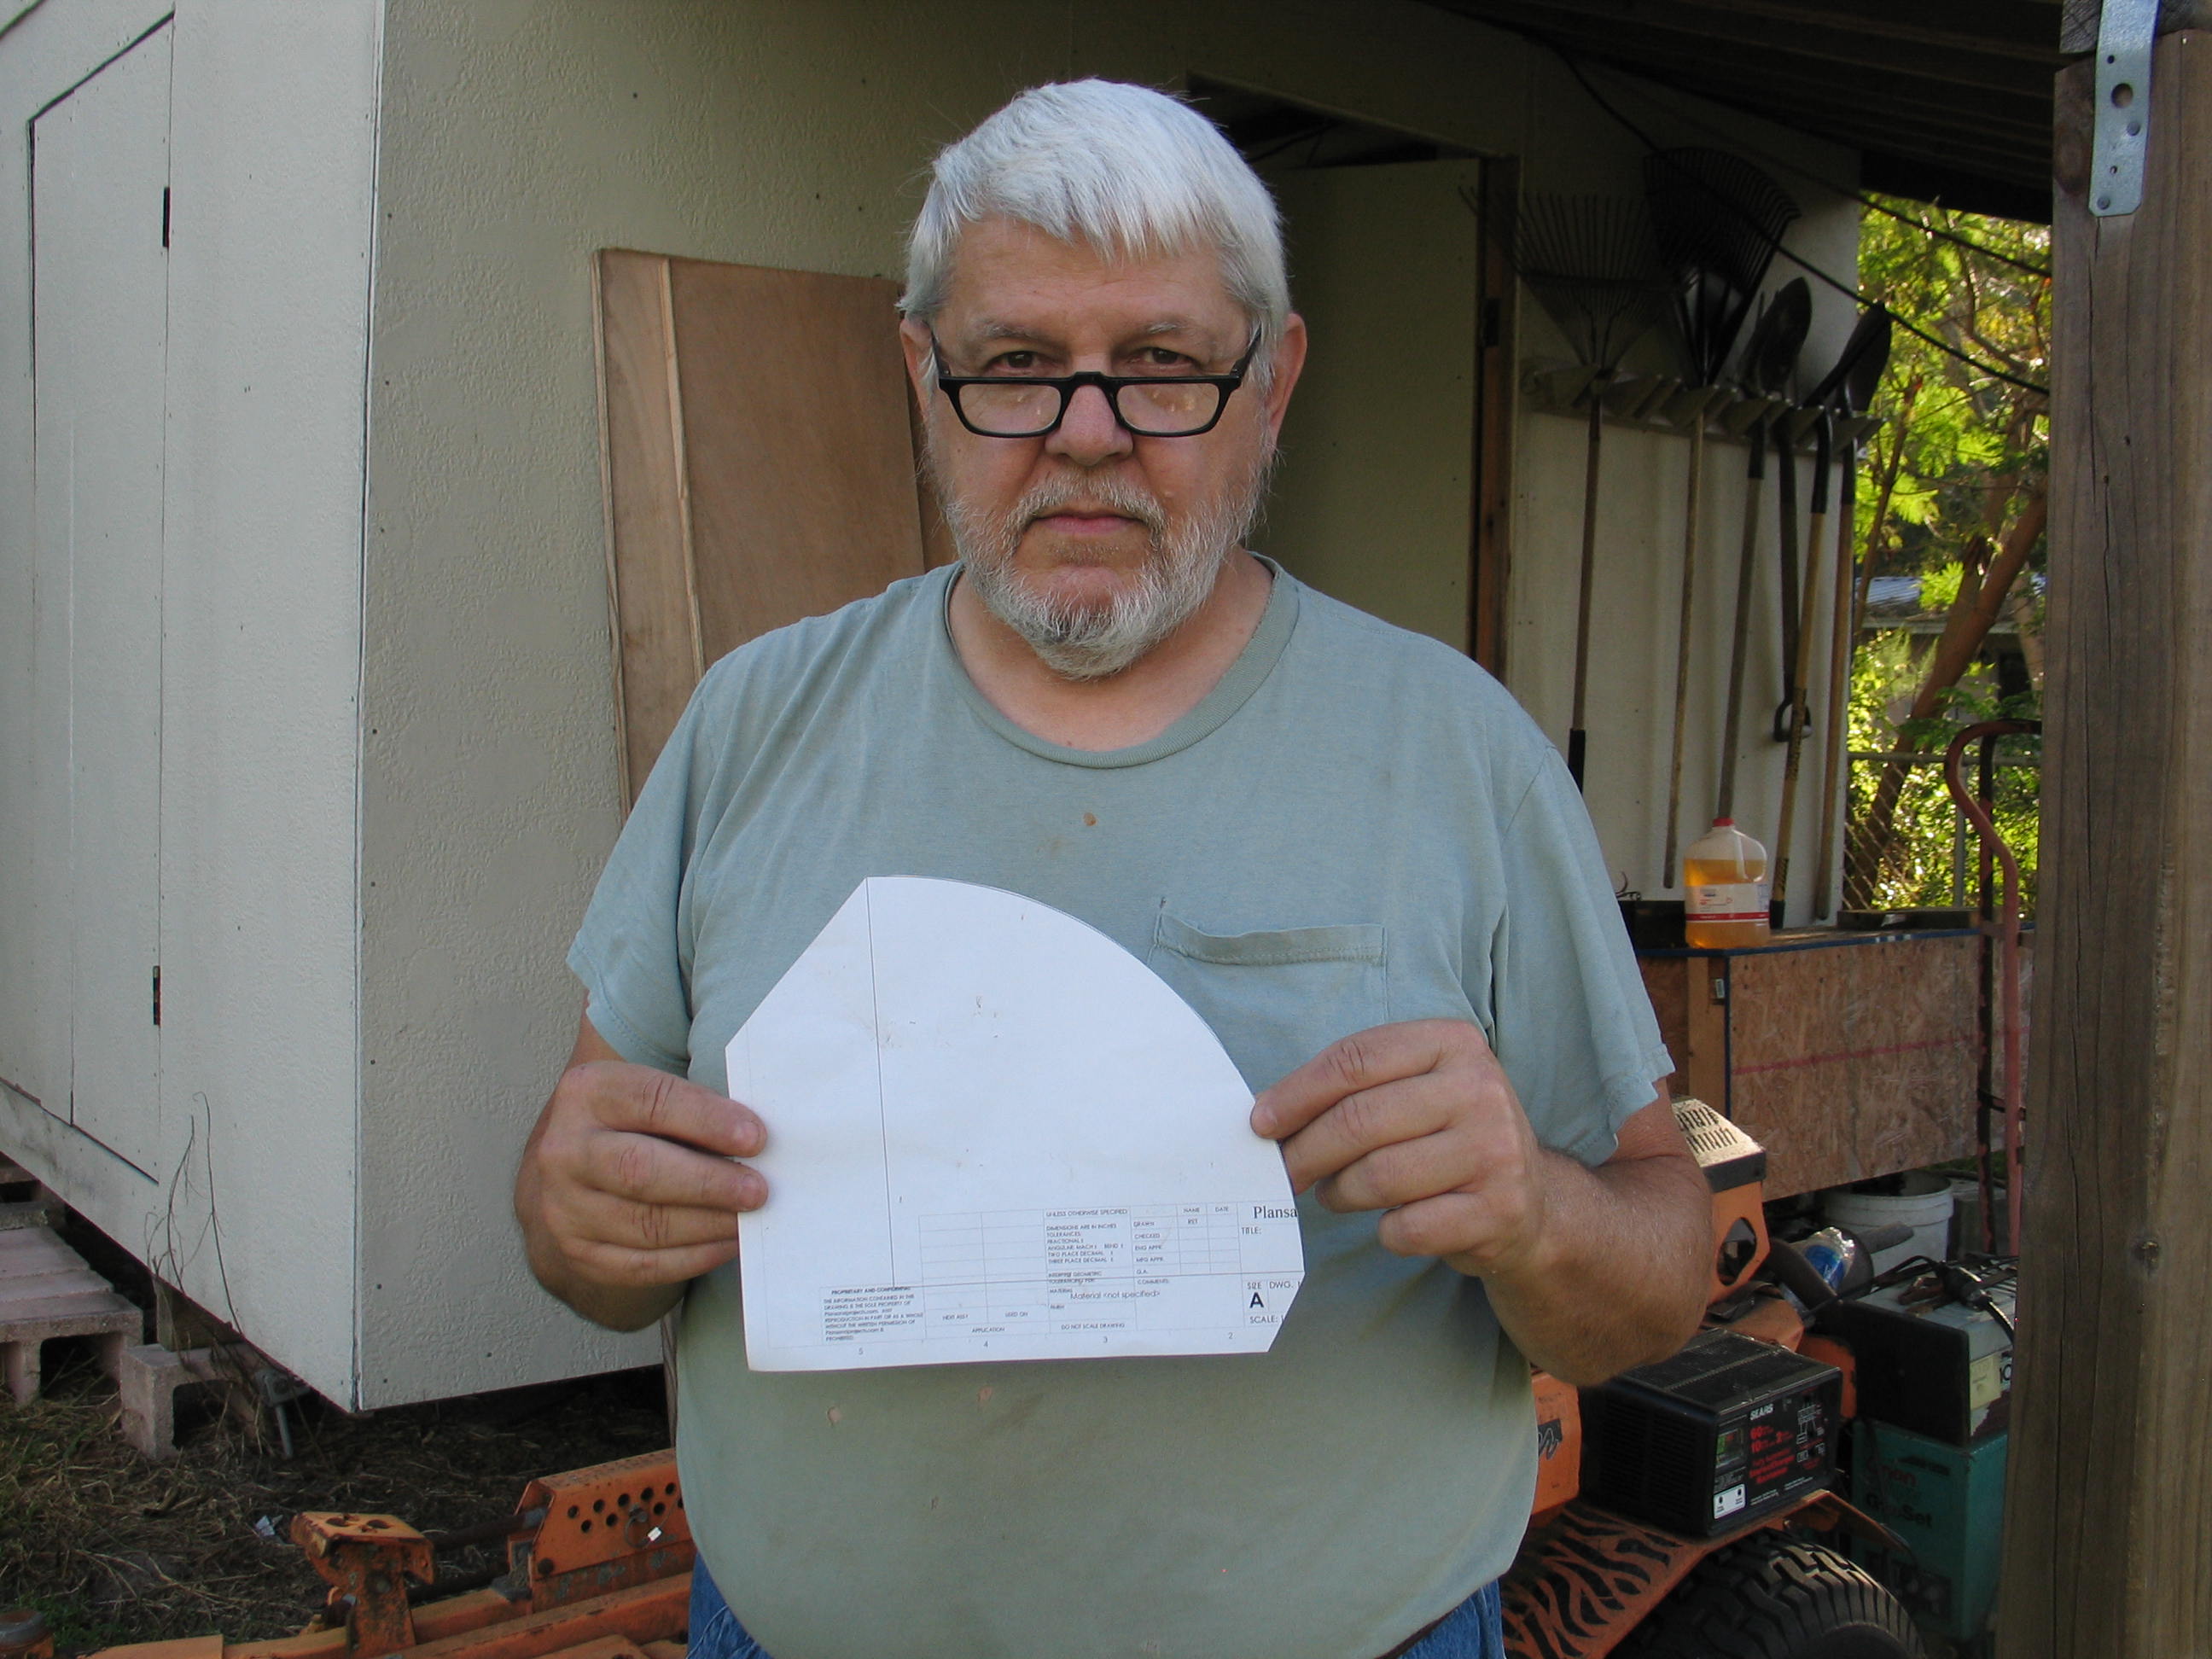
I used Solidworks to make a paper radius gauge and printed it 100%. I checked it against a ruler to make sure it printed right and cut it out.

I formed it against a sturdy post...
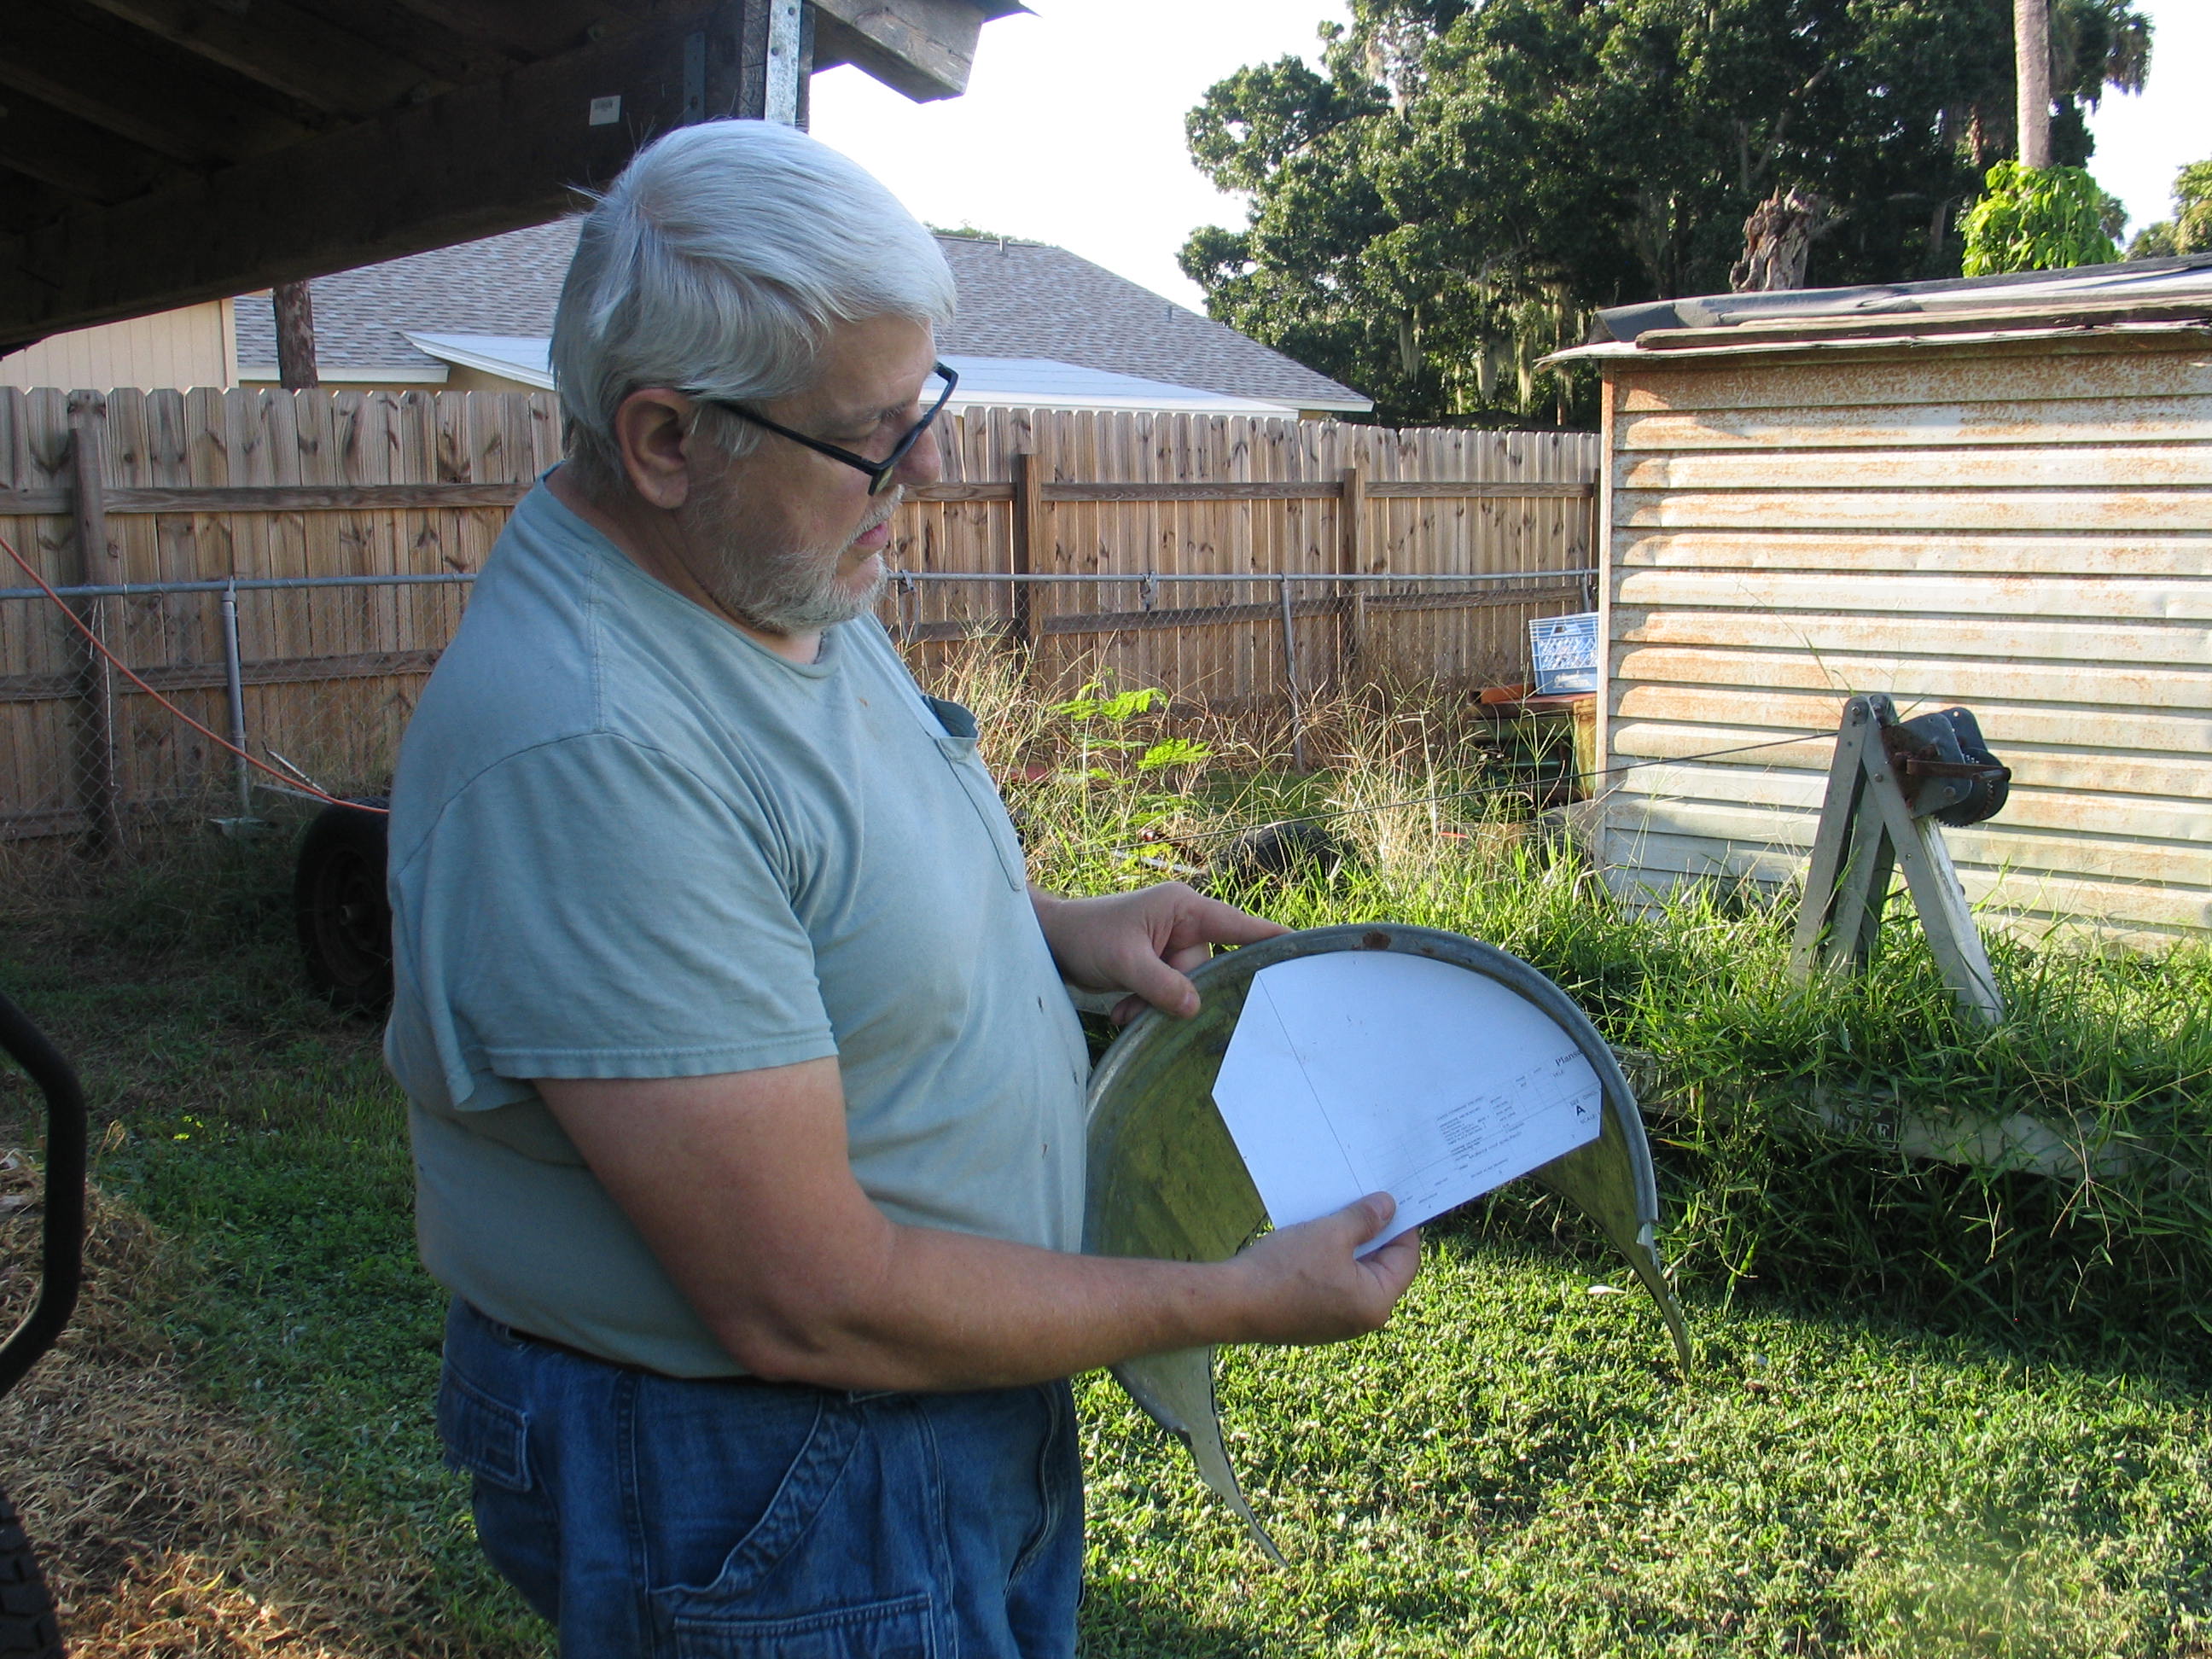
...and used the paper radius gauge to verify the form.
This is the final diameter of 13".


Next time, putting it back together.
Please leave a comment on the bottom of the page. Was this useful? What would you like to see different? Thanks.