Building
a Small Molding Bench
for
foundry work
for foundry work
by
Ronald E. Thompson
Copyright 11-18-2010
I was tired of bending over and using a tipsy wheel barrow for a make-shift bench. And storing my foundry sand in a plastic tub was getting old, too. I had to wait for it to cool before I could put it back in the tub, or risk melting the tub. (excerpted from the plans page)
I drew up some plans and even modeled it in Solidworks.
The plans are here.
I took the cut list to
Lowe's and got one
48" X 96" sheet
of
7/16" thick flake board (.4375" or a little over 11 mm). They called it
OSB for Oriented Strand Board. I also bought the three 2X4s and three
2X2s.
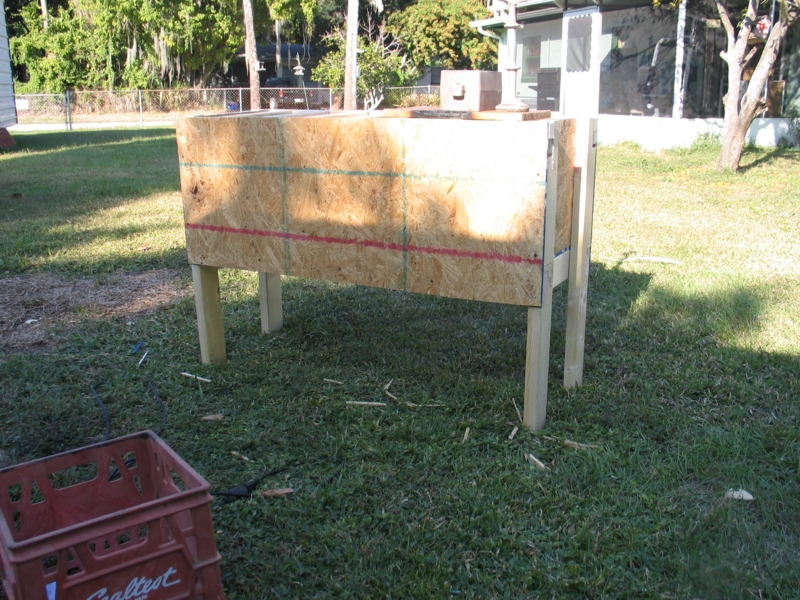
Using the cut list for dimensions, I cut everything with a circular saw. I used pocket cuts to notch out the leg most of the way and cleaned it out with a hammer and chisel. This isn't going in the living room! It's a good thing, too. I am a terrible carpenter. I used to frame houses, but I never got near any trim work.
I
threw this together with 2 different length drywall screws and a Makita
battery drill with a clutch. 3" where two 2xs come together and 1 1/2"
where OSB is held to the frame.
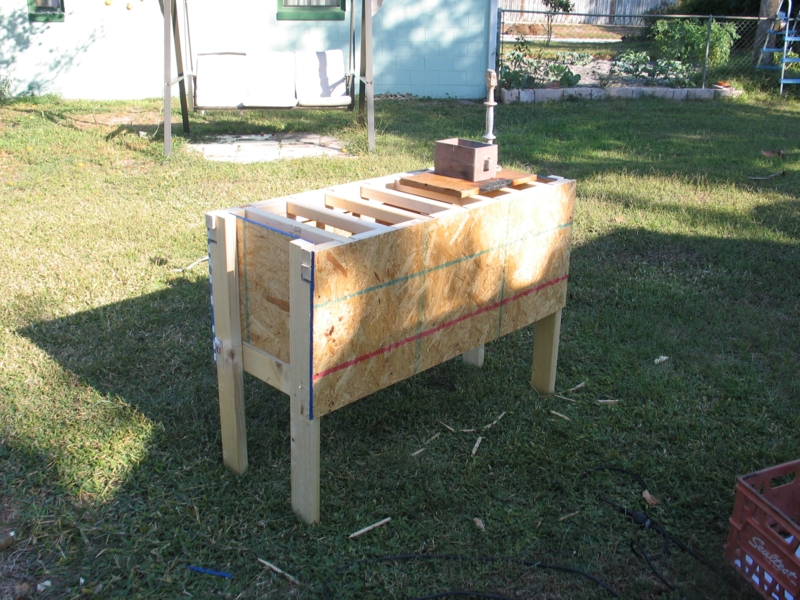
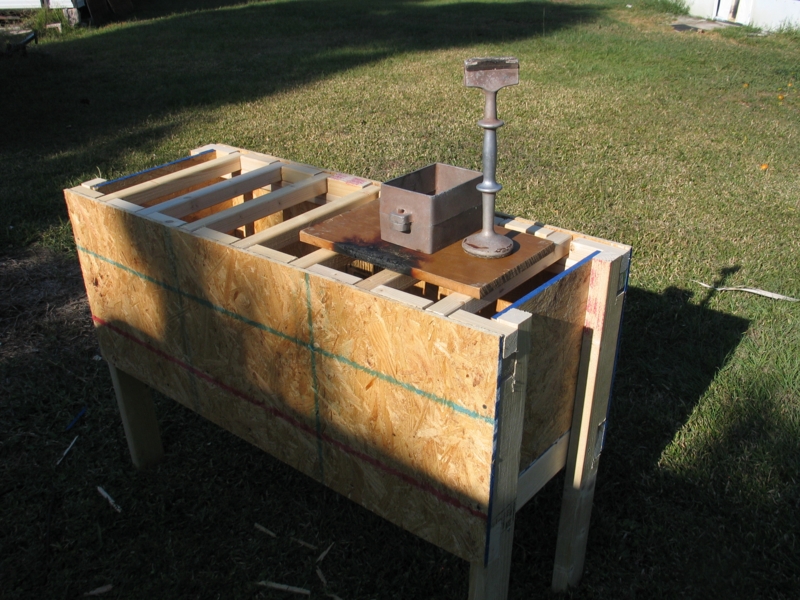
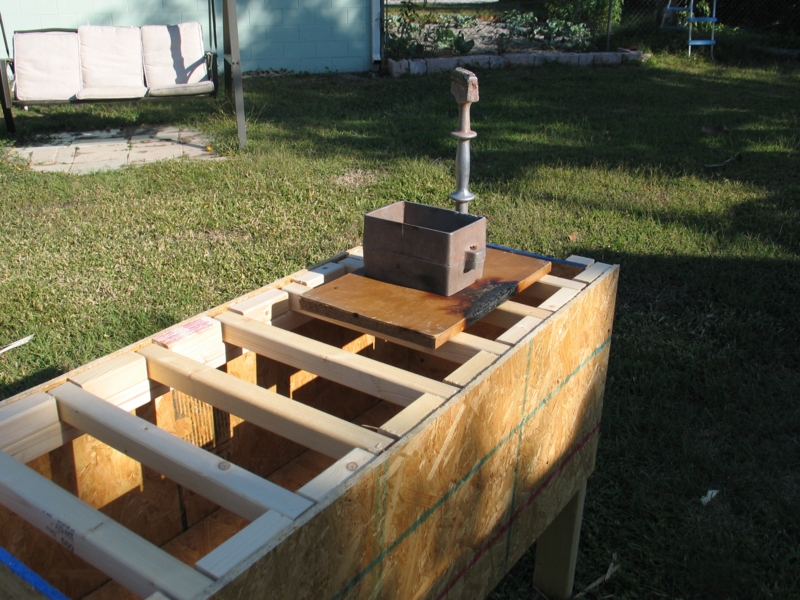
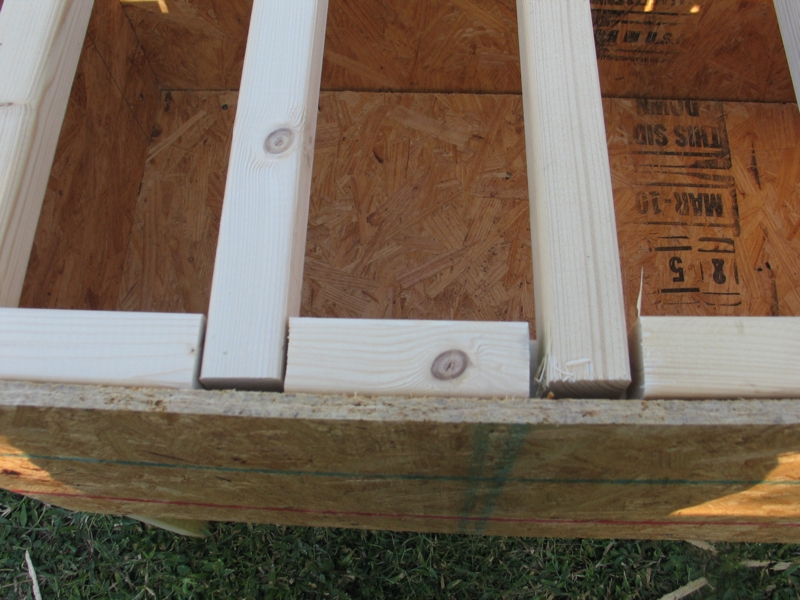
The slats are loose so they can be removed easily. I made the openings as wide and sloppy as possible so I won't have to fight to get them in or out.
The OSB has a rough side and a smooth side. I put the smooth side in.
I
put the flask and rammer to make it look like foundry equipment...
Really I was checking
it for working height. Seems OK for me, but I am only 5"8". YMMV.
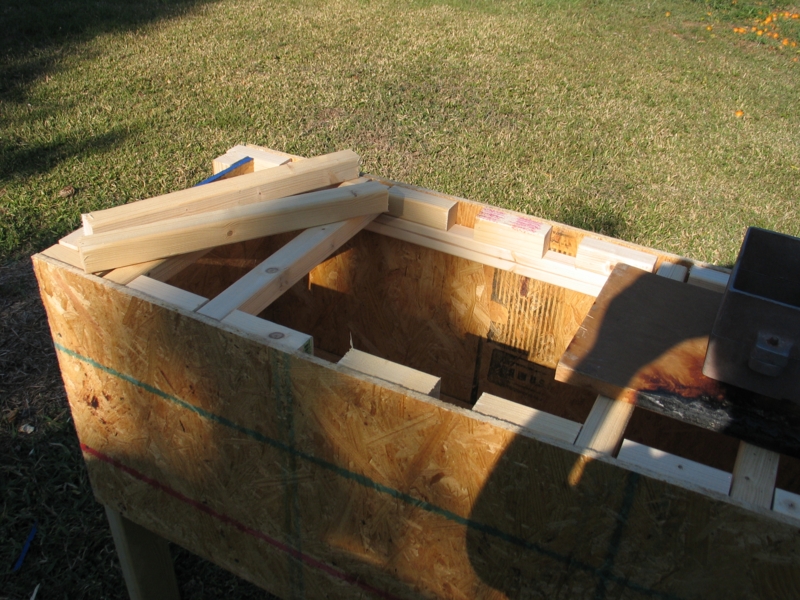
This is before the screws were
added to the spacers. They are more even, now, but just as loose.
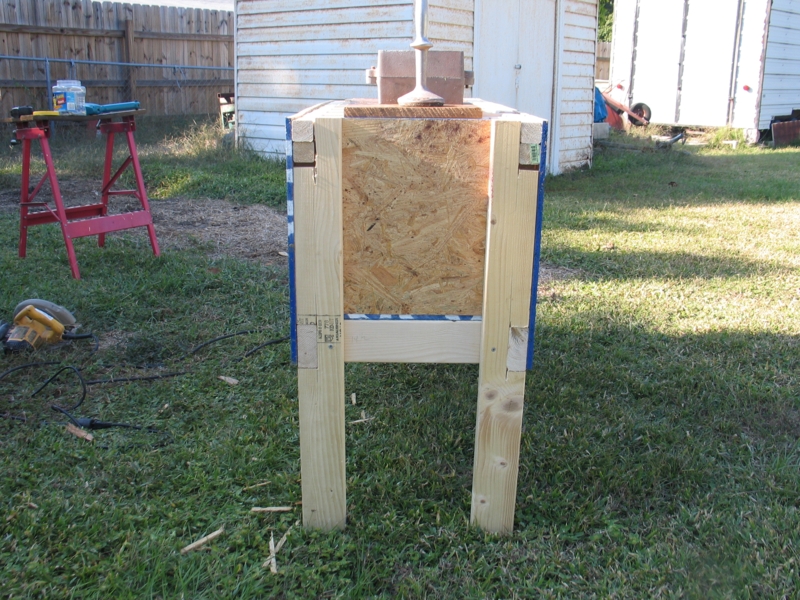
Quit laughing! I said I was no carpenter. The 2X2 rails are resting on the OSB of the ends. It doesn't matter because there are plenty of screws from the front and back into the rails. The OSB adds strength and it's needed because the rails take the pounding when you ram a flask.
That's it for now. I still need to hinge the lid , caulk and paint it. I have a gallon or gray floor paint...
Visit my main page here: Plansandprojects.com