I have had so many requests for a video of this thing running, I uploaded a short one to You Tube.
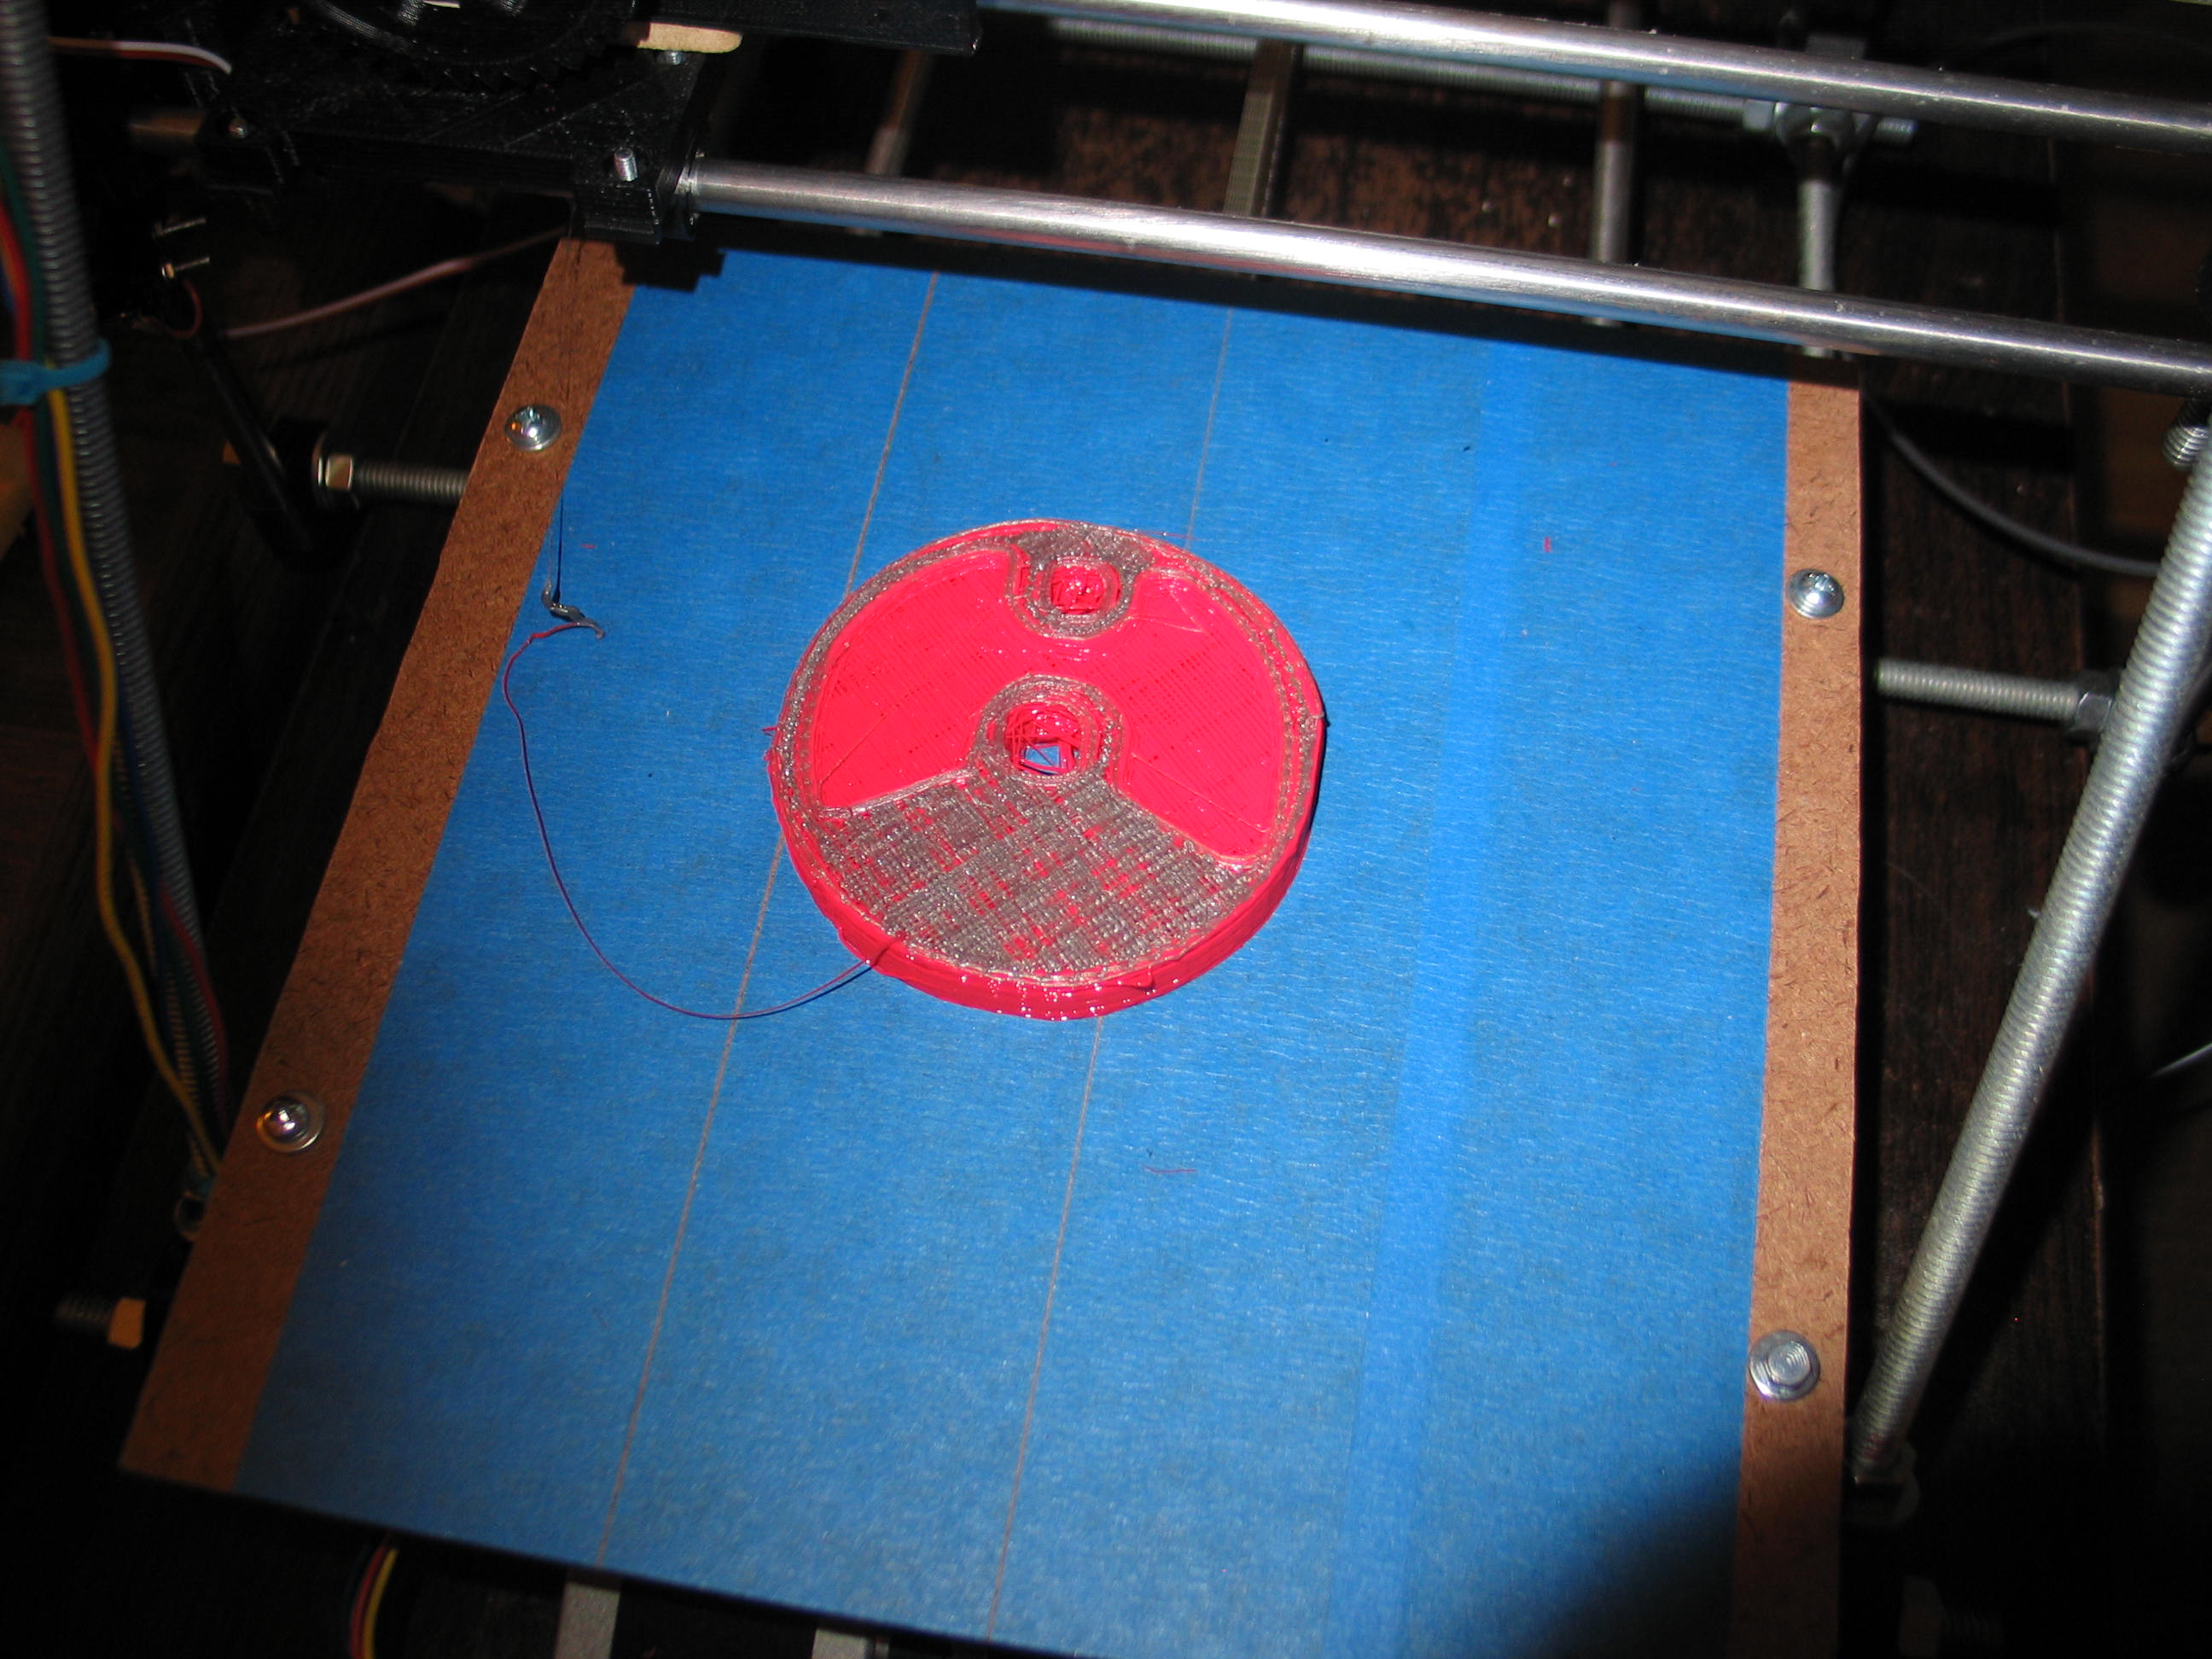
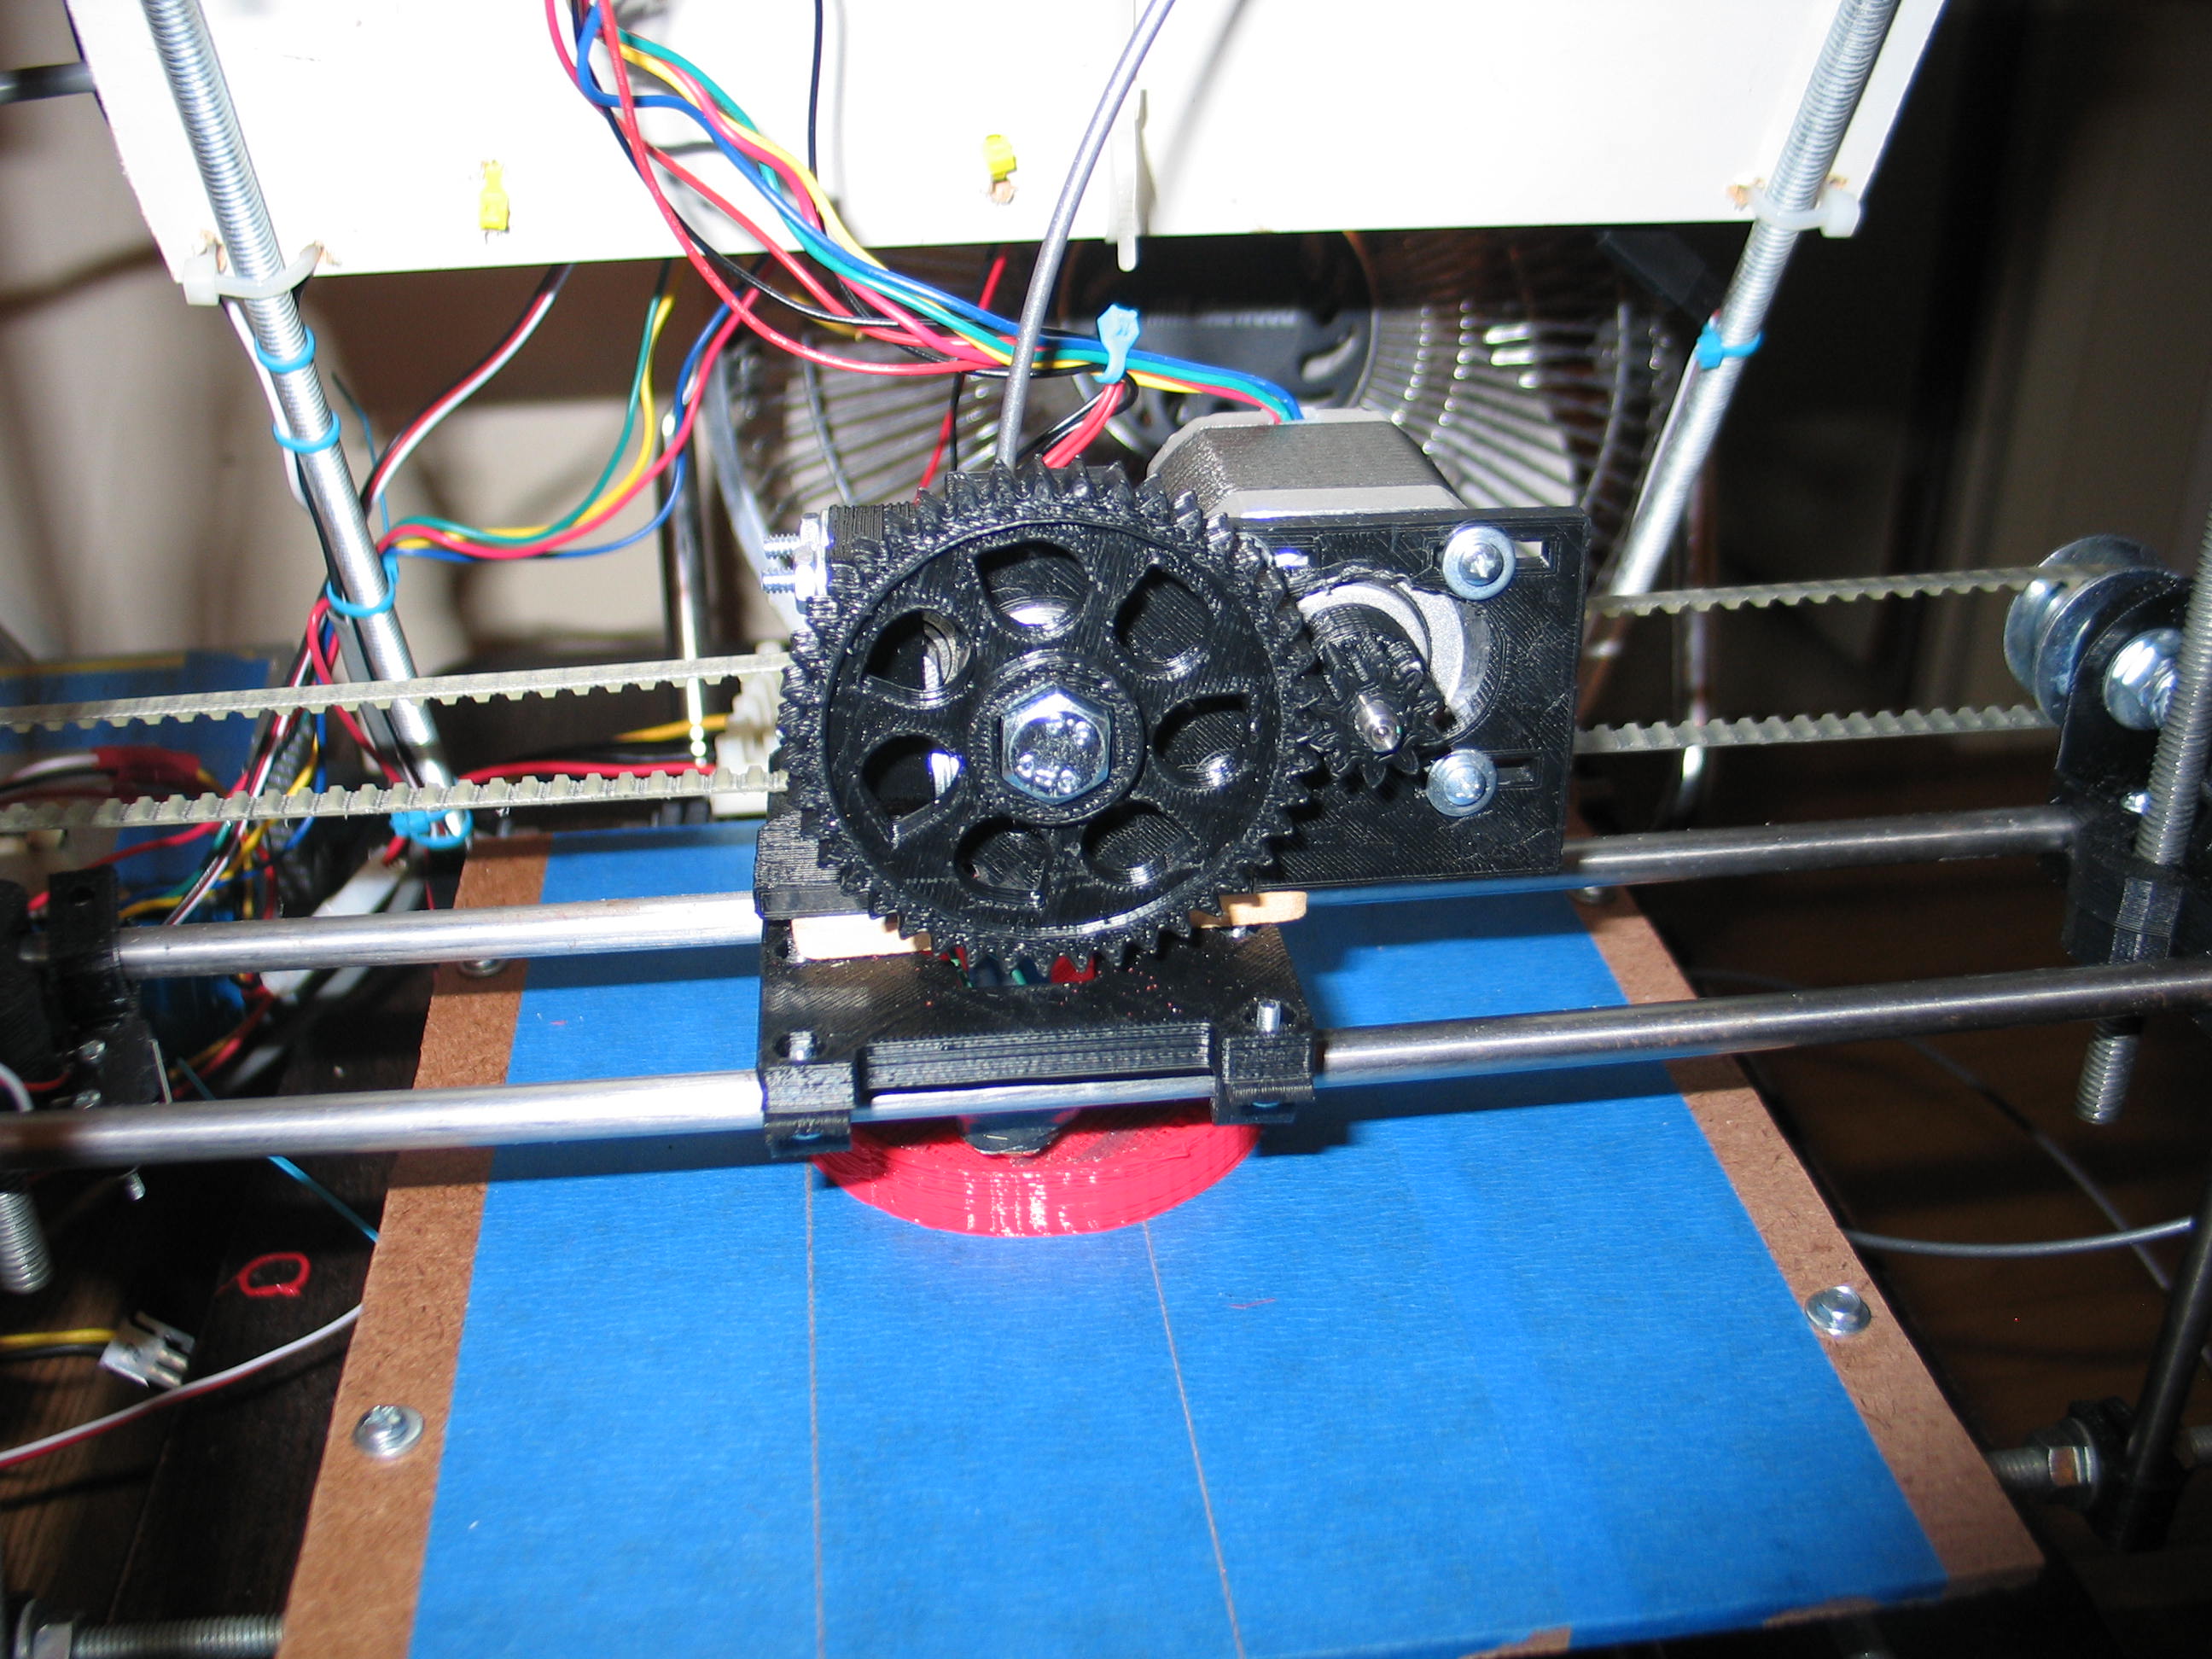
This is a part I modeled in
Solidworks some time ago. It's a crank counter weight from a steam
engine. It's about 3 inches in diameter and about 1/2 inch thick. I ran
out of the red PLA and was able to push the silver PLA in and keep
pressure on it until it printed silver.
OK, a few words about the work flow.
You start with a STL file, either downloaded or something you created.
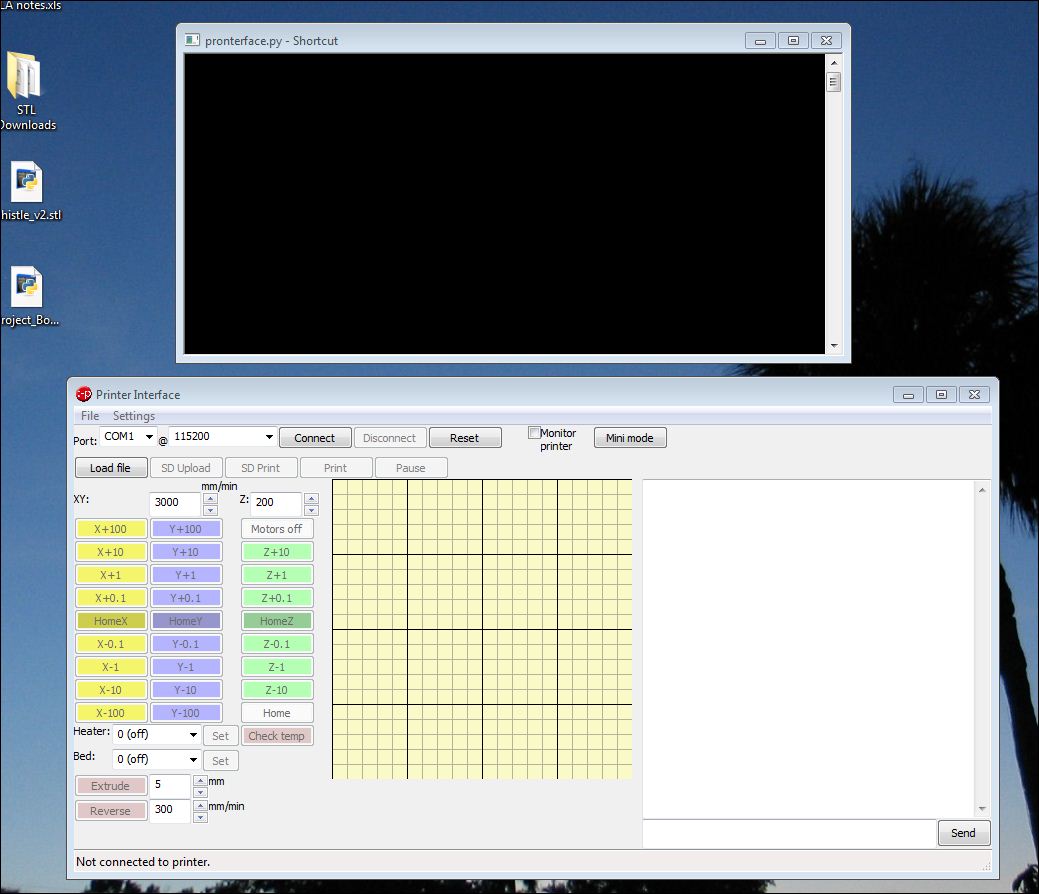
OK, a few words about the work flow.
You start with a STL file, either downloaded or something you created.
Open Pronterface.py. If you can't make it out, click on the photo for a larger view.
Click "open file" and select your STL file. Then the magic happens. Skeinforge starts working on it, slicing it into layers and writing the G-code that runs the machine. Unless you go looking for it, you won't see the G-code.
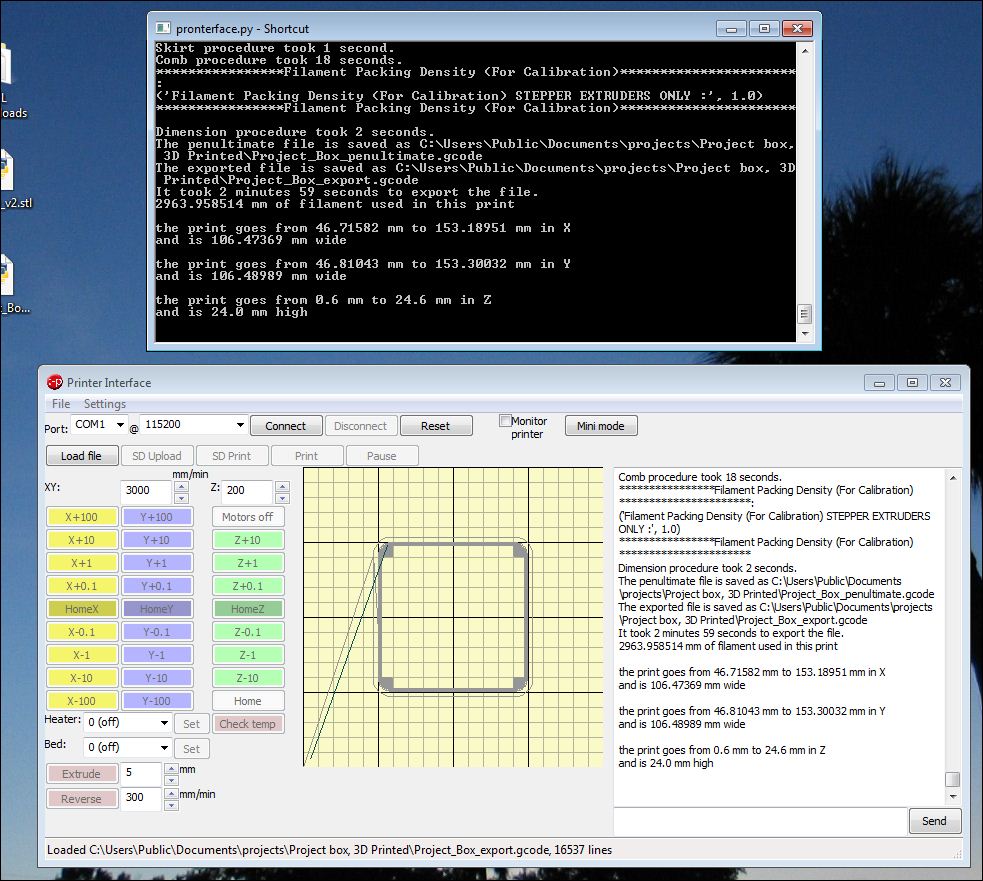
Once the file is done processing, the screen will have info like the print area required and the amount of filament needed to make the print. (Below)
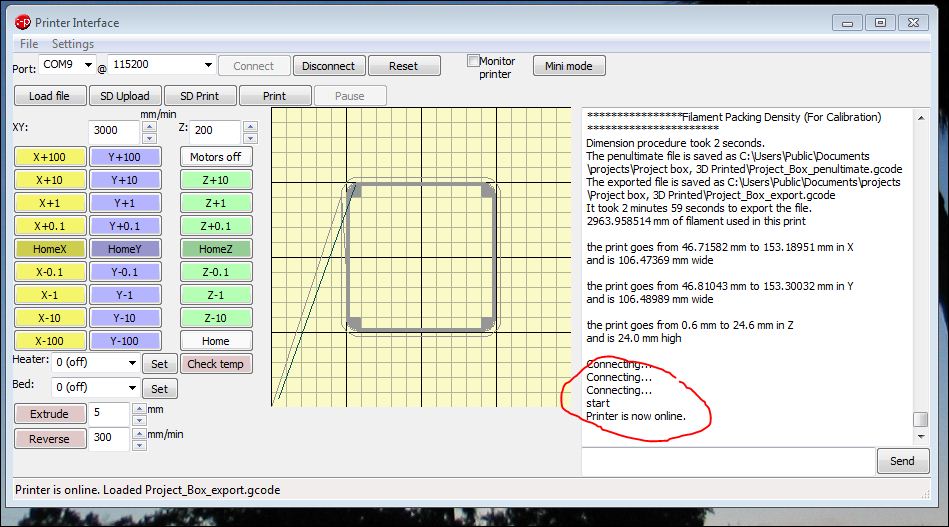
Before you can print, you need to connect to the machine. Click the connect button. If it doesn't connect right away, push the reset button on the RAMPS board. Then, on the lower left, set the heater temperature. This is a the extruder heater and needs to be set for the plastic you are using. Click the "Check Temperature" button every now and then until the temperature is right. It does not update automatically. (The extruder temp will regulate, but your display won't update unless you hit the button.) It may zoom a little over, but should come back down.
Home the machine. The white home button does all three axes one after the other. I then raise the Z by 10 and hit the extrude button until I get decent flow. Use needle nosed pliers to remove the HOT plastic from the extruder and hit print.
Click "open file" and select your STL file. Then the magic happens. Skeinforge starts working on it, slicing it into layers and writing the G-code that runs the machine. Unless you go looking for it, you won't see the G-code.
Once the file is done processing, the screen will have info like the print area required and the amount of filament needed to make the print. (Below)
Before you can print, you need to connect to the machine. Click the connect button. If it doesn't connect right away, push the reset button on the RAMPS board. Then, on the lower left, set the heater temperature. This is a the extruder heater and needs to be set for the plastic you are using. Click the "Check Temperature" button every now and then until the temperature is right. It does not update automatically. (The extruder temp will regulate, but your display won't update unless you hit the button.) It may zoom a little over, but should come back down.
Home the machine. The white home button does all three axes one after the other. I then raise the Z by 10 and hit the extrude button until I get decent flow. Use needle nosed pliers to remove the HOT plastic from the extruder and hit print.
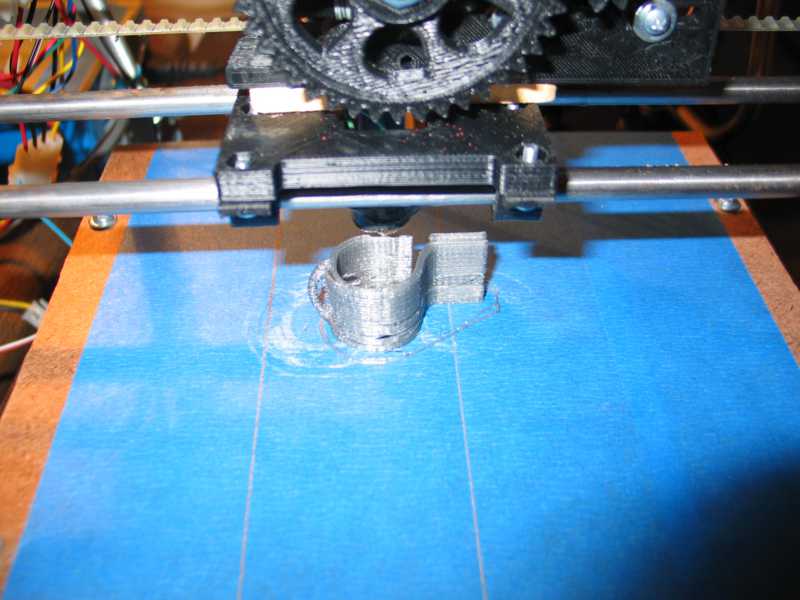
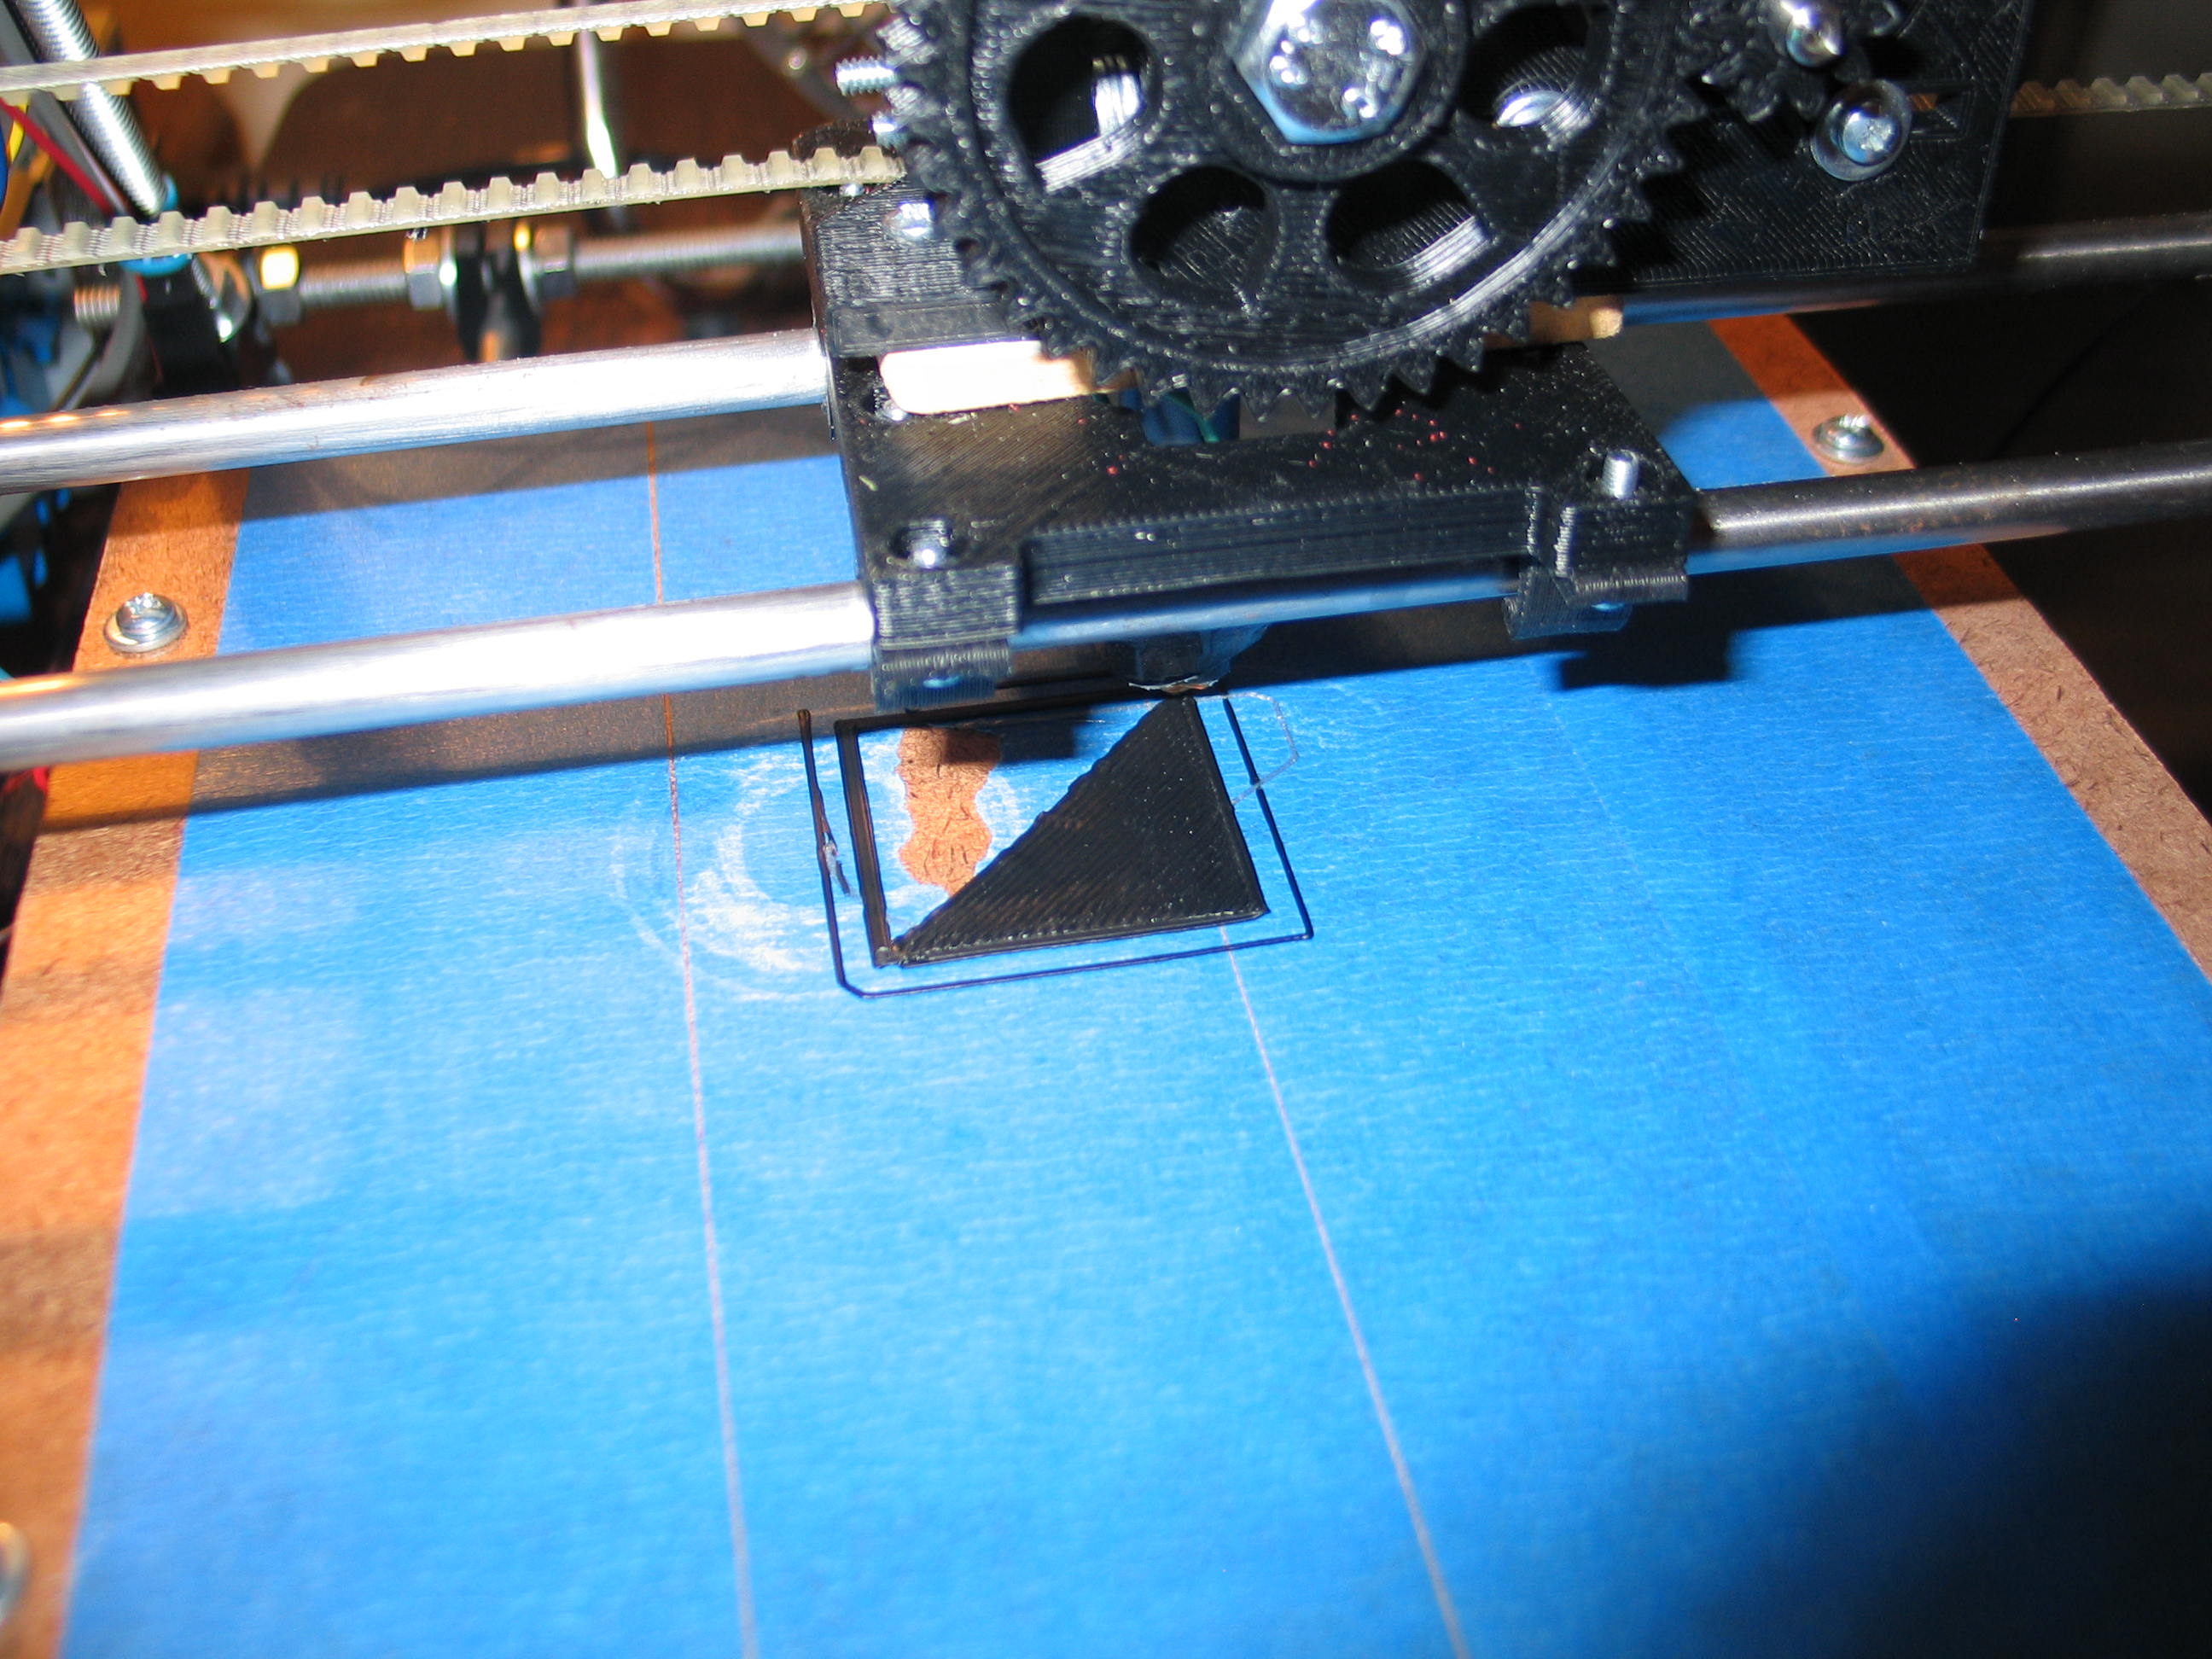
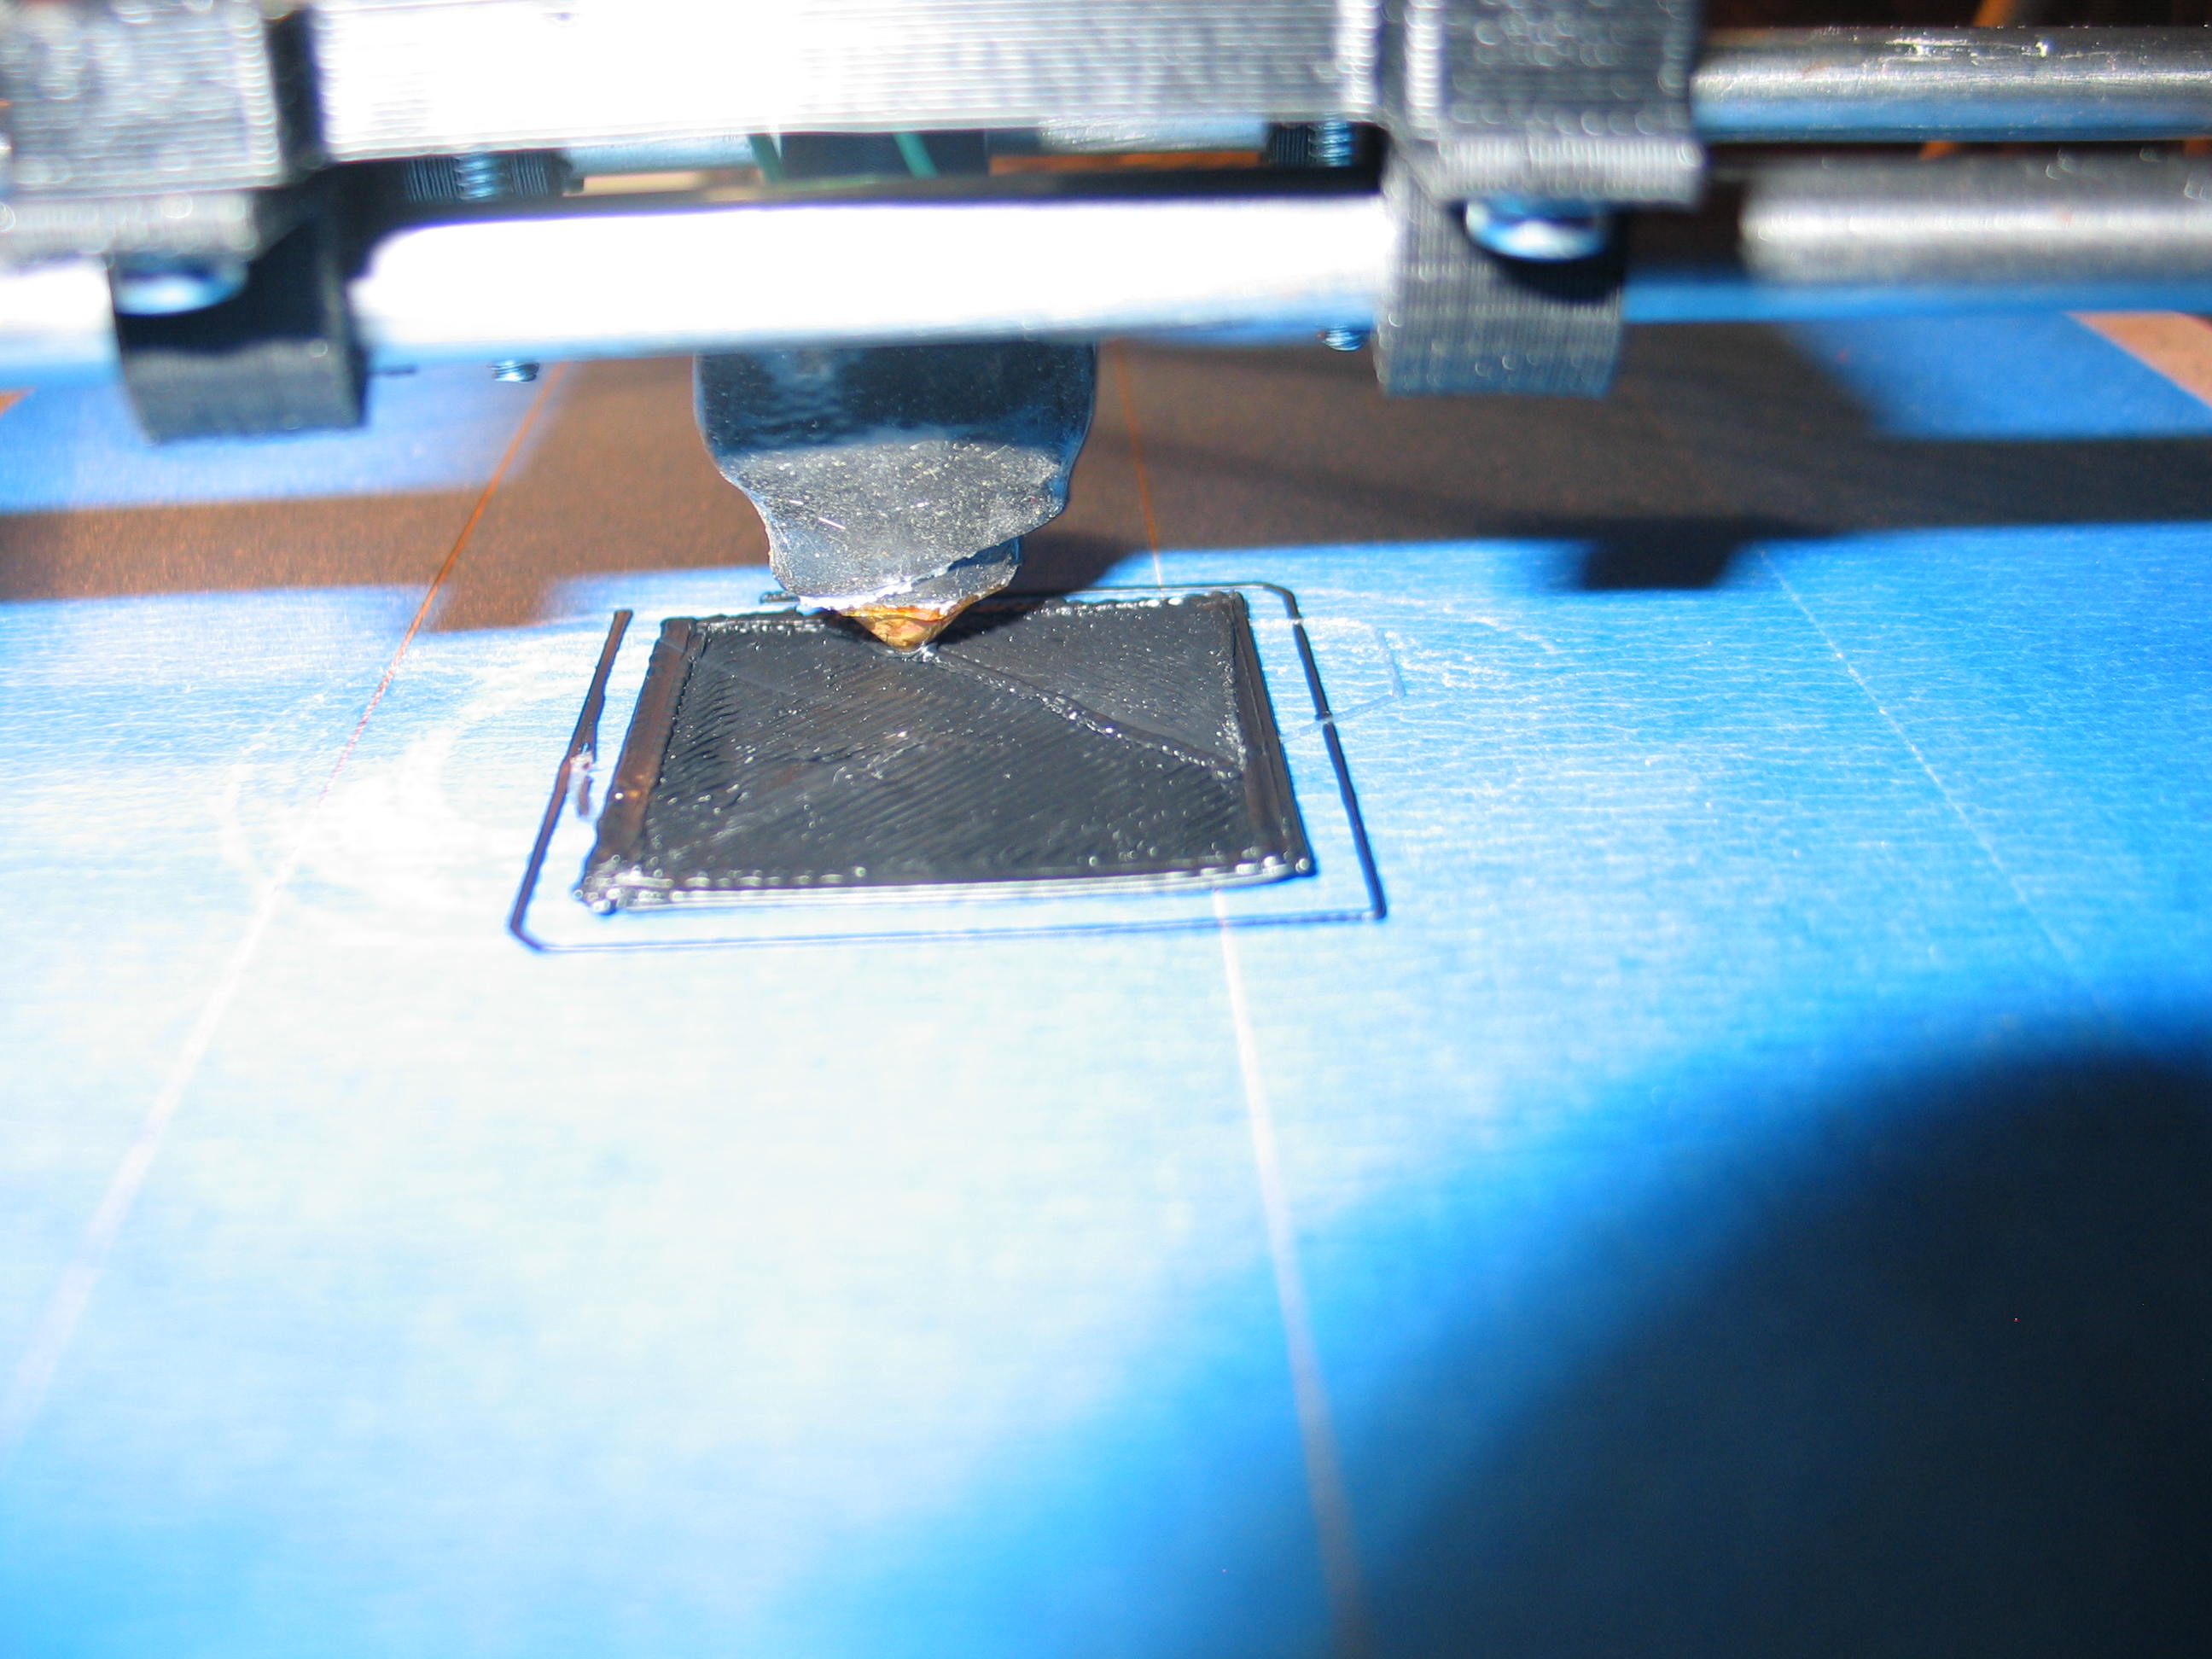
If everything goes well, it will look better than this.
This is more of the PLA sample from Ultimachine.
This is more of the PLA sample from Ultimachine.

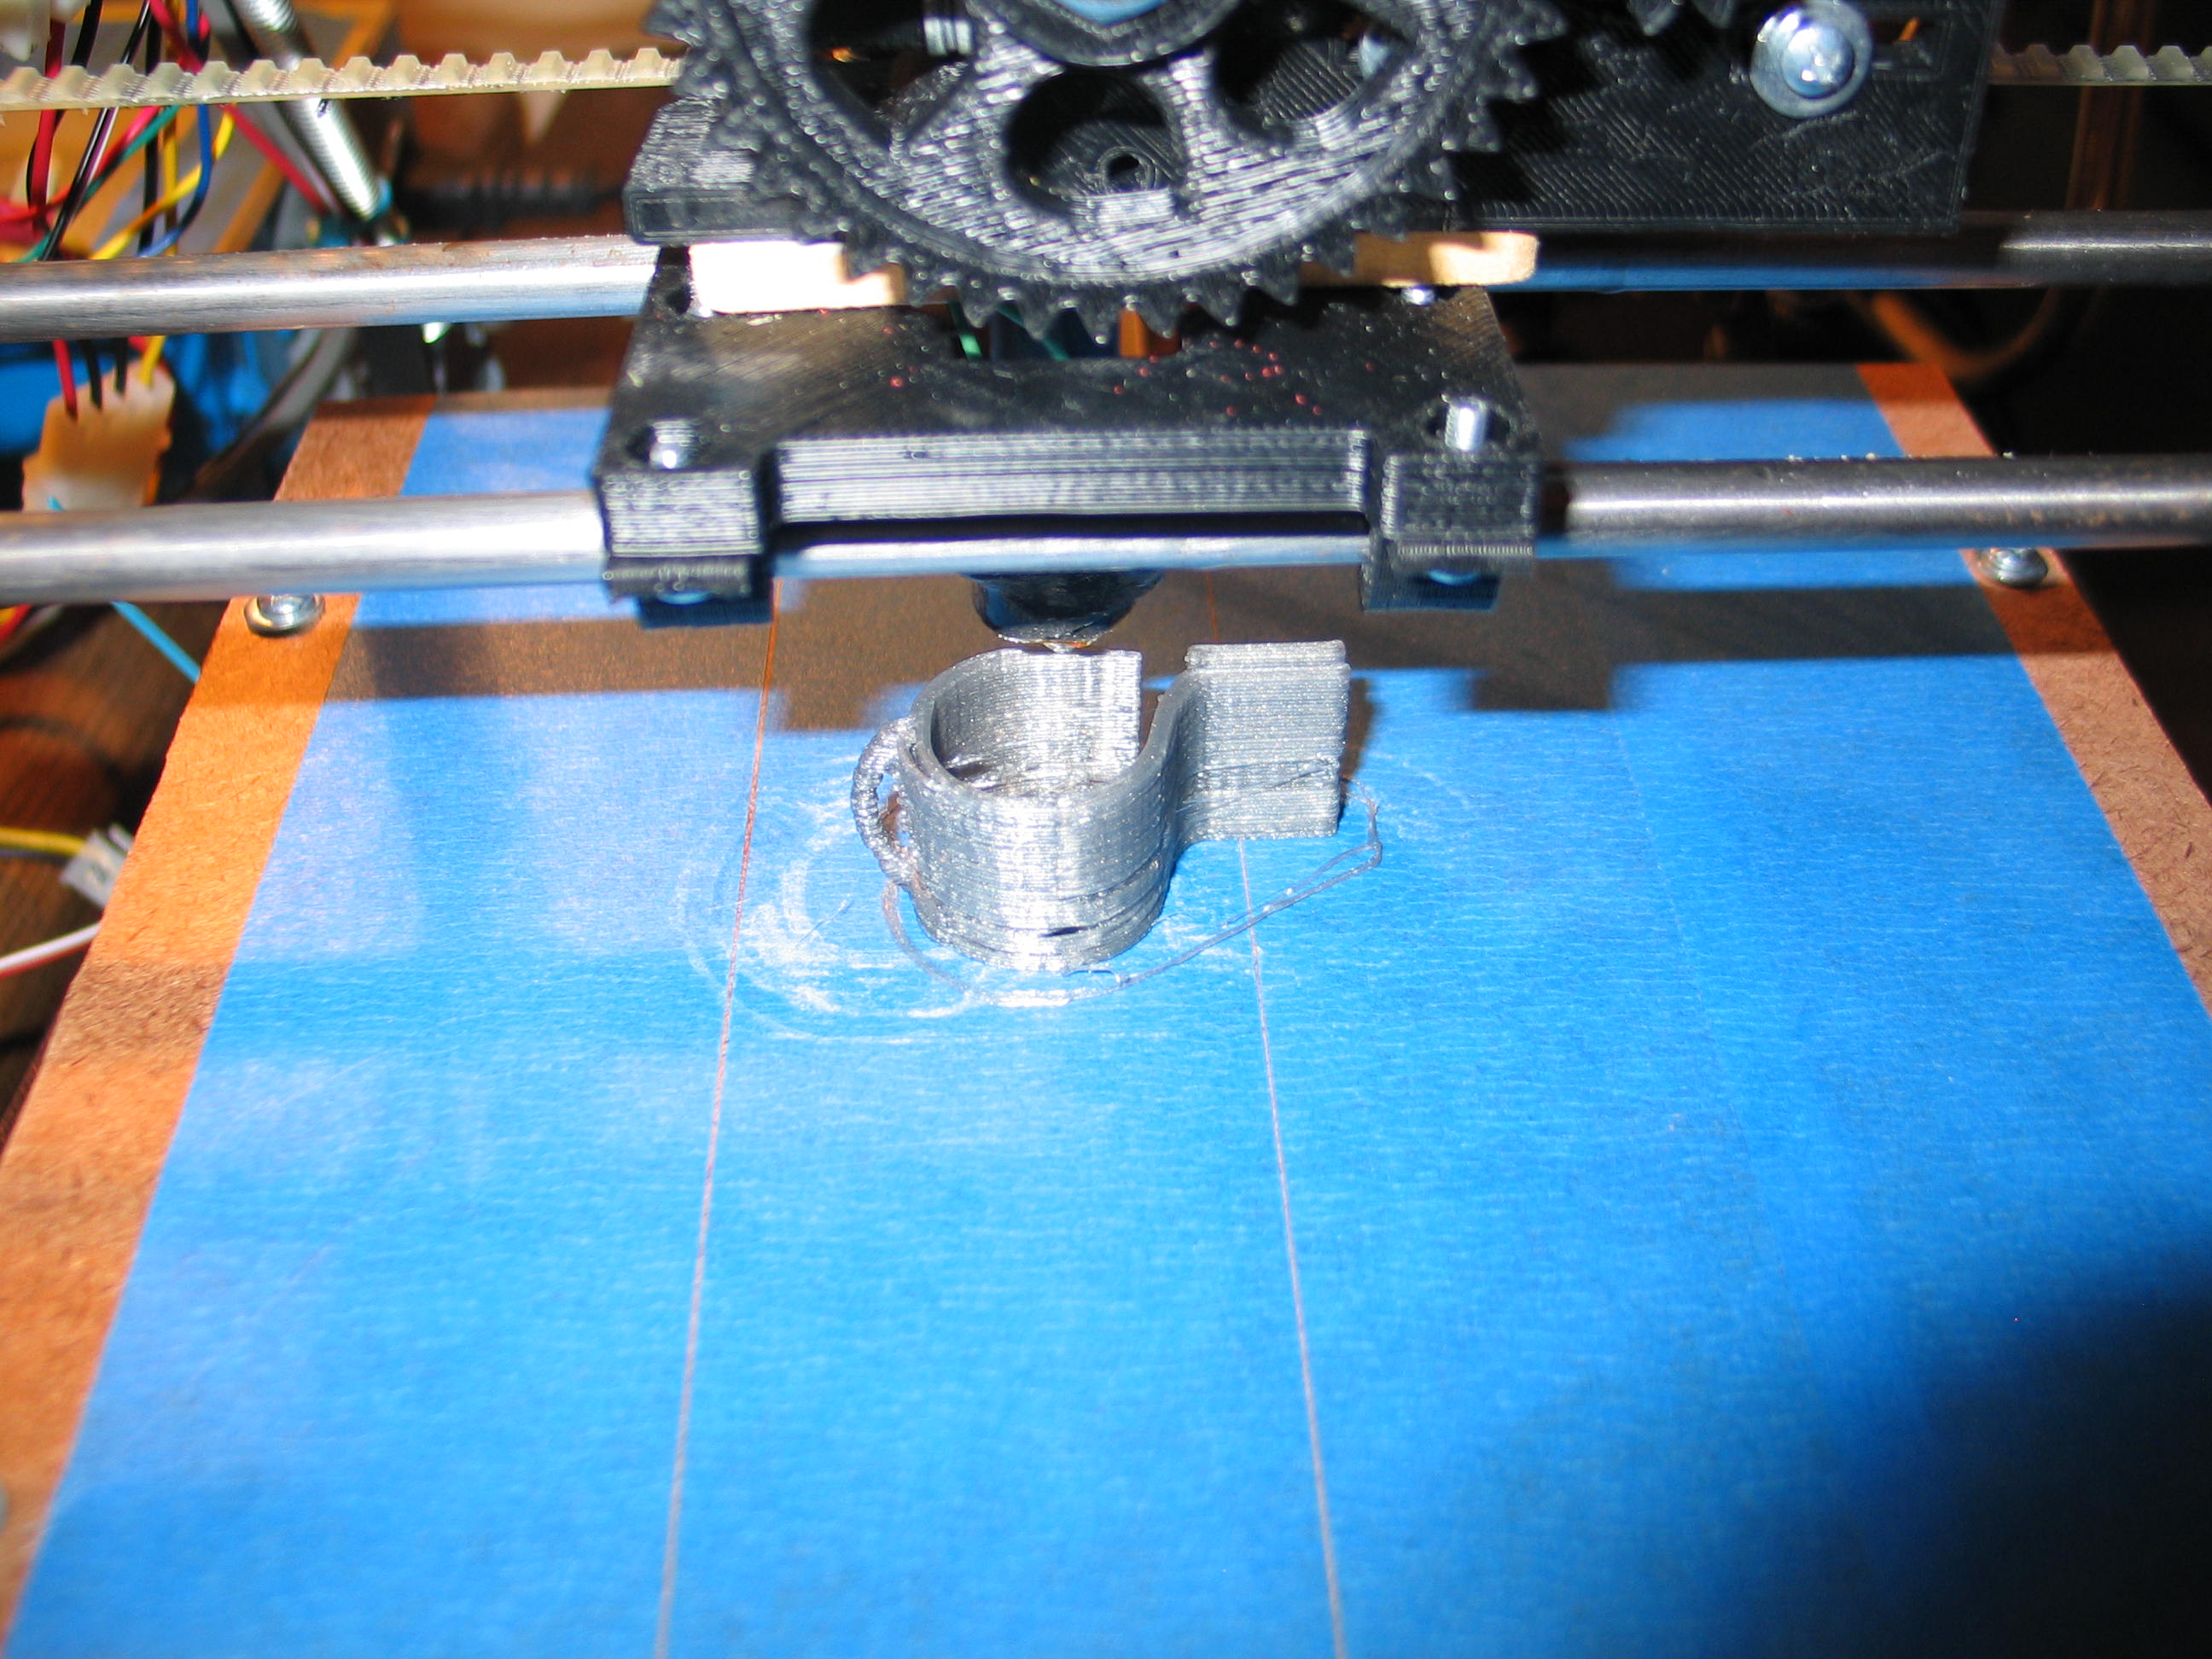
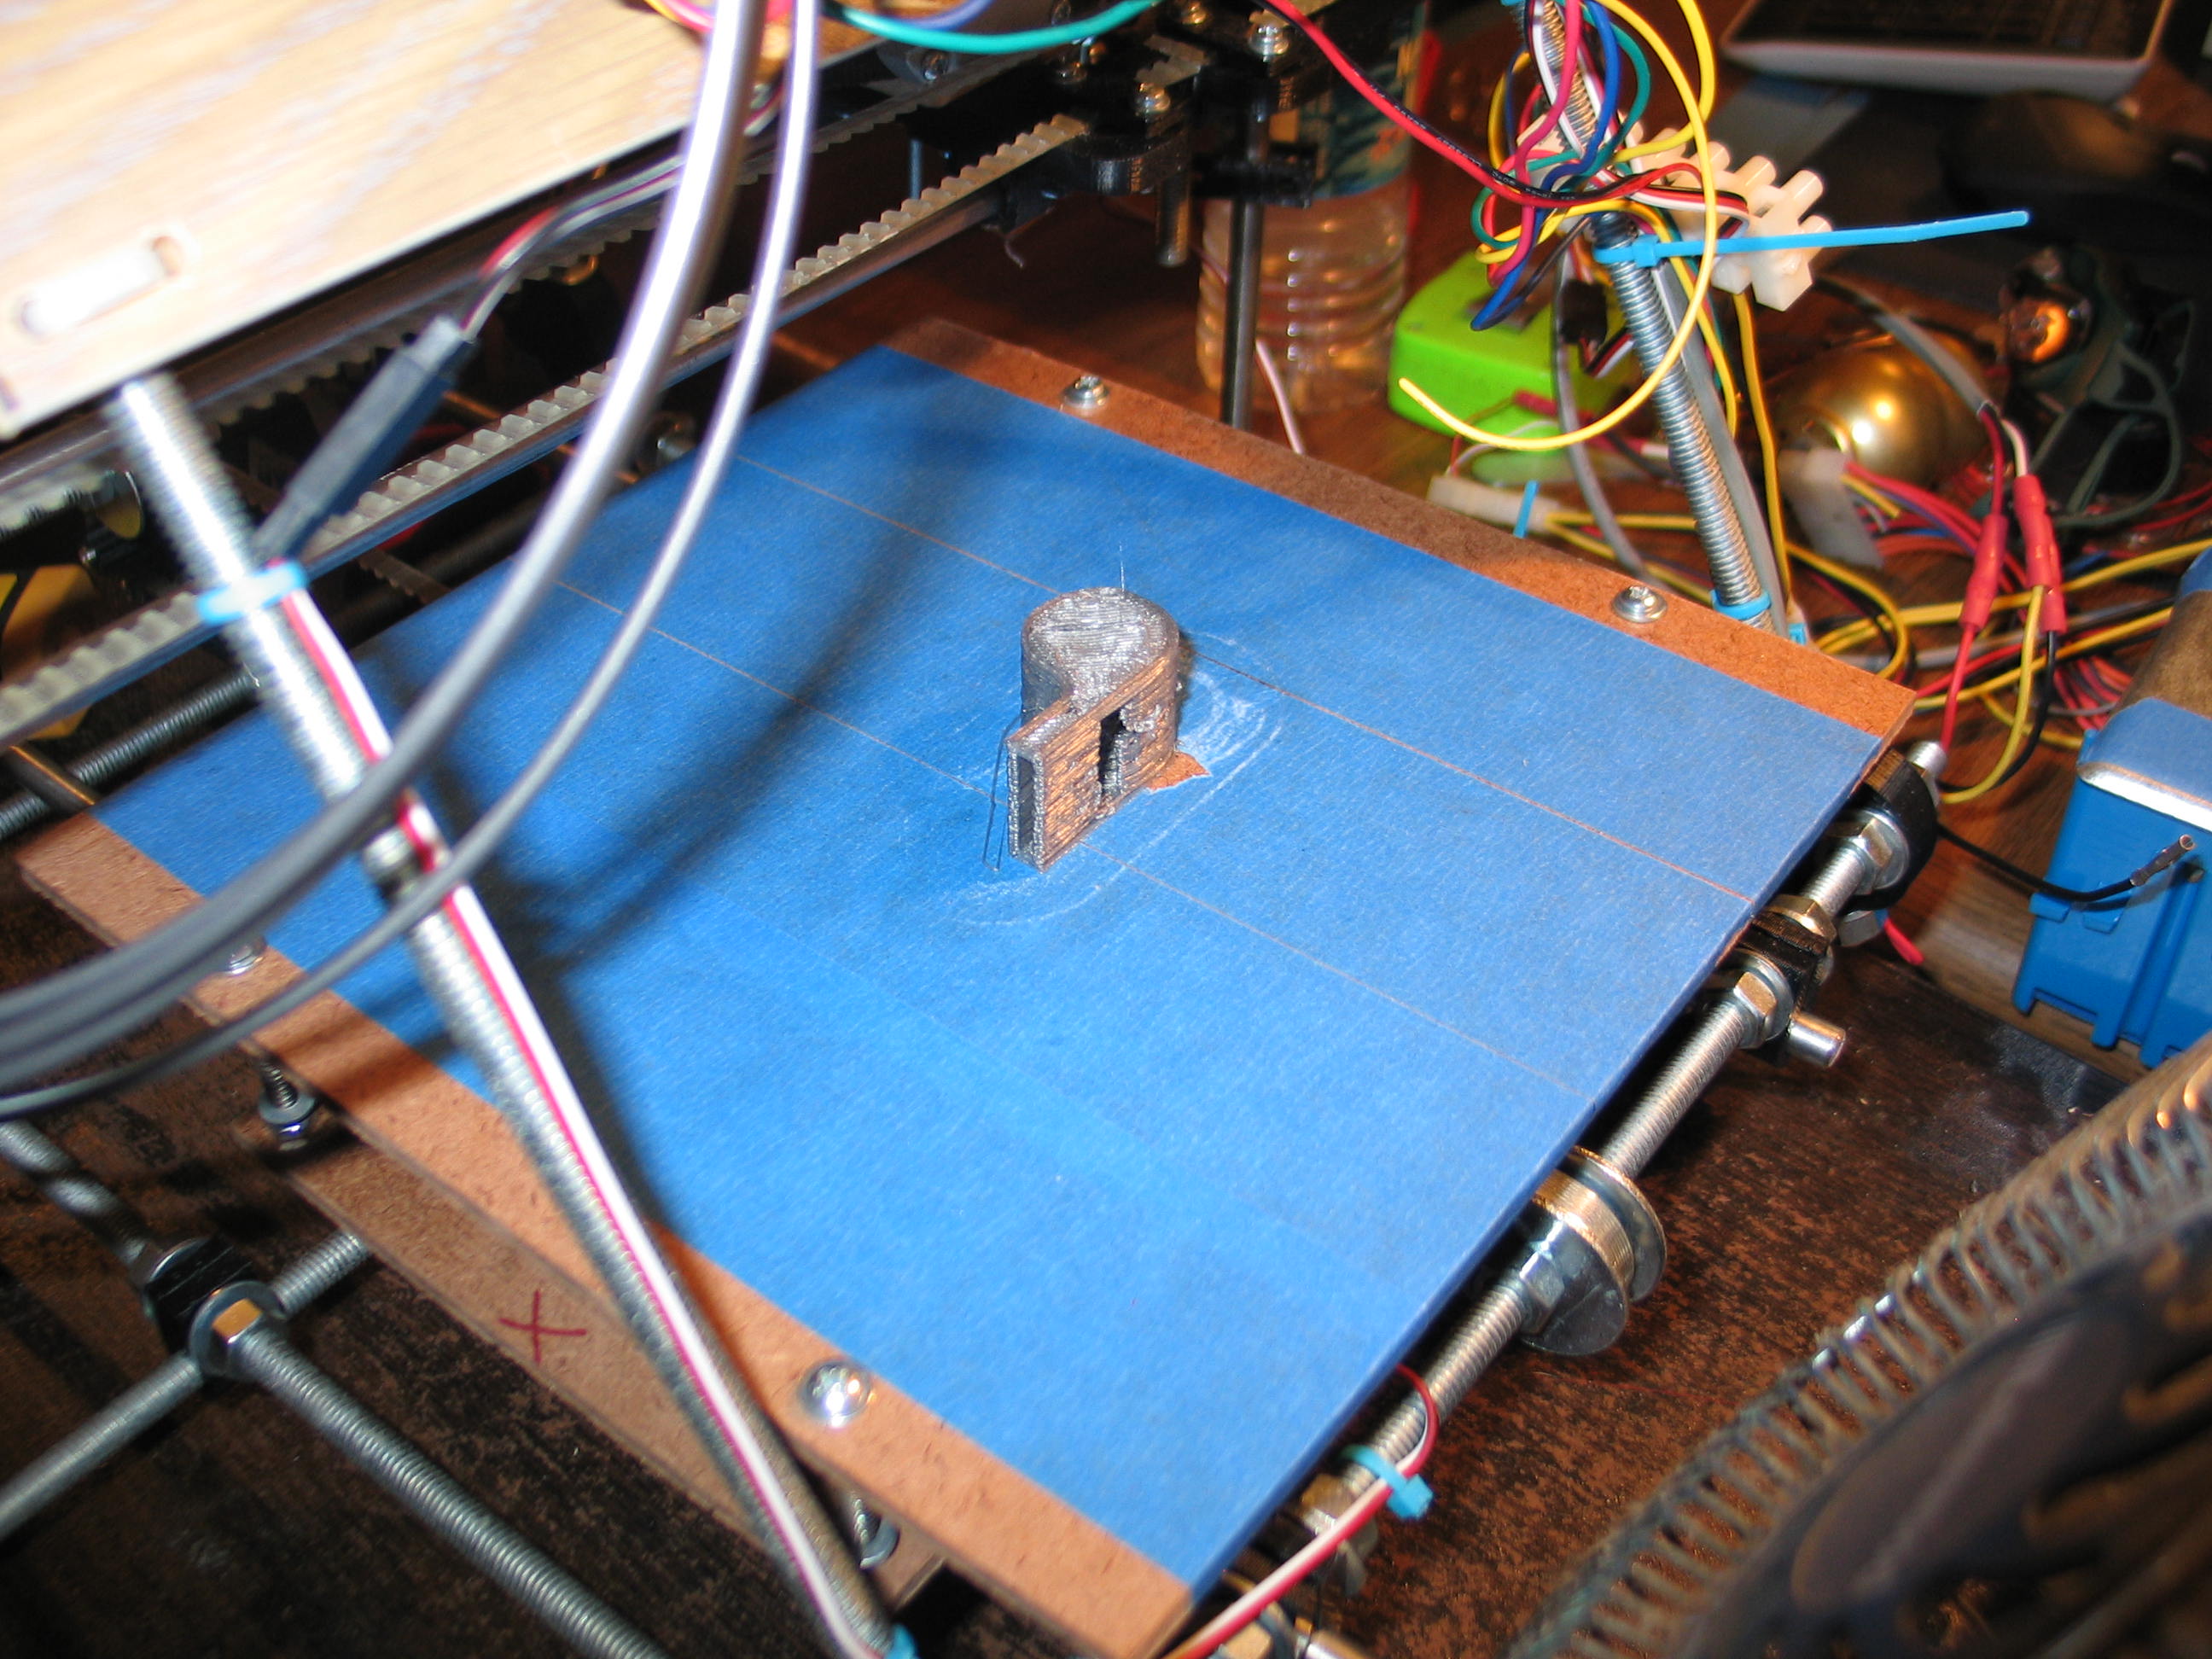
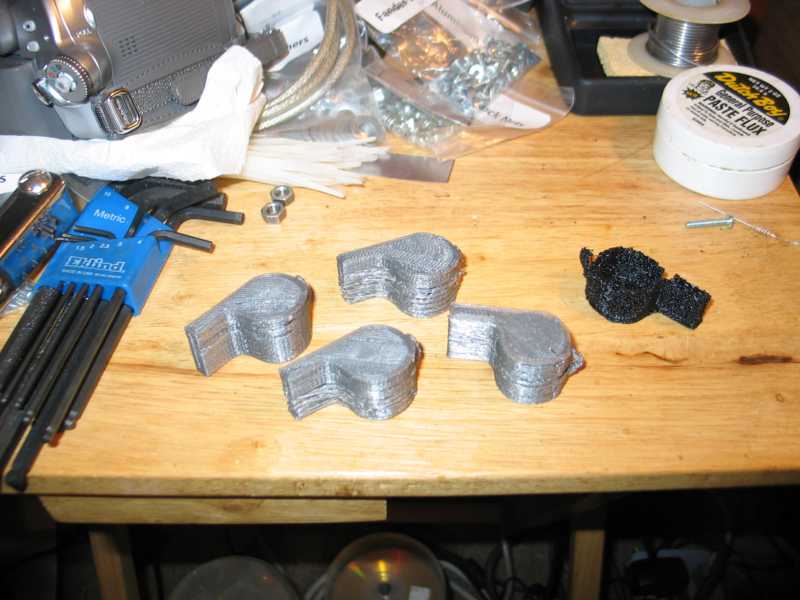
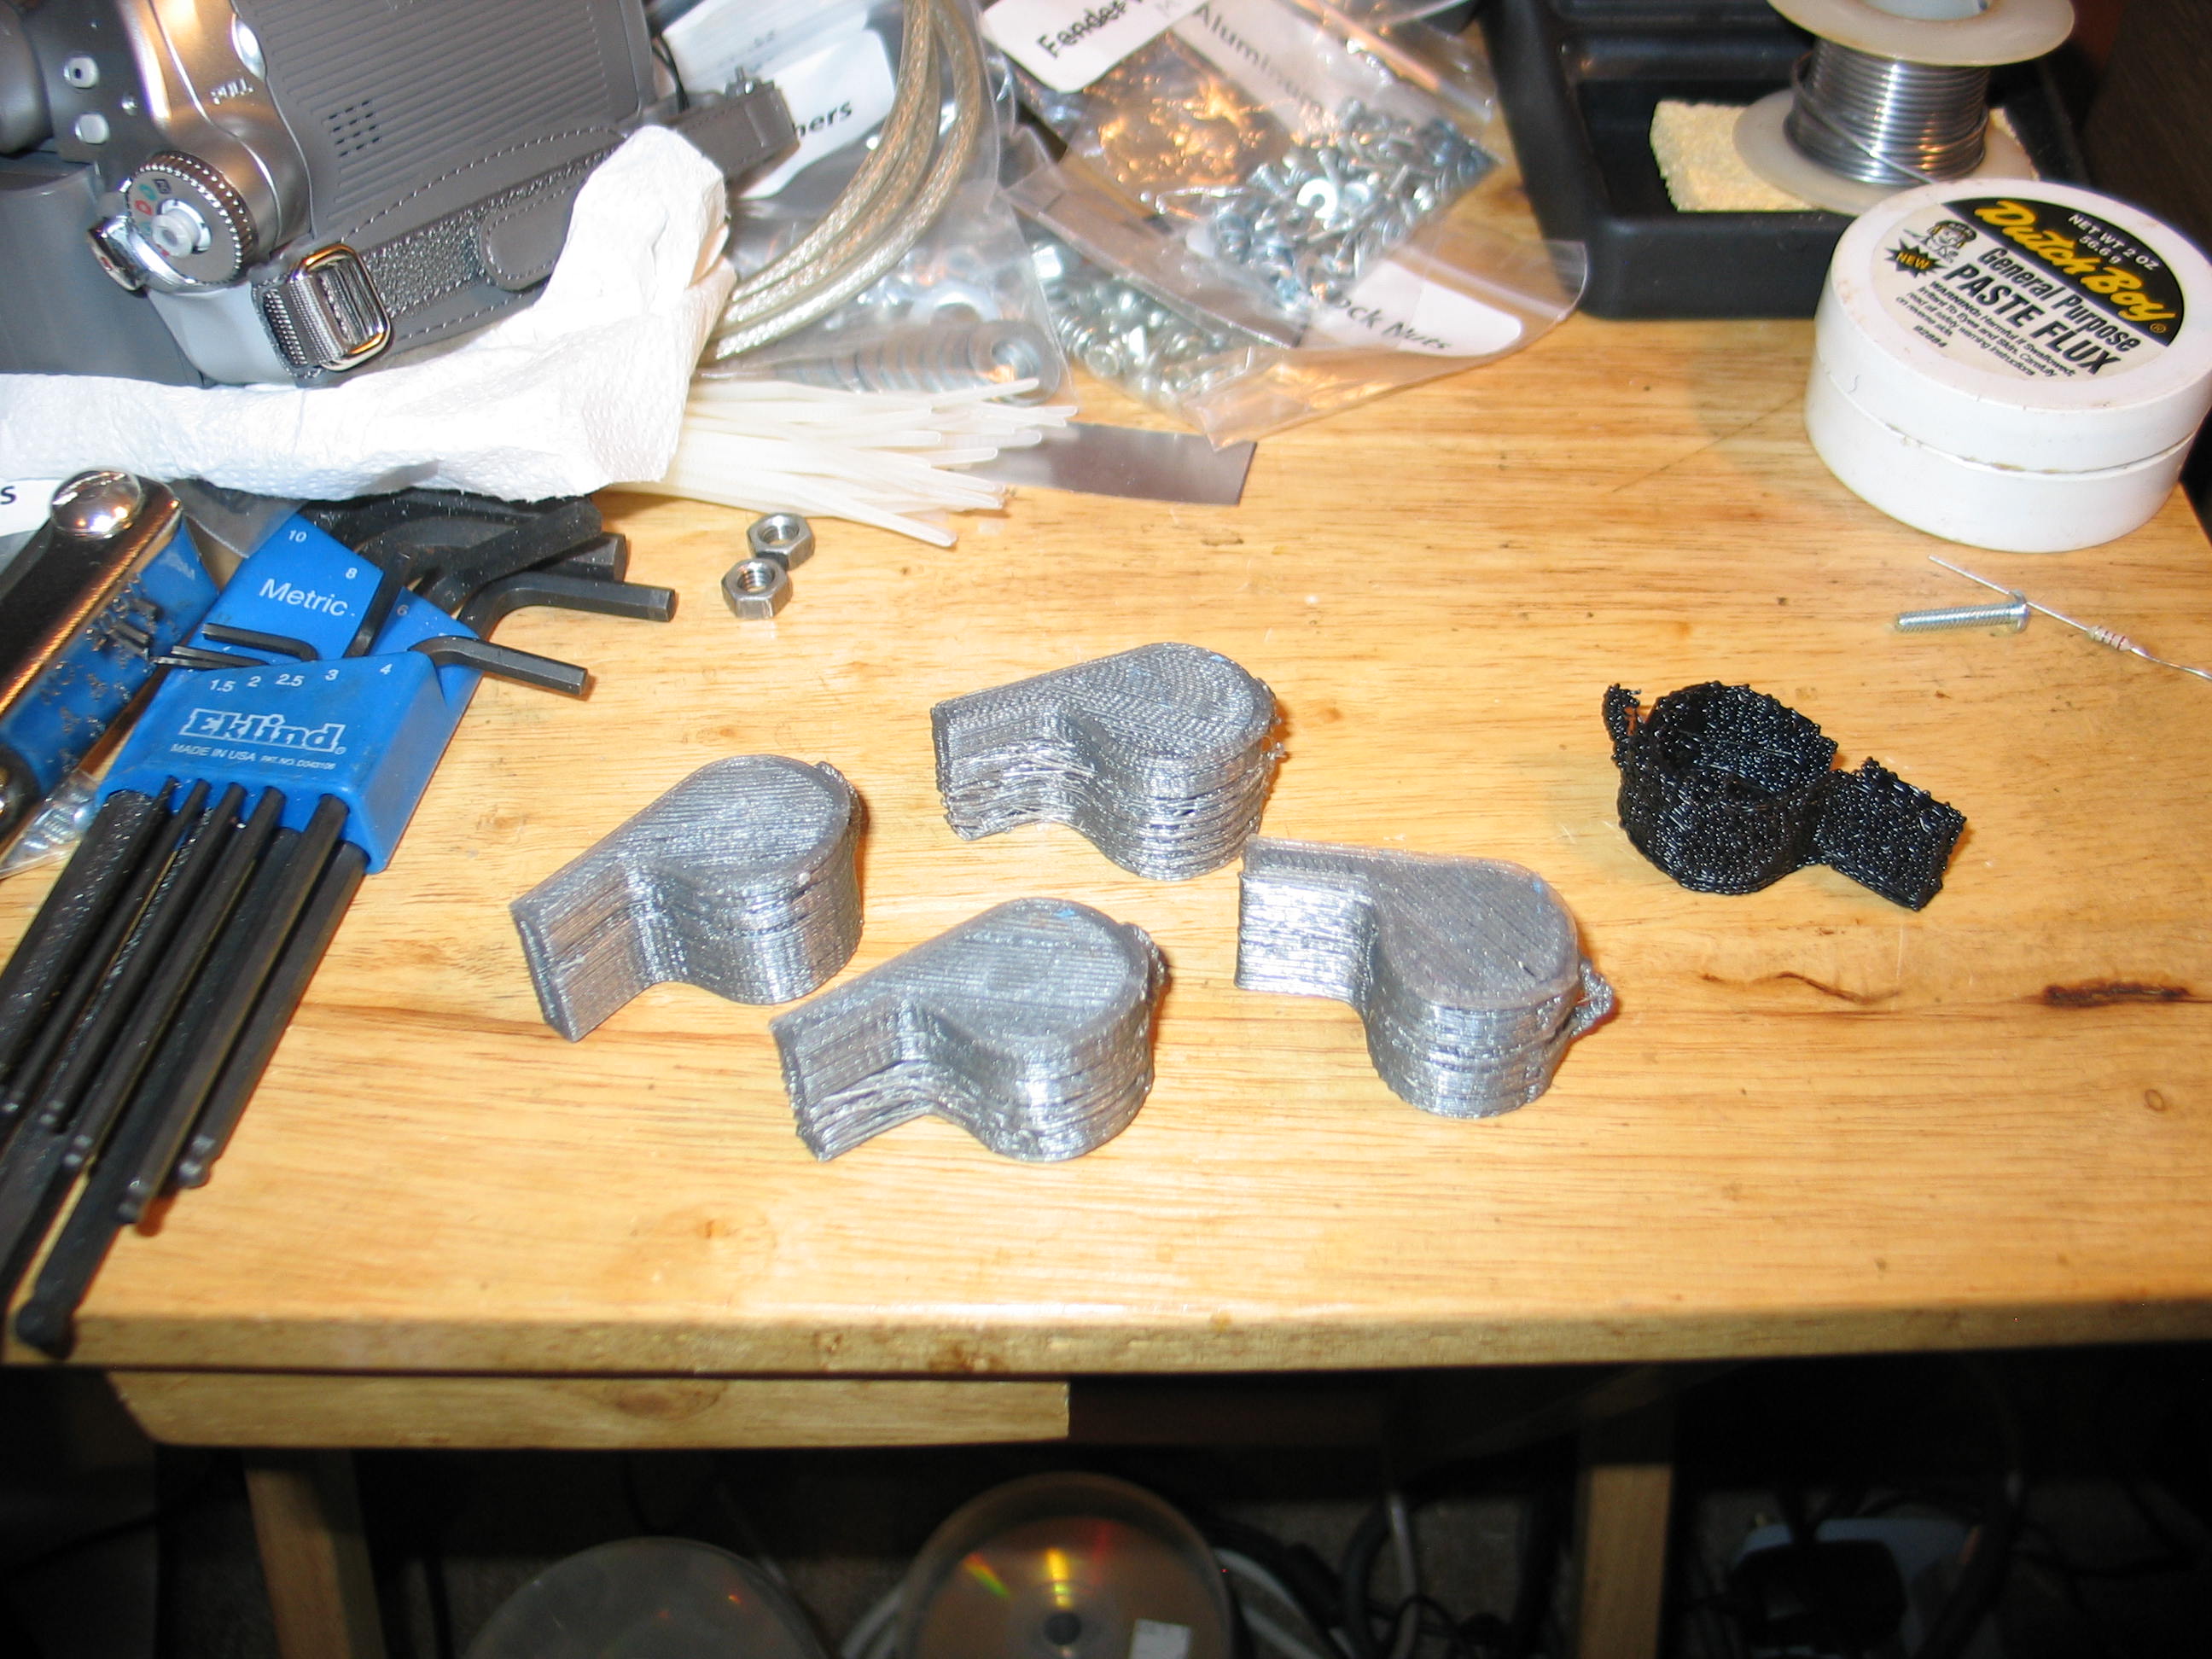
I printed several whistles, but haven't got a good one, yet. I was trying to increase the temperature to make it stick better, but it did better when I dropped it. The numbers on the screen aren't to be trusted unless you had some way to calibrate them.
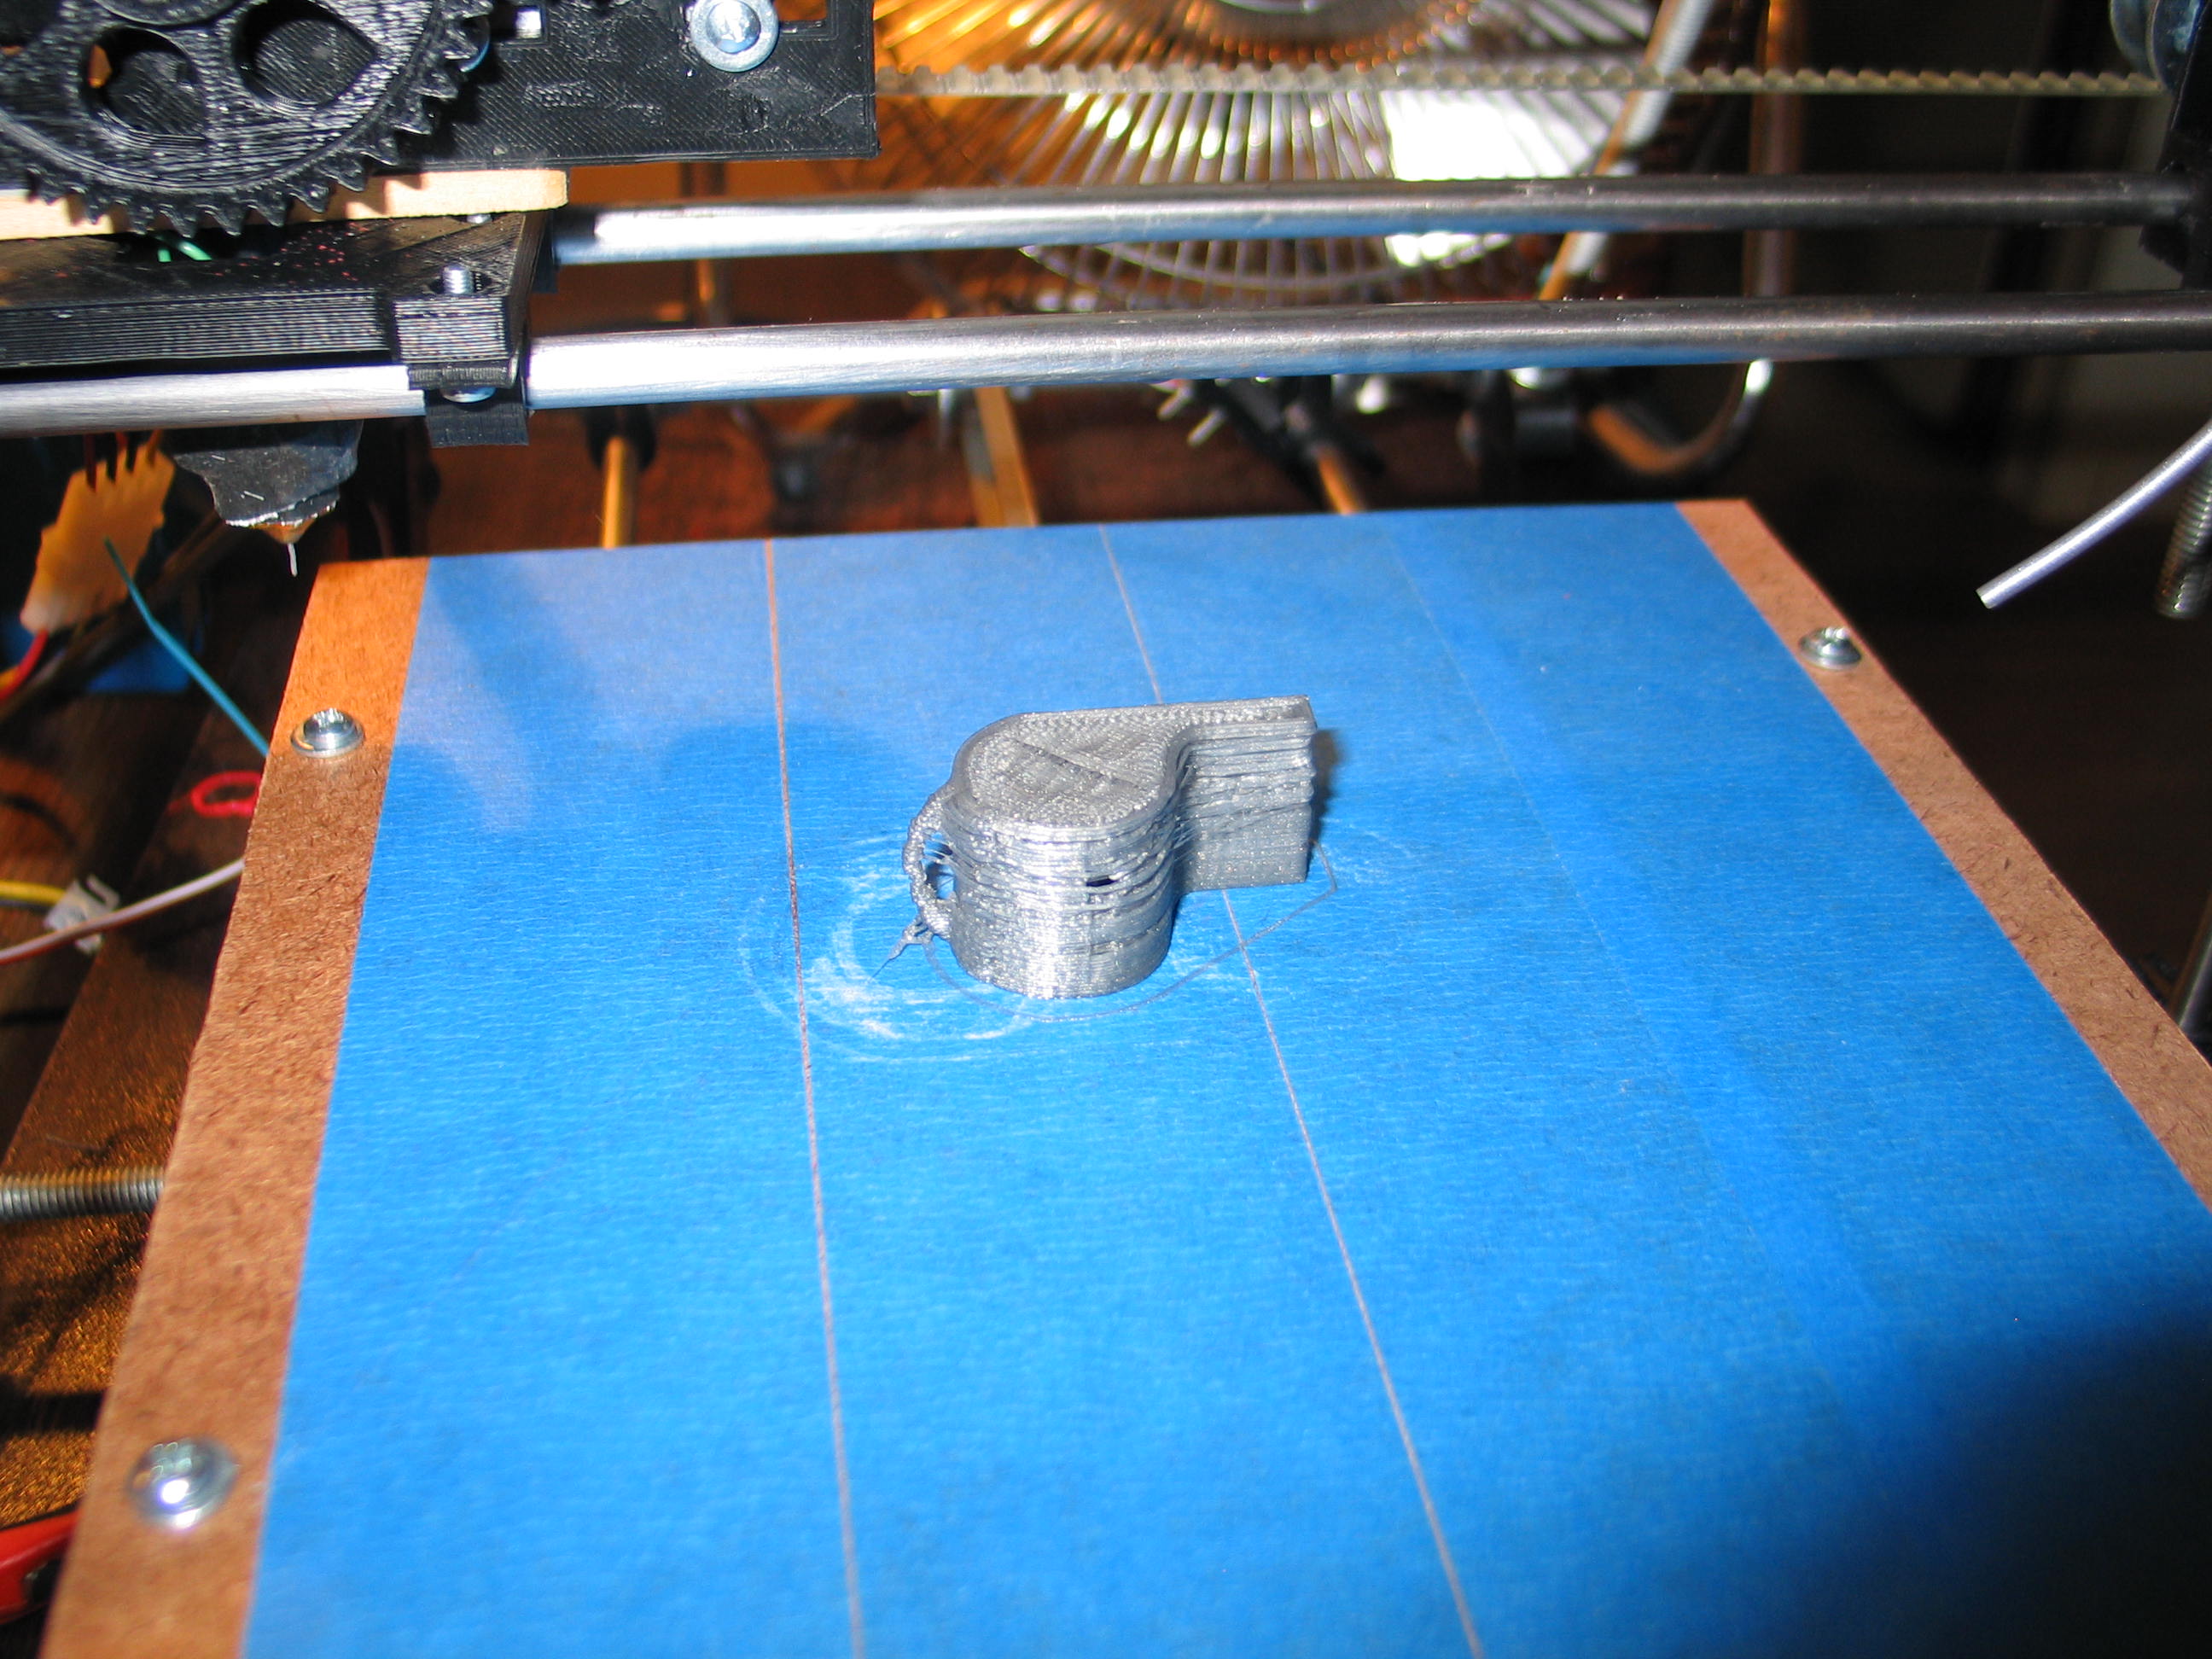
When the PLA is too hot, it curves up onto the nozzle. When it is doing better, it extrudes down.
I ran out of PLA pretty quick.
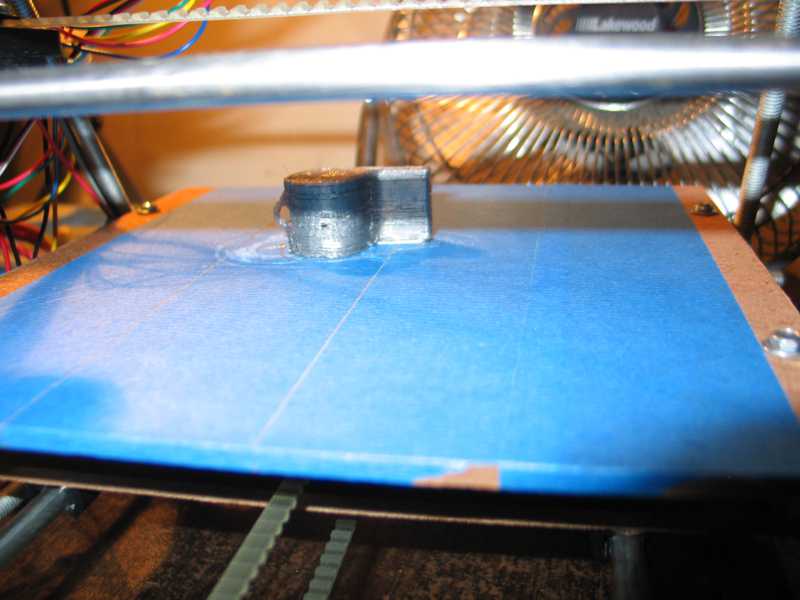
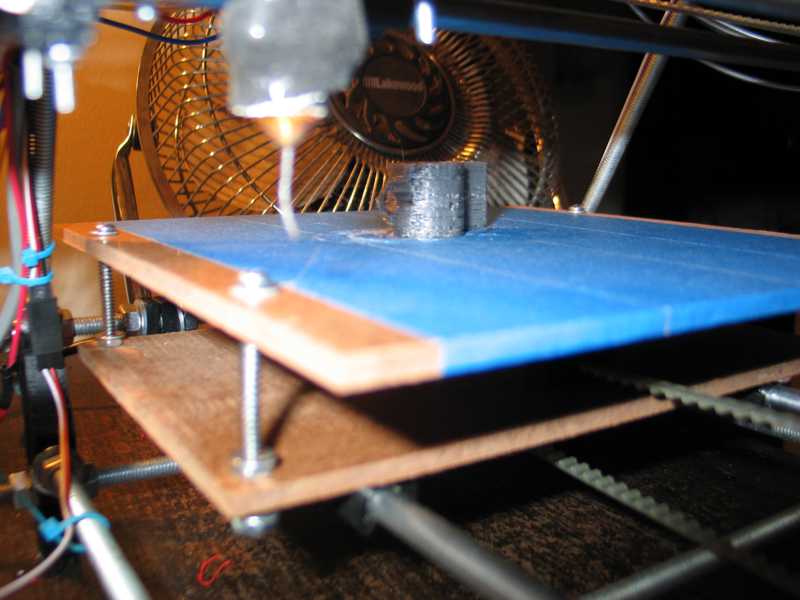
I had some black ABS, so I fired it up. Again, the numbers on the
screen were way too hot. It was smoking, at first, but that may have
been the lower temperature PLA burning out. The ABS seemed to fill
better...
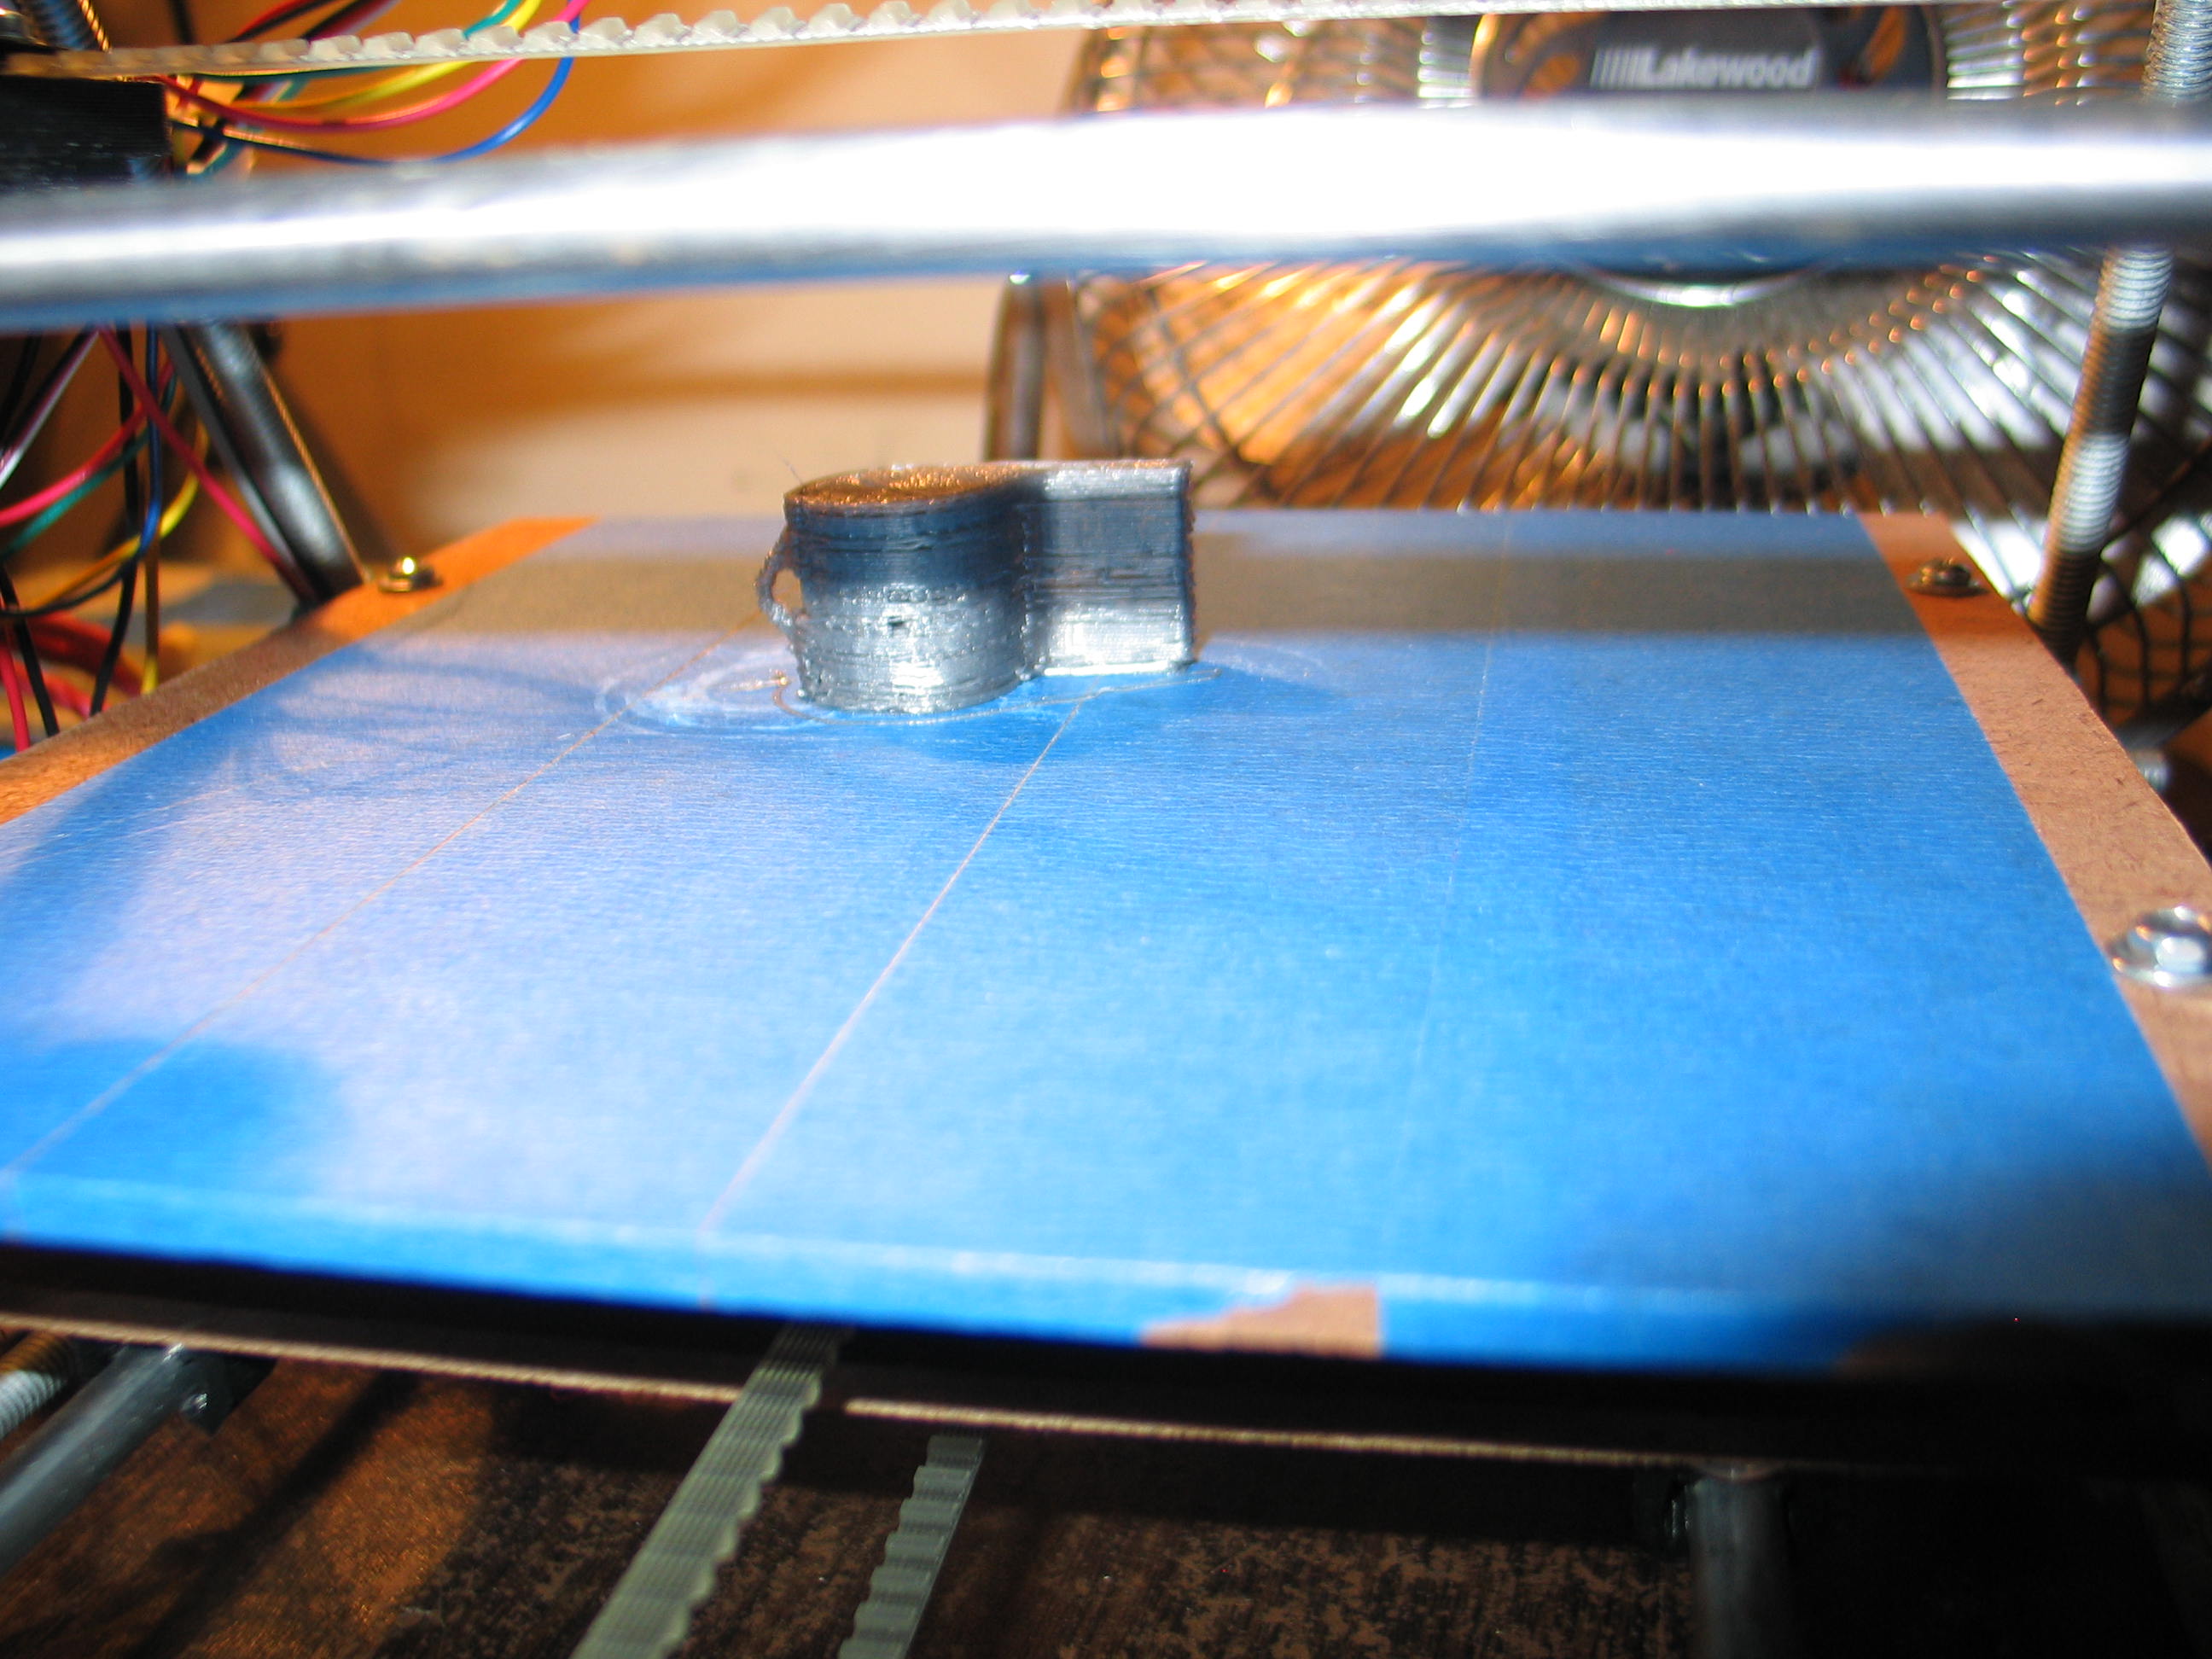
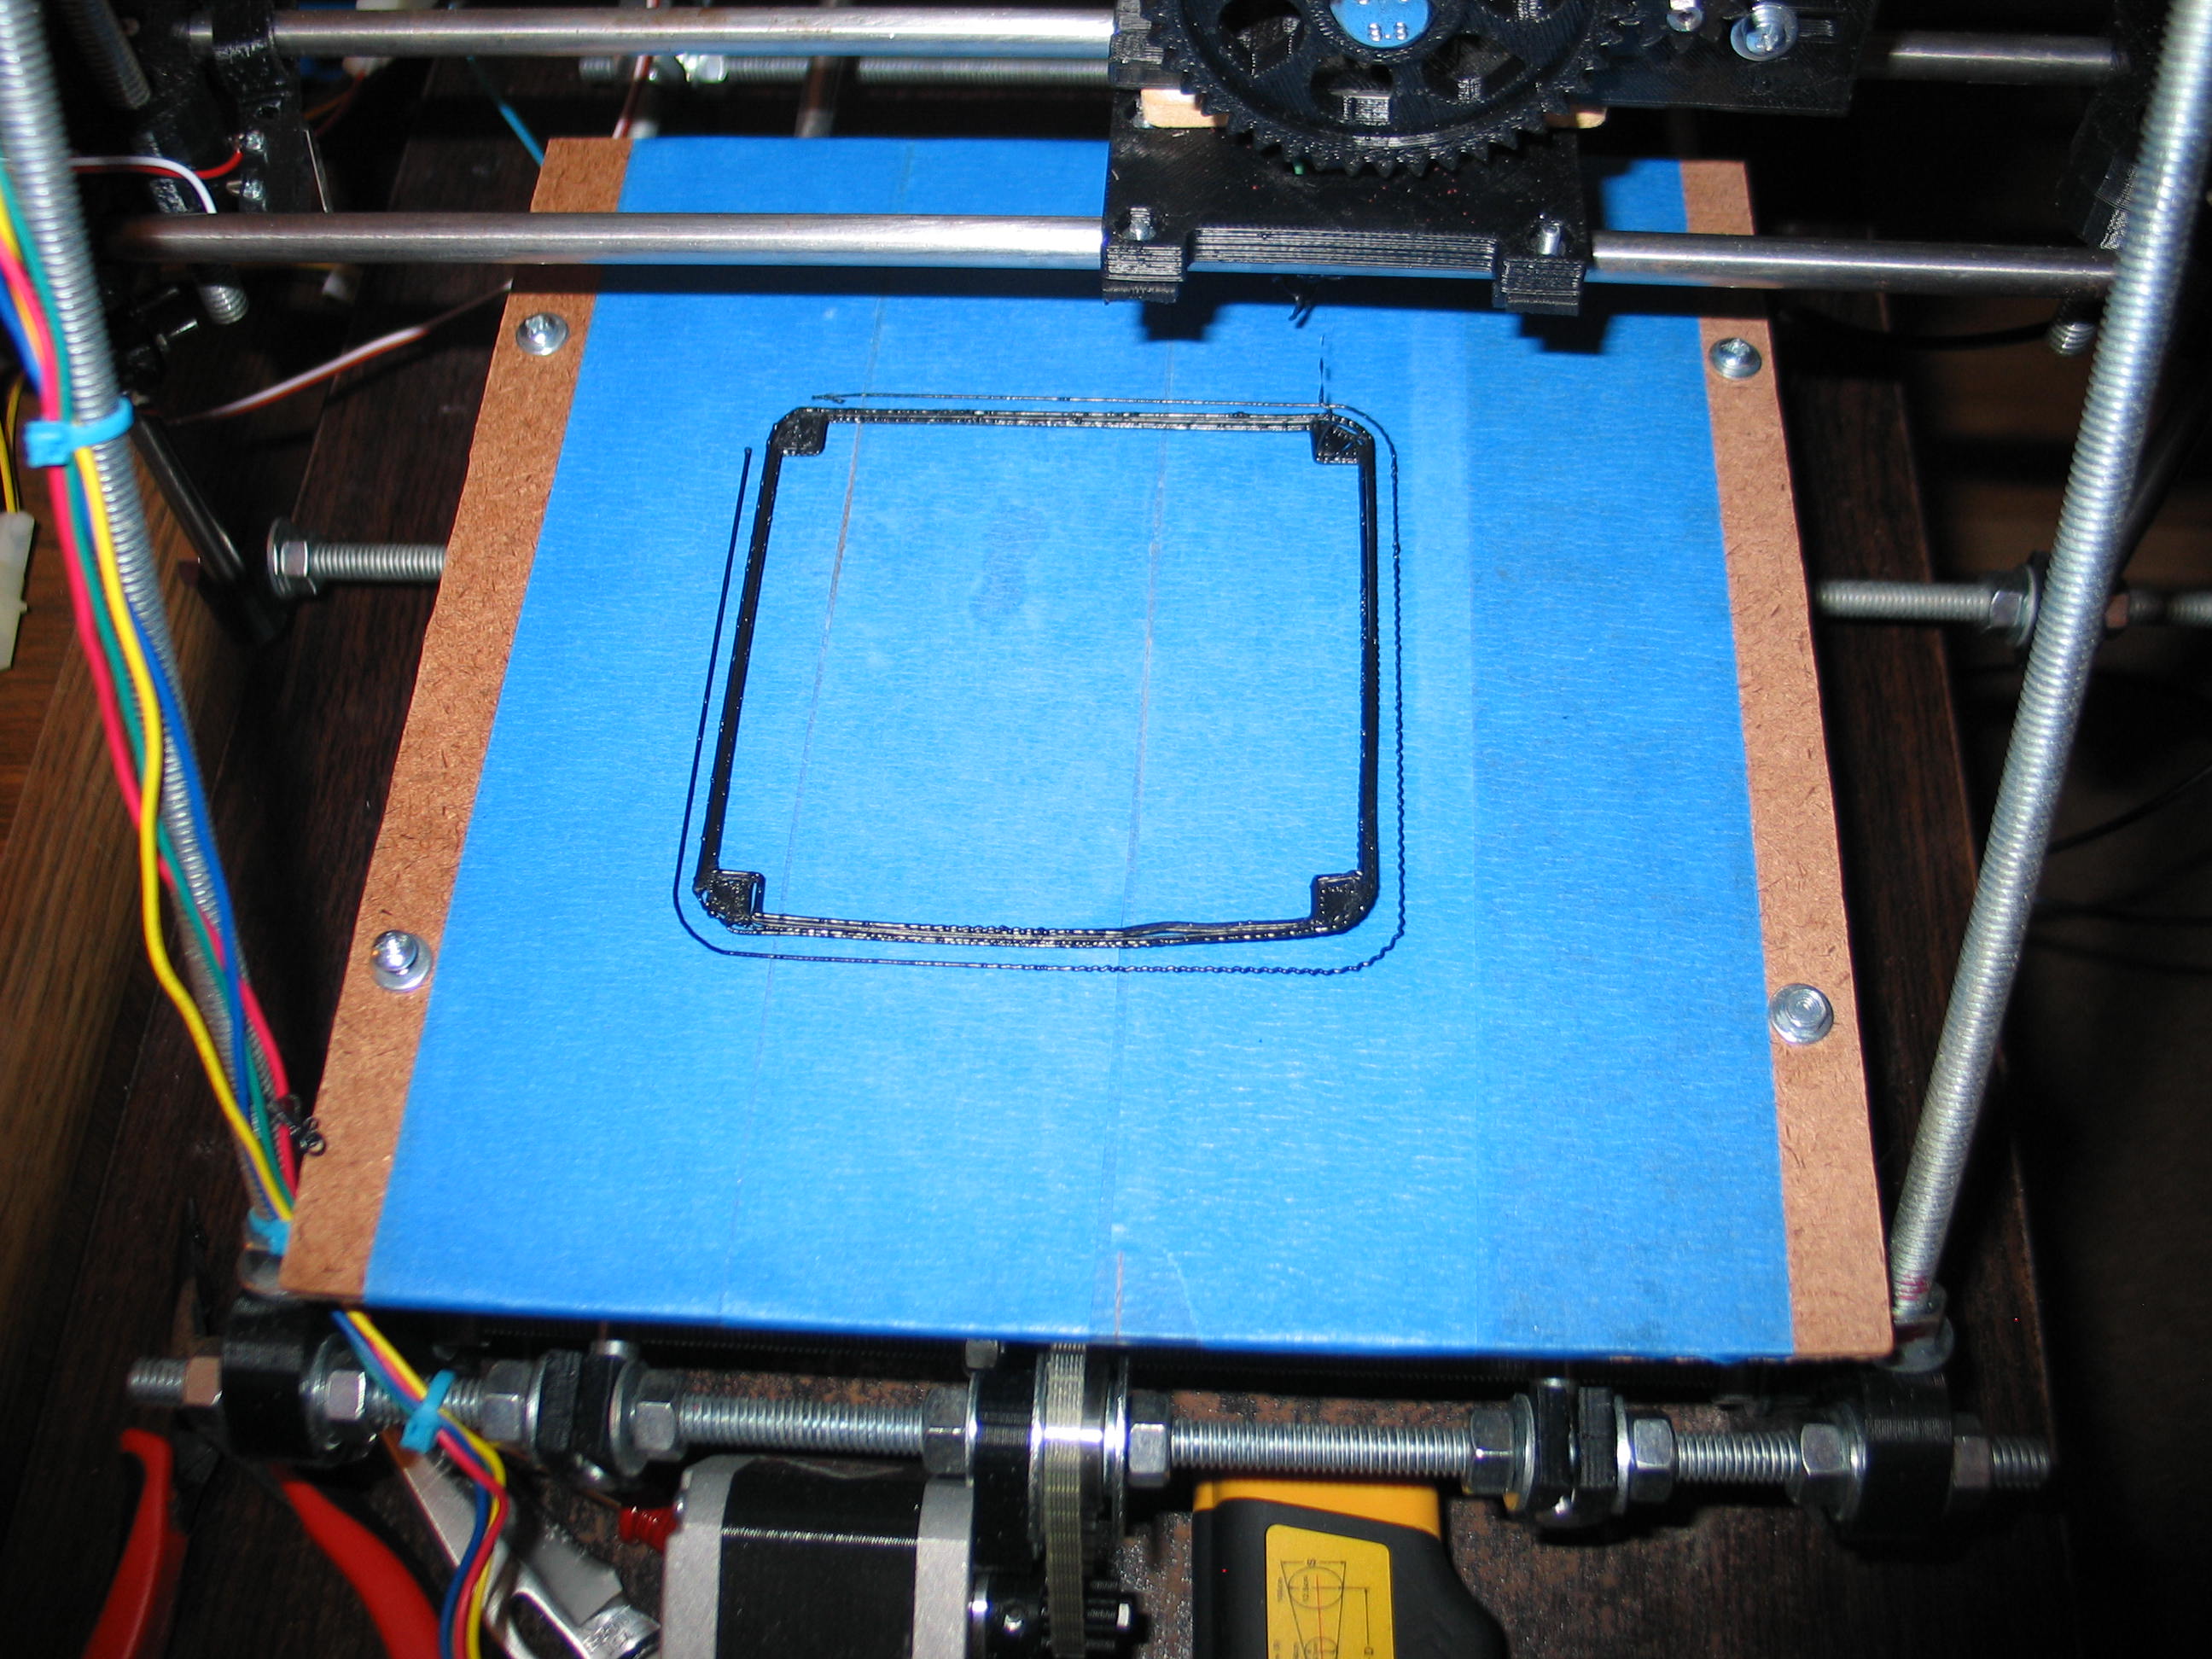
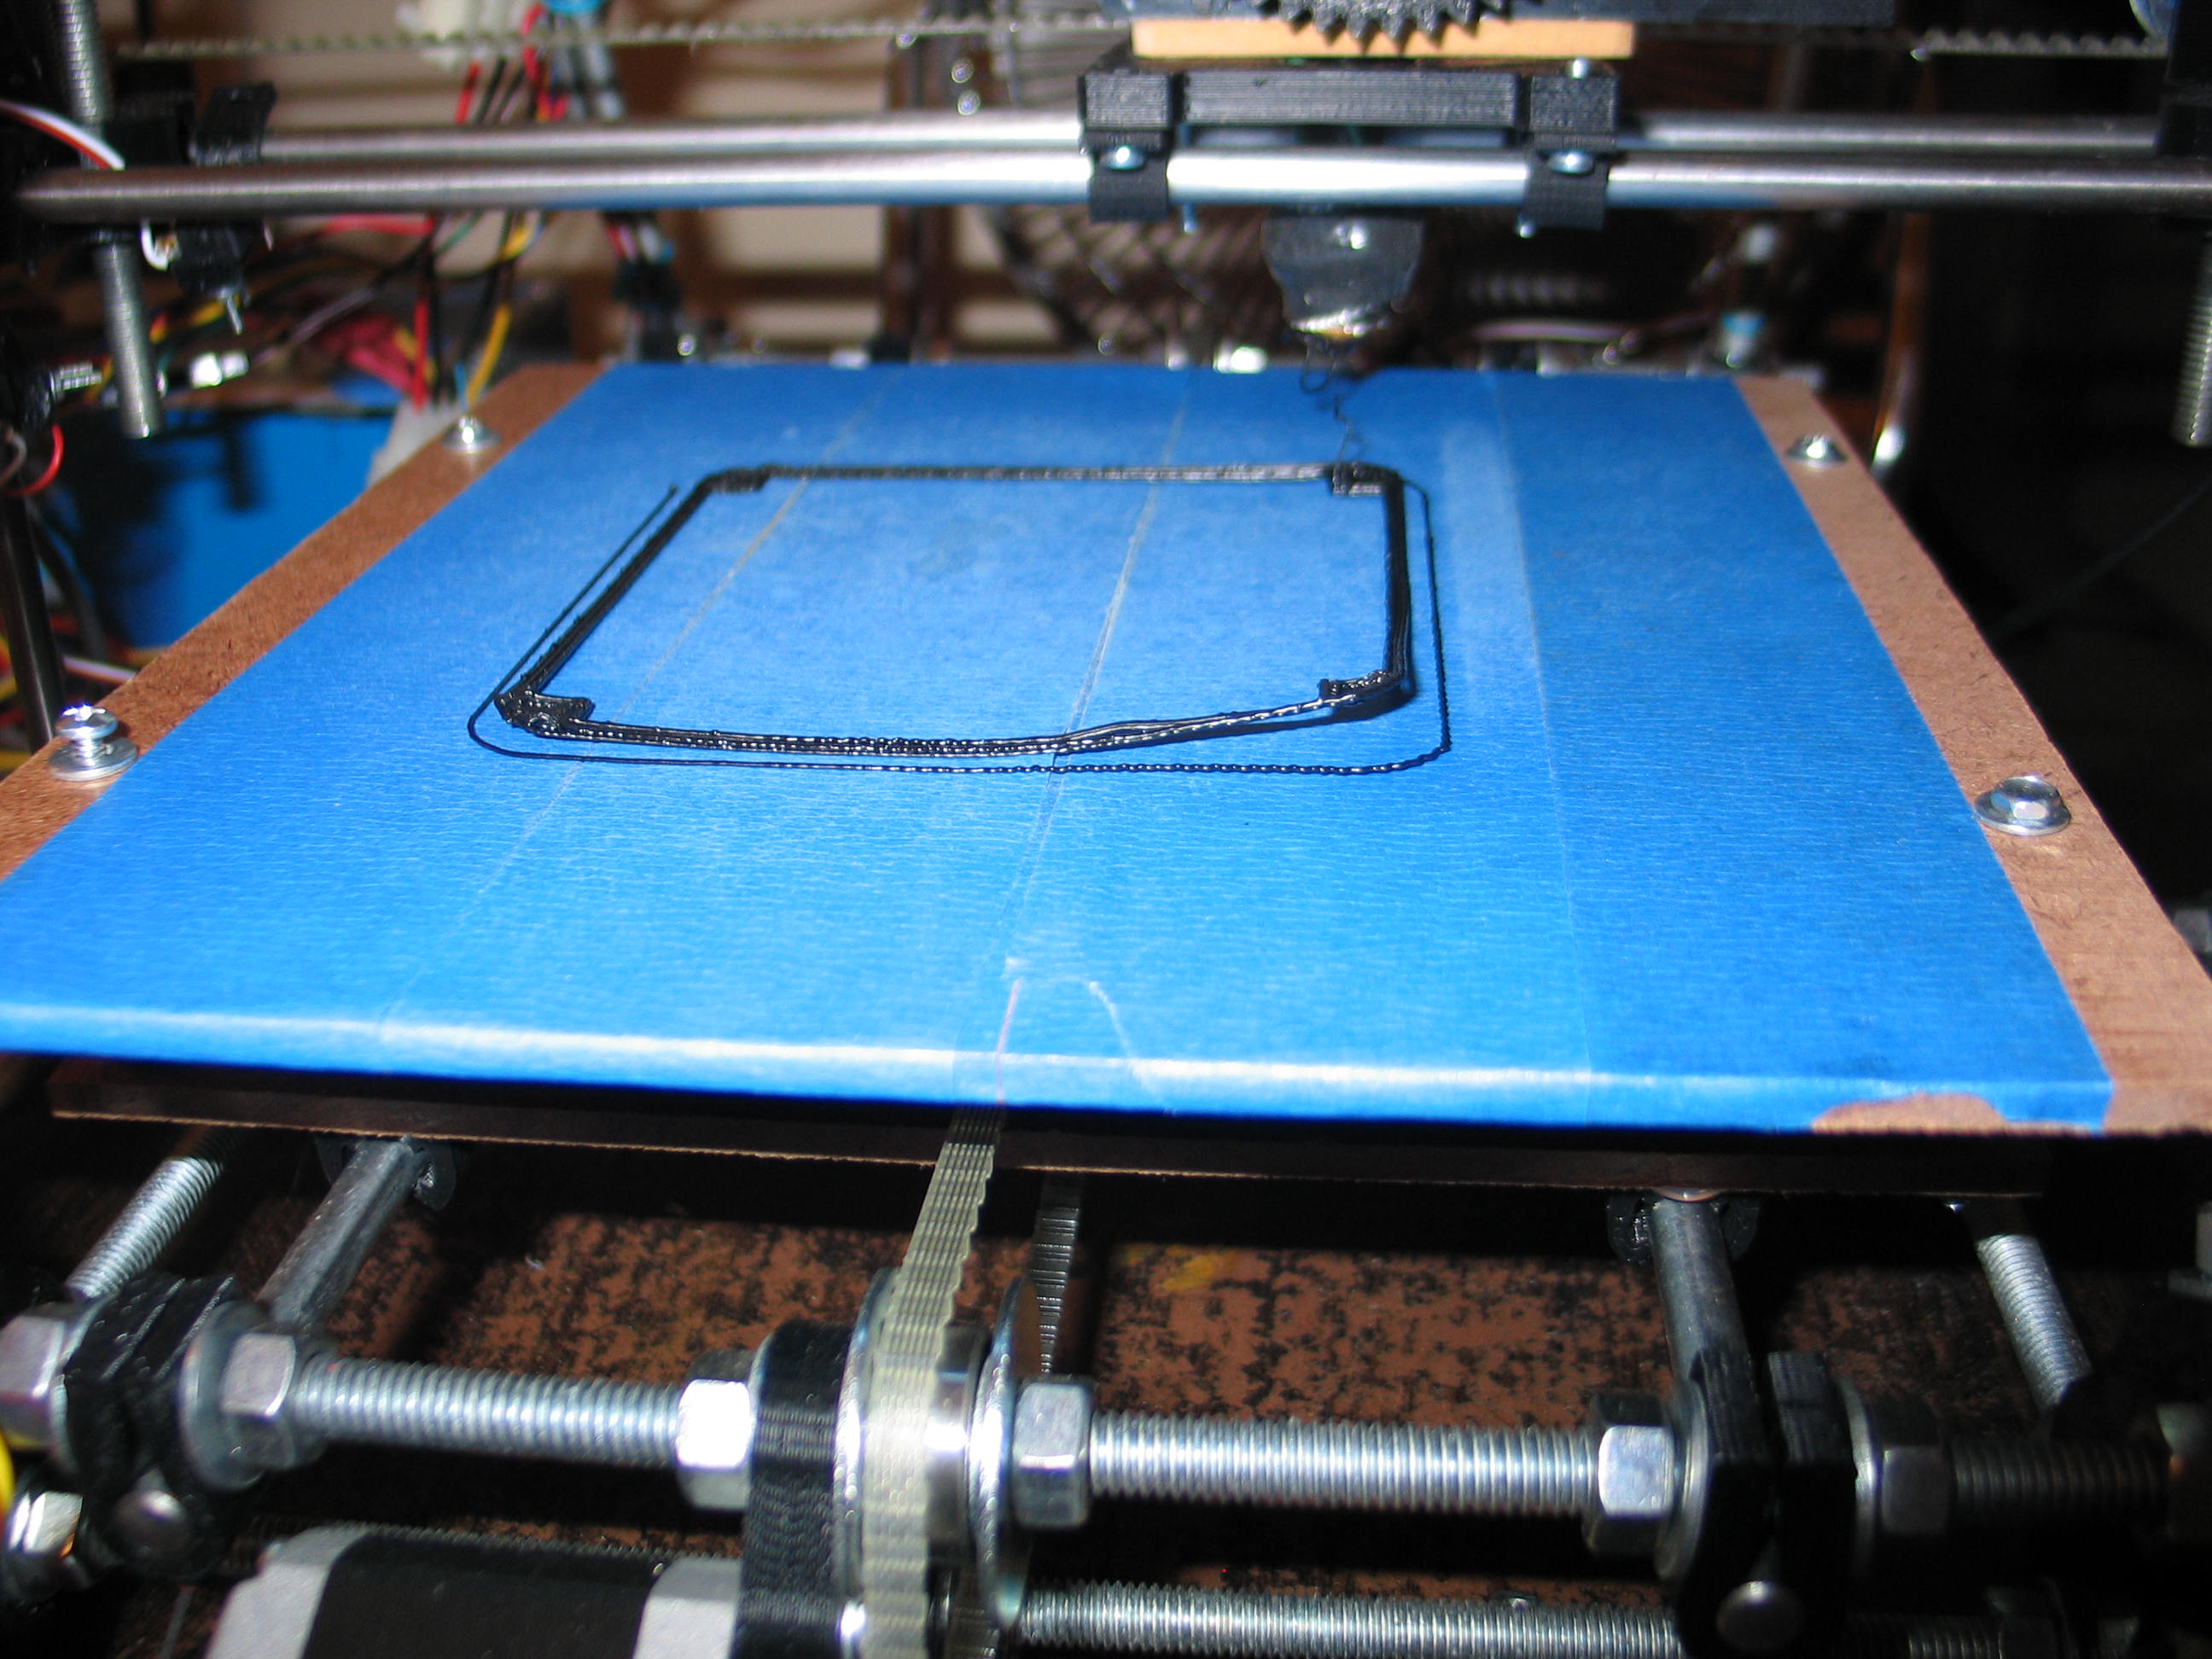
...but as it cools, it lets go of the 3M blue painters tape.
This is something I modeled. The idea is to print it as tall as needed and make some plates for the ends. It's a project box.
It will have to wait for the Heated Build Platform I ordered from Ebay seller three3three3.
$39.99 delivered in the USA.
Here is the wall of shame.
$39.99 delivered in the USA.
Here is the wall of shame.
I need a tutorial on tweaking!