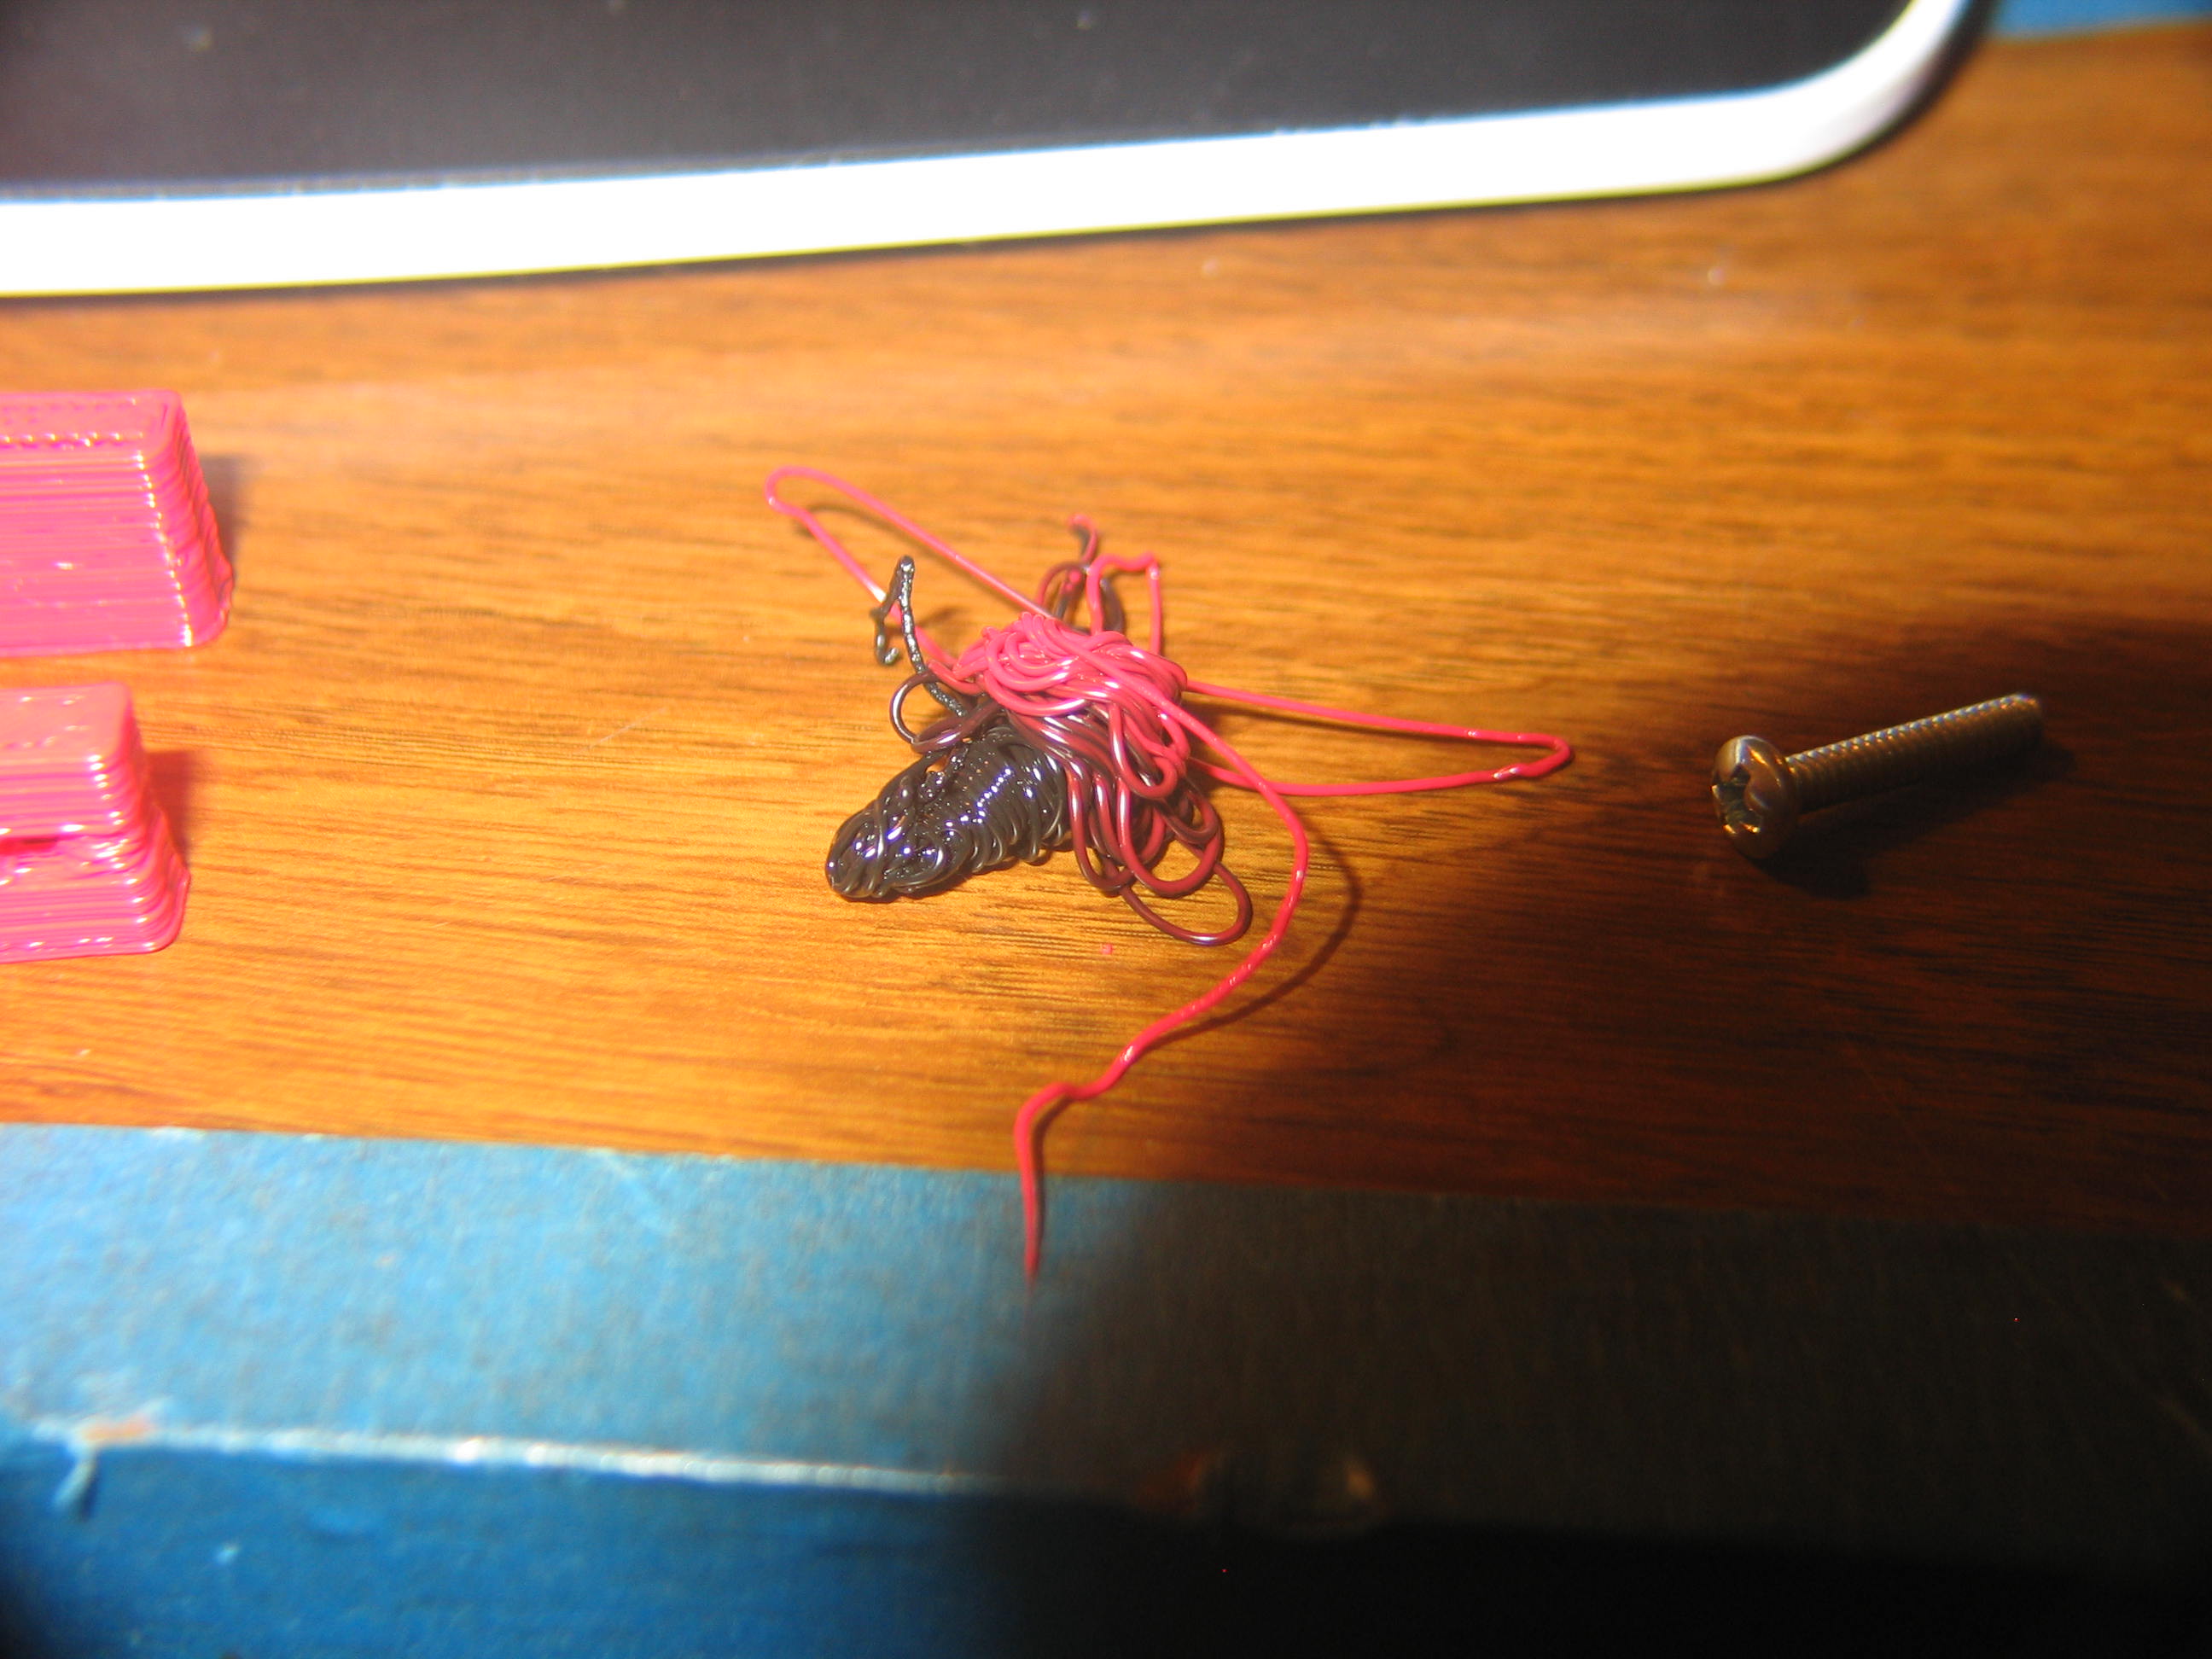
I was playing around with the ABS and tried printing some earrings. The settings really need to be tweaked! I decided to put ABS on hold until I get the heated platform installed.
The PLA arrived from Ultimachine. Well packed and sealed in a plastic bag with desiccant. I also ordered a spare Pololu driver.
I
was worried about switching from ABS to the colder PLA. I heated the
extruder to ABS temperature and gave the extruder the extract command
until the filament came out. I inserted the PLA, holding it in under pressure and
hit the extrude button until it squirted.
The two seemed to blend and after a few minutes it came out red. I reduced the temperature to 185C. I still got a black spot here and there for a while.
The two seemed to blend and after a few minutes it came out red. I reduced the temperature to 185C. I still got a black spot here and there for a while.
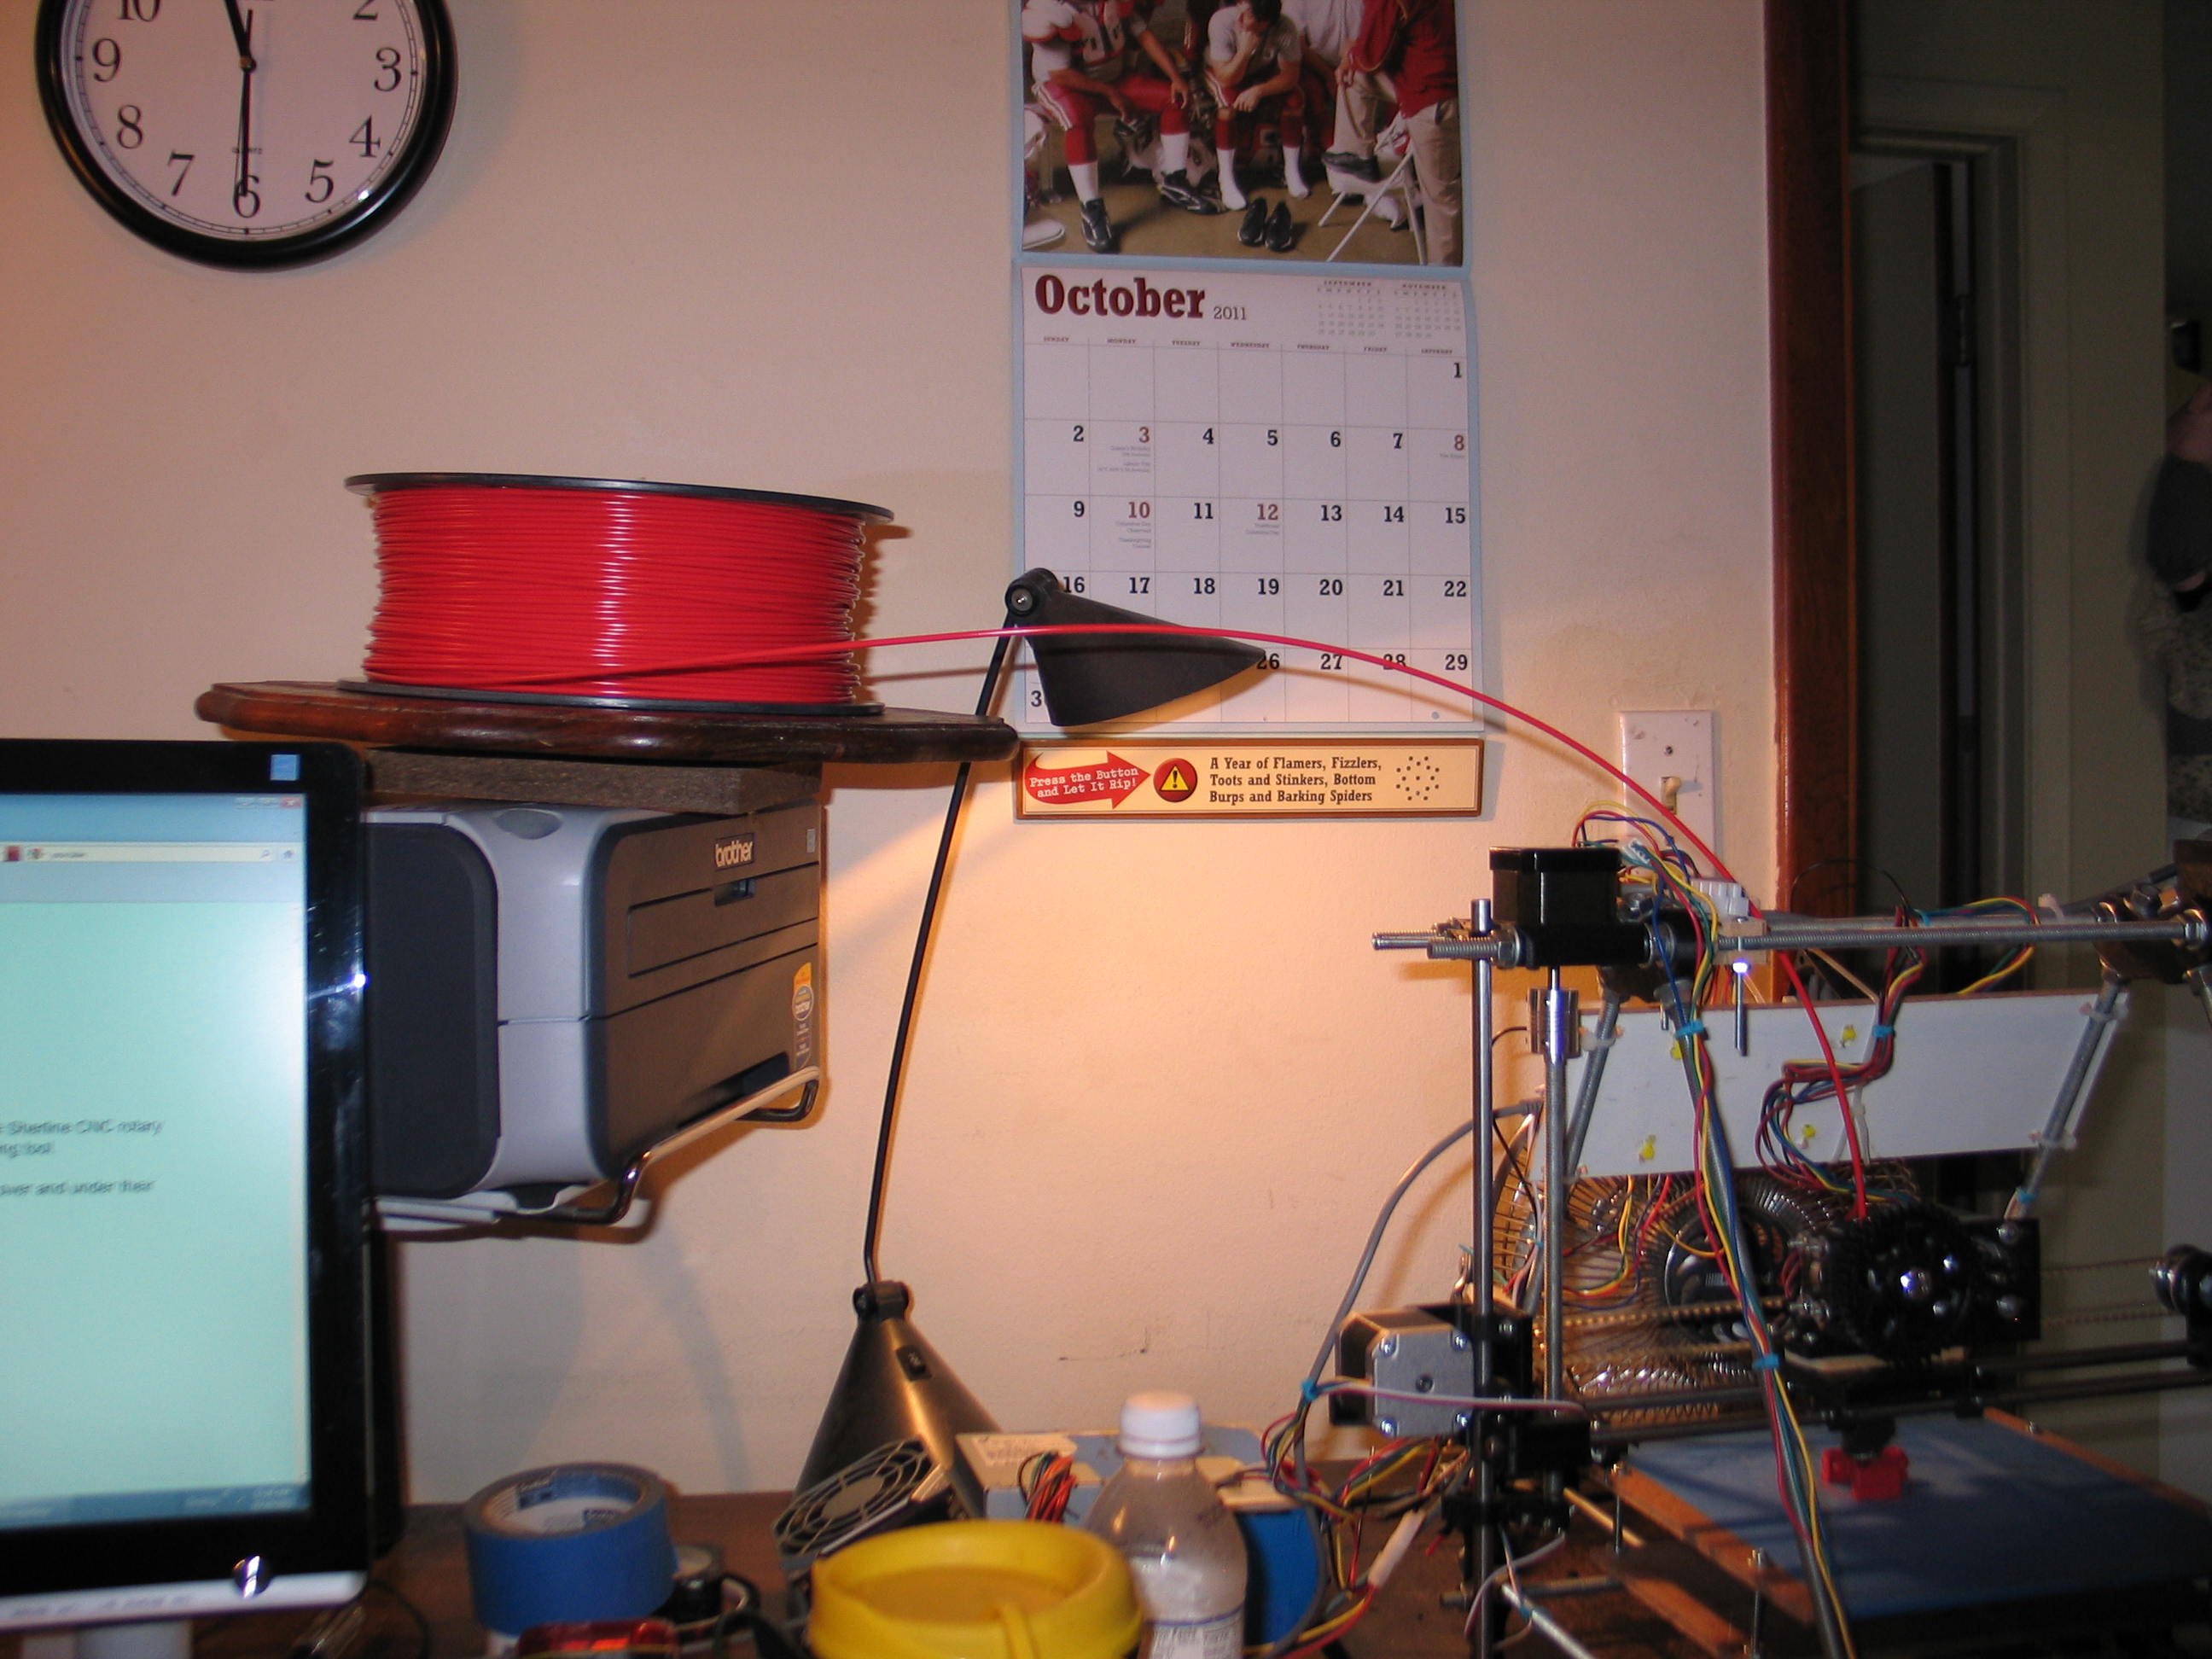
The
spool of PLA sitting on my
wifes lazy susan. I was amazed at how well this worked. Before this I was plagued by twisting filament.
I ordered a lazy susan bearing from ebay for less than $4, delivered. Maybe it will get here before she catches on!

I ordered a lazy susan bearing from ebay for less than $4, delivered. Maybe it will get here before she catches on!
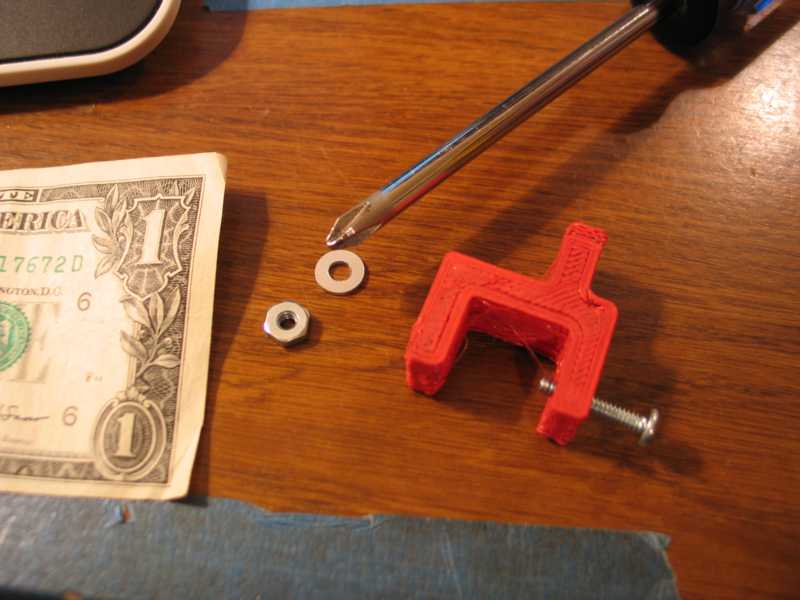
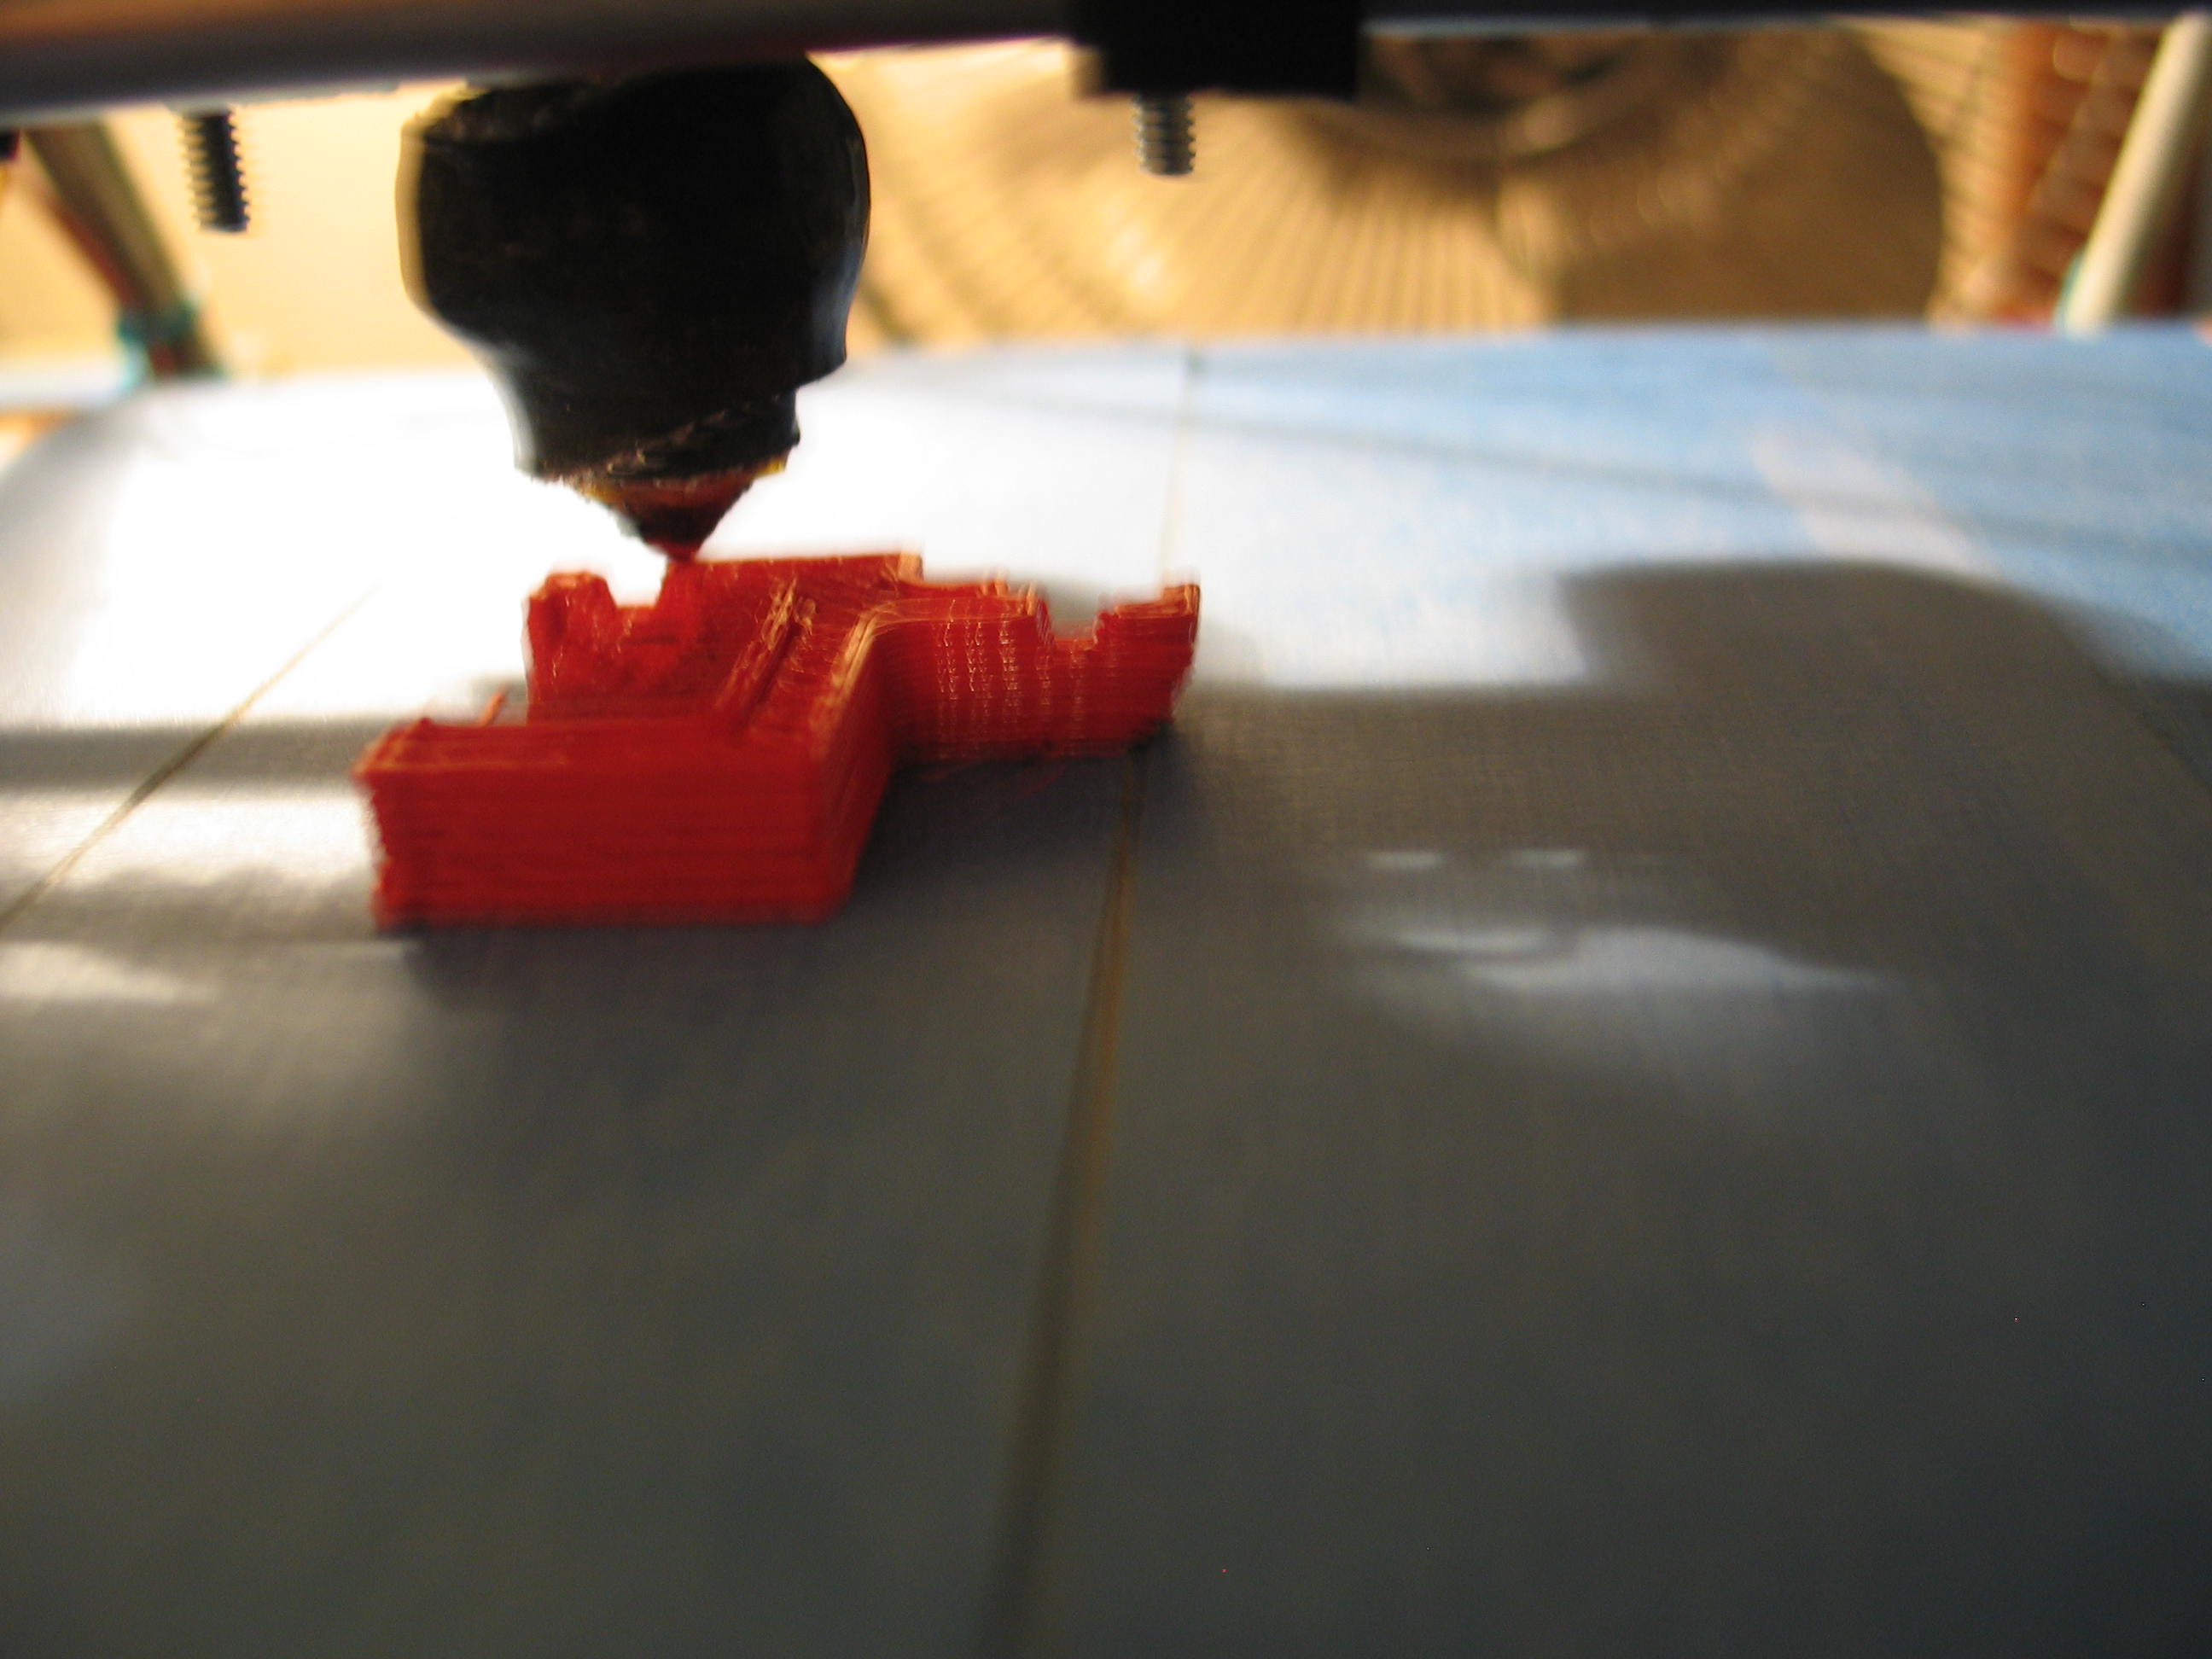
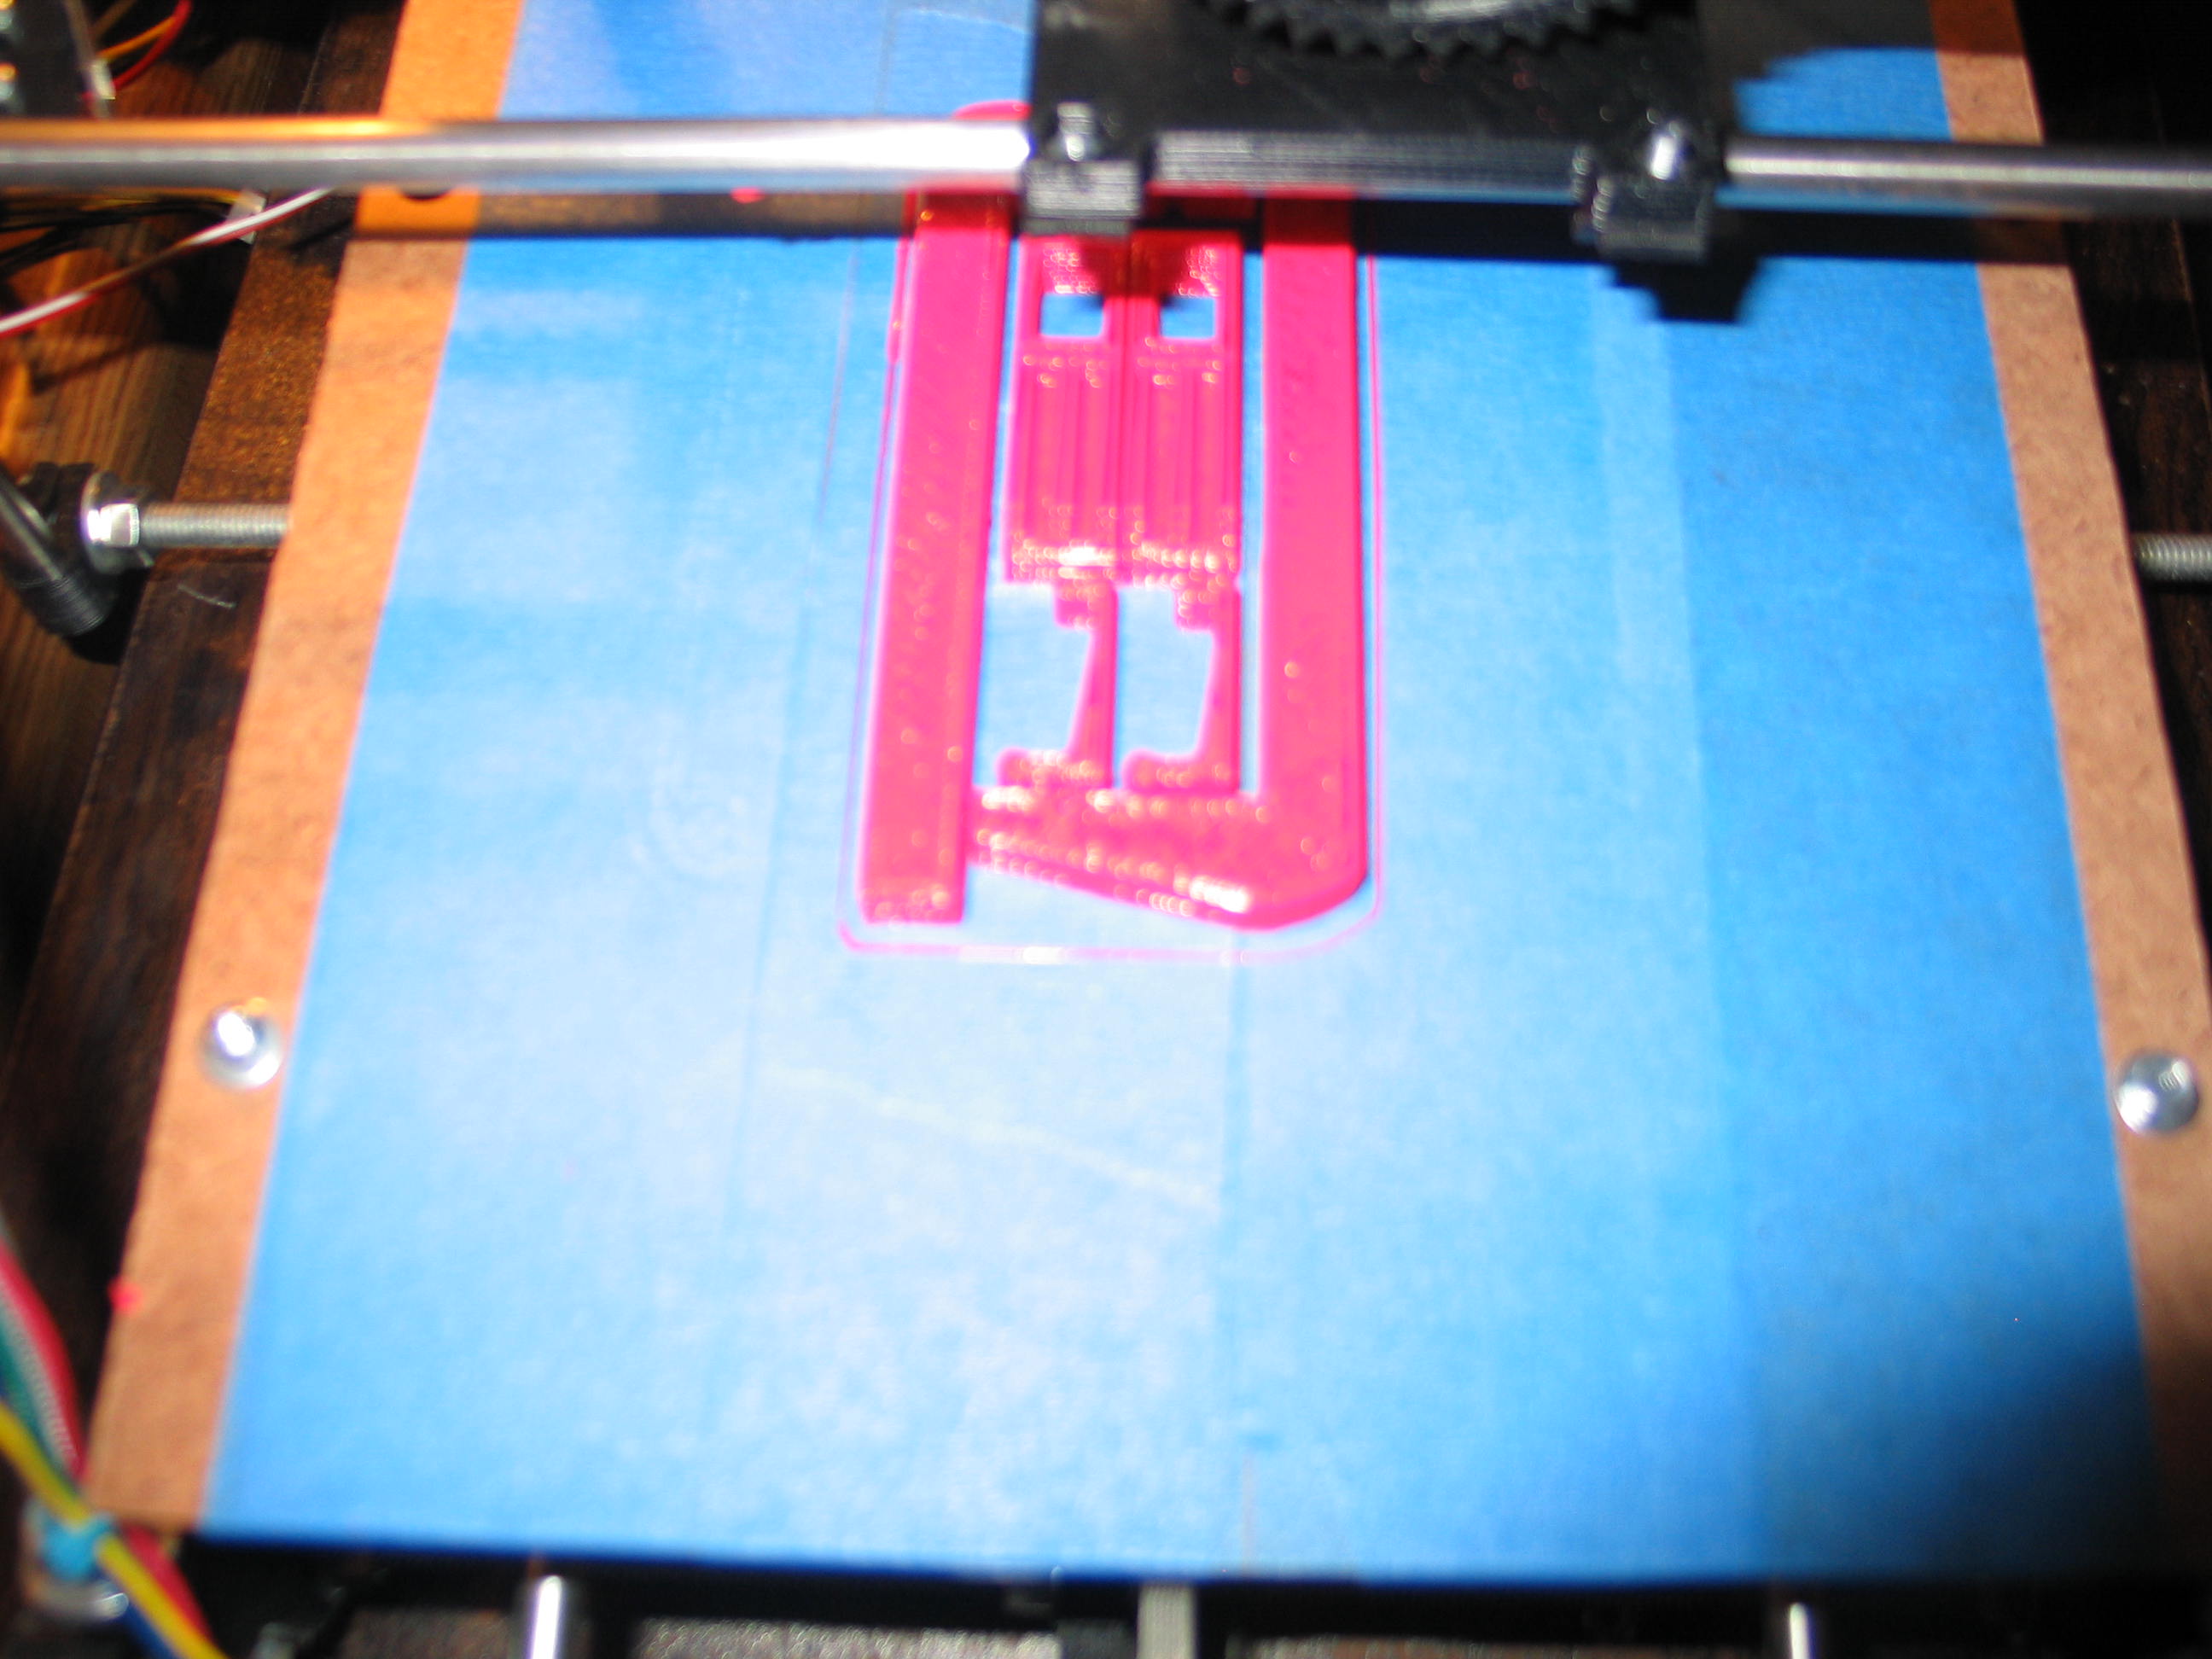
Time
to tweak. I chose a small part so it would complete fast and it
wouldn't eat all my filament. The part is a Clip-on
Z-Stop Companion from Thingiverse.
I changed it around a little to fit my machine, and added filets in place of the sharp corners. I also omited the round end for the screw.

The bottom looked better because it tended to flow together.
I changed it around a little to fit my machine, and added filets in place of the sharp corners. I also omited the round end for the screw.
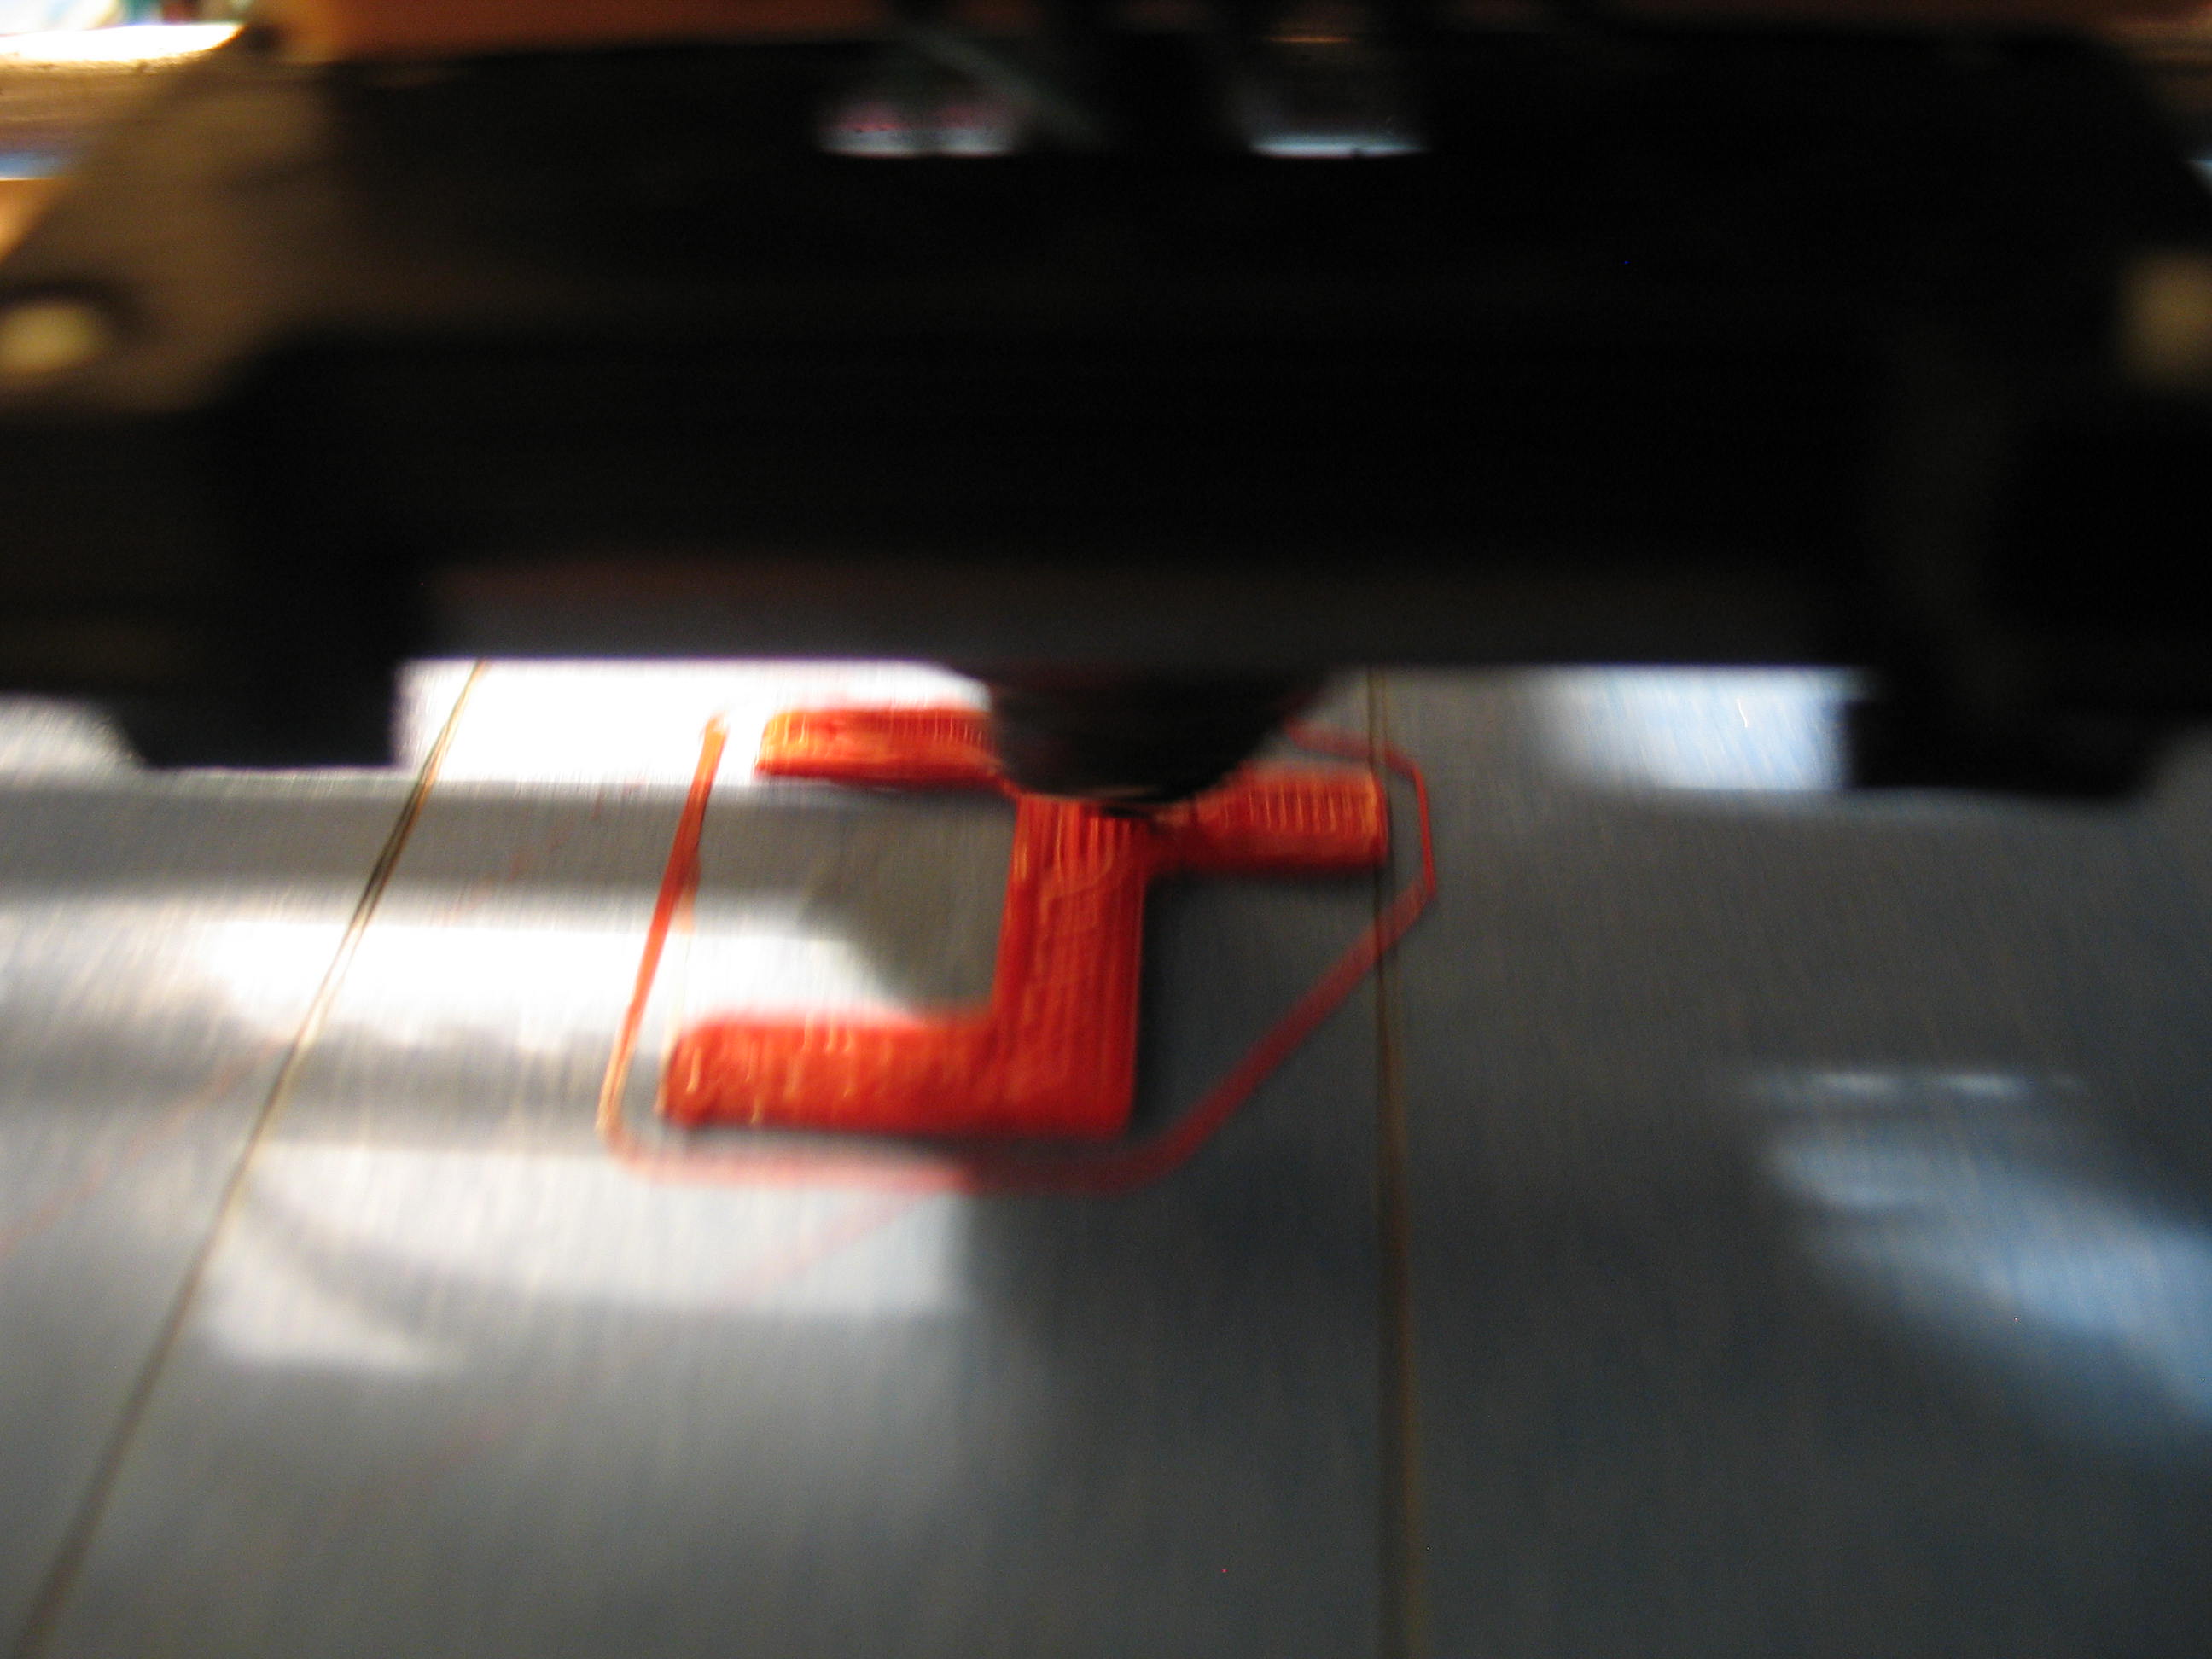
The
settings were screwed up from previous attempts at tweaking. I neglected
to save the default settings before I messed with it. This was printed
at .6mm layer height. Kind of looks like Ramen noodles.

The bottom looked better because it tended to flow together.
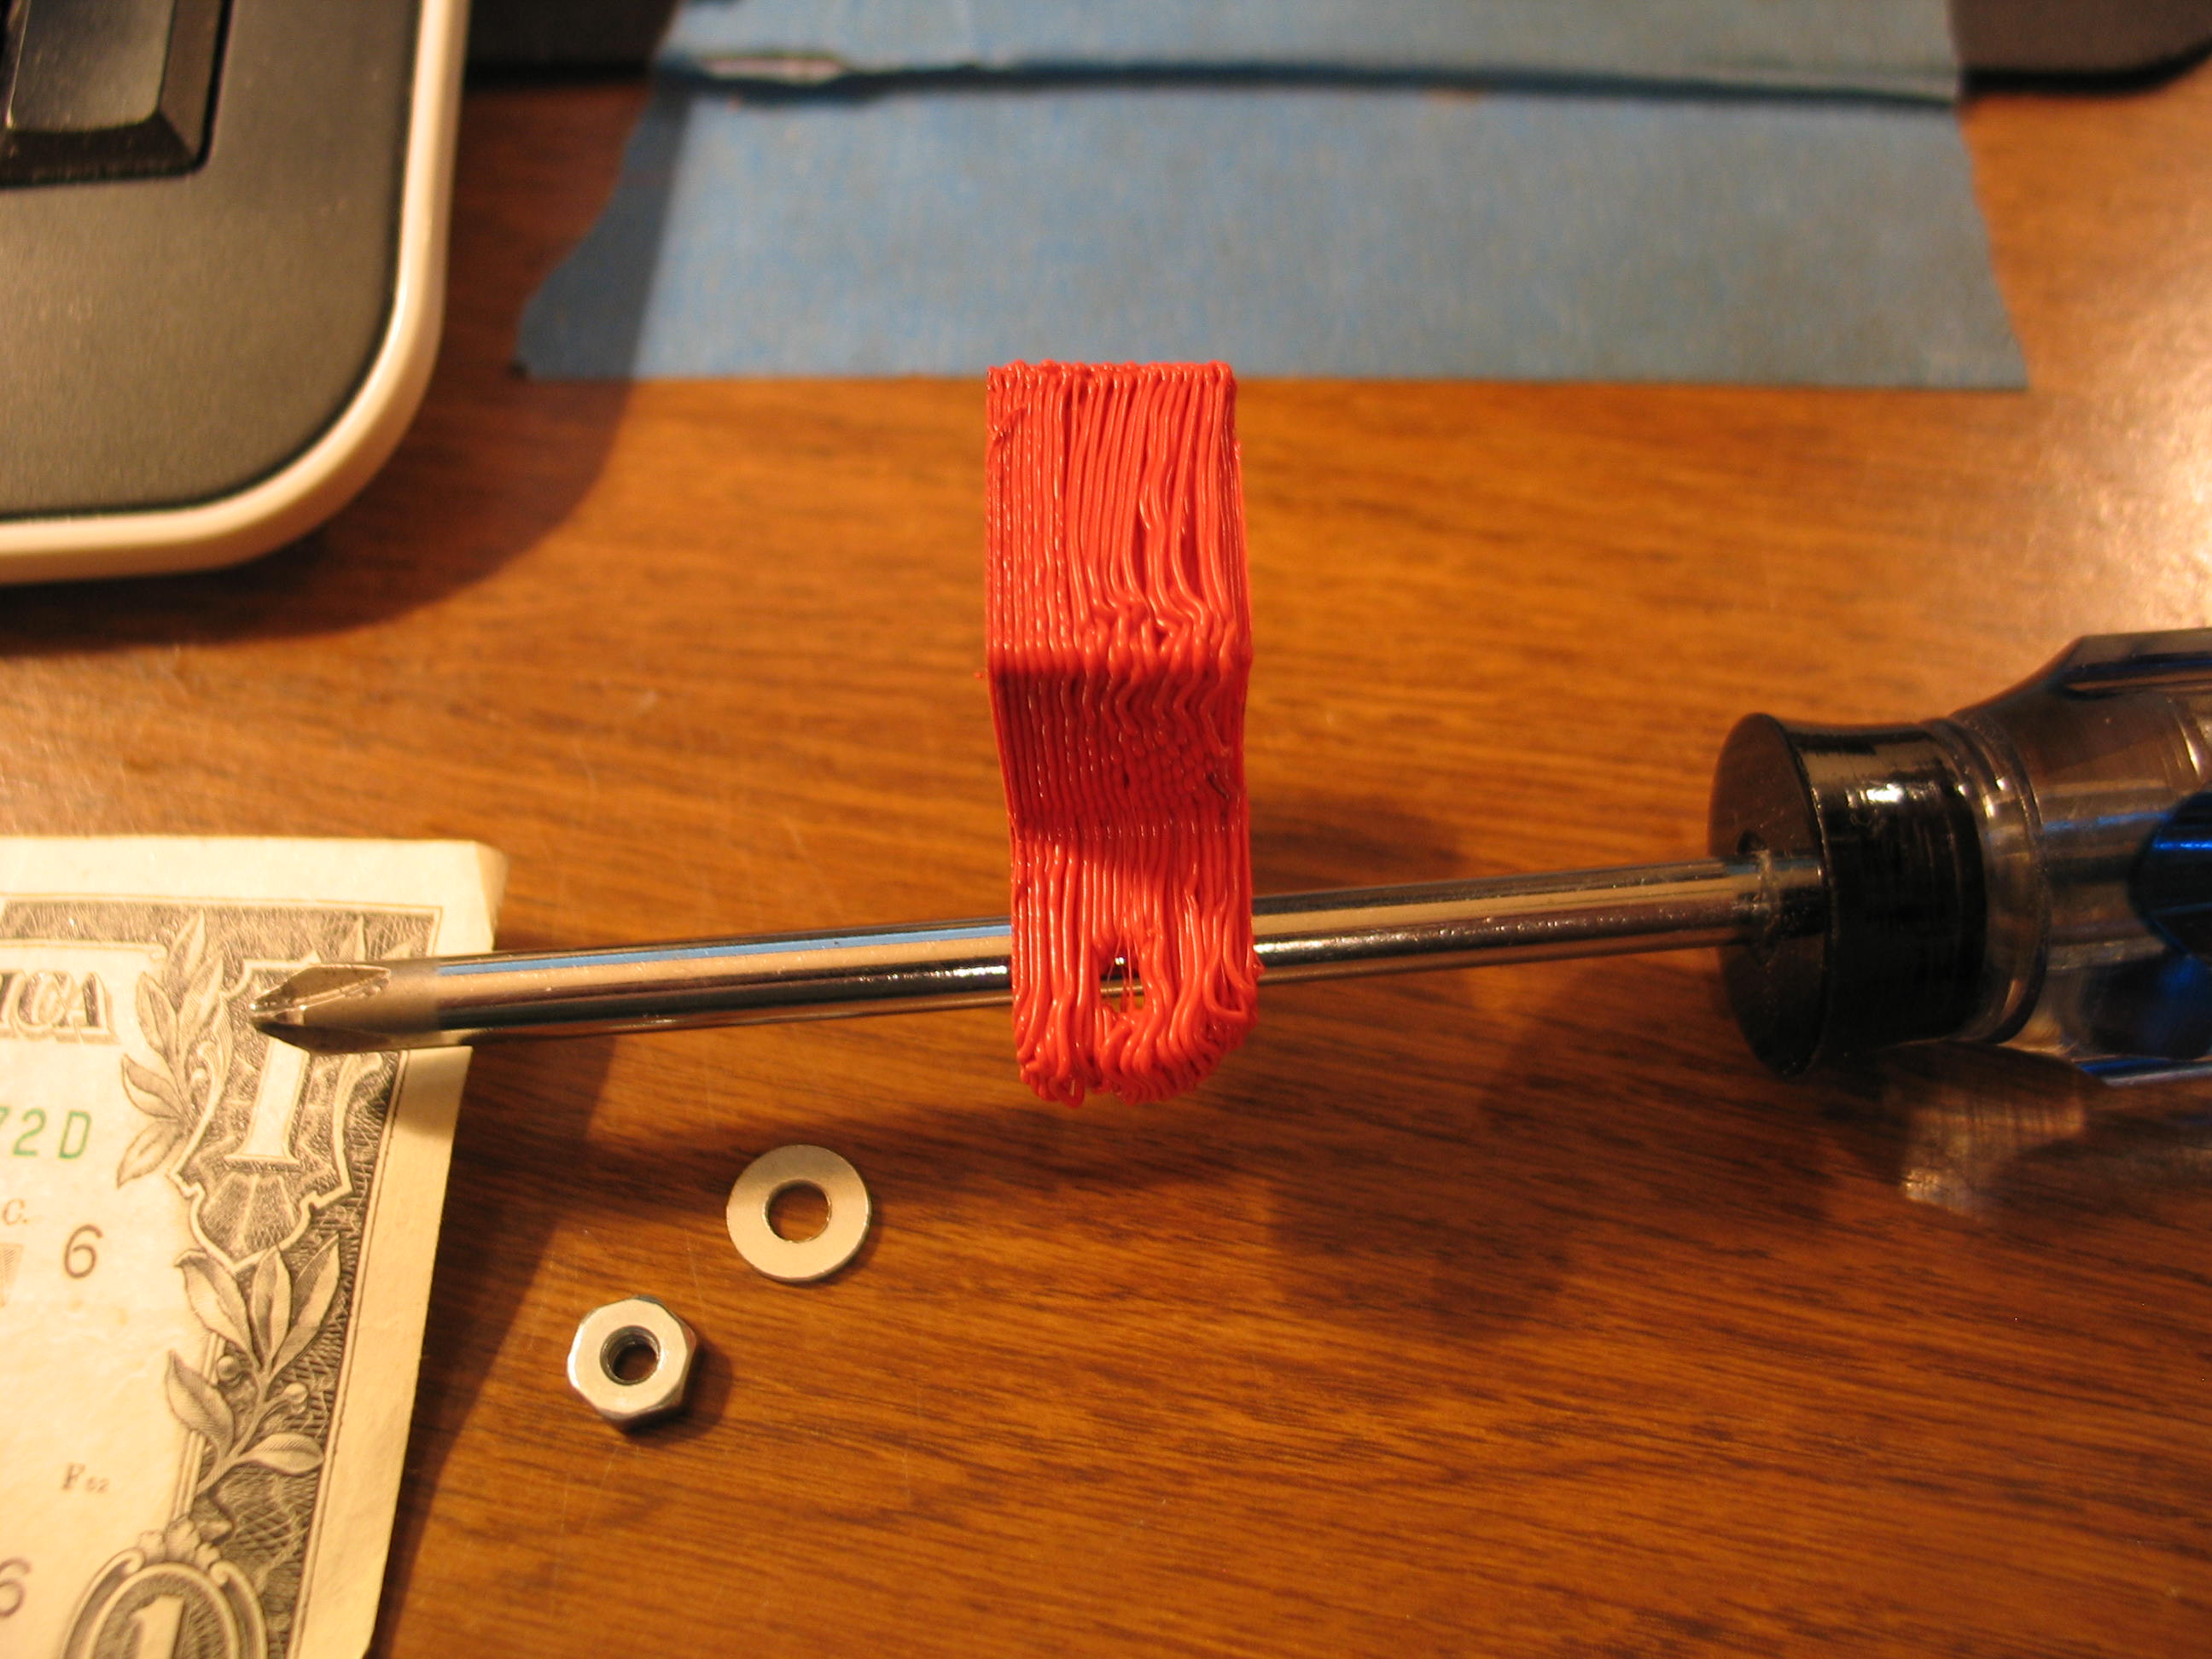
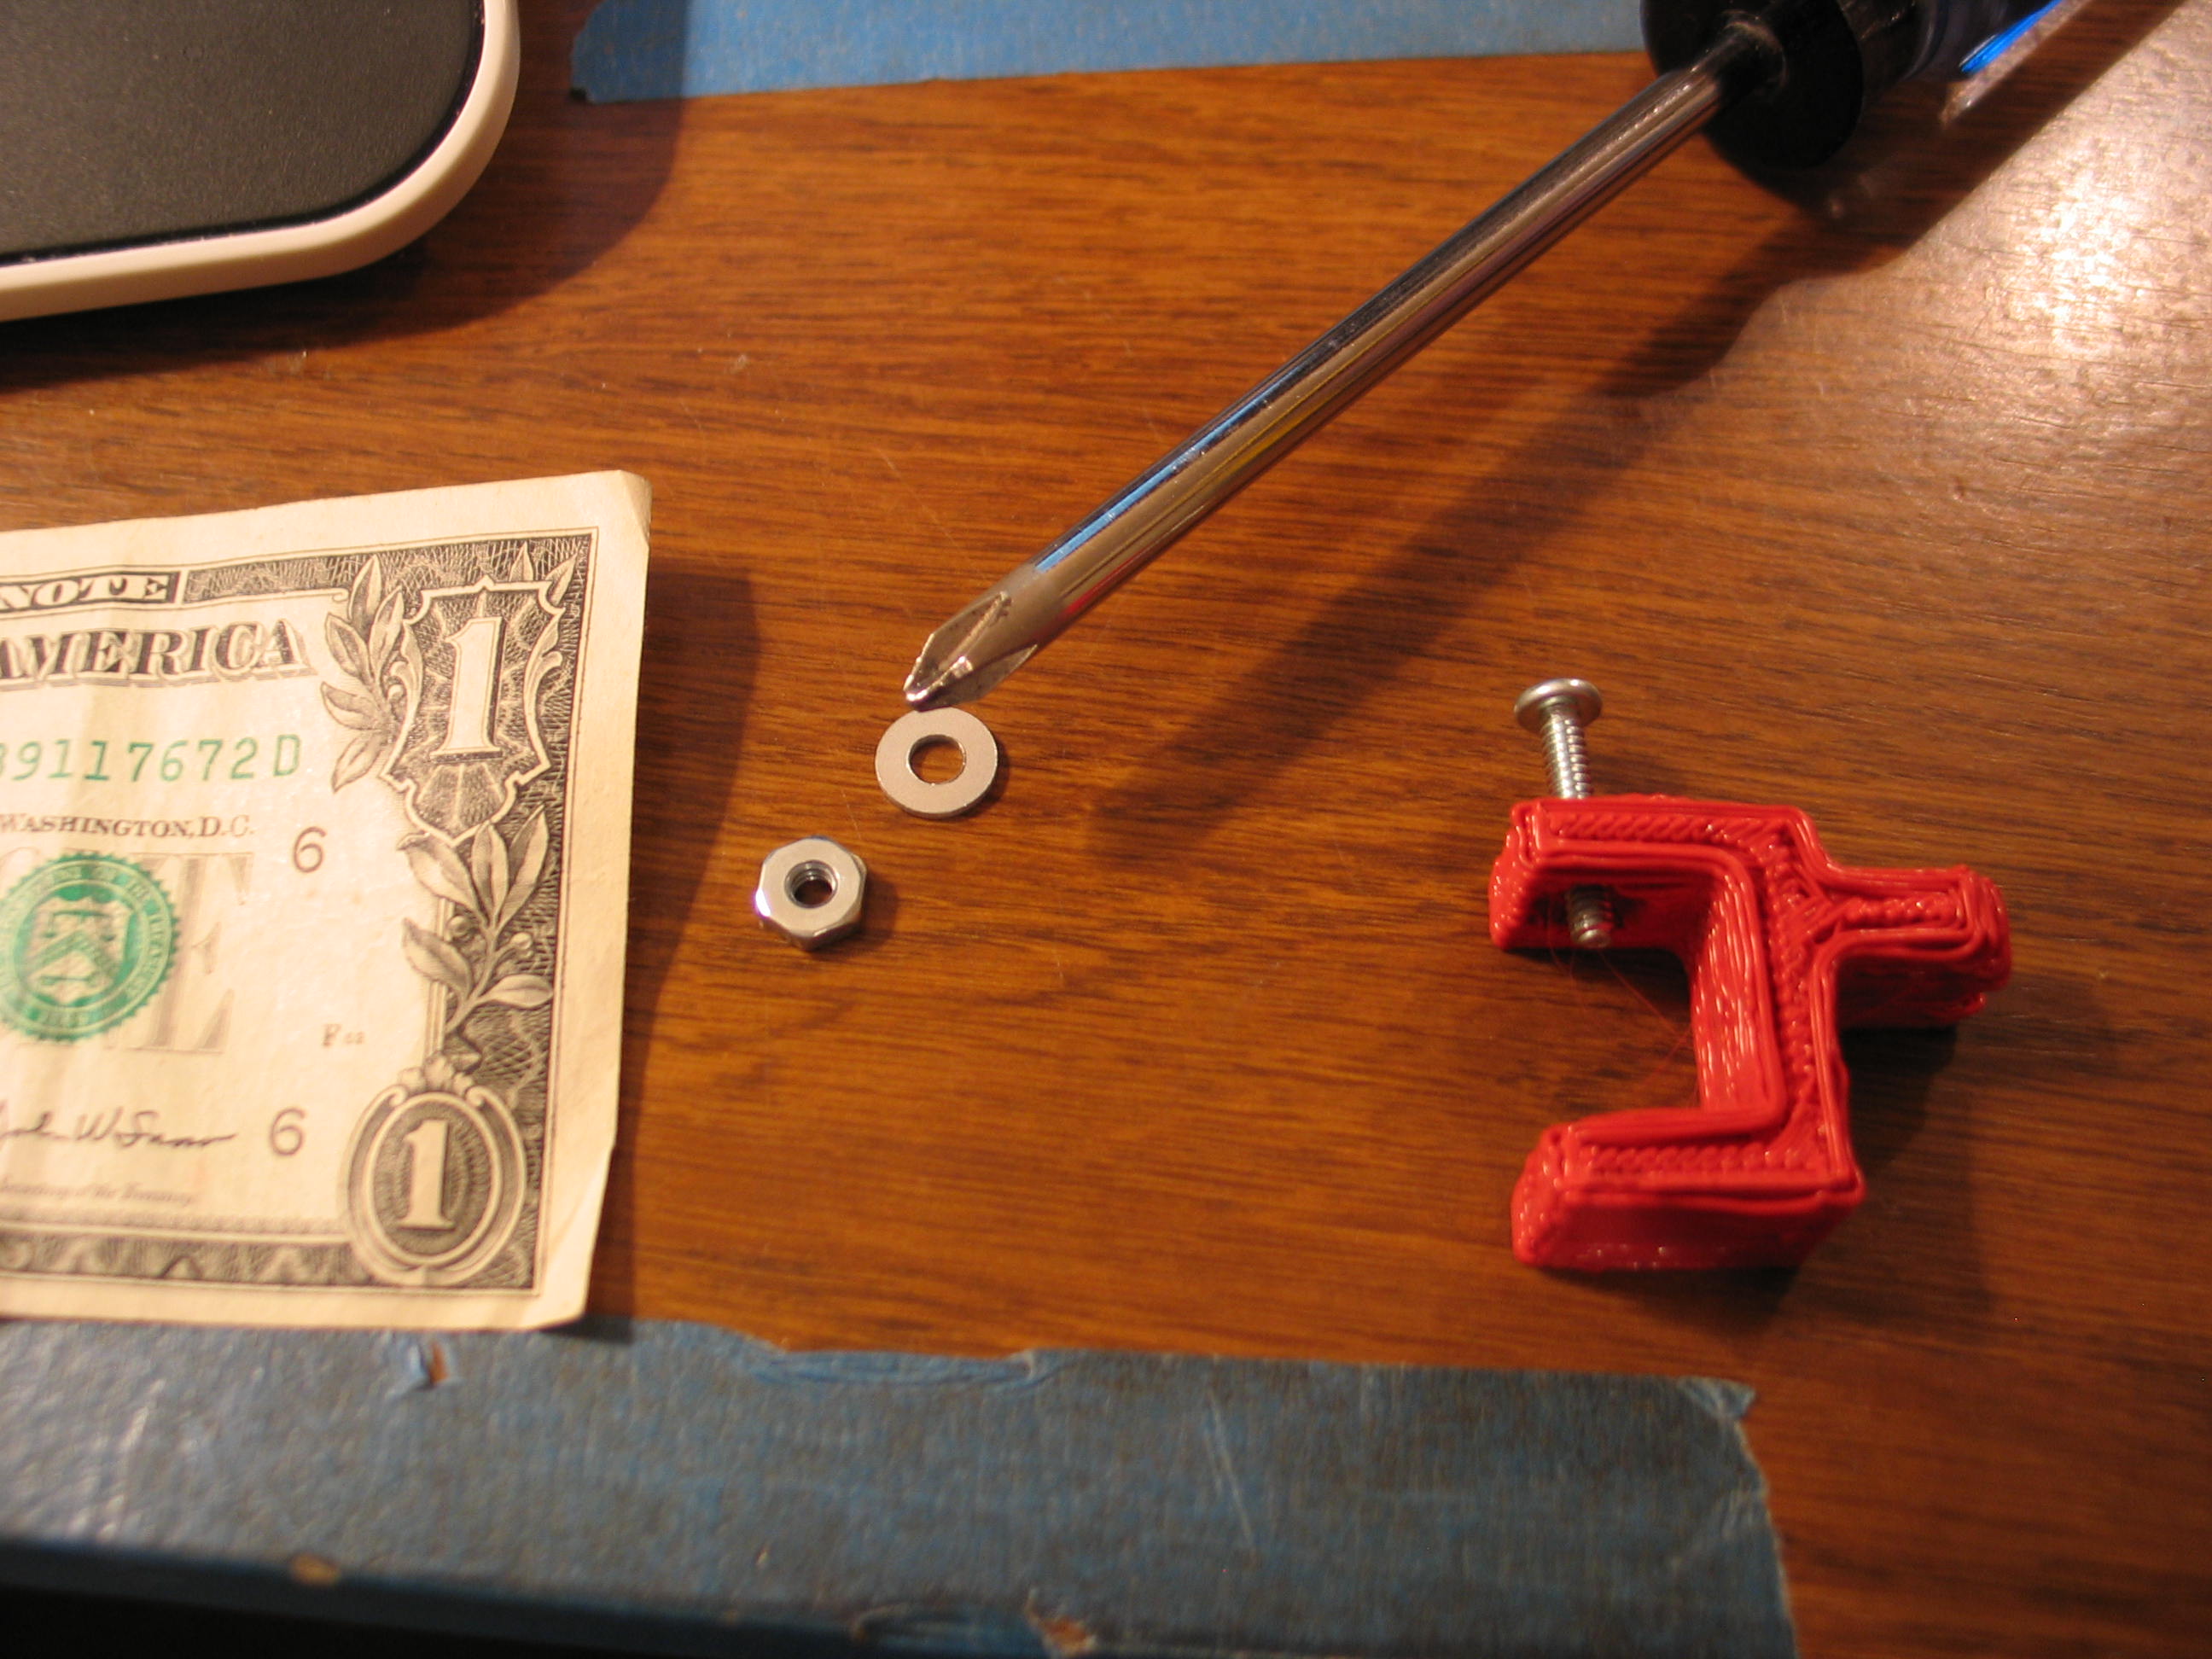
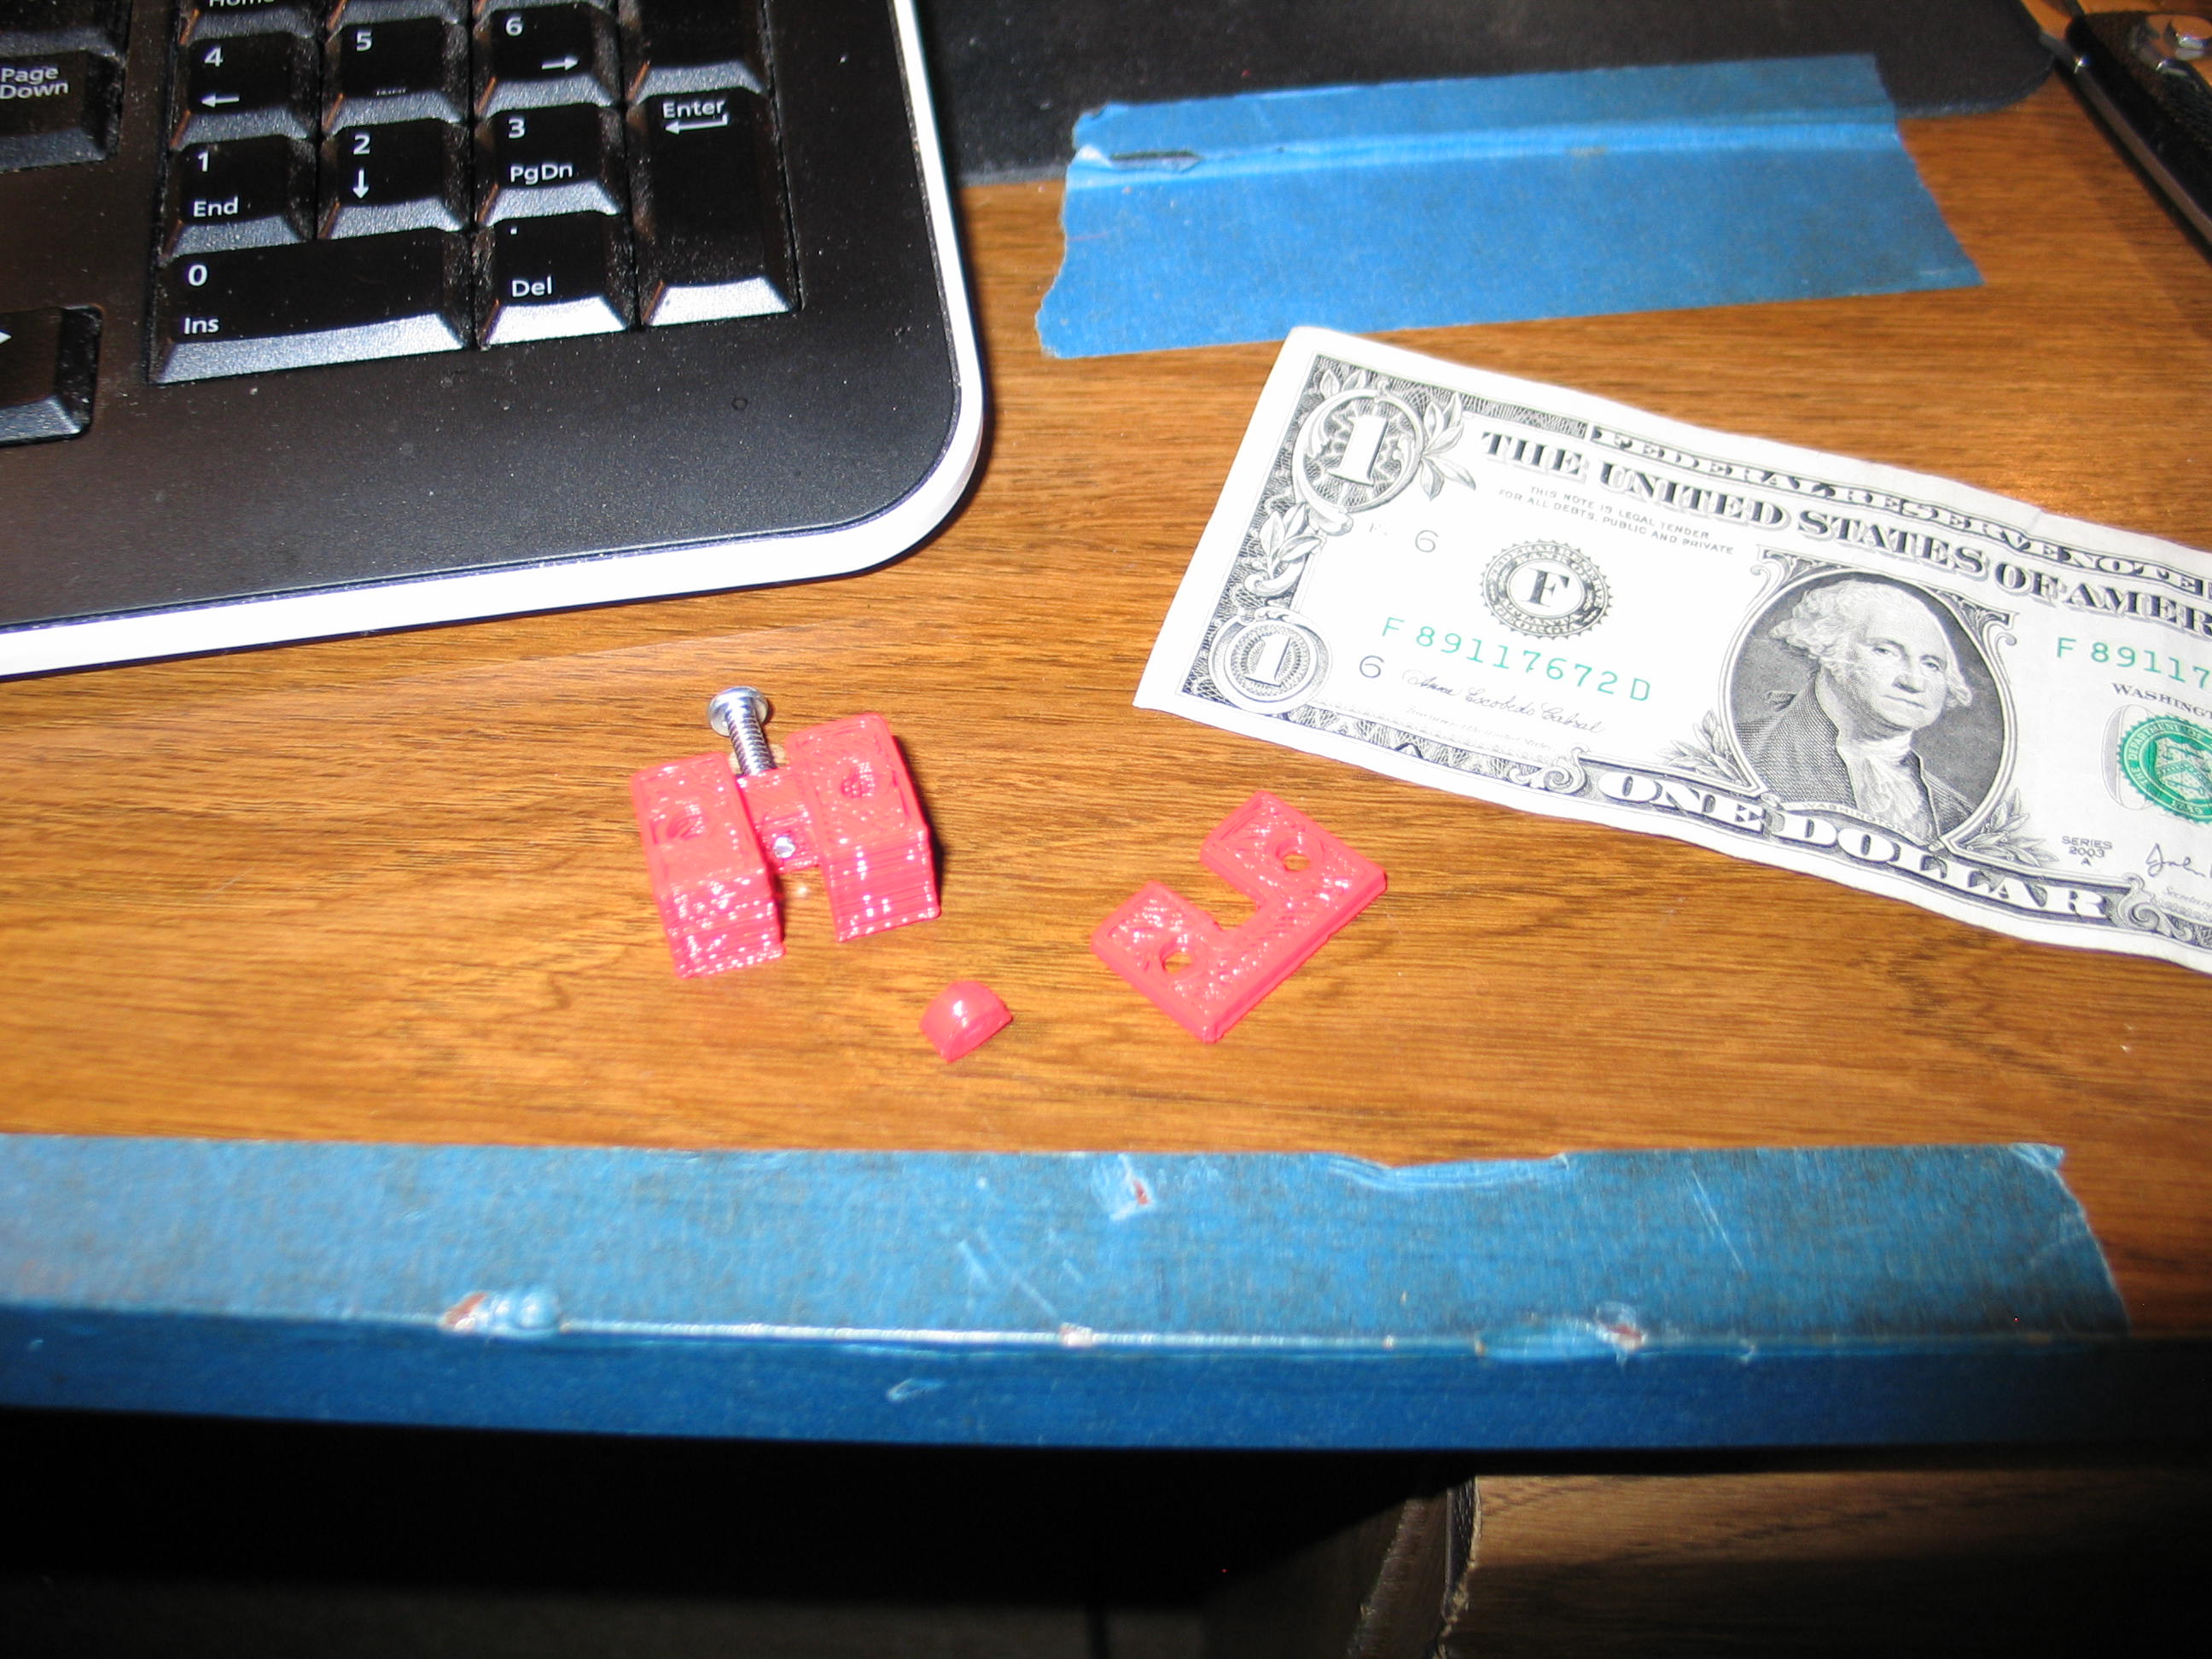
Propped
up on a number 2 Phillips screwdriver.

I reset the layer height to .4mm and tried again. Still kind of sparse.

I reset the layer height to .4mm and tried again. Still kind of sparse.
Changed
filament packing density to .95 to increase extrusion. This seemed to
help.
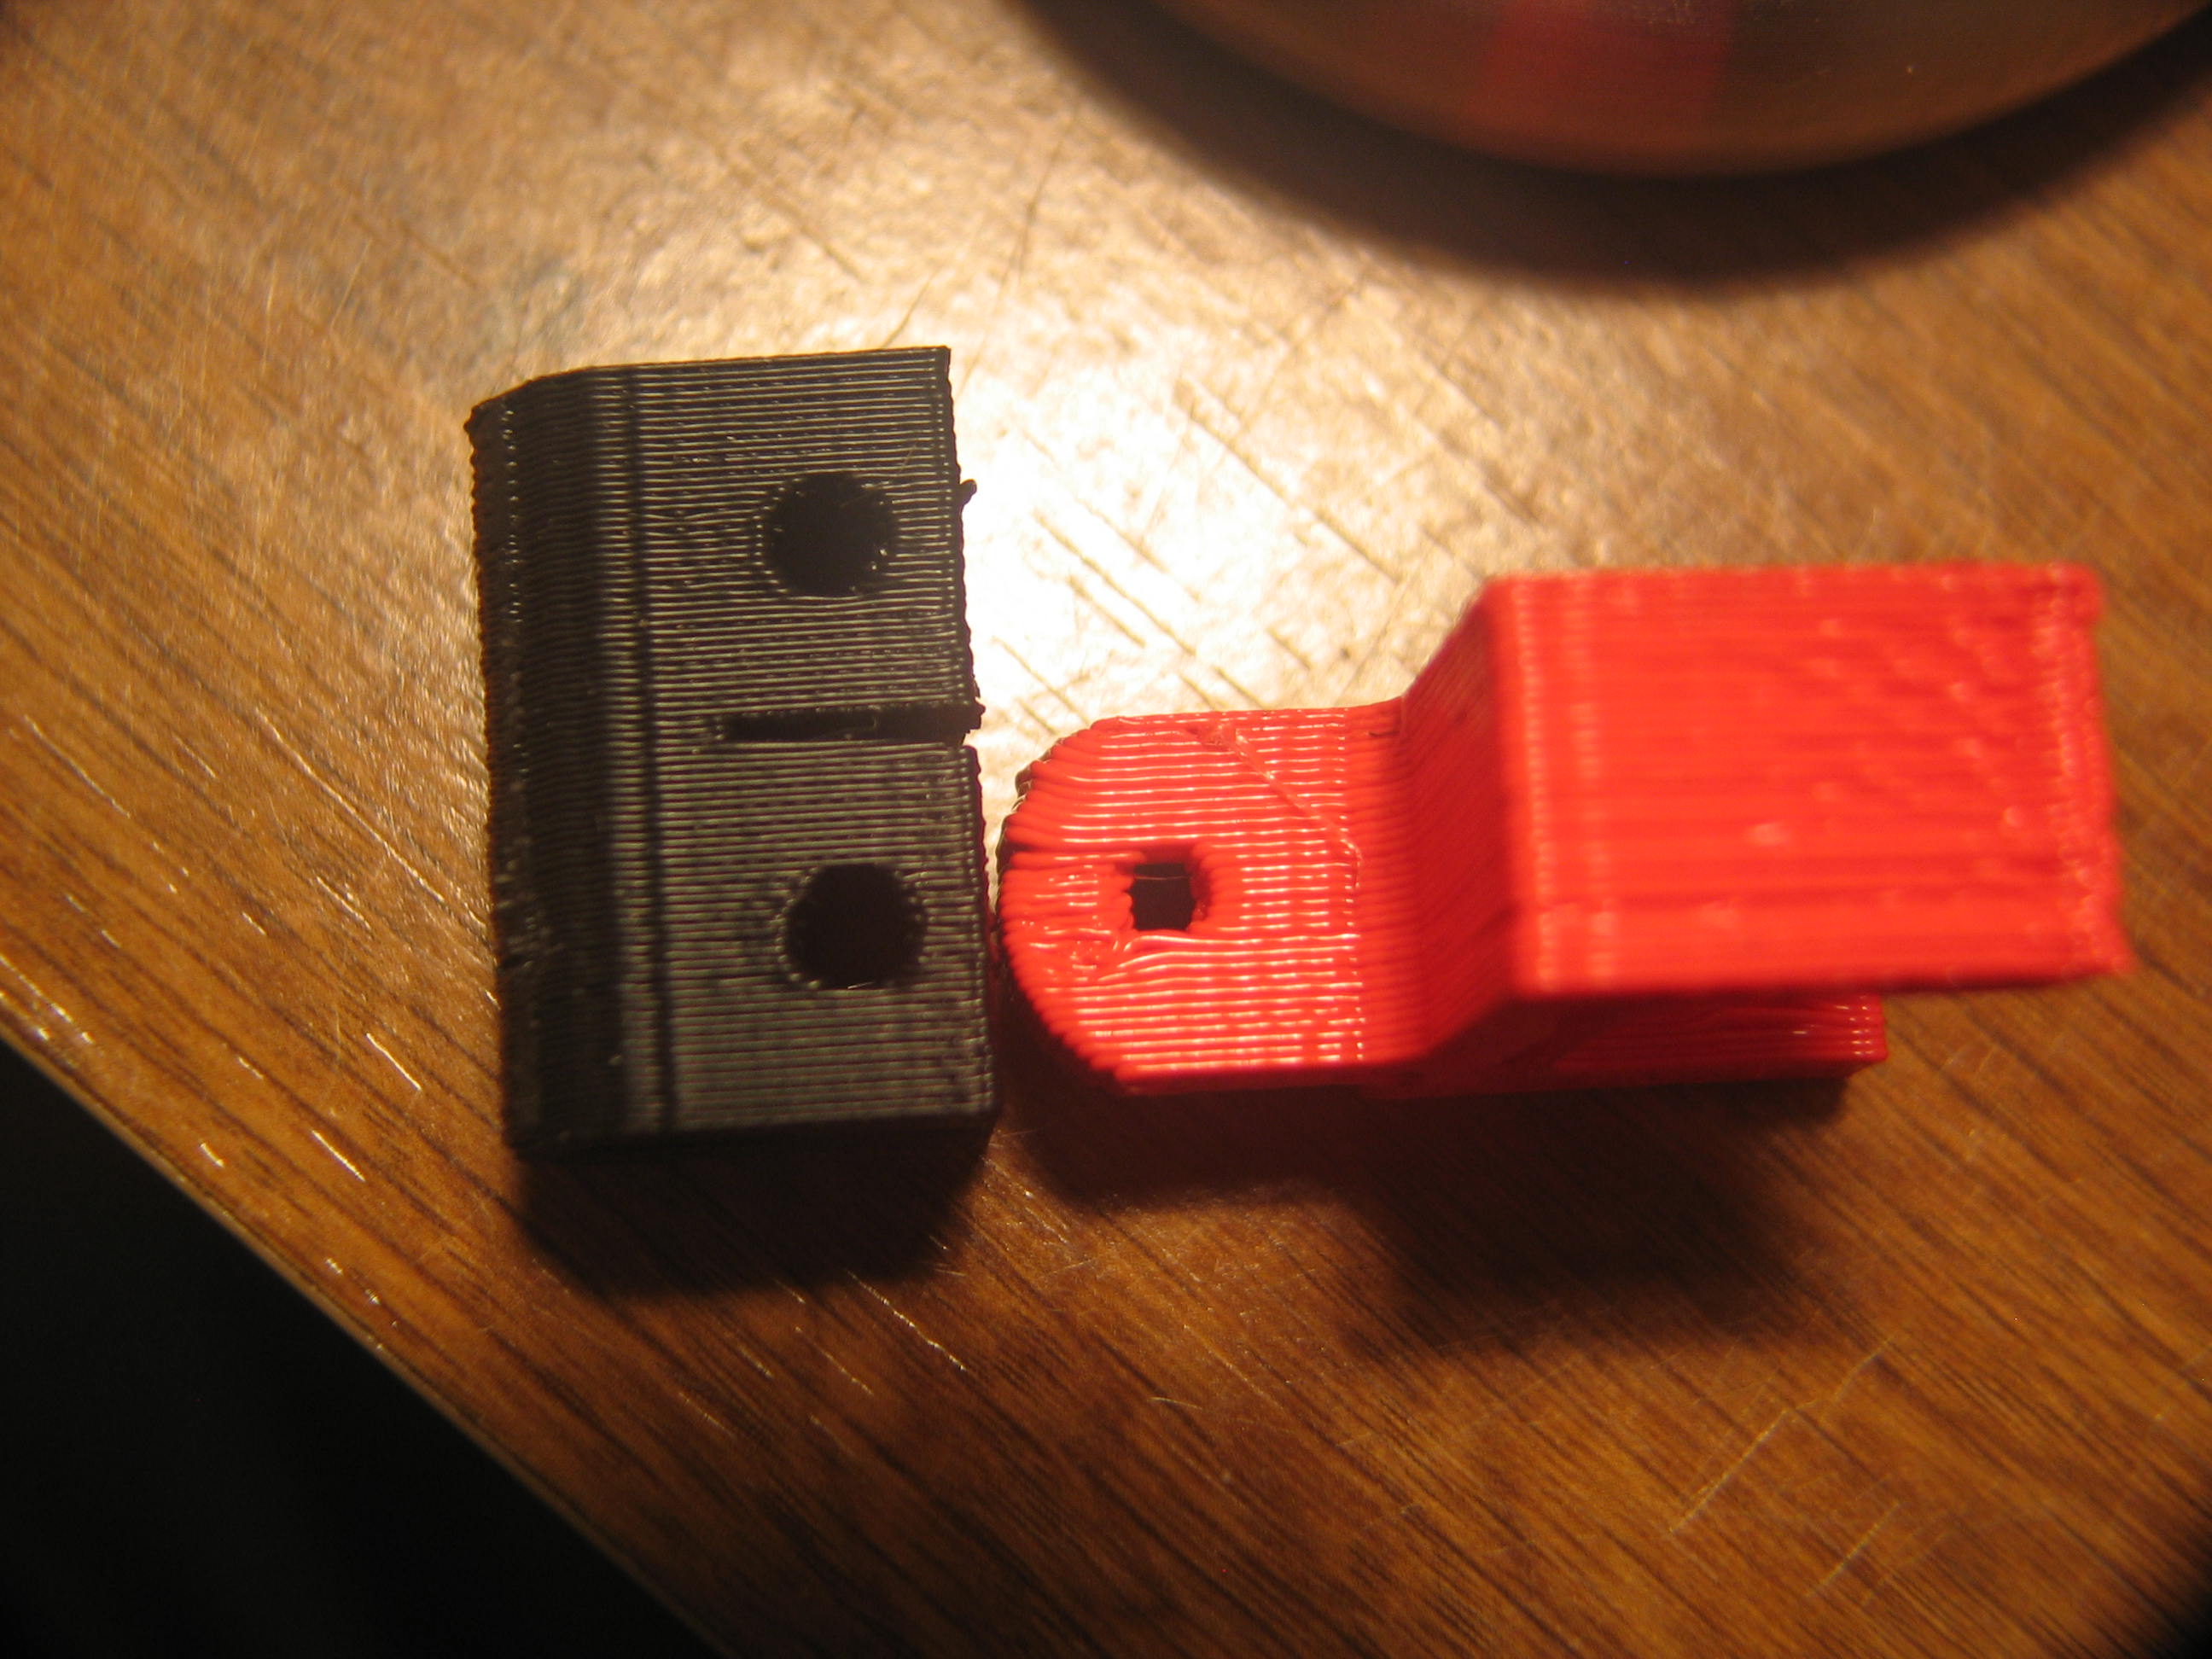
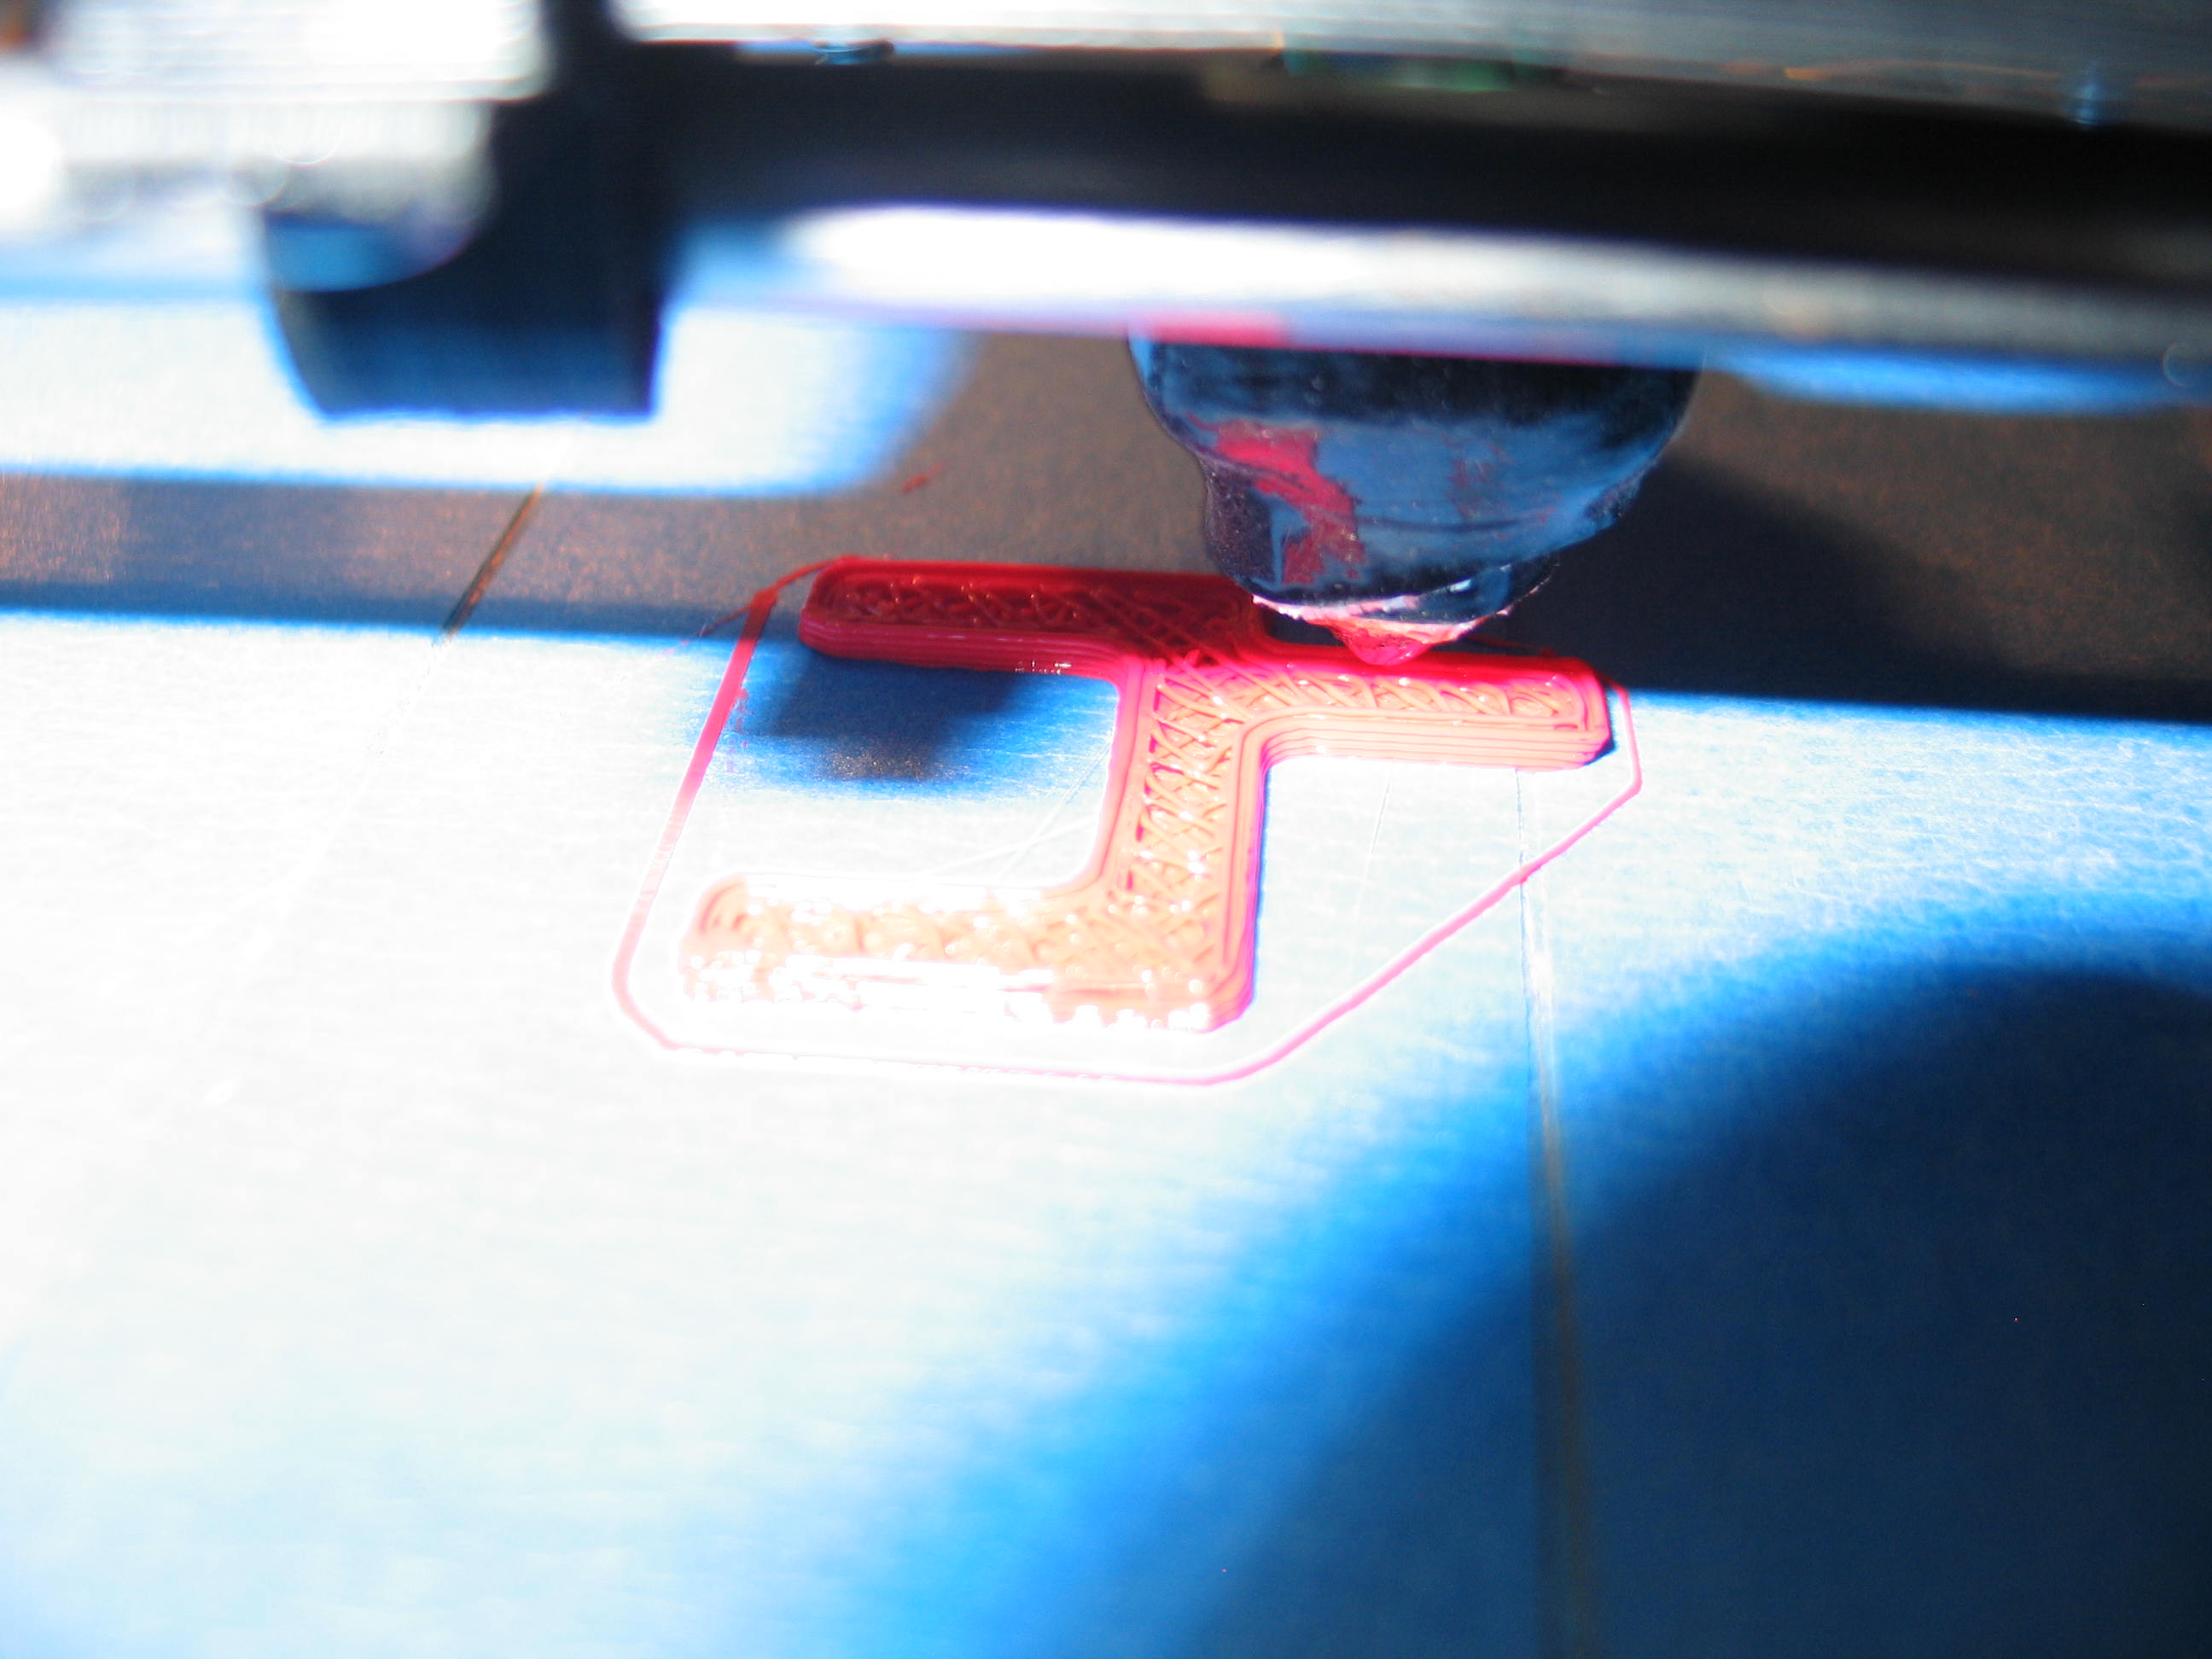
The parts were still coarse. The above is with the layer height set to .34mm. This looks more like the part on the left from Lulzbot.
I was still having trouble with the infill. It seemed like the interior zigzags weren't coming all the way to the outer shell. I looked at the layers in Pronterface and they looked OK. More on that in a minute...
I wanted to see what effect temperature had. So I printed several parts at different temps, starting at 185C.
Part number 4 I reduced to 180. Not much difference, but not quite as good. It did stick to the tape ferociously, though. It ripped the tape when I removed the part. The tape had quite a few uses before that.
Part 5 I changed the tape and went to 190. No improvement and the filament sagged more.
Part 6 Temp back to 185. Activated lash, .5mm on X and .5mm on Y. Made no difference I could see.
It occurred to me that the backlash compensation may be written into the G-code. I reloaded the STL so it would rewrite the Gcode.
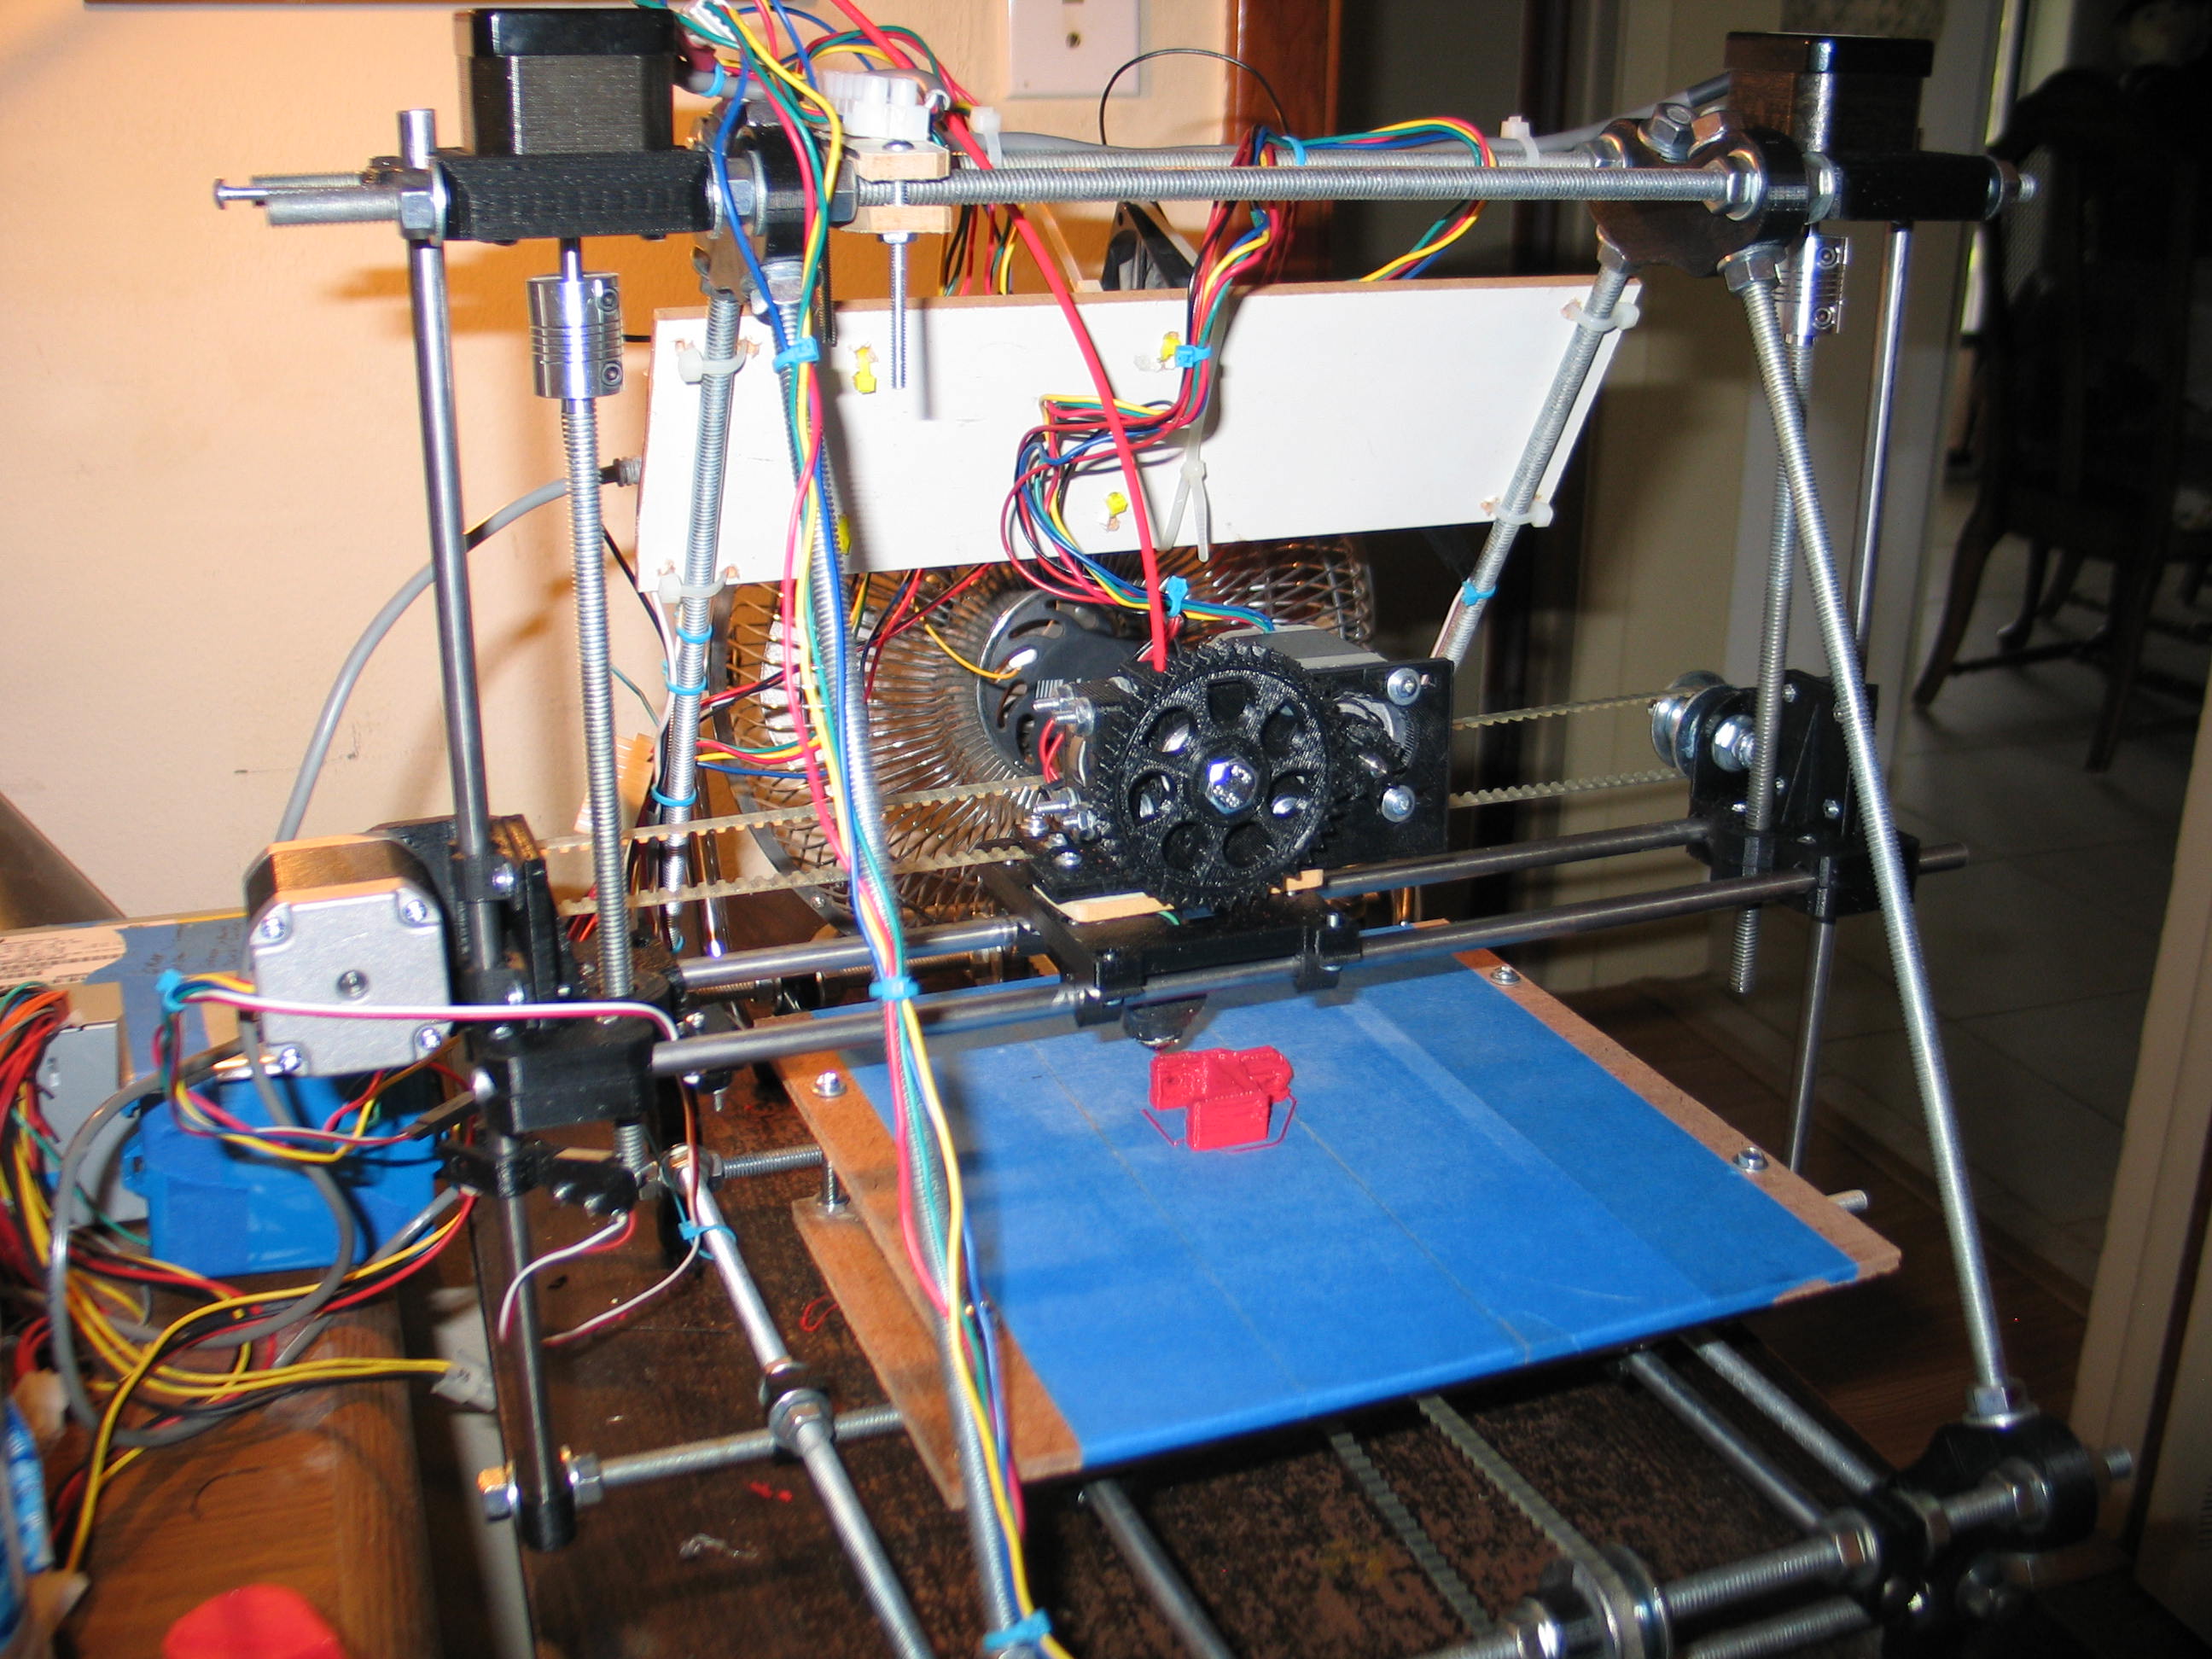
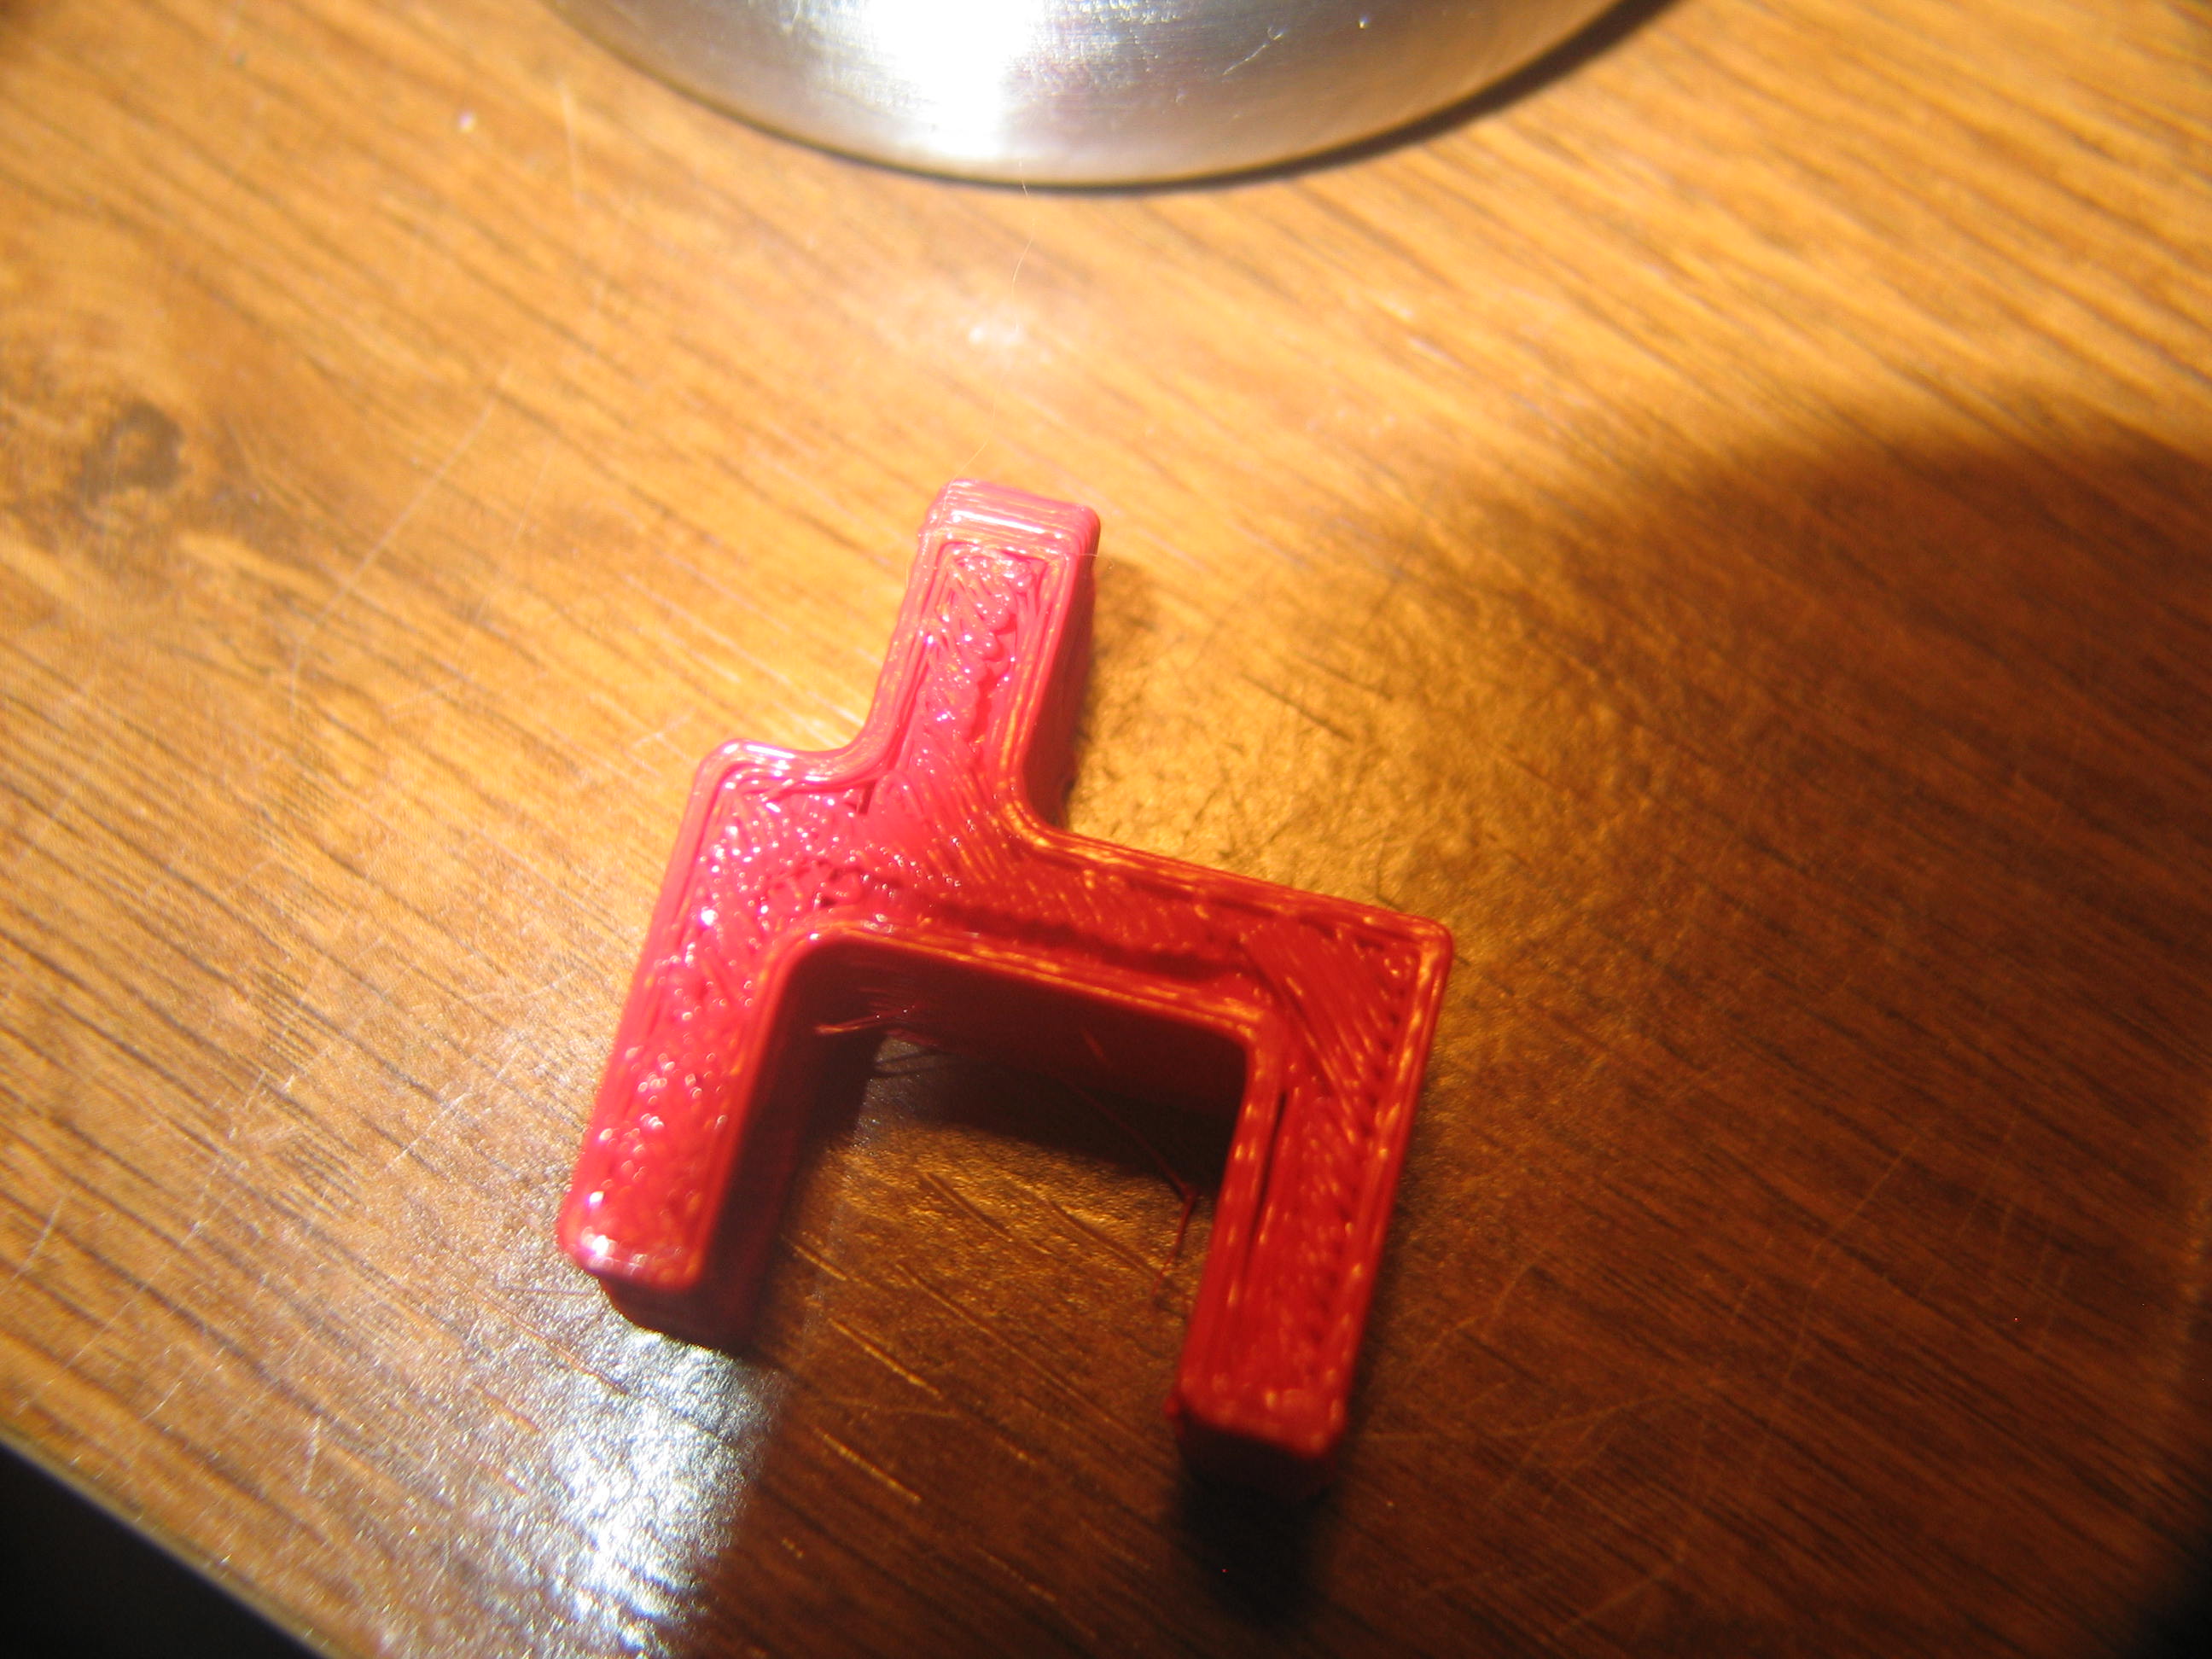
MUCH Better! Now these are starting to look like solid parts. Well, as
solid as they can be at 35% infill. I printed 8 of these all together. Some looked better than others, but all were usable.
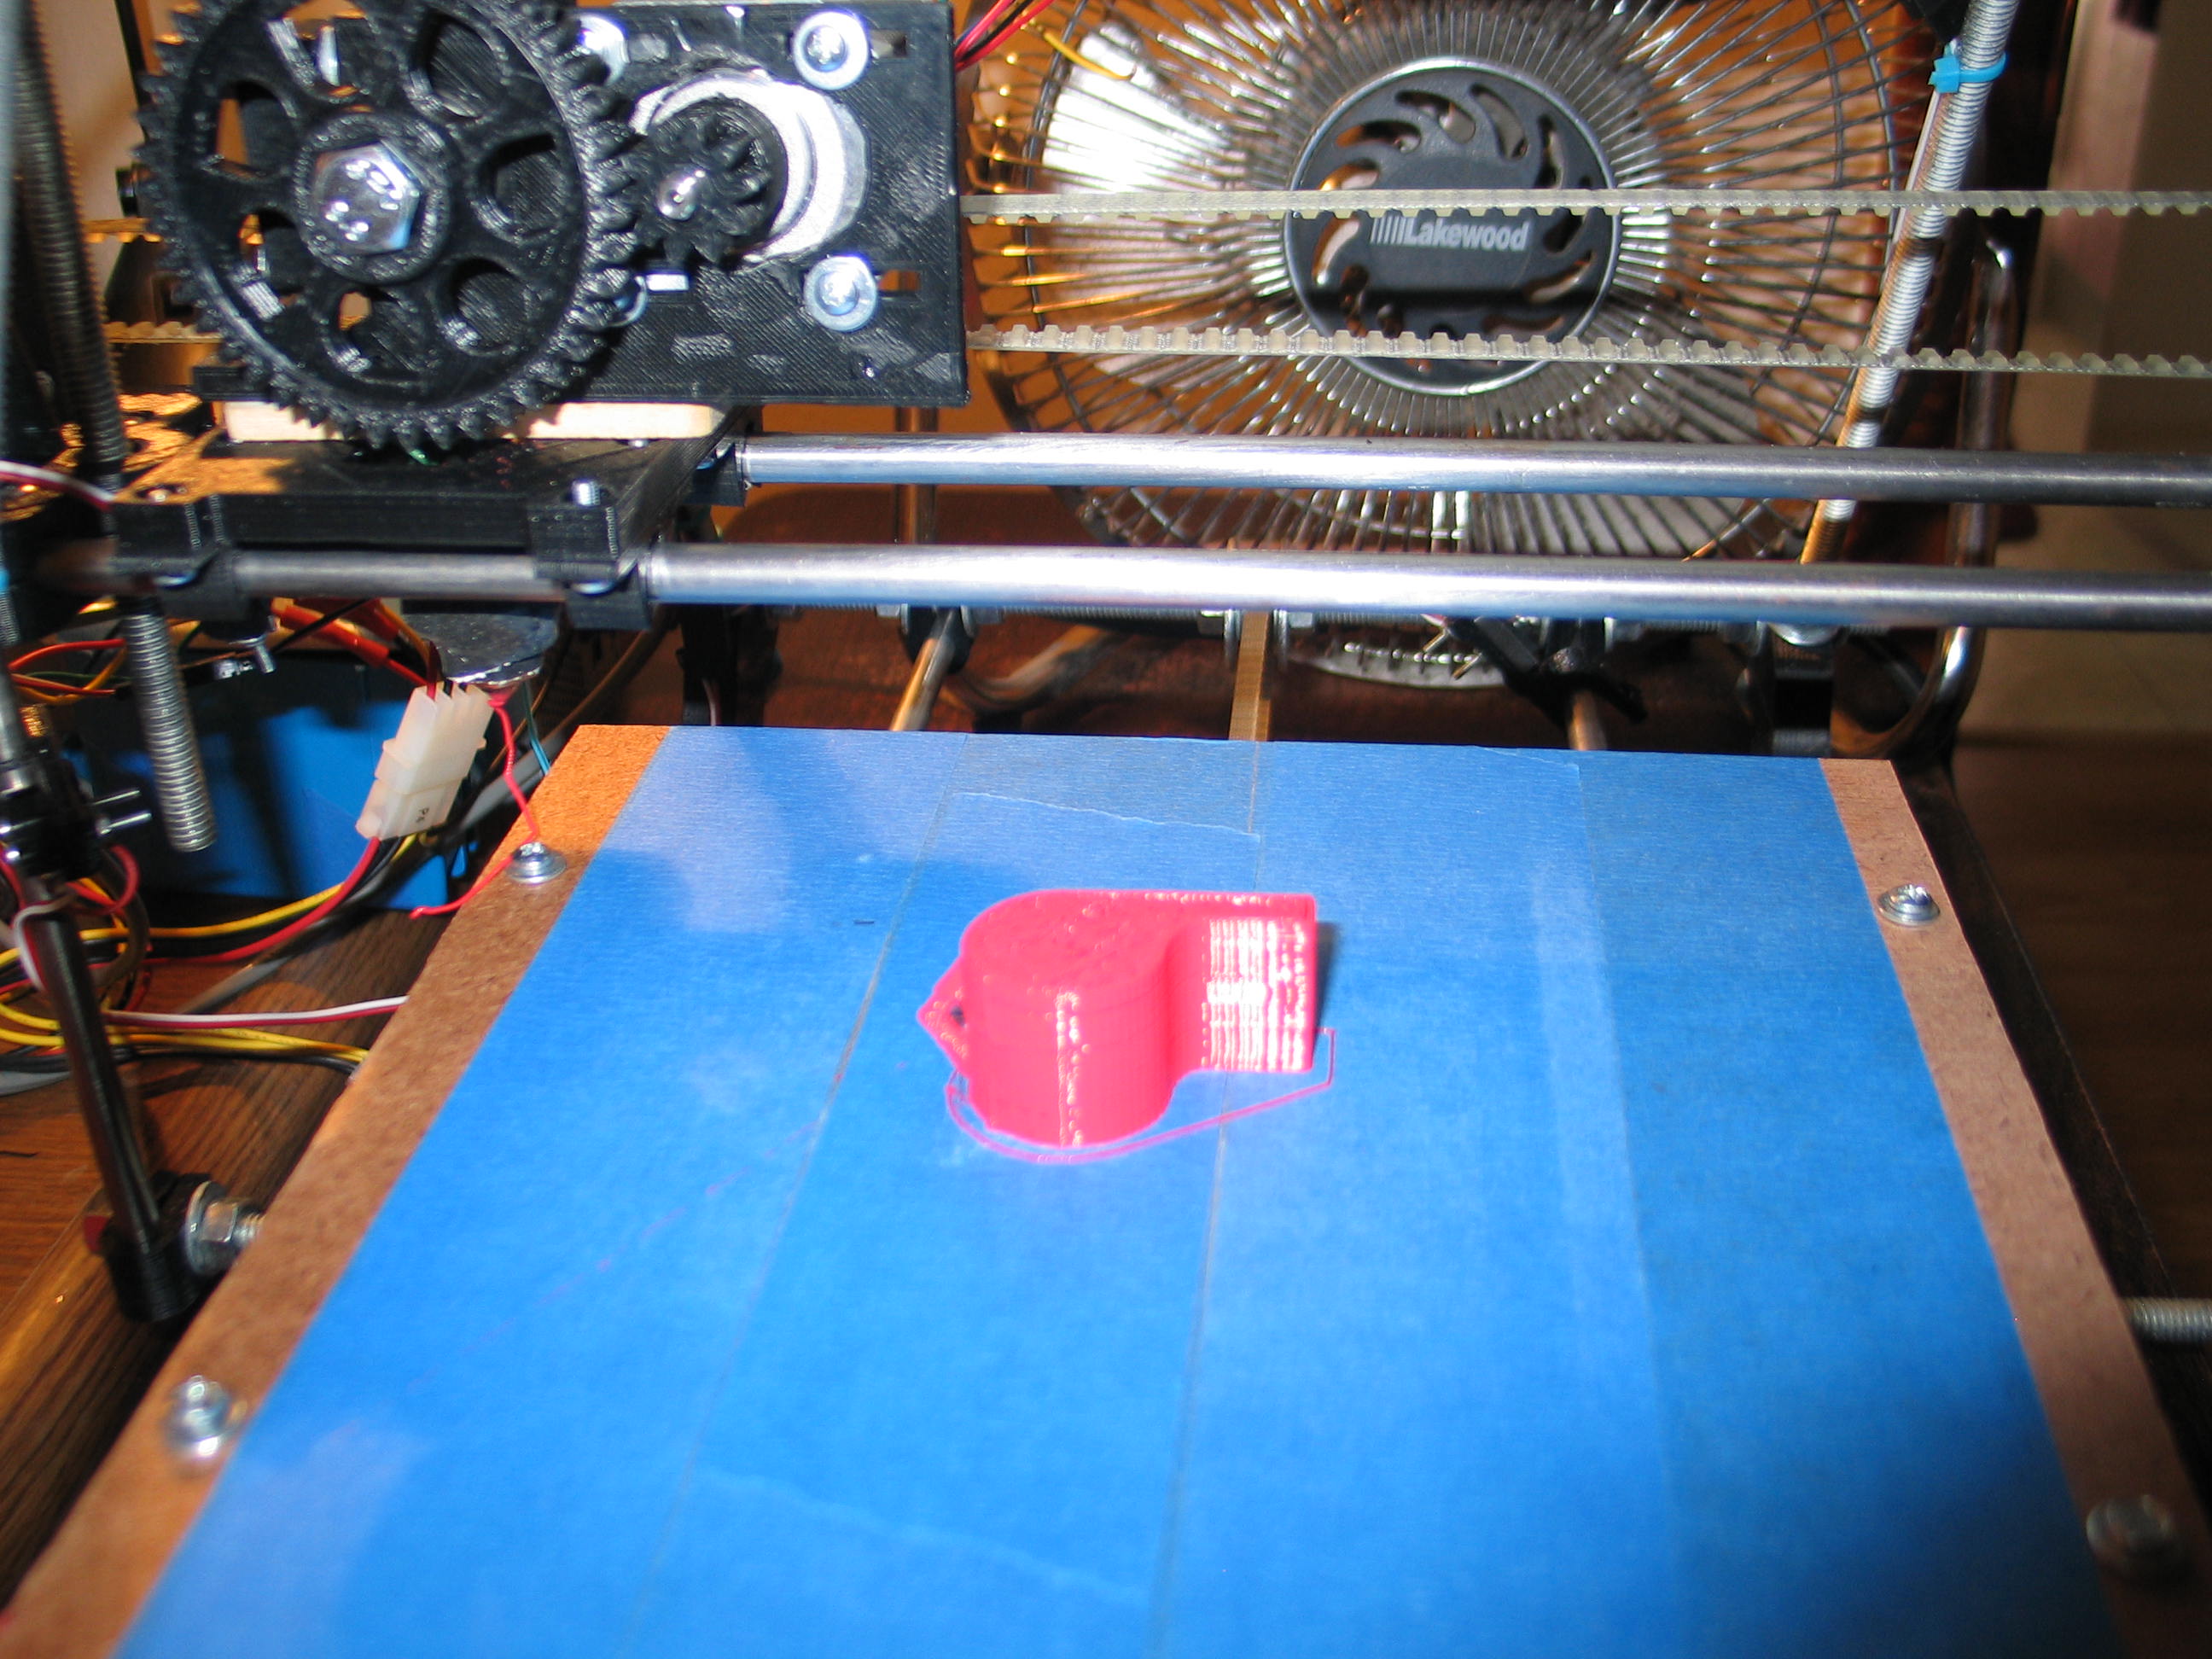
I gave the whistle another shot. It looks much better. I still can't blow it. This thing is huge.
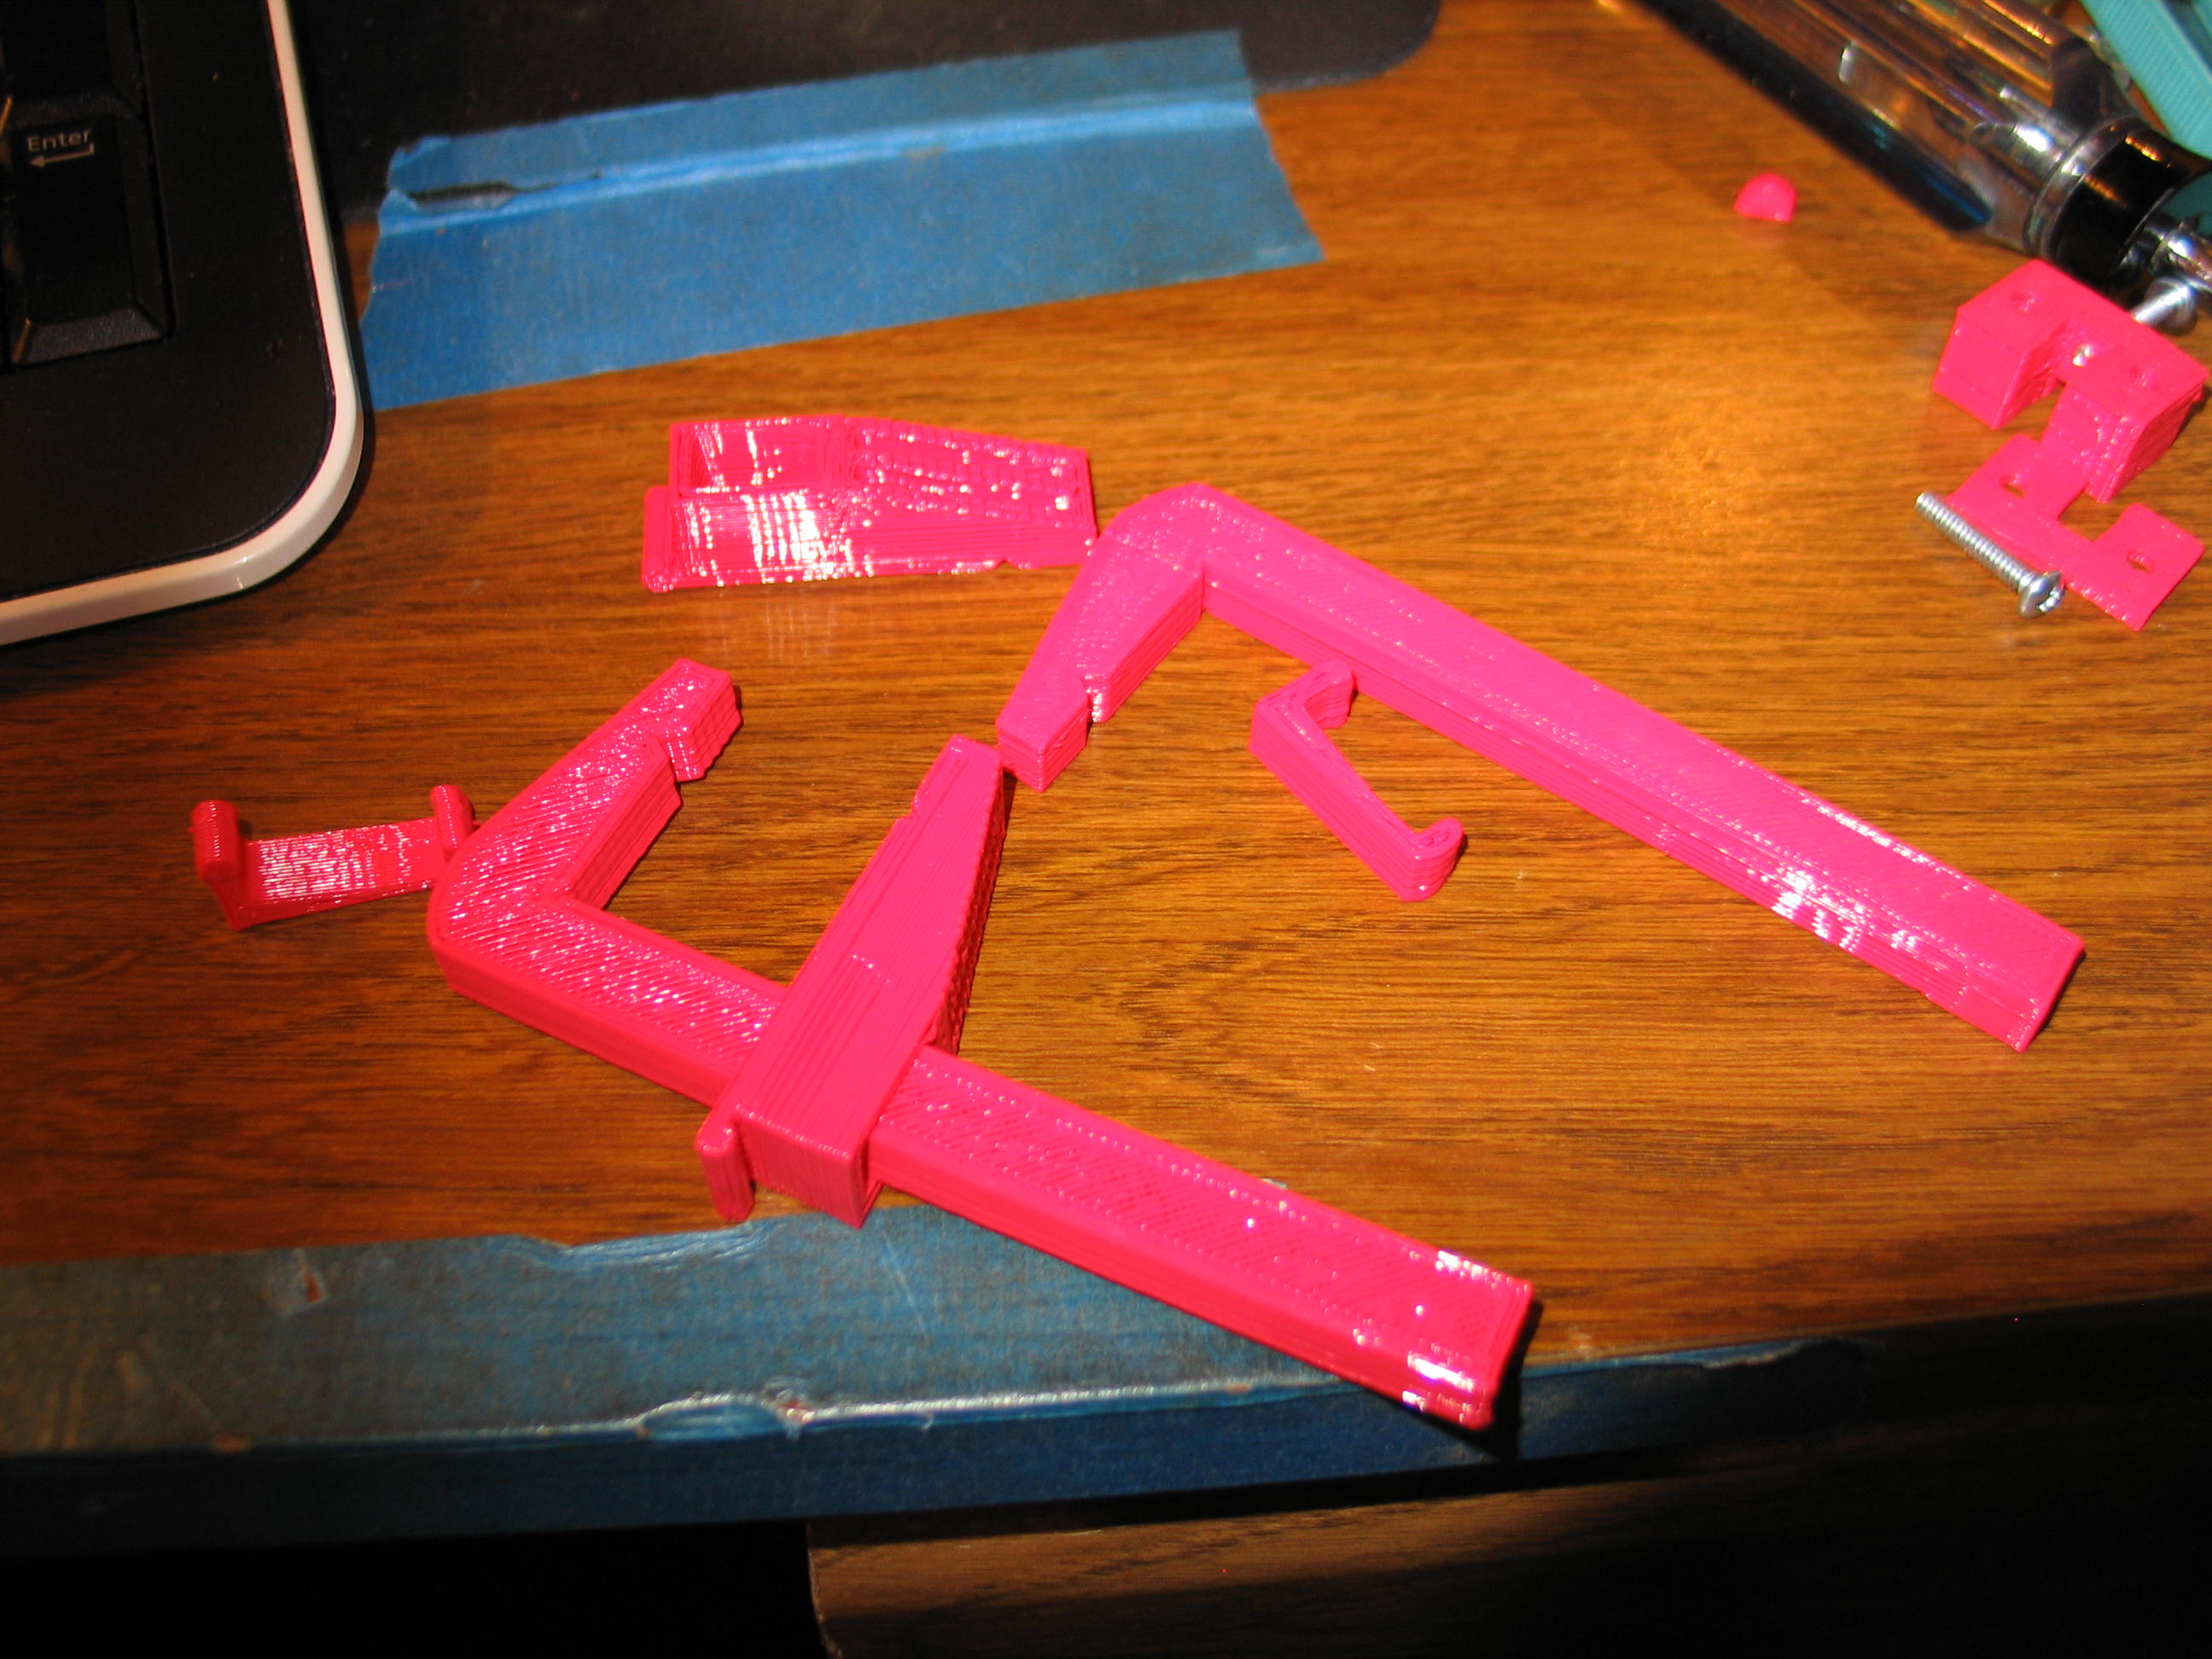
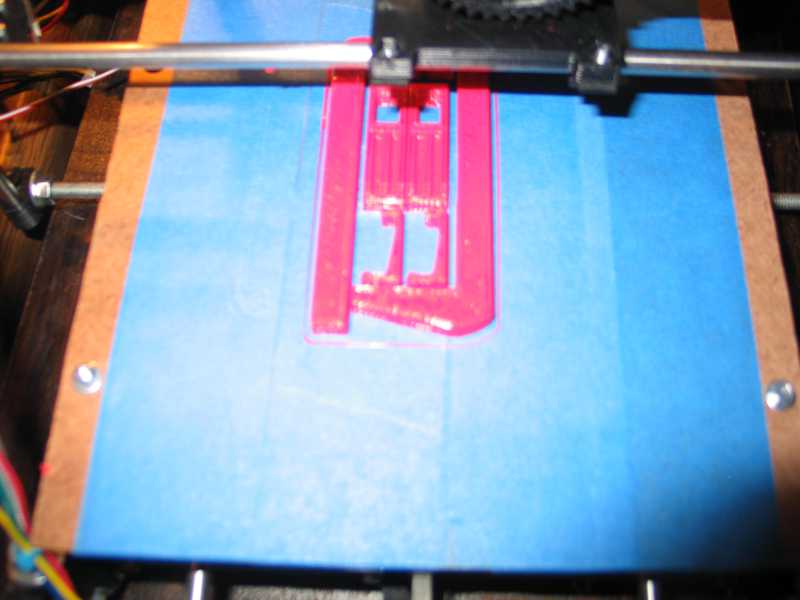
Tweaking is in the ballpark. Now it's time to make some stuff! Above is the Mendel Y axis tensioner from thingiverse.
And this is the Hobby Clamps. I made this from the first STL file, ClampsTwo85.stl

And this is the Hobby Clamps. I made this from the first STL file, ClampsTwo85.stl

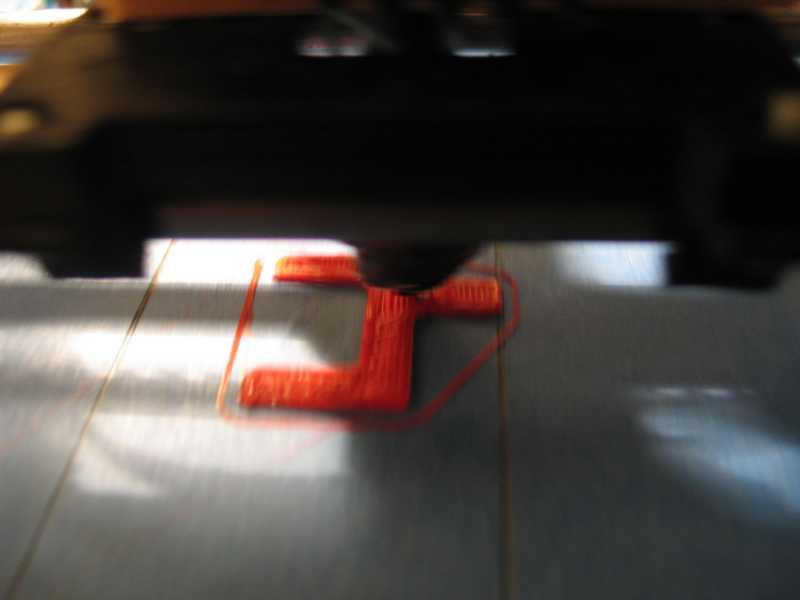
Done printing...