After
many people urging me to do so, I decided to rename this machine from Prusa Mendel 2012 to
Ronthomp Mendel.
I appreciate all the encouragement and support!
I've made quite a bit of progress. It's slower when you design as you go!
I am incorporating new designs of my own, but also the best of what already exists. Some with minor modifications and some as is. Whatever is best for the design of this machine.

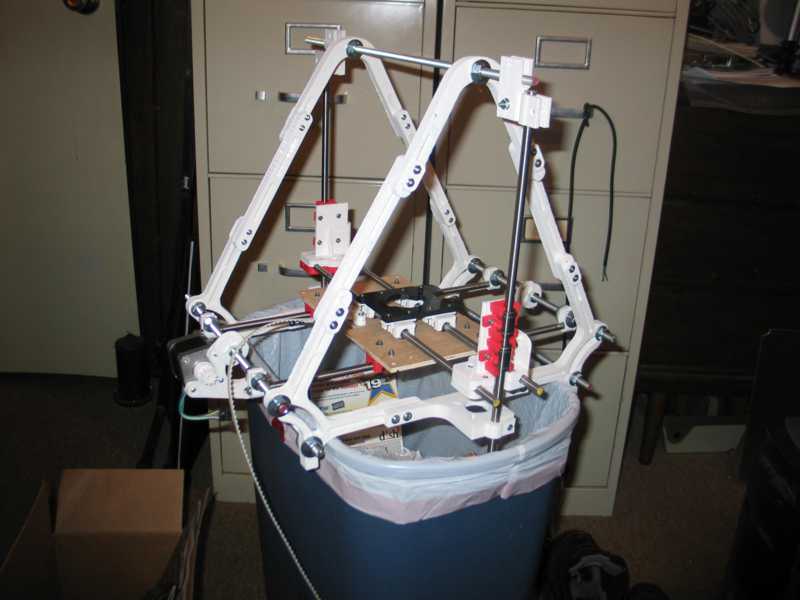
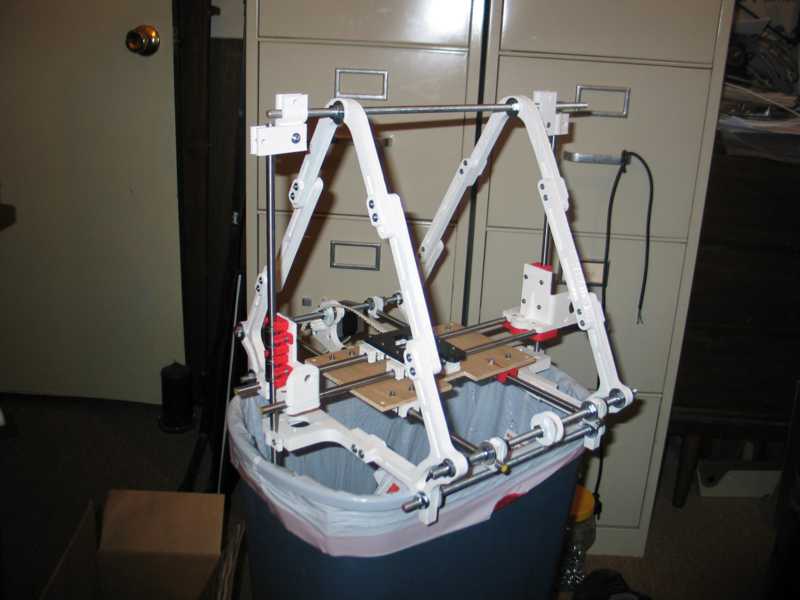
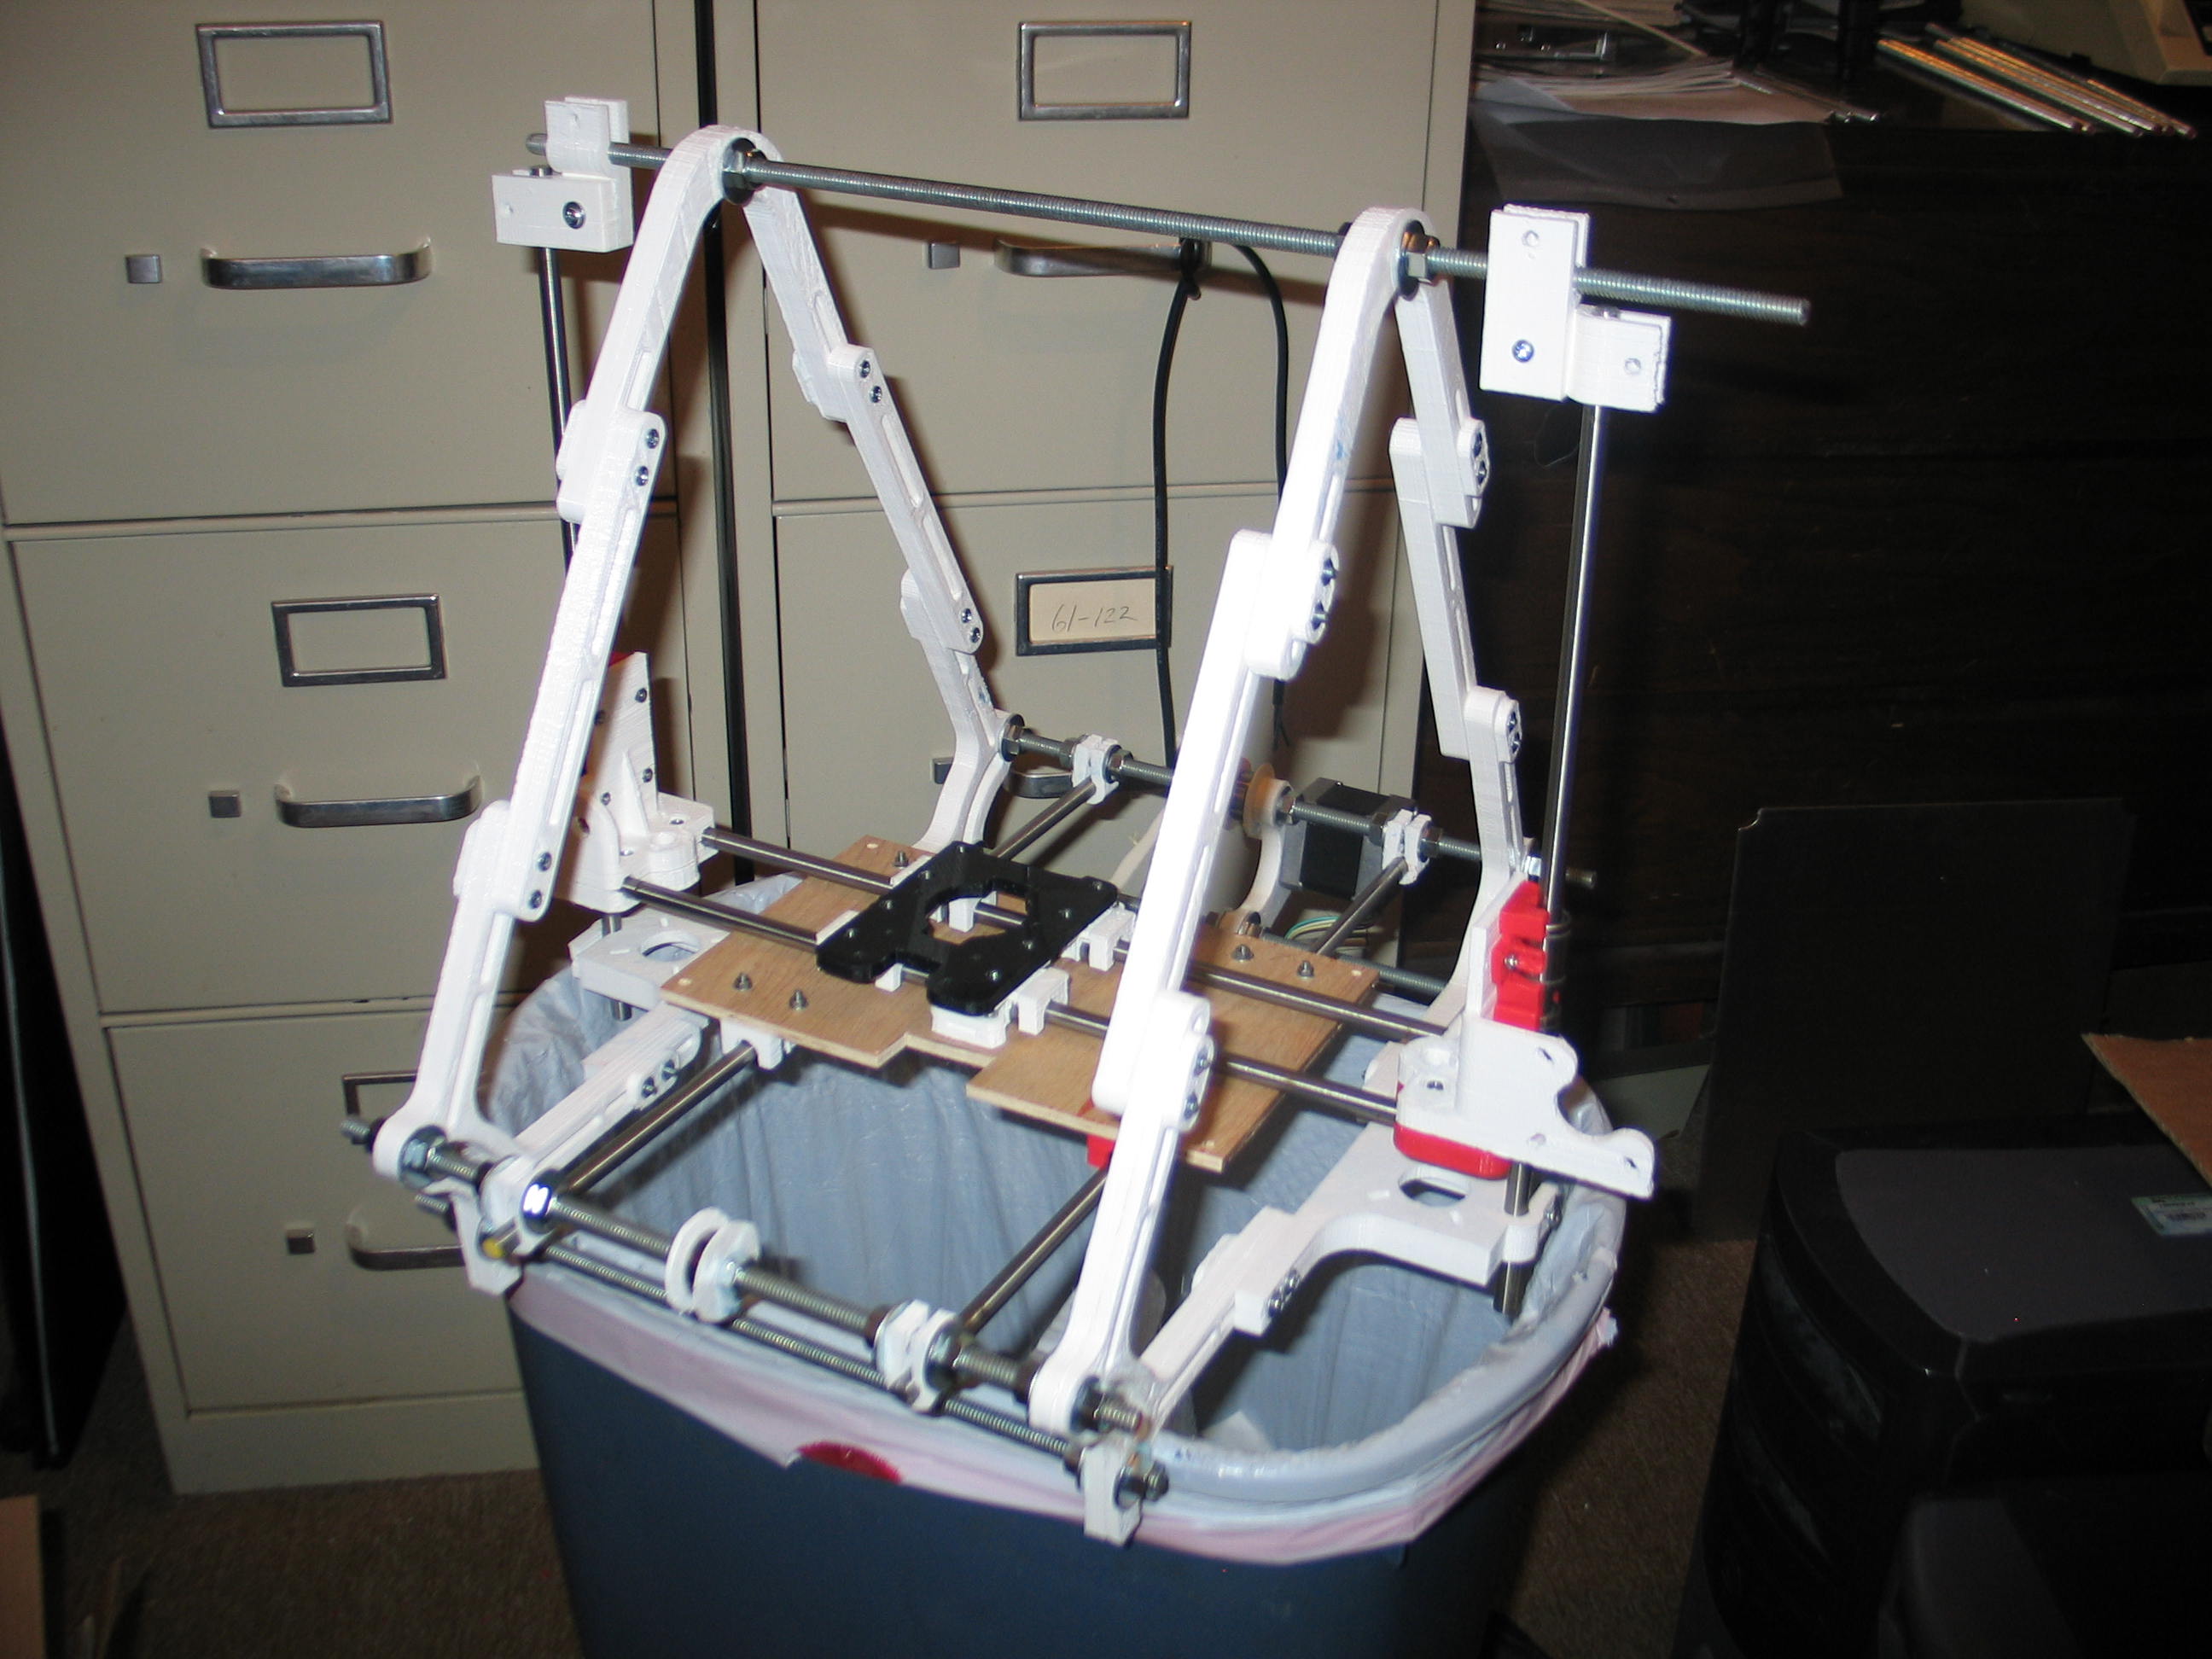
These photos are all of
different angles of the present state of the machine. As you can see,
there are some unique new parts, such as the right angle rod bracket at
the top of the Z axis smooth rod. This is actually 2 identical parts
bolted together to make the right angle bracket.
The different colors are due to the age of the design. The red parts are the oldest I printed, the white are the newer.
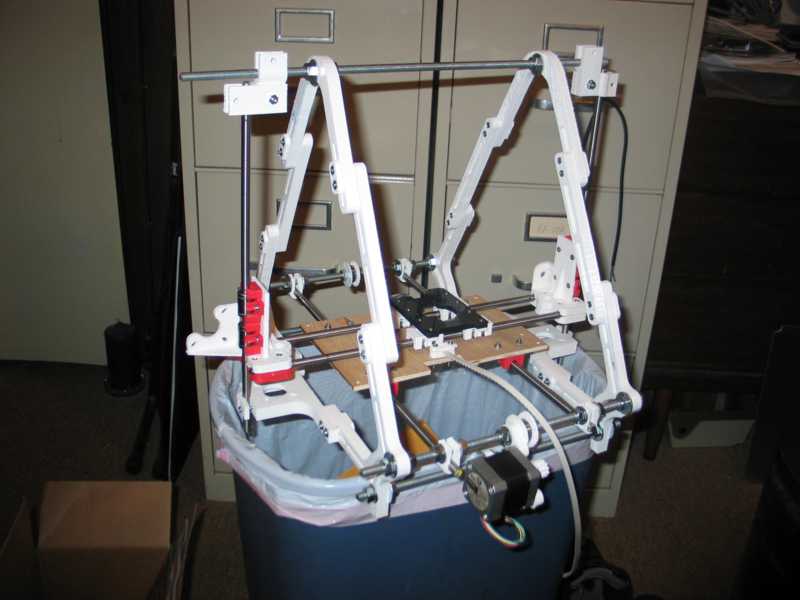
The black part is actually
a Lulzbot part left over from my original build. I redesigned some
LM8UU bearing brackets to bolt on, so all axes use the linear bearings.
When I first got the bearings, I thought they were crap. Noisy and jerky as hell. Then I bought some 8mm drill rod instead of the 5/16" ones I had. The difference was astounding. Much smoother. There is nothing wrong with the PLA bushings except they wear out. The linear ball bearings should last much, much longer.
The X ends are modified by
me to accommodate the bolt on bearing holders. They began as a Lulzbot
design.
I
was worried that all the joints would make alignment a booger. I cured
that by making a couple of simple jigs to hold the threaded rods in
position as I tightened all the screws on the frame triangles. It was
actually pretty easy.

Several people have
expressed an interest to support my work, so I have included a paypal
donate button.
I've made quite a bit of progress. It's slower when you design as you go!
I am incorporating new designs of my own, but also the best of what already exists. Some with minor modifications and some as is. Whatever is best for the design of this machine.
The different colors are due to the age of the design. The red parts are the oldest I printed, the white are the newer.

When I first got the bearings, I thought they were crap. Noisy and jerky as hell. Then I bought some 8mm drill rod instead of the 5/16" ones I had. The difference was astounding. Much smoother. There is nothing wrong with the PLA bushings except they wear out. The linear ball bearings should last much, much longer.


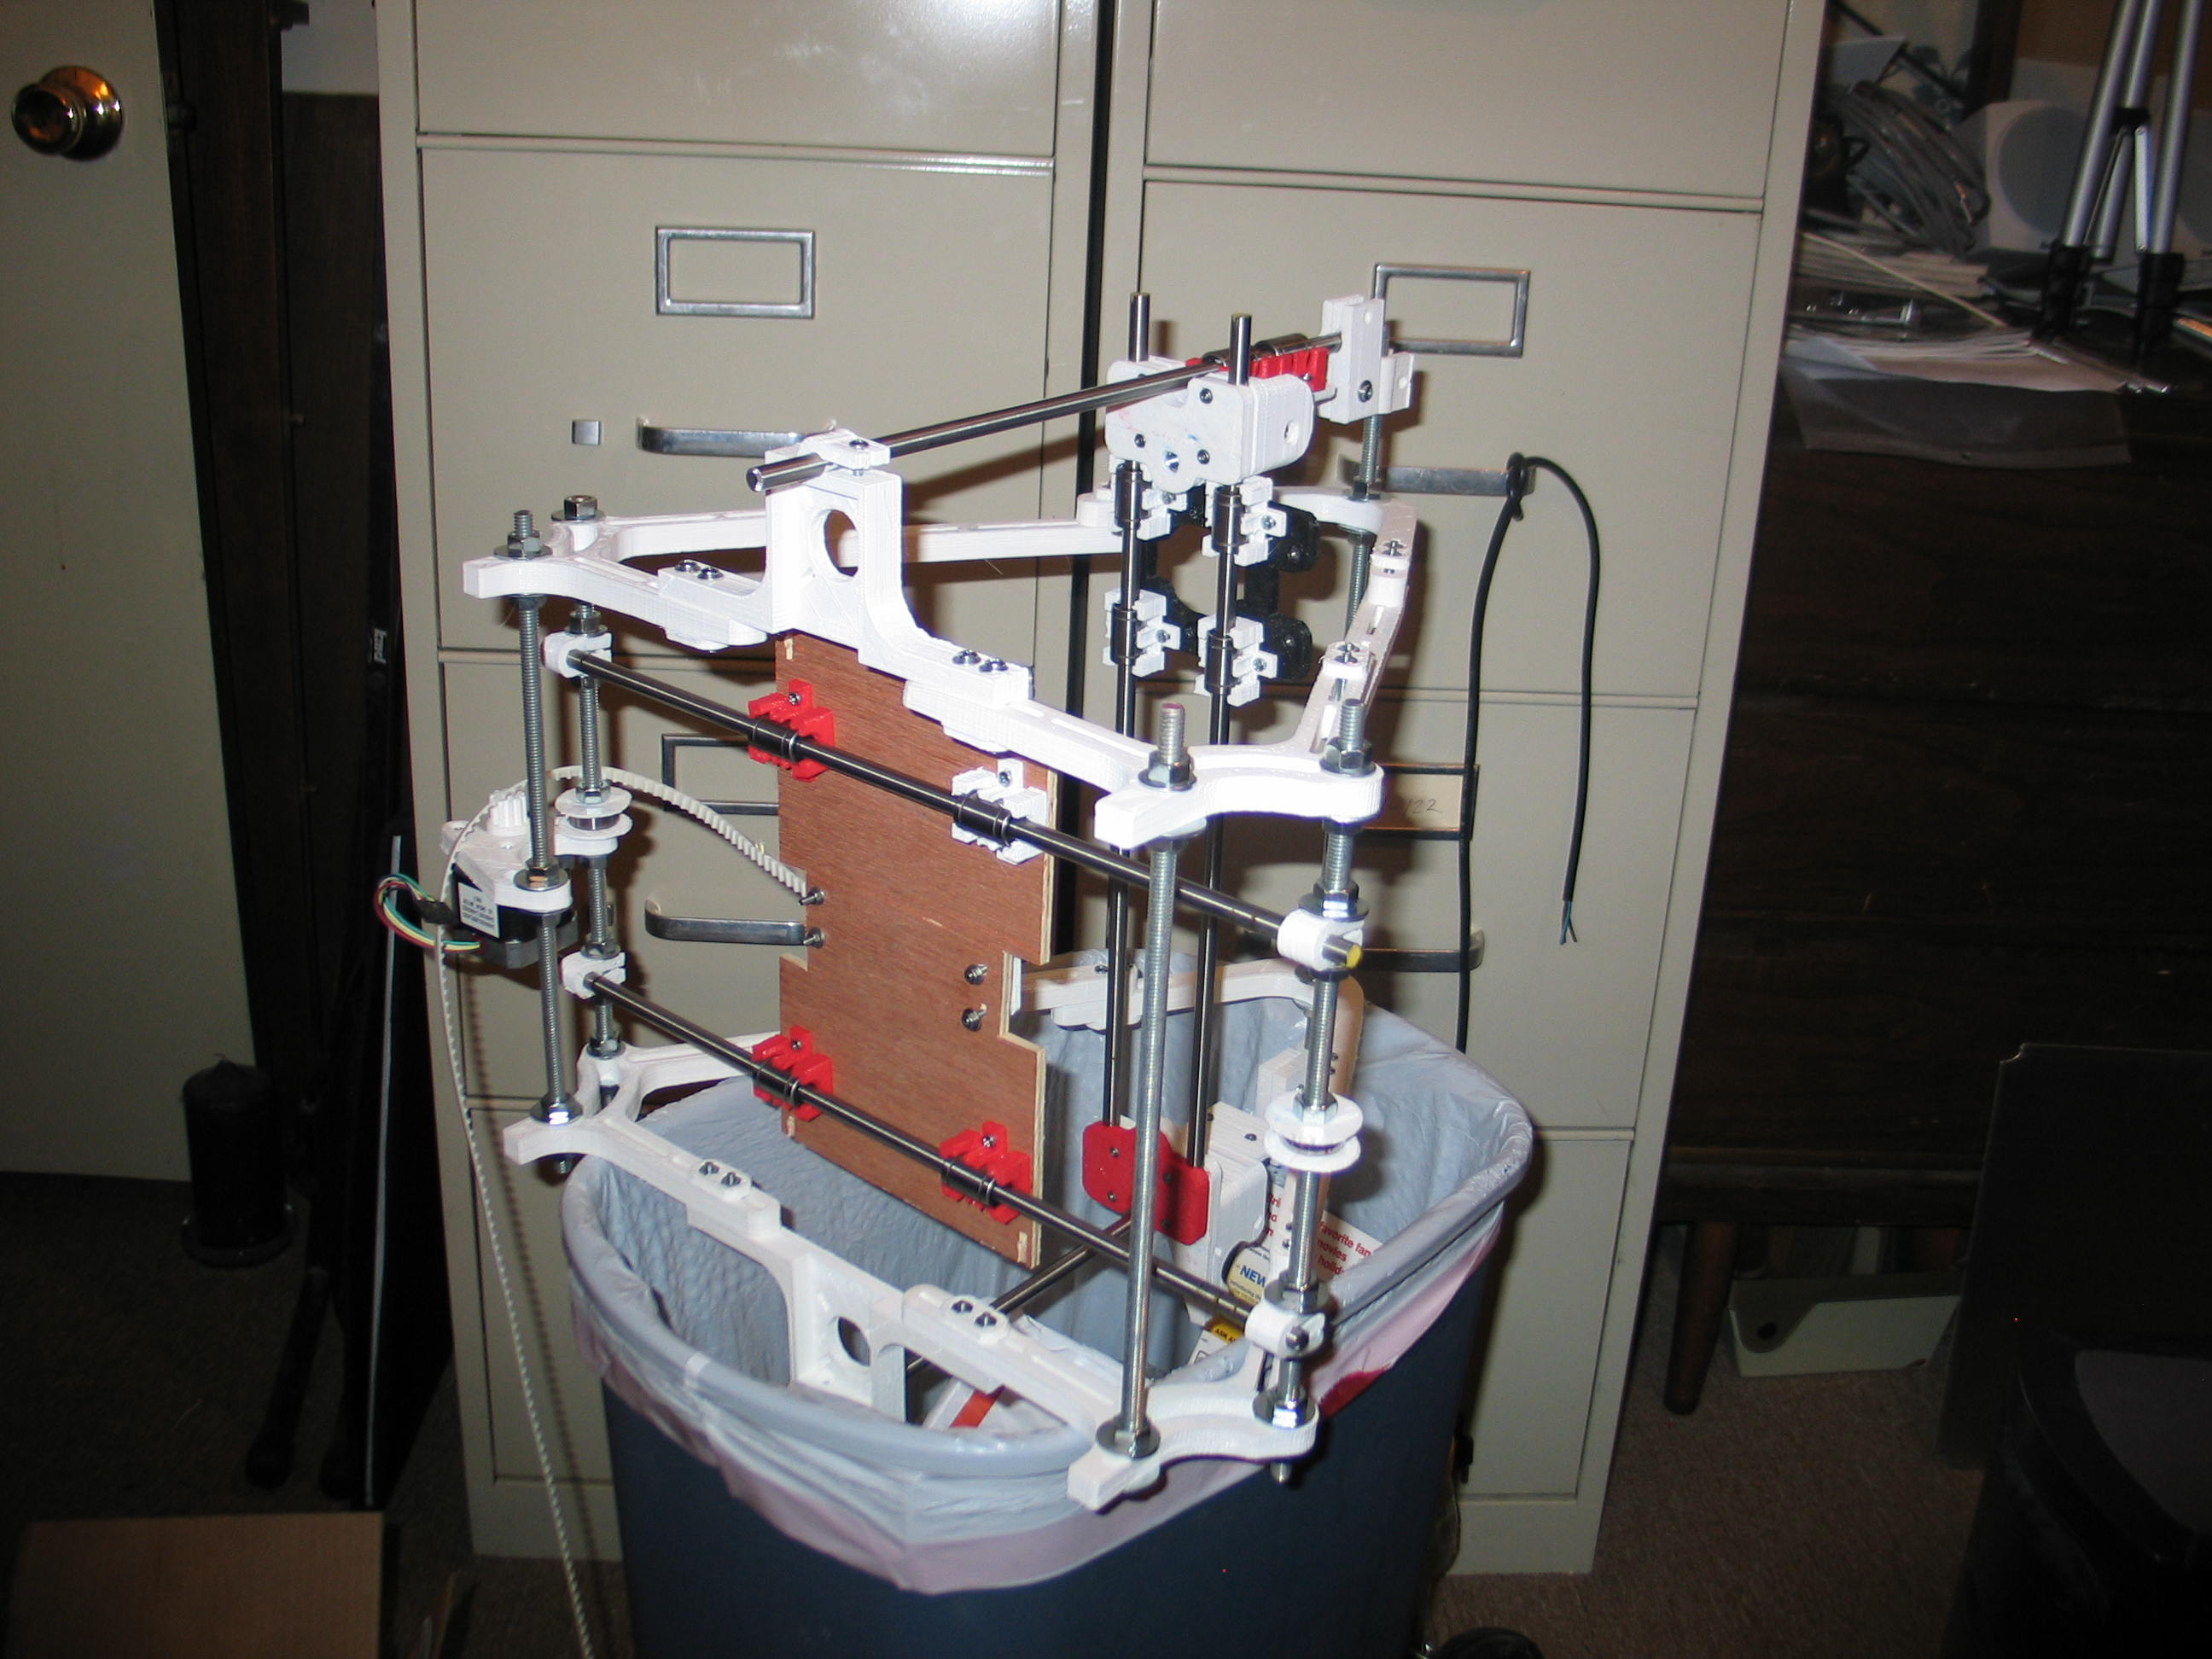
It's
hard to see, but the Y axis motor mount has an arc where it mounts to
the lower threaded rod. This adds a much needed way to easily adjust
the belt tension as the belt stretches over time.
One nice thing about the linear bearing holders, both the y axis table and the X axis carriage can be snapped off and on. The holders have provision for zip ties, but it looks like they won't be needed.

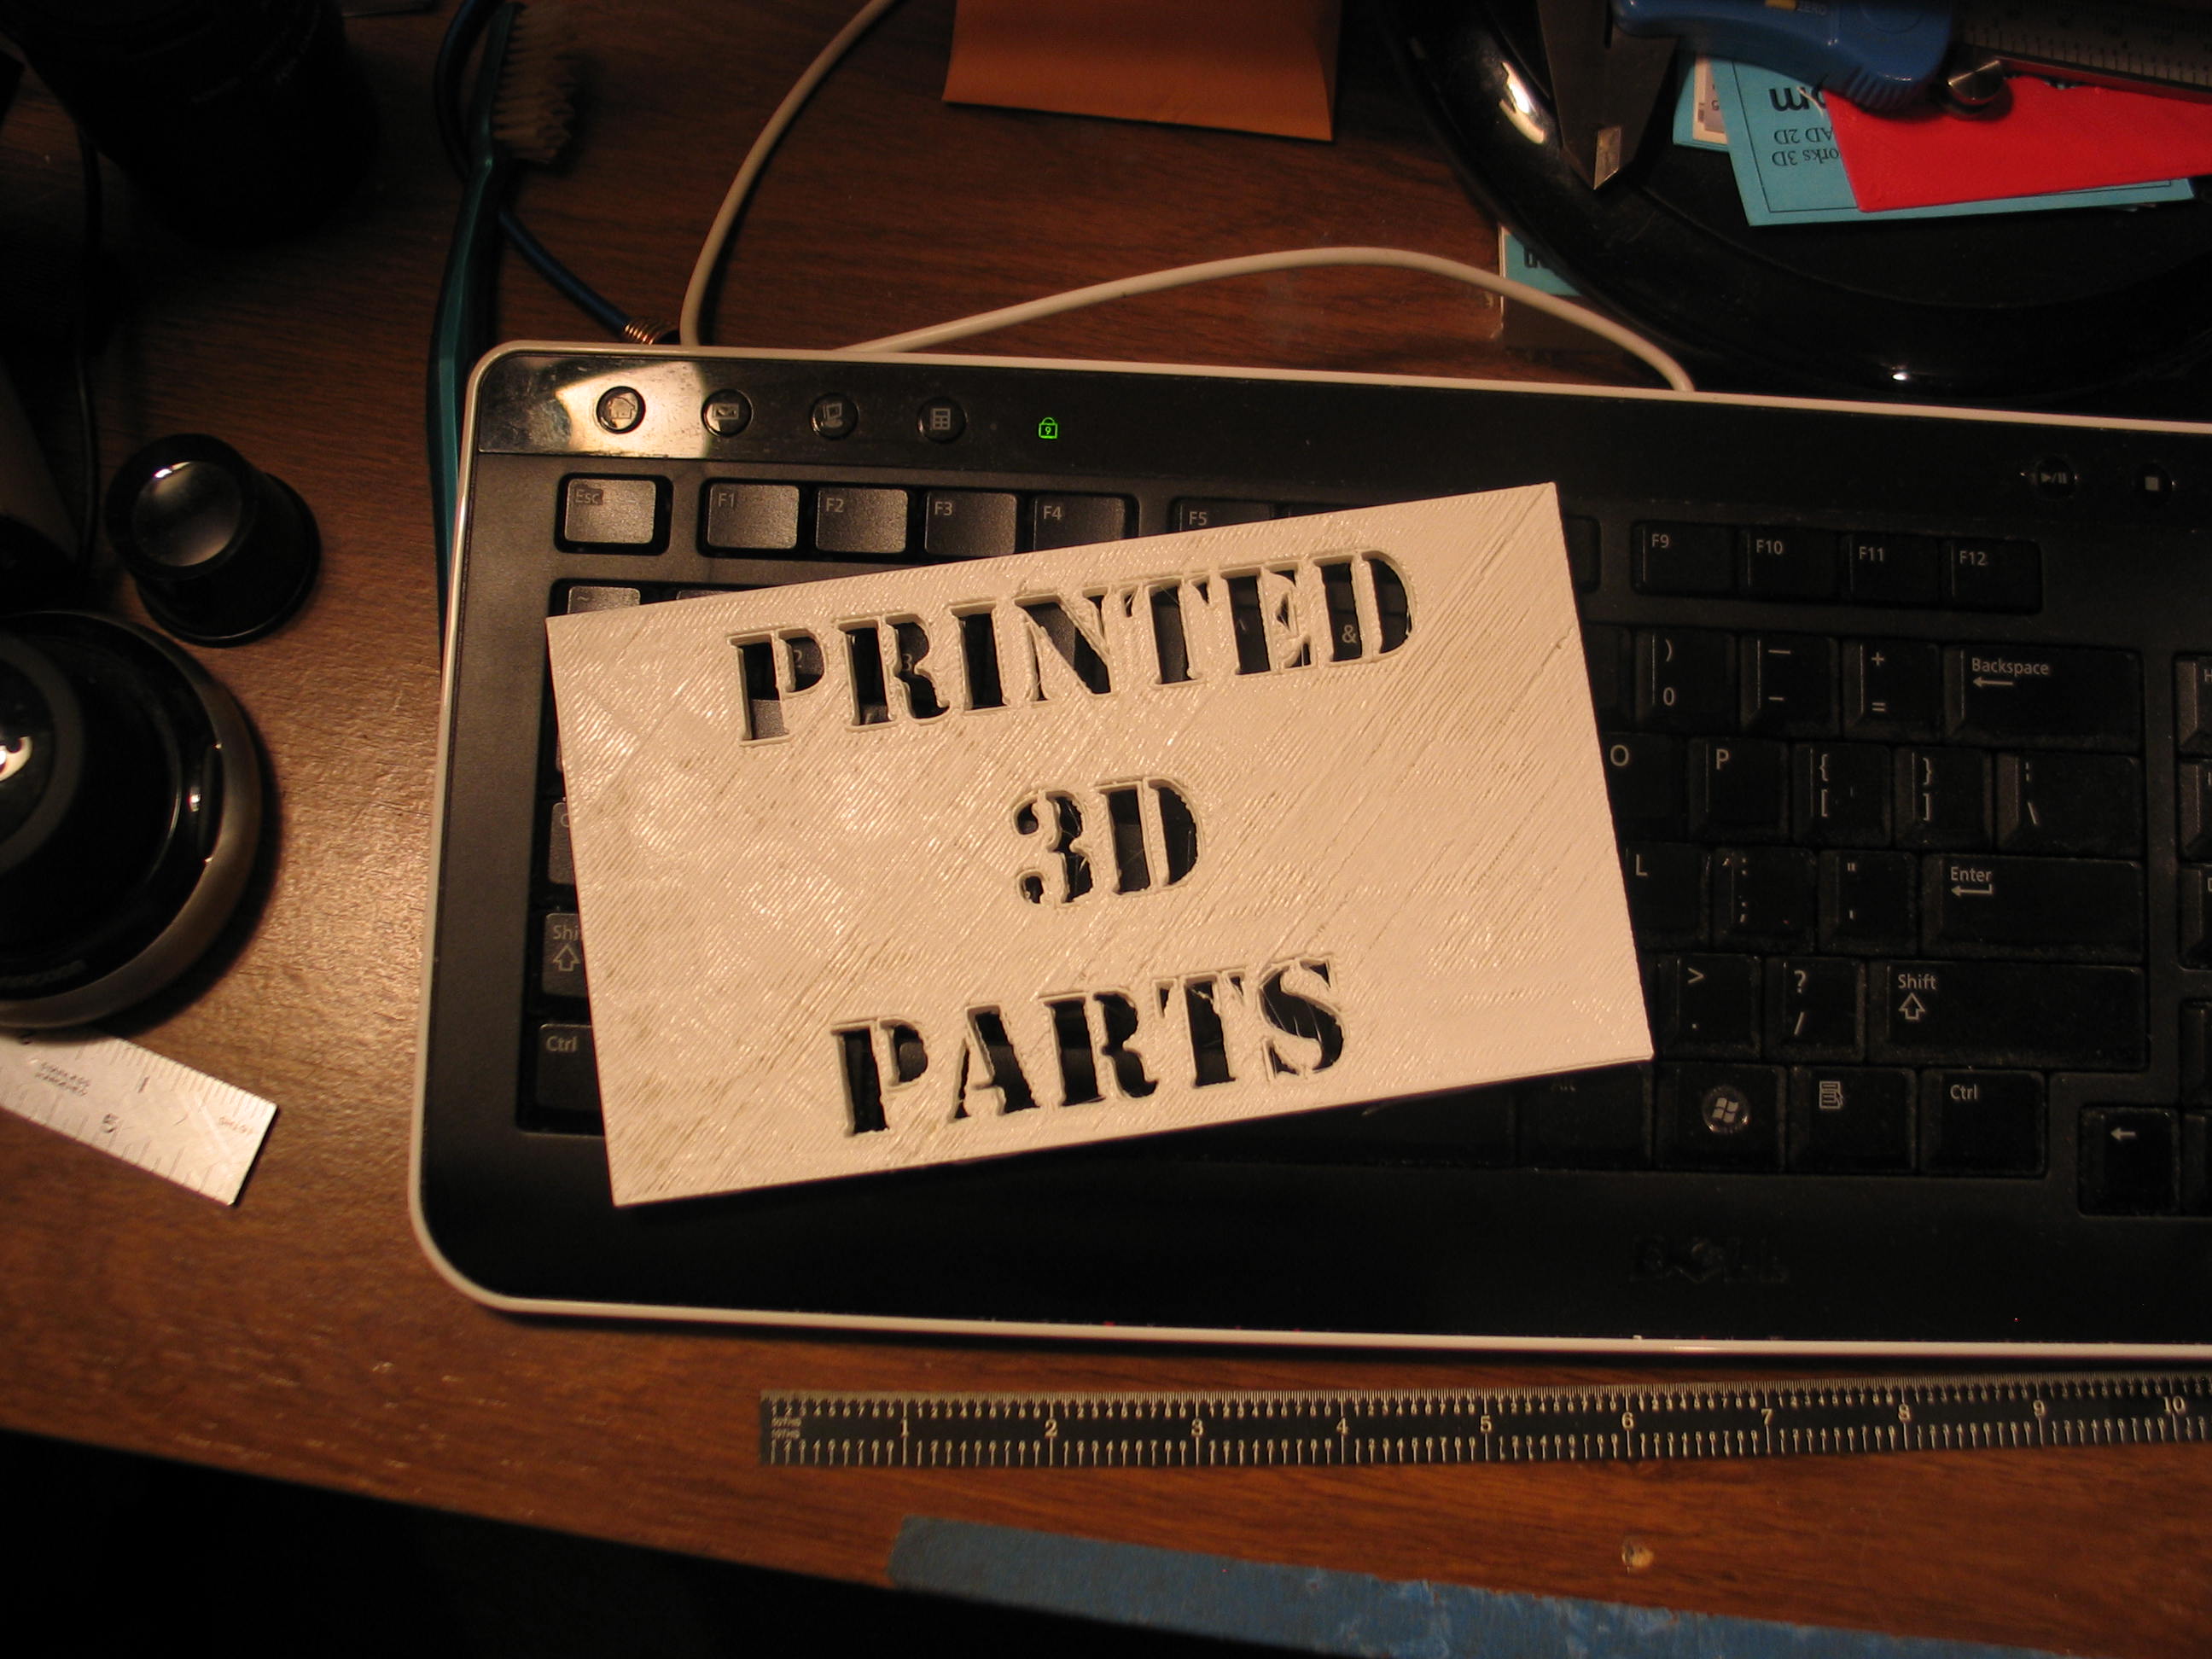
I am hoping to sell parts in the future. I have started a new web store at printed3dparts.com. Not much there, yet. I have to learn how to use Zencart.
Also published with part files on Thingiverse.
http://www.thingiverse.com/thing:14111
Please feel free to ask any questions in the comment box, below.
One nice thing about the linear bearing holders, both the y axis table and the X axis carriage can be snapped off and on. The holders have provision for zip ties, but it looks like they won't be needed.
I am hoping to sell parts in the future. I have started a new web store at printed3dparts.com. Not much there, yet. I have to learn how to use Zencart.
Also published with part files on Thingiverse.
http://www.thingiverse.com/thing:14111
Please feel free to ask any questions in the comment box, below.