A
brand new Mendel! I call it the 2012.
I wanted to make the current version of the Prusa Mendel before I modified it to try to understand why things were done as they were. Been there, done that. Now for the mods!
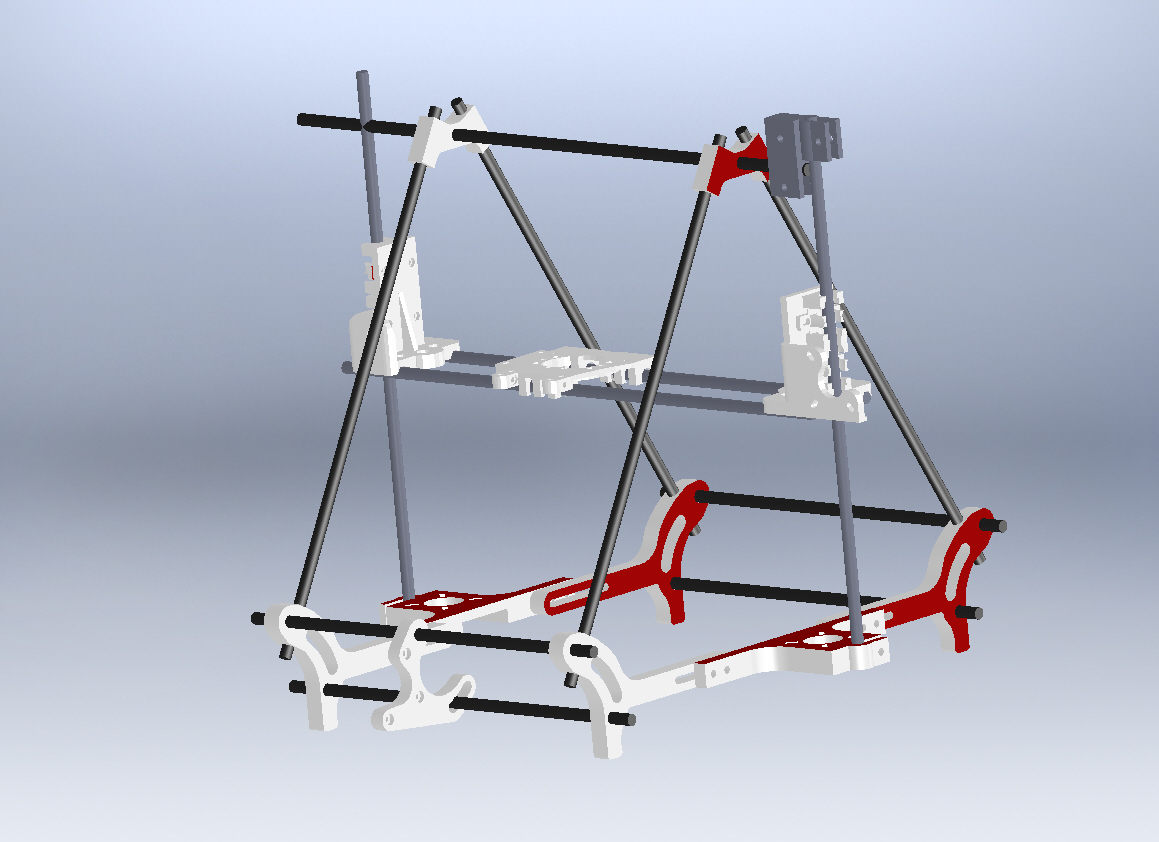
I was unhappy with the electronics mounted high. The wires were too long and it made for poor visibility of the print bed. To make the wires shorter and lower the center of gravity, I decided to put the Z axis motors on the bottom. This was also a good time to reduce the part count and use less hardware.

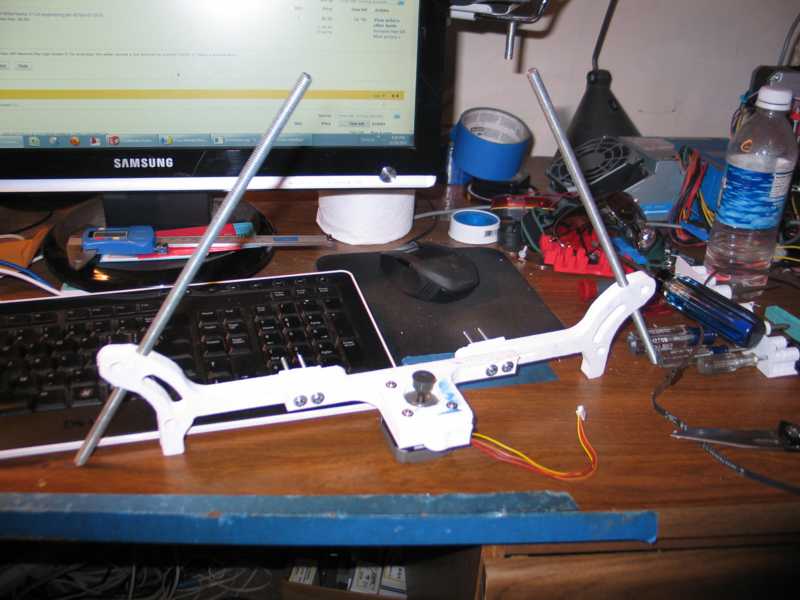
This was my first concept,
above. I wanted the Y axis motor mount to have a way
to tension the belt, so the curved slot. A good start, but still too
much hardware.
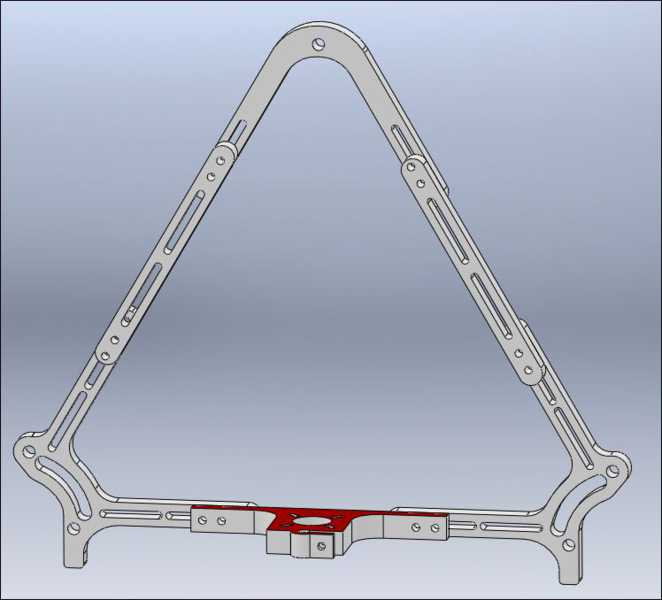
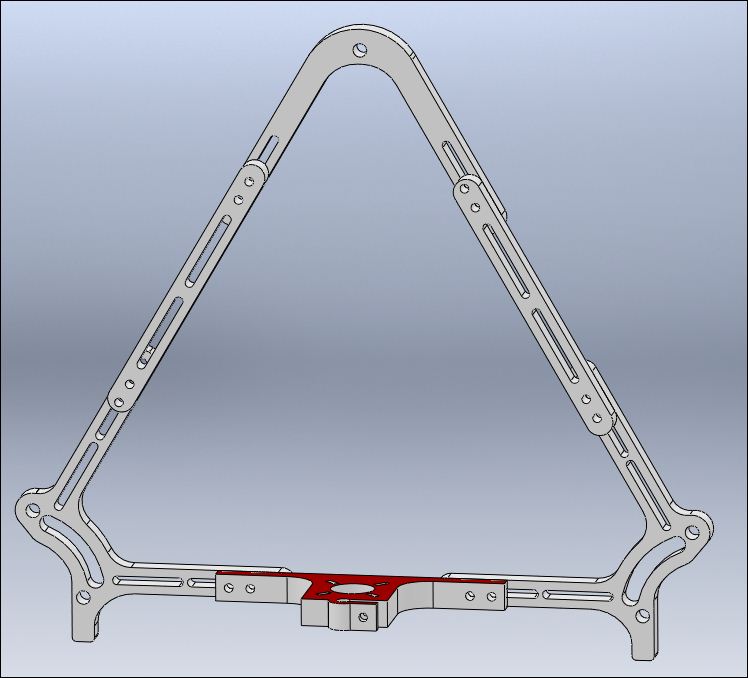
In case you are wondering "Why the red?", I mark the face that goes against the print bed to keep me from adding features to the wrong side of the part.
I printed a proof of
concept. It is bolted together with 6-32 screws and seems plenty sturdy.

No larger version of this shot, sorry.
I wanted more printed
parts, so this is the almost current version. I have modified the side
plates since this was taken, but it shows the captive rod clamp for the
Z axis smooth rod.
I
am printing these parts as I type.


I wanted to make the current version of the Prusa Mendel before I modified it to try to understand why things were done as they were. Been there, done that. Now for the mods!
I was unhappy with the electronics mounted high. The wires were too long and it made for poor visibility of the print bed. To make the wires shorter and lower the center of gravity, I decided to put the Z axis motors on the bottom. This was also a good time to reduce the part count and use less hardware.
In case you are wondering "Why the red?", I mark the face that goes against the print bed to keep me from adding features to the wrong side of the part.
No larger version of this shot, sorry.

This
is the equivalent of the footed vertex.

It bolts together the same way as the prototype near the top of the page.
I bought some cheap LM8UU linear bearings from Ebay. I thought they were junk when I slid them up and down a 5/16 smooth rod. They jerked something fierce. Then I ordered some 8mm rod and man, what a difference! So this machine is going to use the linear bearings on all axes.
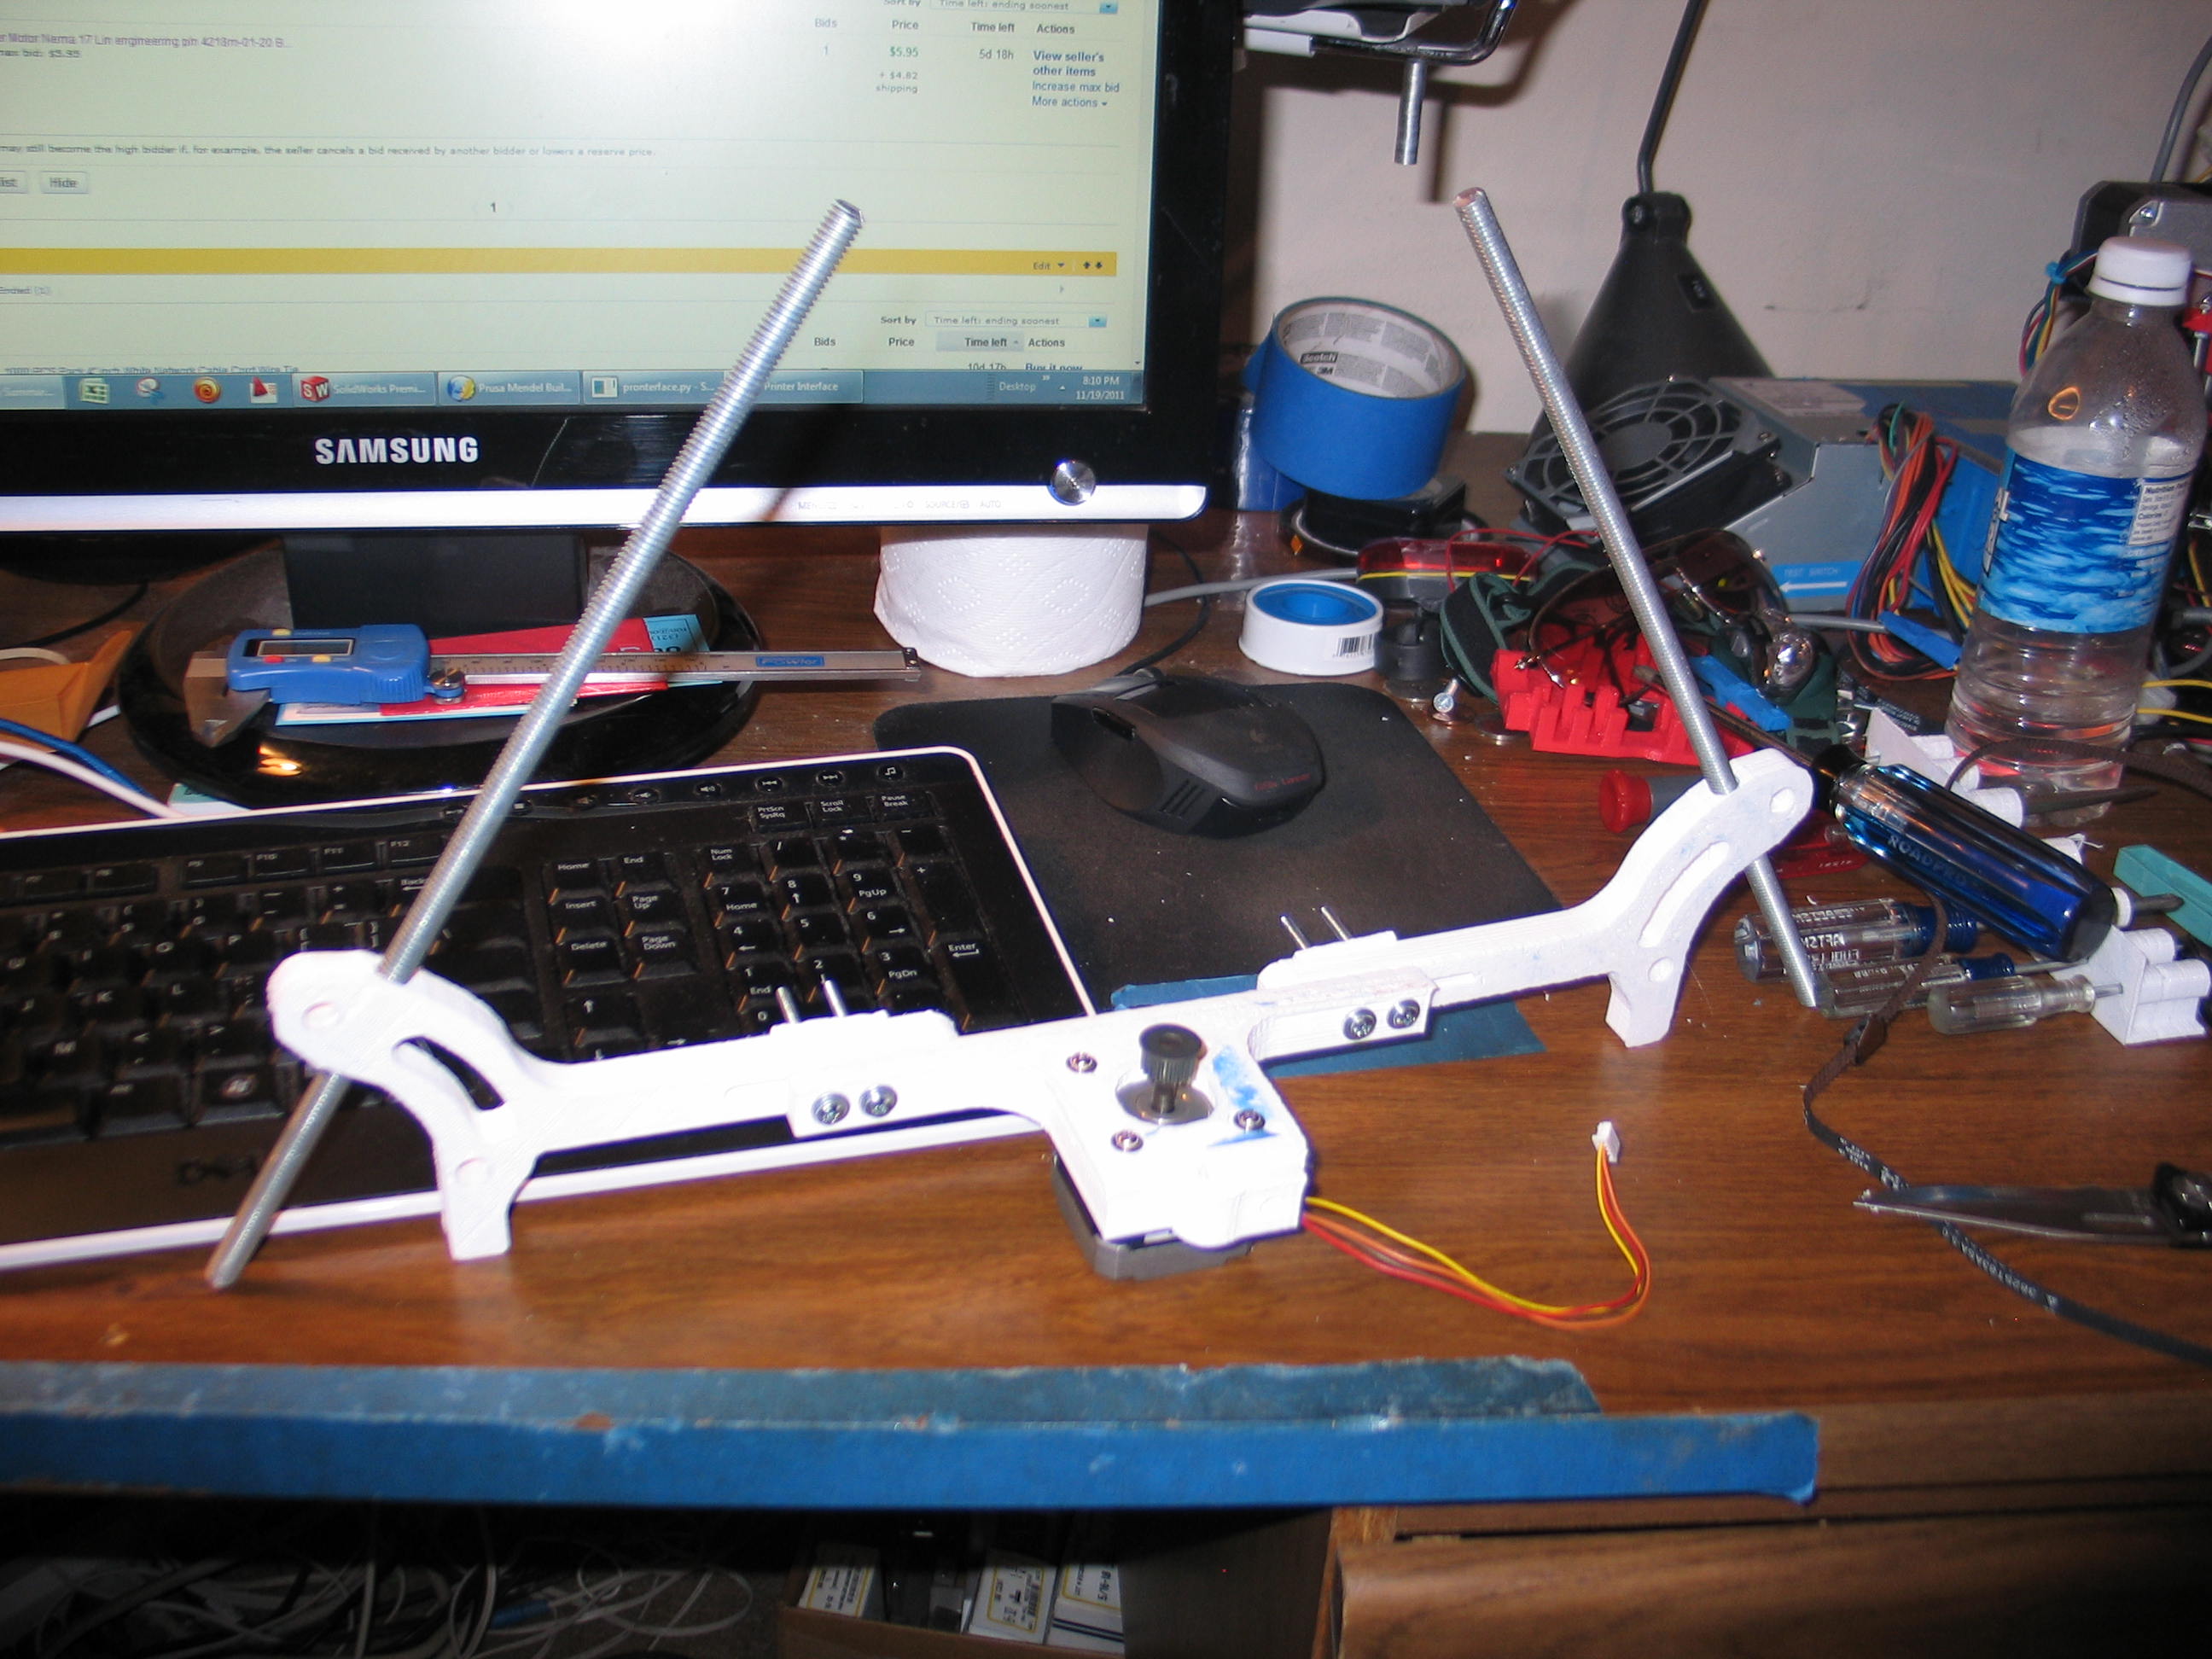
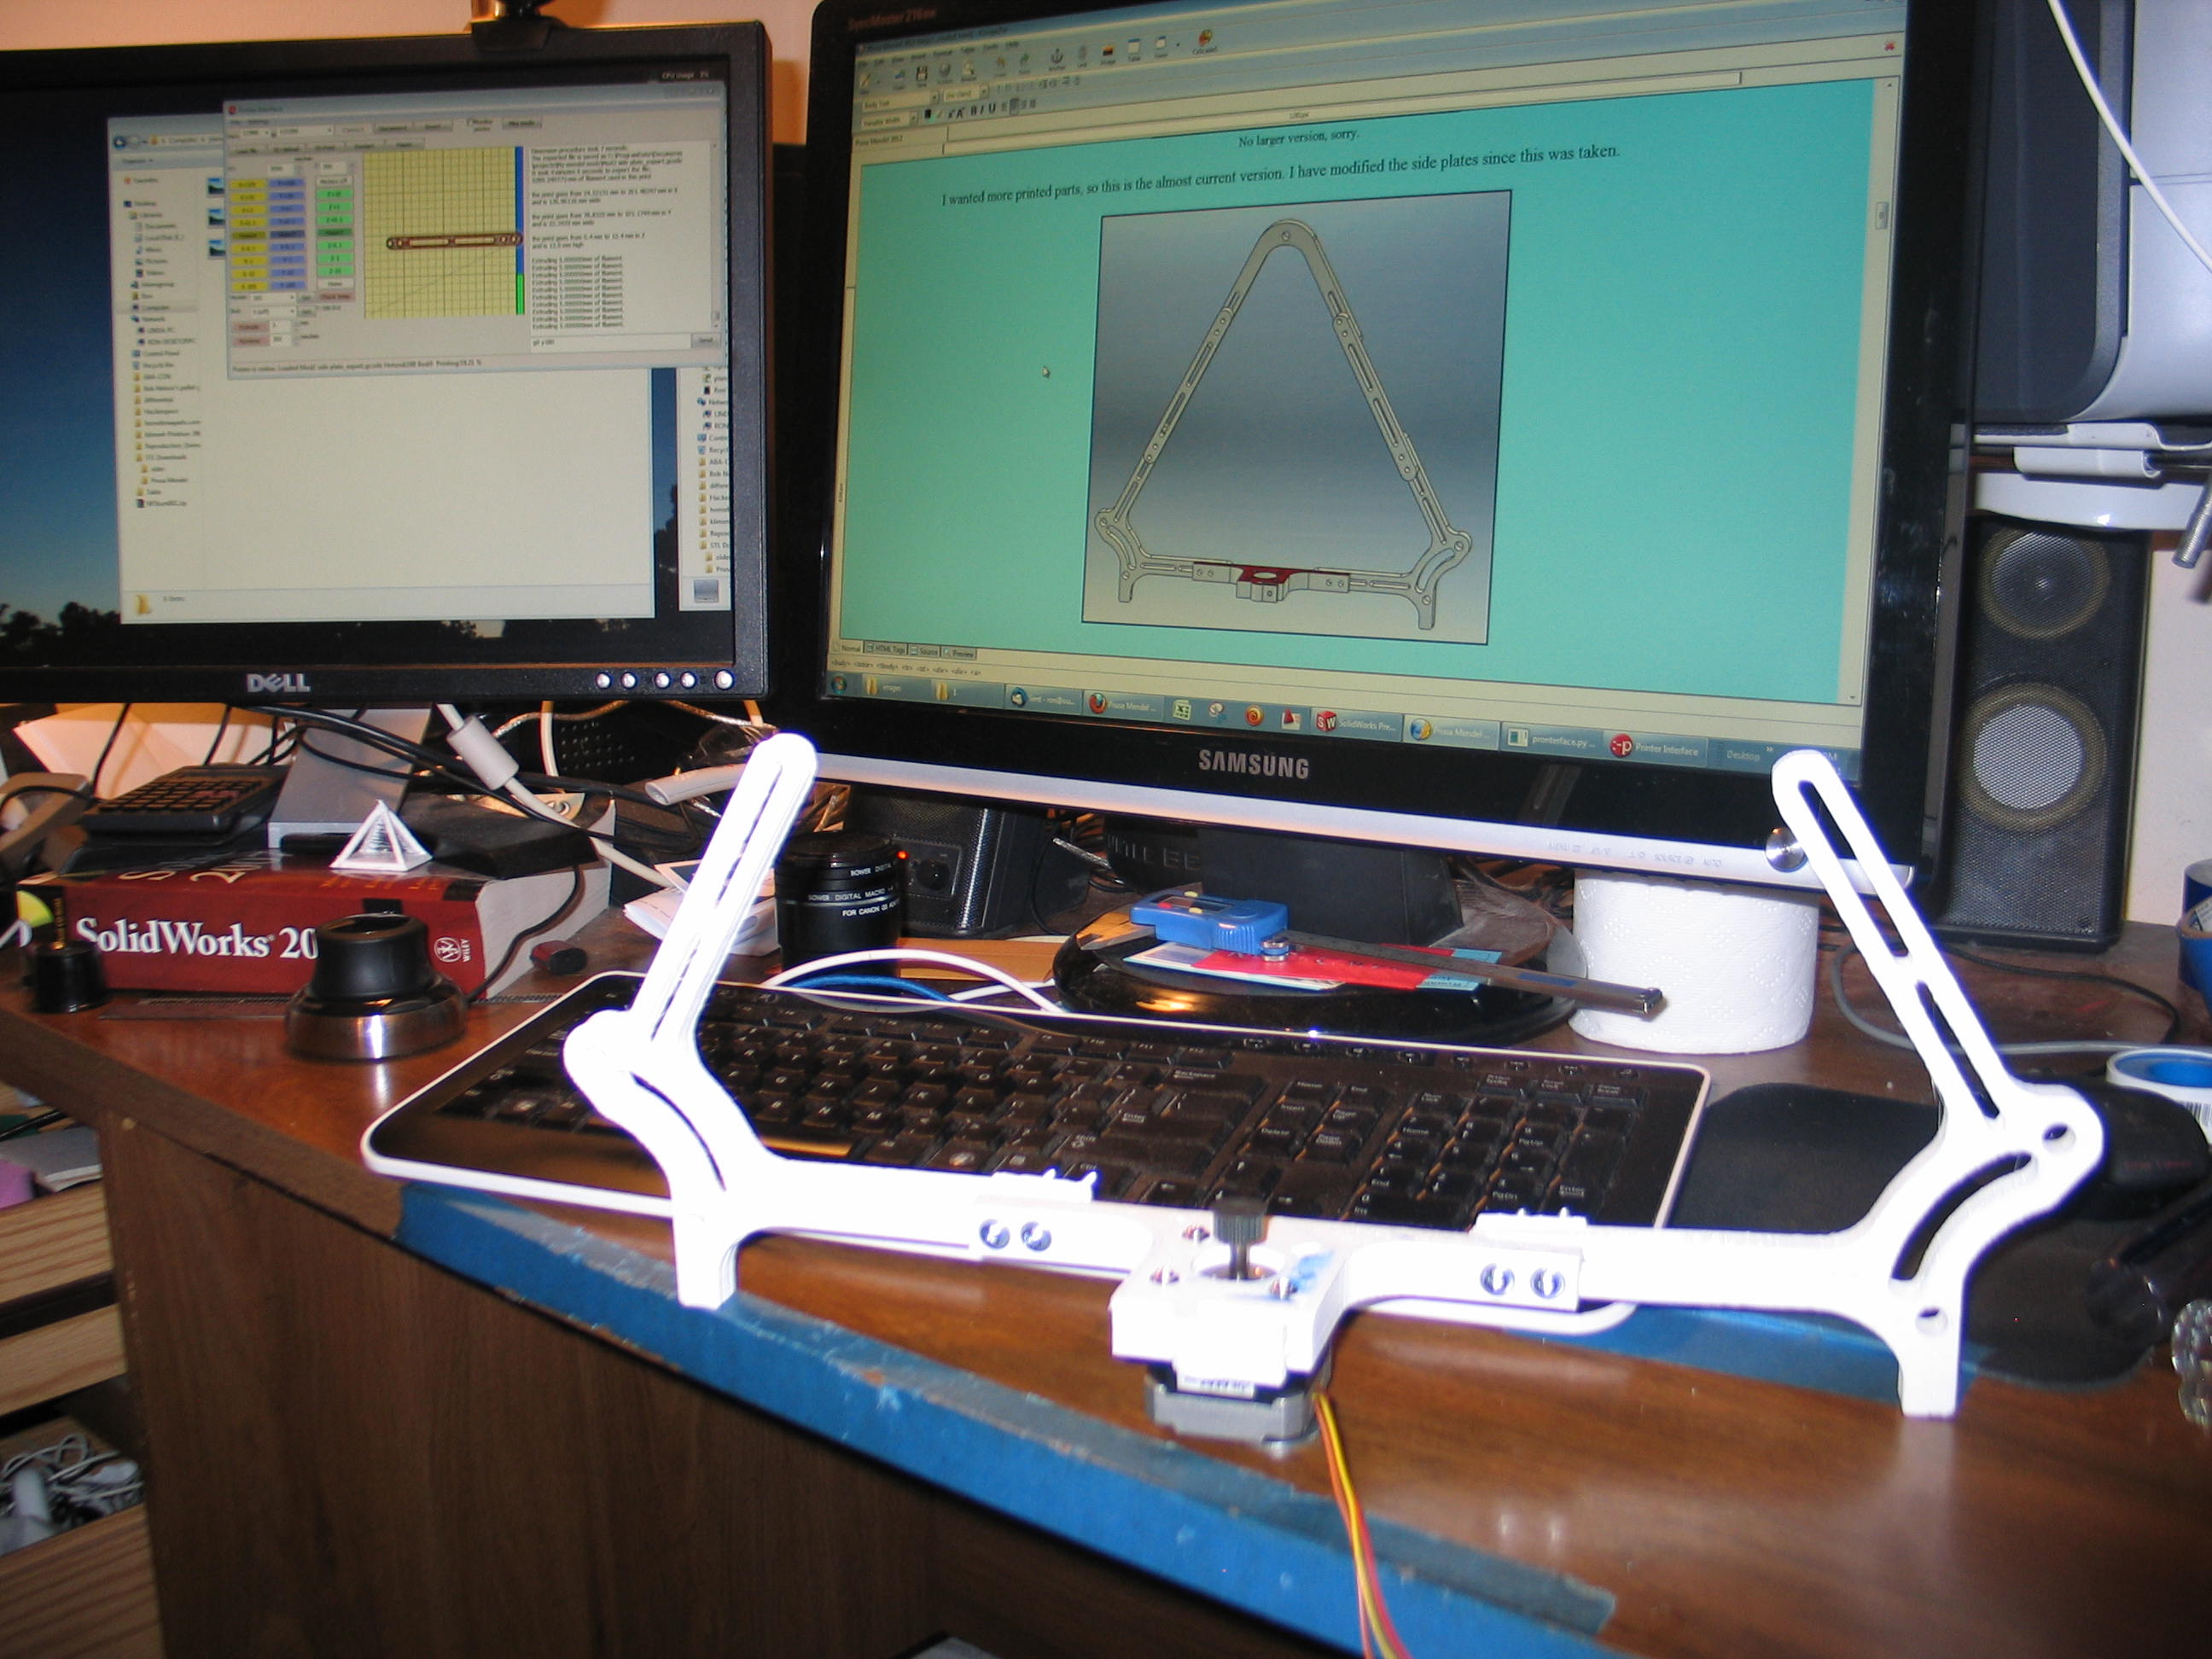
This
is what I have printed,
so far. If you blow up the photo, you can see the nut plates. I got
tired of holding a wrench real quick. These nut plates print quick and
give plenty of friction for a non-slip joint. The long slots allow for
easy adjustment. Something that will come in handy for aligning the Z
axis vertical.
In an effort to reduce the hardware part count, I am using 6-32 screws. The idea is to buy a bunch of long ones, say 2", and cut them as needed. I have a pair of wire strippers with a decent bolt cutter built in. It even straightens the threads.
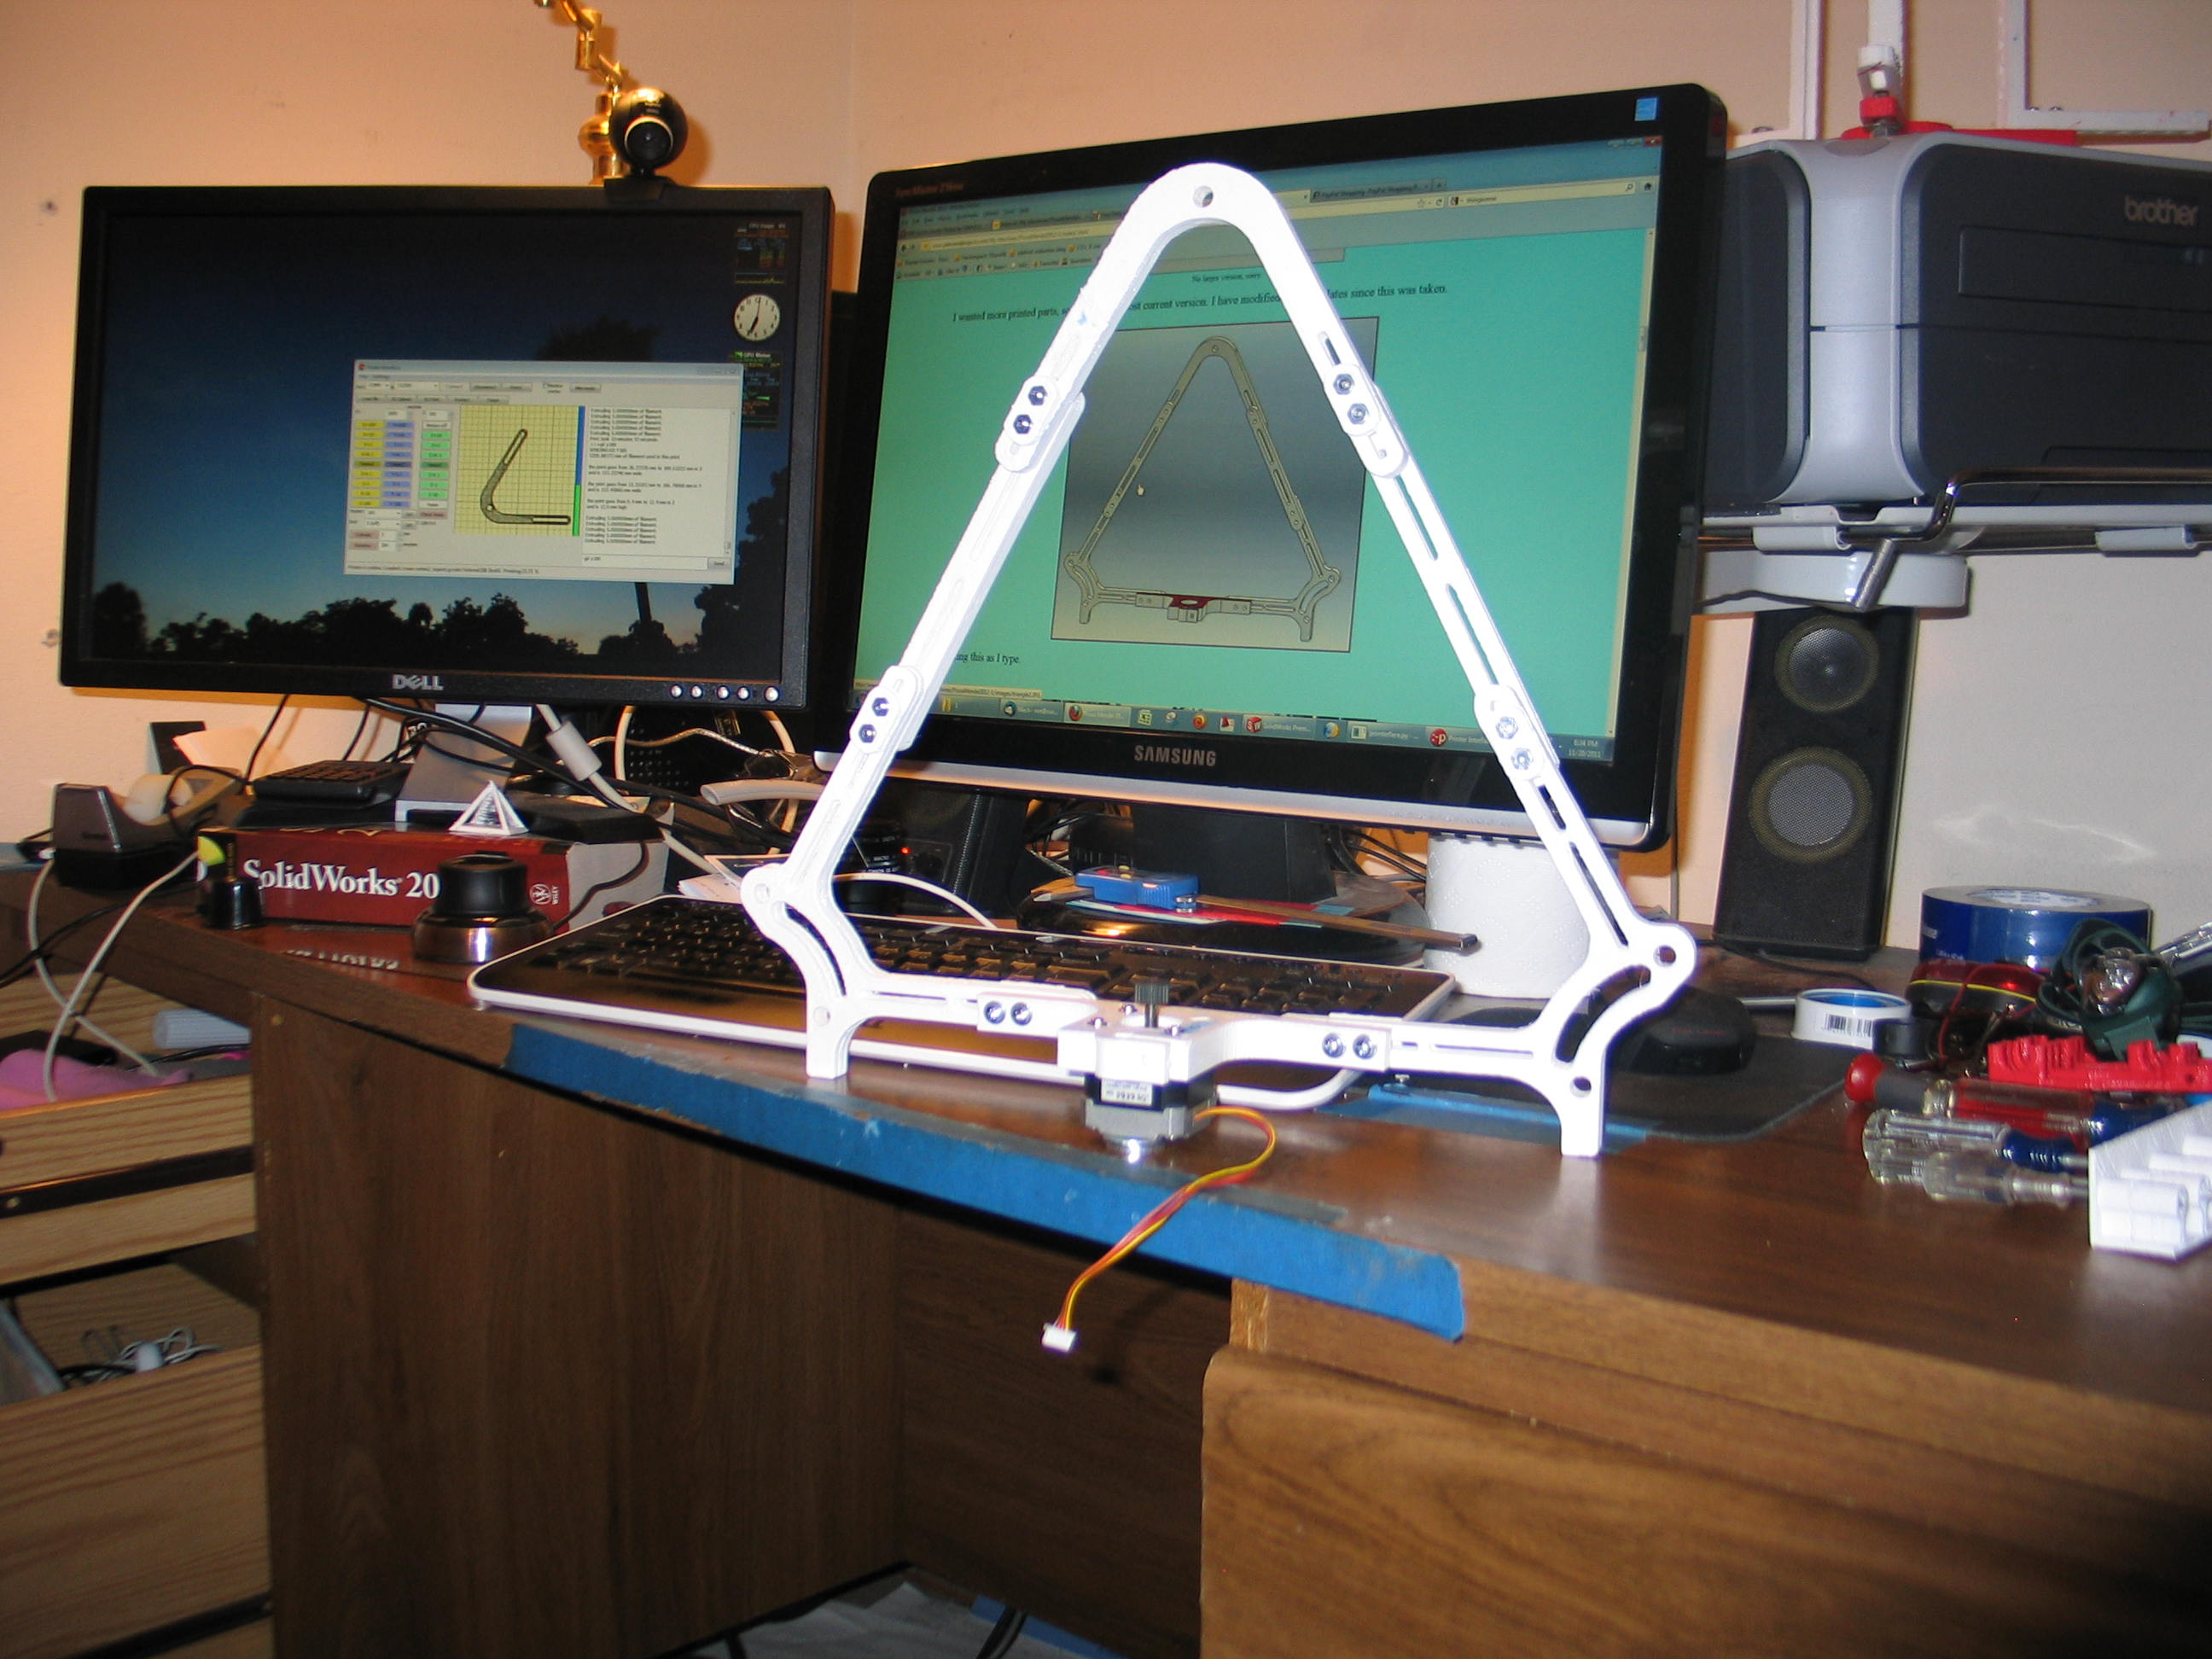
I am printing the second triangle, now. I have high hopes for the 2012!
In an effort to reduce the hardware part count, I am using 6-32 screws. The idea is to buy a bunch of long ones, say 2", and cut them as needed. I have a pair of wire strippers with a decent bolt cutter built in. It even straightens the threads.
I am printing the second triangle, now. I have high hopes for the 2012!