
I decided on one upgrade right from the start. Most every build I read about had issues with Z axis motor wobble. I believe solid rod connectors are never a good idea, so I bought these aluminum flex couplers from ebay seller nrg24seven. I paid $15.90 US plus $2 shipping to Florida. These couplers are 8MM on one side and 5MM on the other. The 8MM was a little large for the 5/16" threaded rod, so I wrapped a piece of .1MM thick aluminum around the rod. I was careful to make the aluminum a little short to assure it didn't overlap itself.
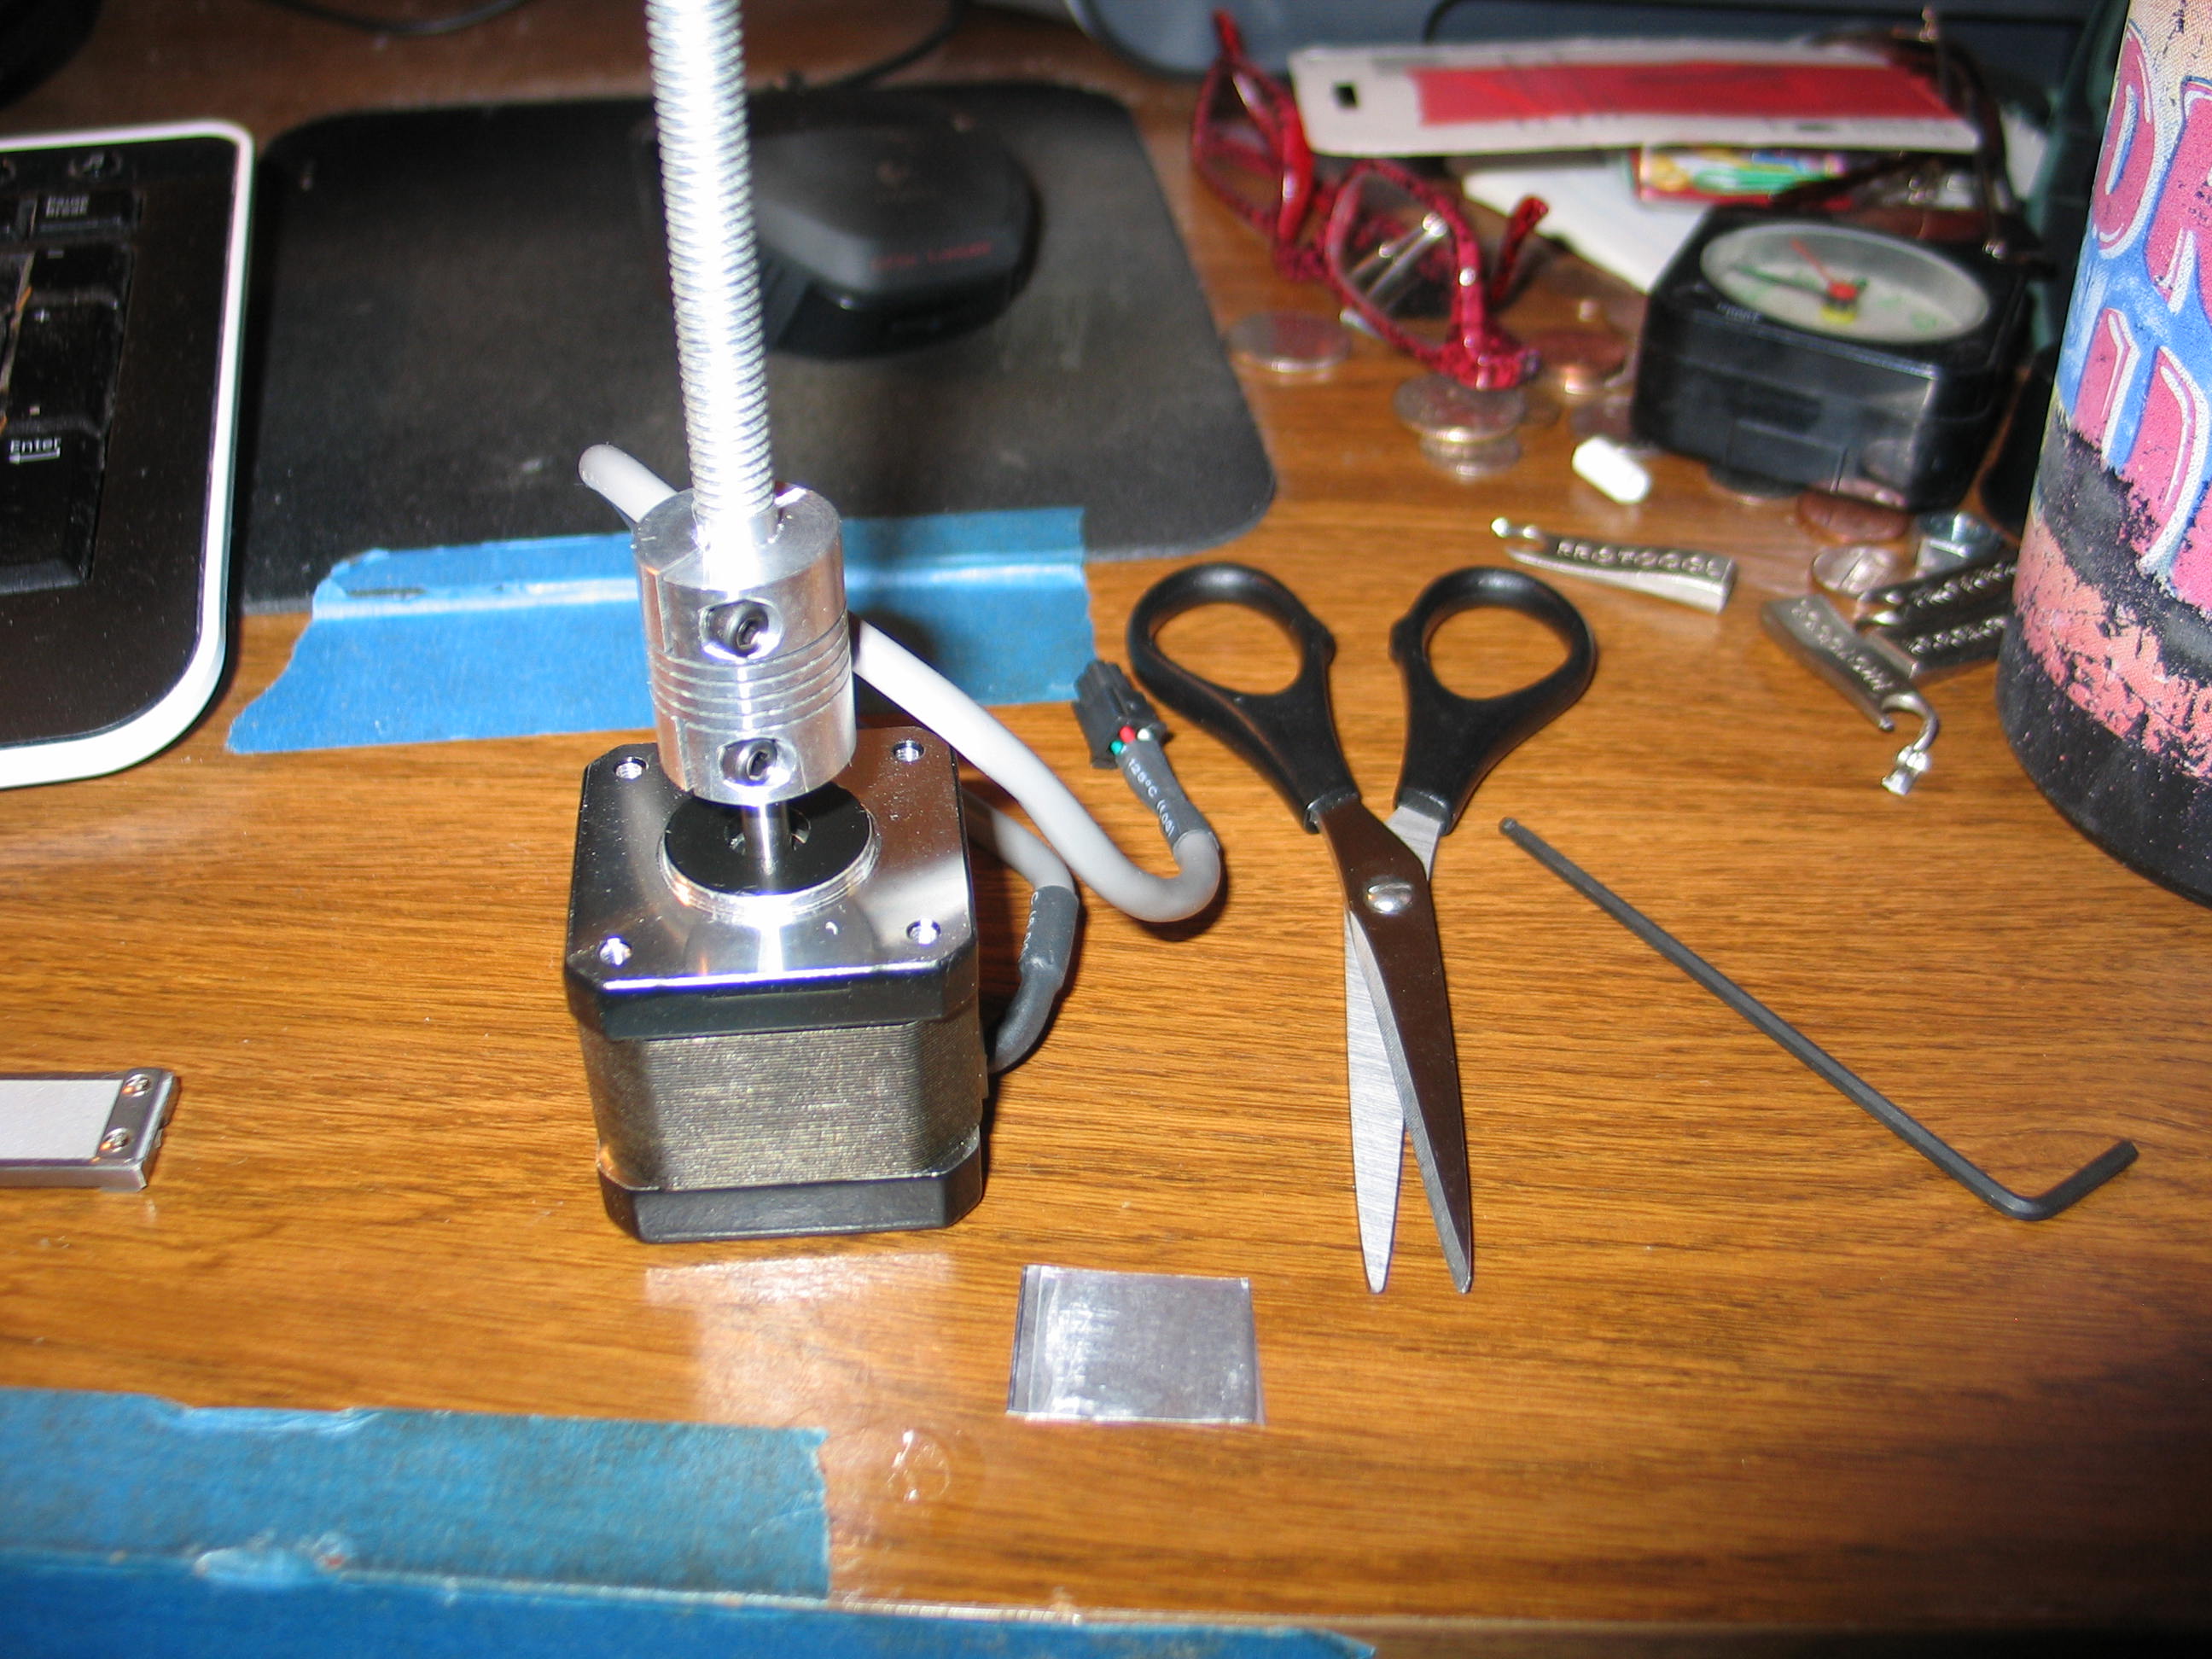
The thin aluminum is easy to cut with scissors.
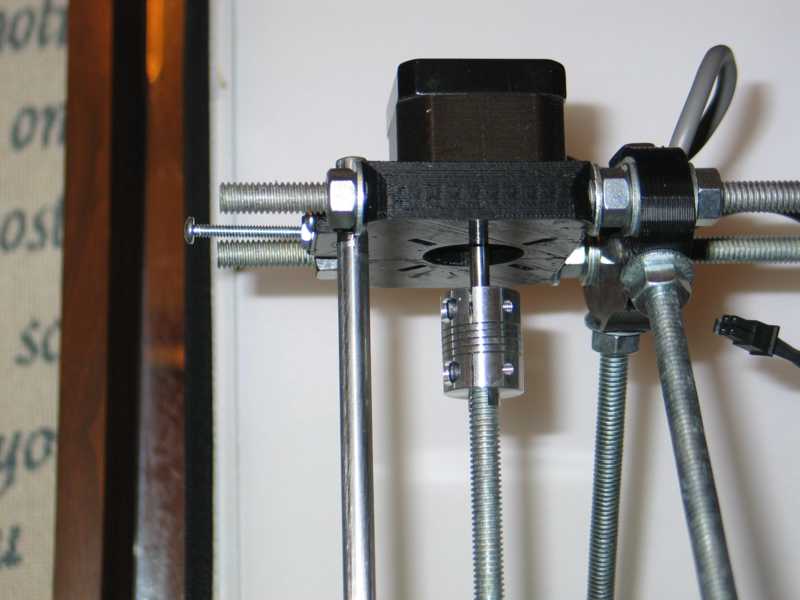
They hang down out of the motor mount, but even if they didn't there was plenty of room. I mounted it out this far so the motor shaft wouldn't protrude into the flexible part.


They hang down out of the motor mount, but even if they didn't there was plenty of room. I mounted it out this far so the motor shaft wouldn't protrude into the flexible part.

The nice thing about a small, lightweight machineis, you can flip it over for easier access.

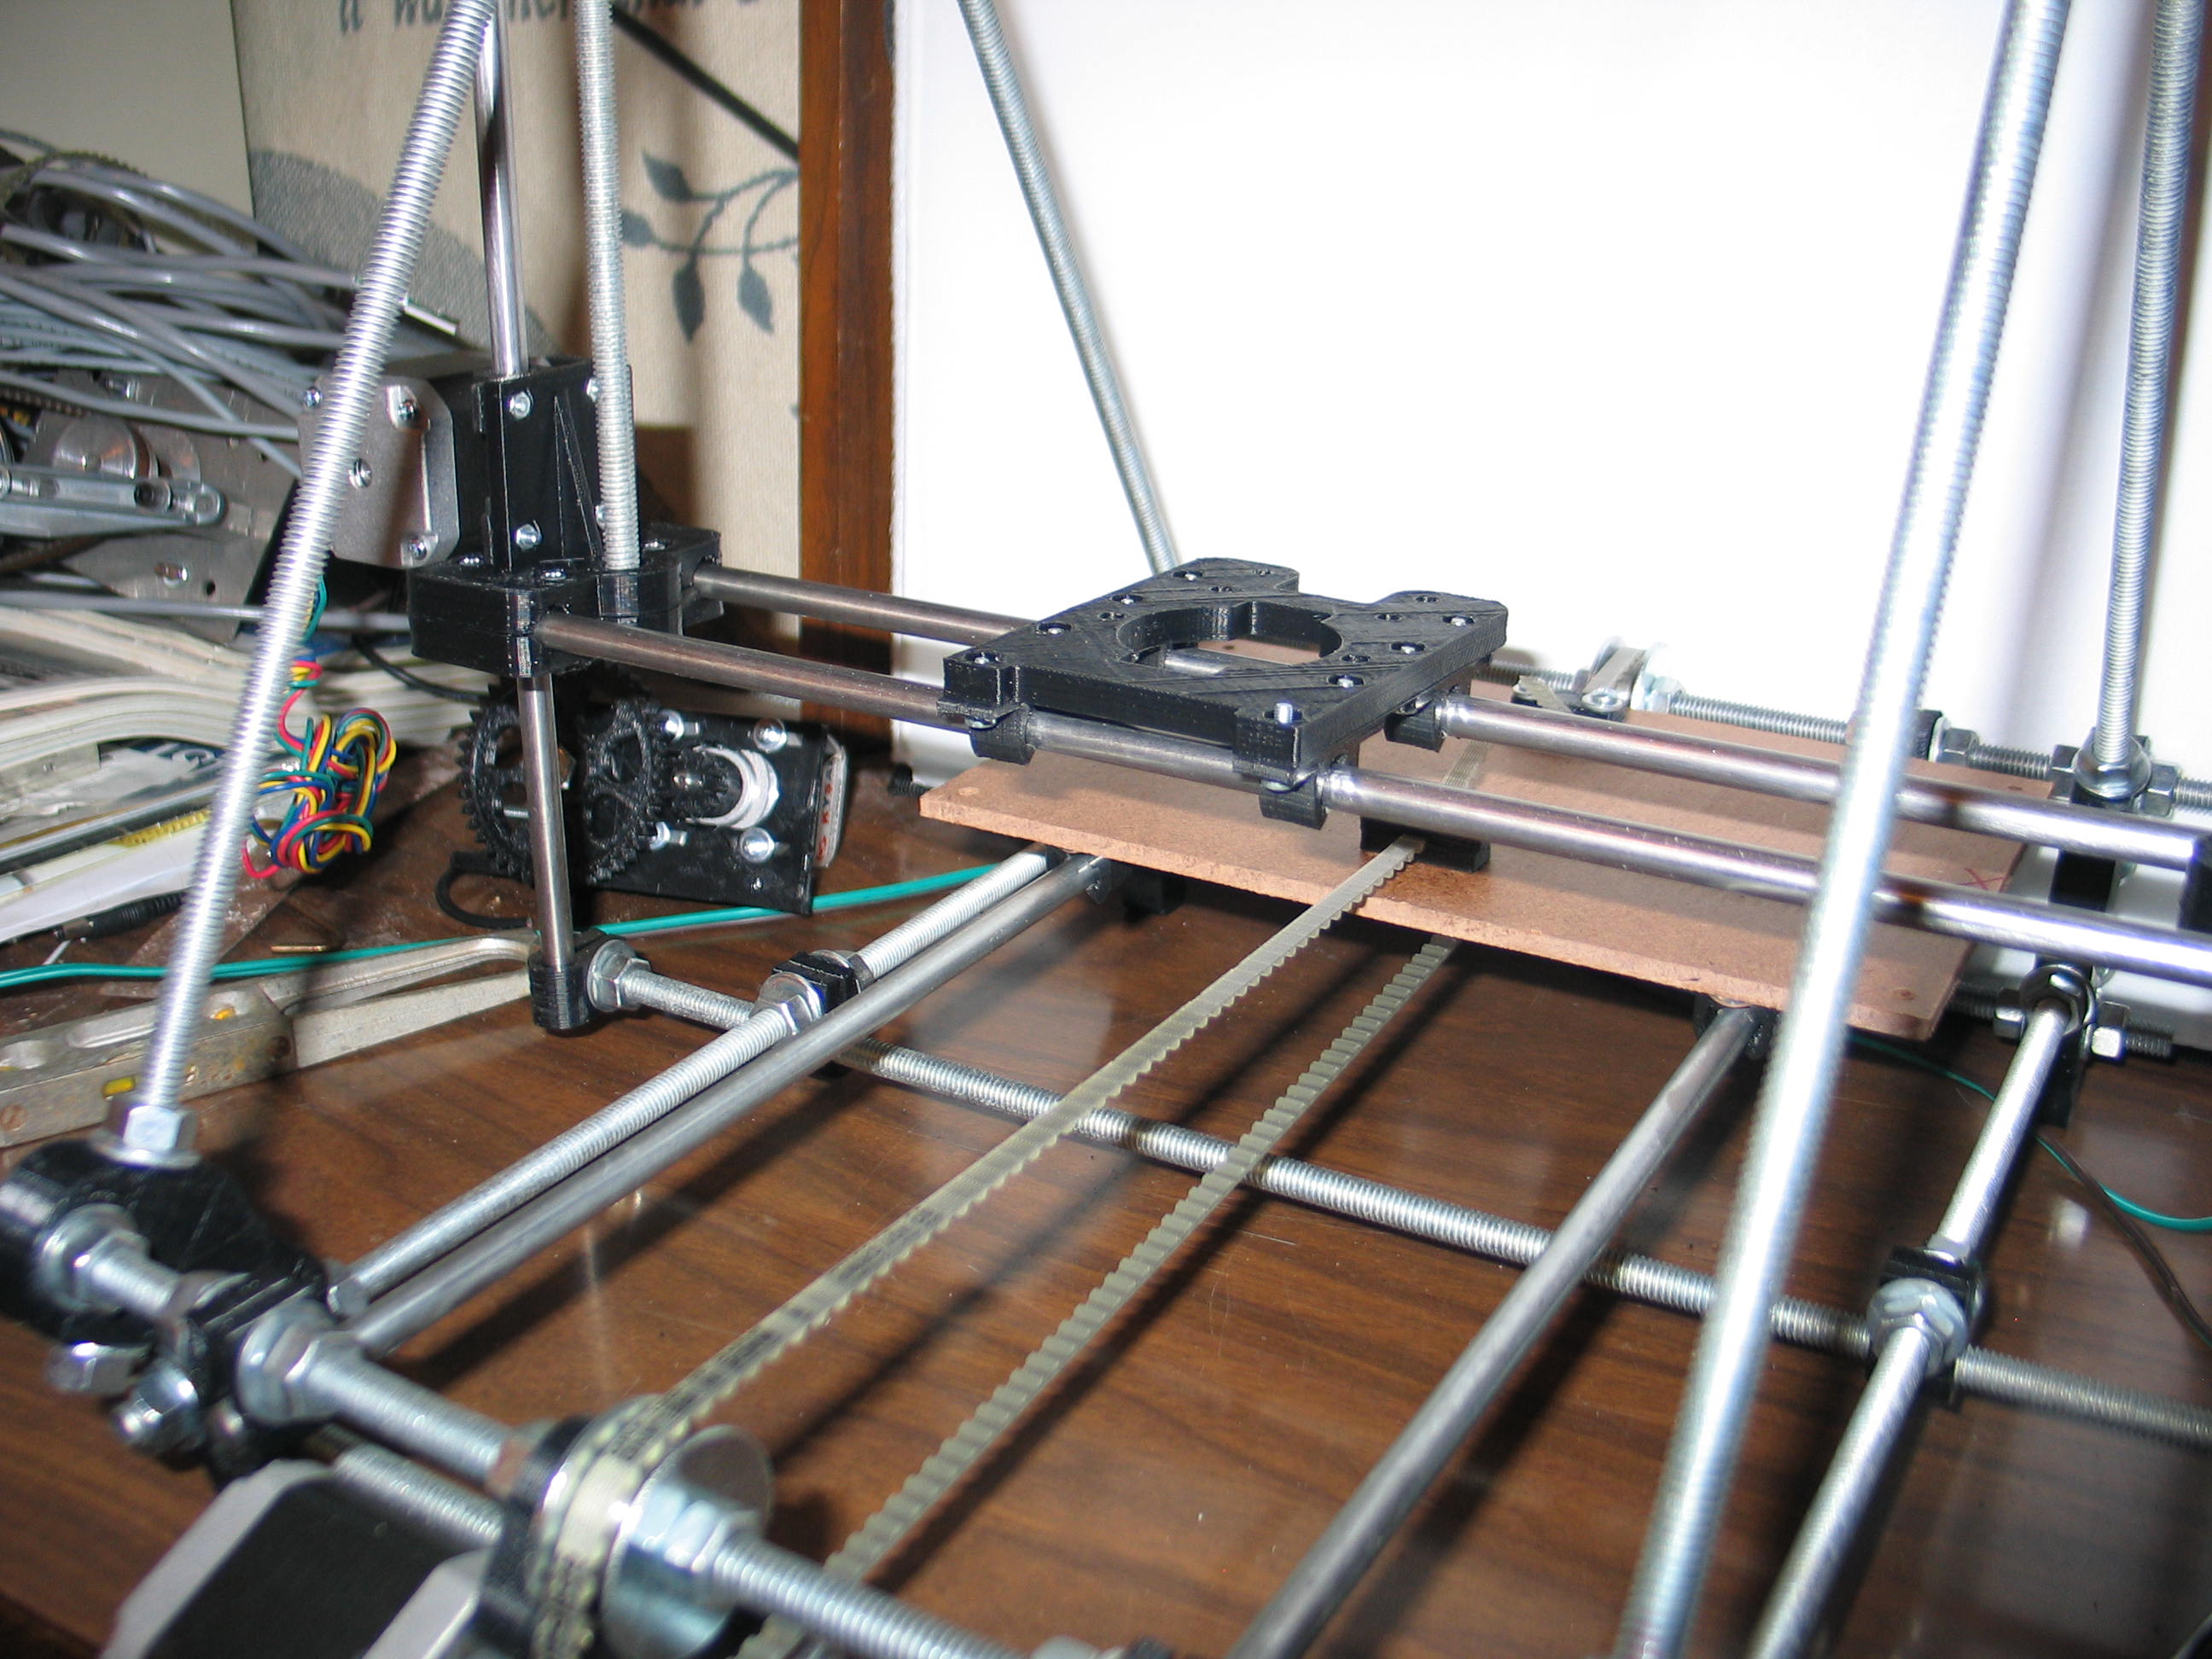
I put the X axis carriage on backwards and had to flip it. I was able to snap it off the rods and back on without mishap. I was worried I might crack the bushings.

Attaching the rod bushings and the belt clamps would have been much easier had I done it before the X axis was installed. Also, the M3x10MM bolts for the belt clamps were too short. I had to go buy 15MM ones. They are a little long, but don't interfere with anything (so far!).

The Wades extruder so far. I am starting to understand why I see people bad mouth this extruder. It's not user friendly at all. The mounting bolts are inaccessable when the motor is in place. The large gear has to be removed to tighten the inboard motor mounting bolts.
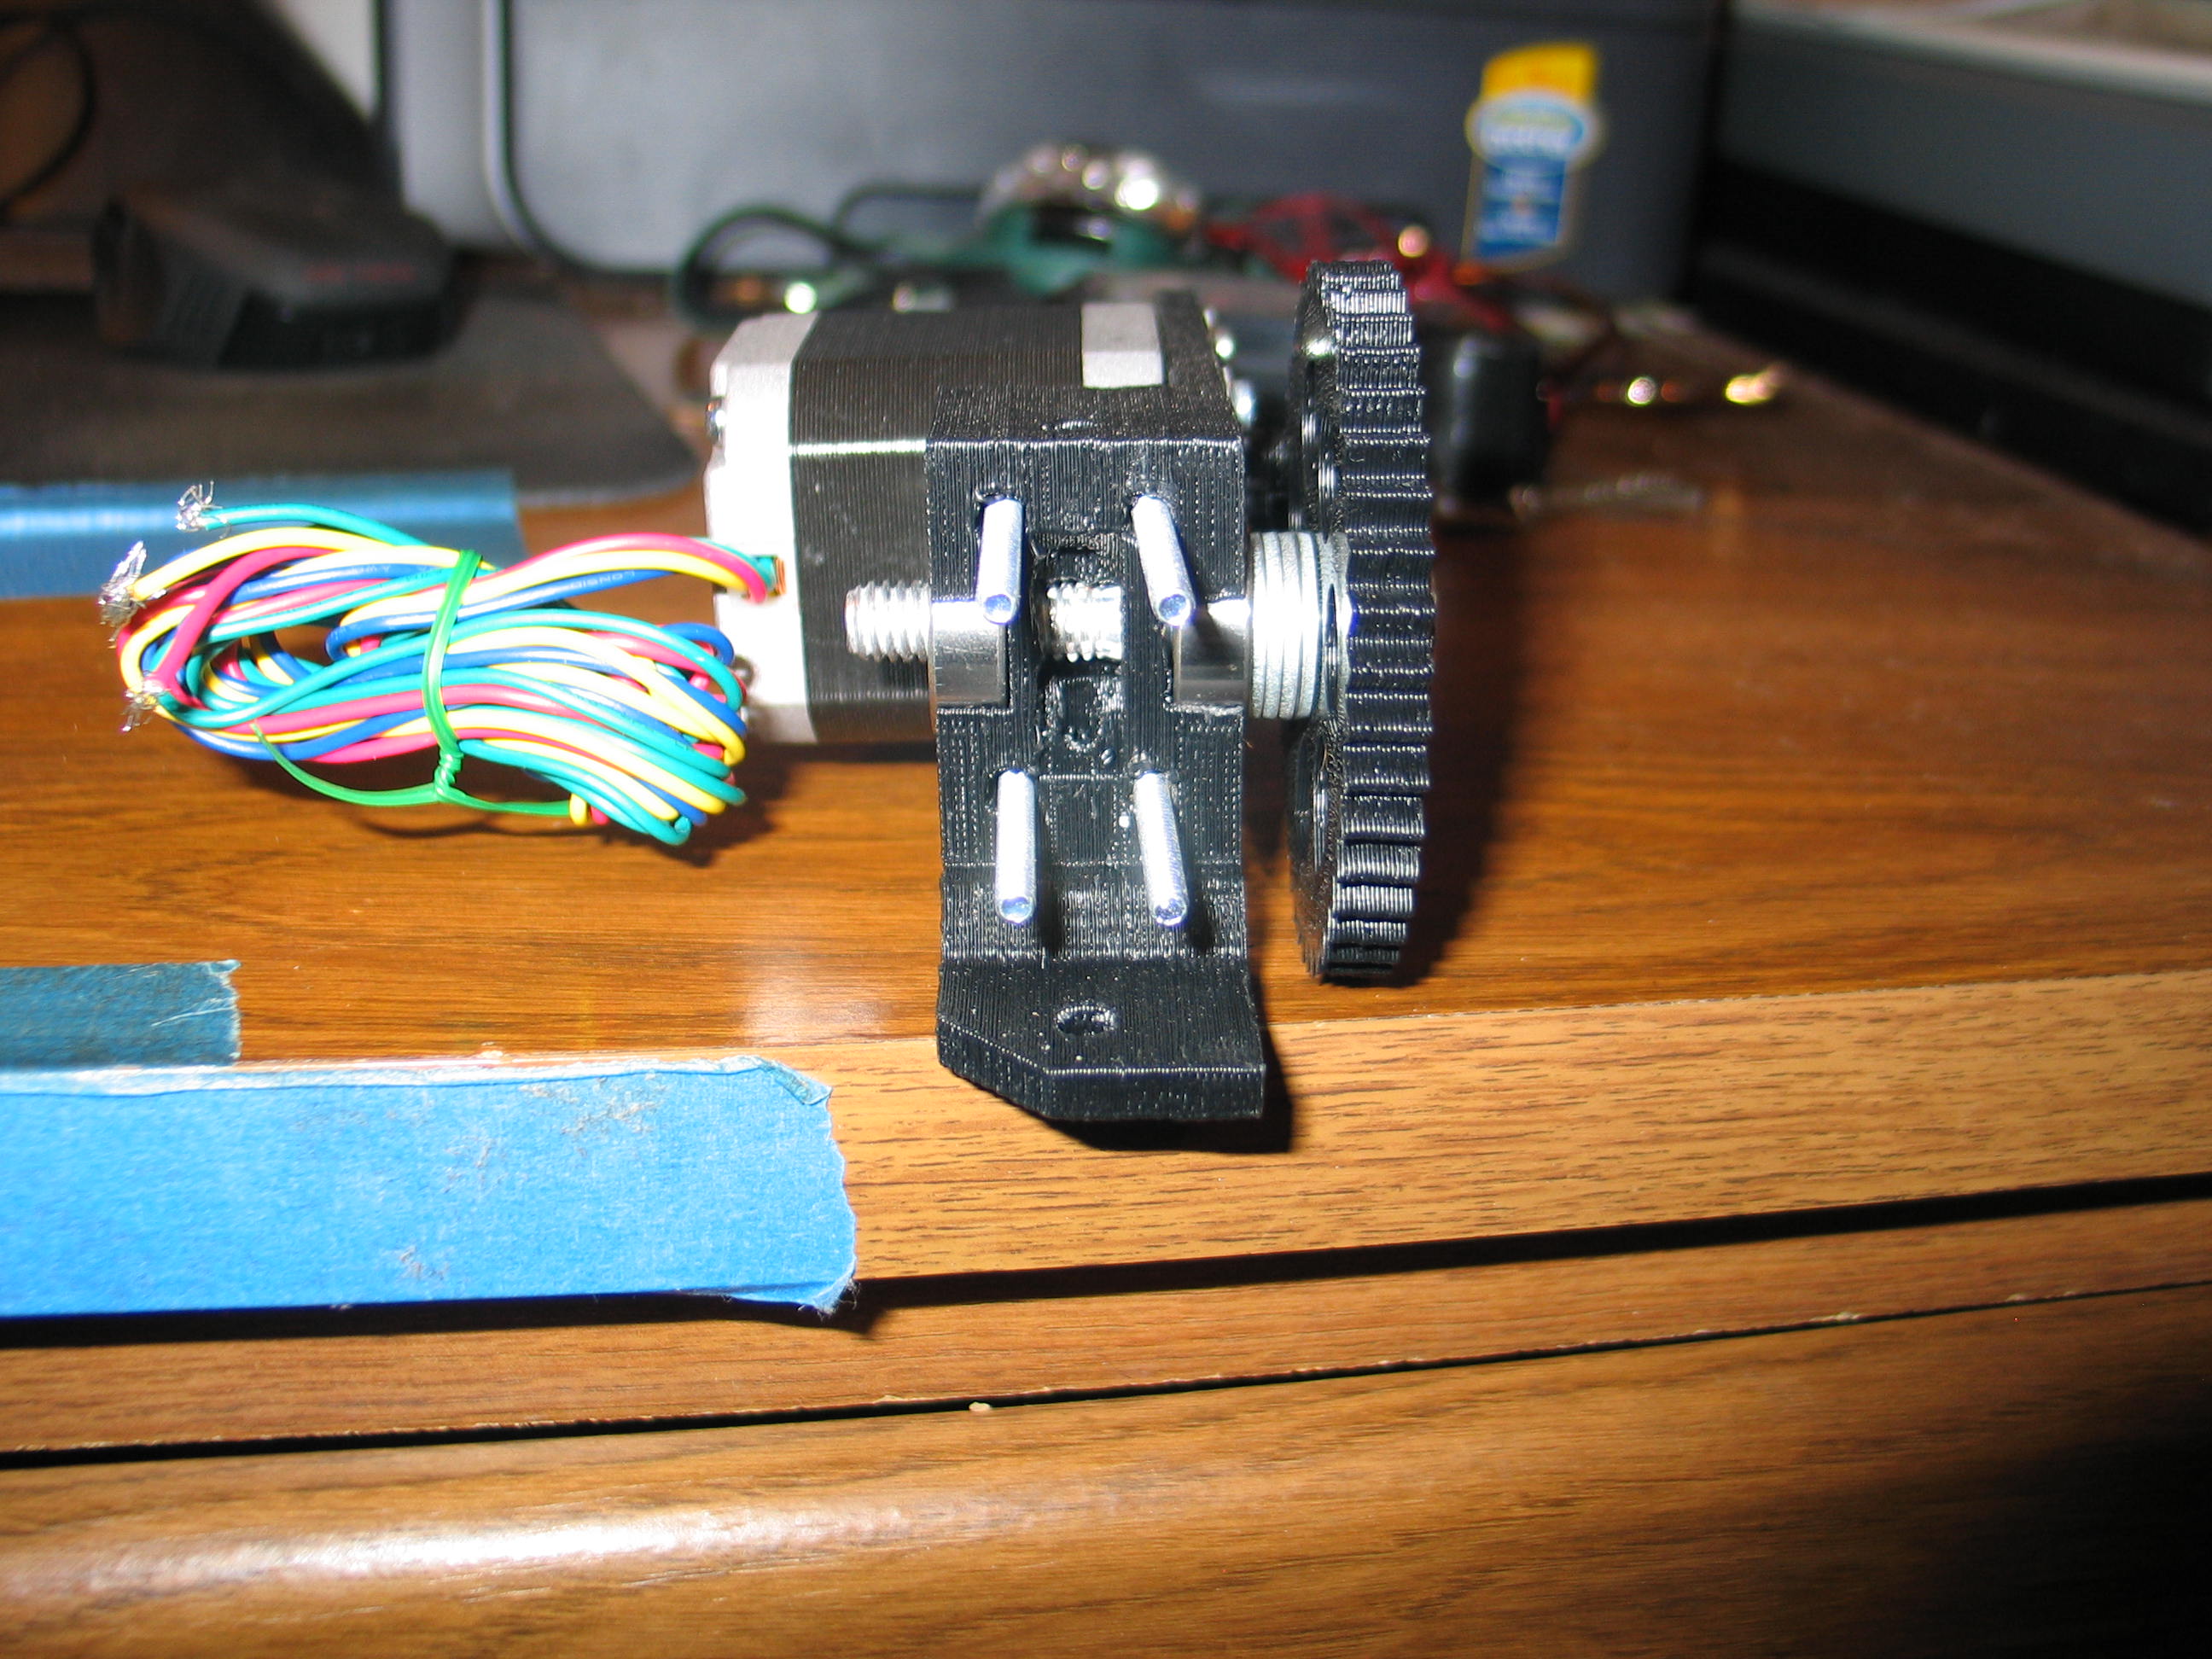
This shows the washers required to make the "hobbed" section of the bolt line up. If I remake this with a true hobbed bolt, I will correct this.
What I would do differently:
http://www.youtube.com/watch?v=mO5pxgNHWsU
I decided to take the advice of others in the know and ordered a hot end kit for the extruder from Makergear.
My basic costs so far are $428.66 US. This does not count the flex couplings or the hot end kit, as I consider these to be options.
Arduino Megas are about $10 less than what I paid, now. Also, I over bought some hardware due to mistakes. I didn't always choose the bottom dollar option. All in all, I think the numbers quoted in the video are pretty accurate.
I don't think there is much more to buy, but I could be wrong. I'll update these numbers as we go along.
- Assemble the x carriage before installing the X rods.
- Order hardware on-line from Mcmaster-Carr and allow plenty of extras.
- I'd use 5/16 rods, nuts and washers, but everything else metric to fit the metric plastics. Drill rod is fine.
- Anyplace that uses a nylock nut should be assembled with regular nuts until everything is adjusted.
http://www.youtube.com/watch?v=mO5pxgNHWsU
I decided to take the advice of others in the know and ordered a hot end kit for the extruder from Makergear.
My basic costs so far are $428.66 US. This does not count the flex couplings or the hot end kit, as I consider these to be options.
Arduino Megas are about $10 less than what I paid, now. Also, I over bought some hardware due to mistakes. I didn't always choose the bottom dollar option. All in all, I think the numbers quoted in the video are pretty accurate.
I don't think there is much more to buy, but I could be wrong. I'll update these numbers as we go along.
Navigate
in this series
First
Previous
Next
Last
Please leave a comment on the bottom of the page. Was this useful? What would you like to see different? Thanks.